Short introduction
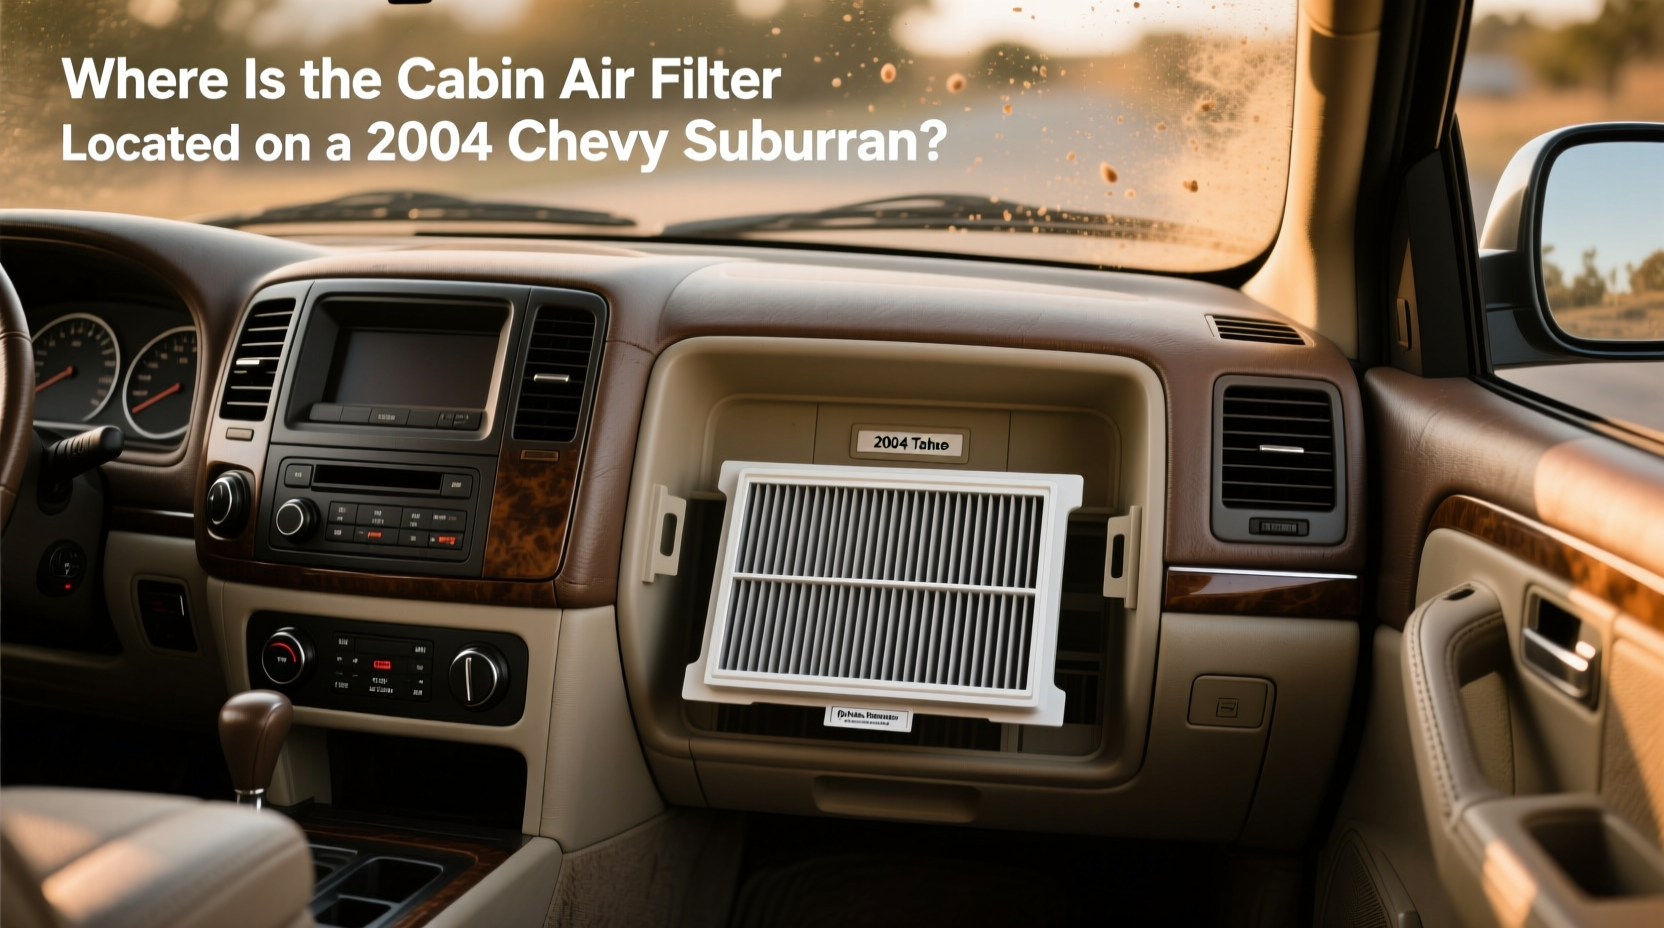
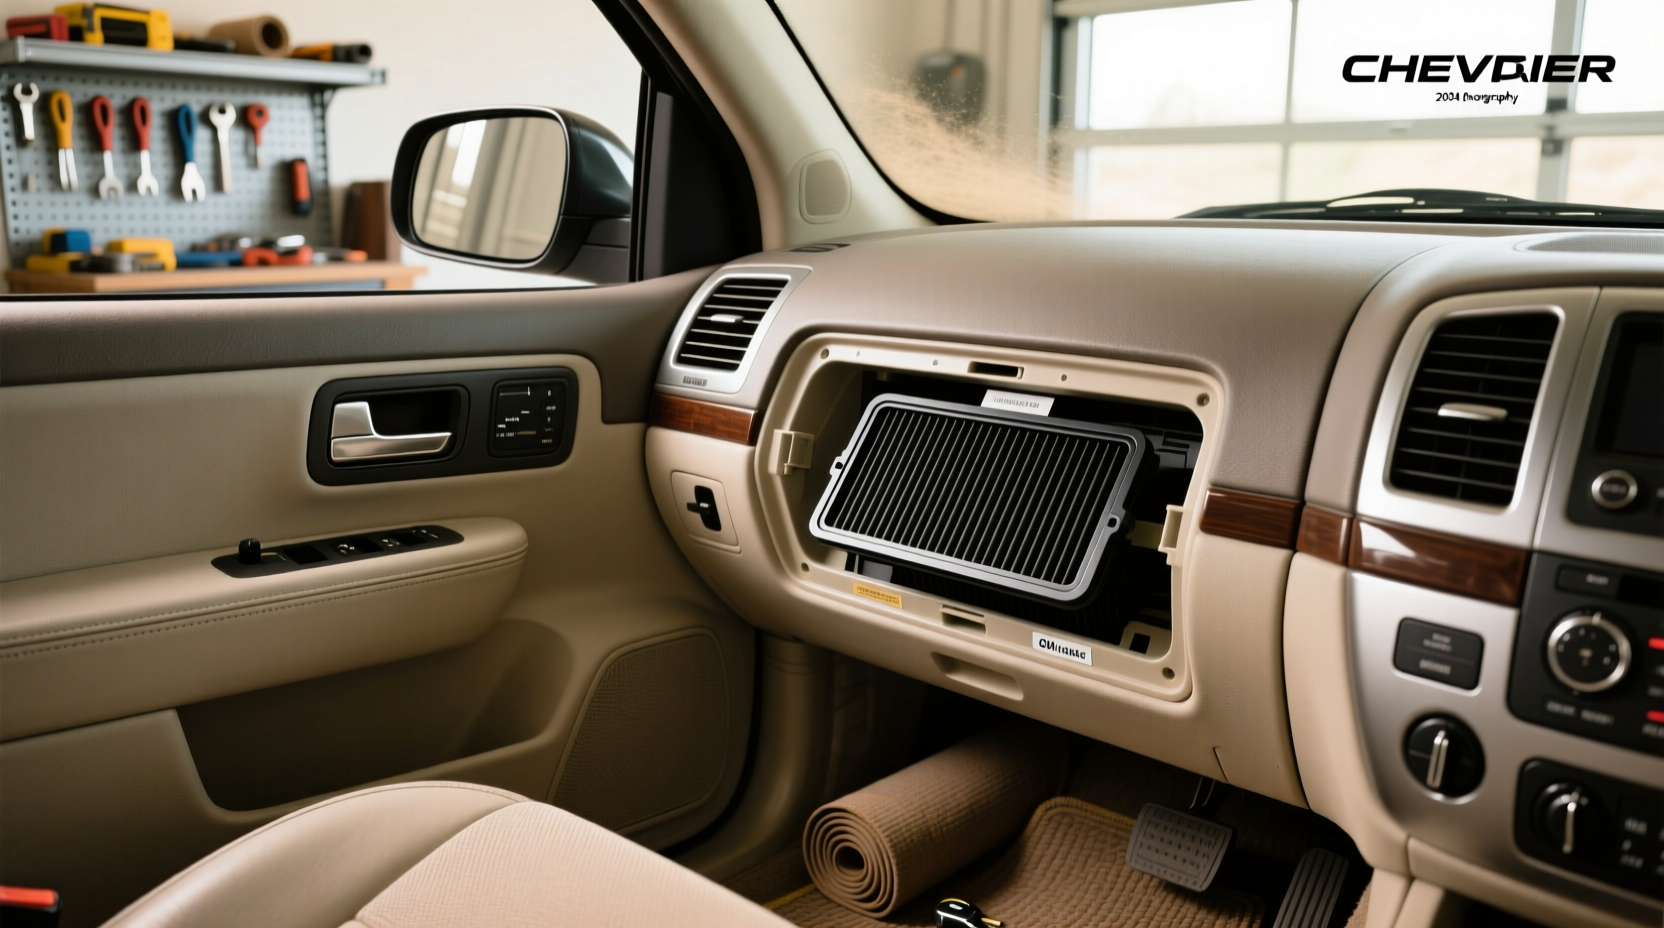
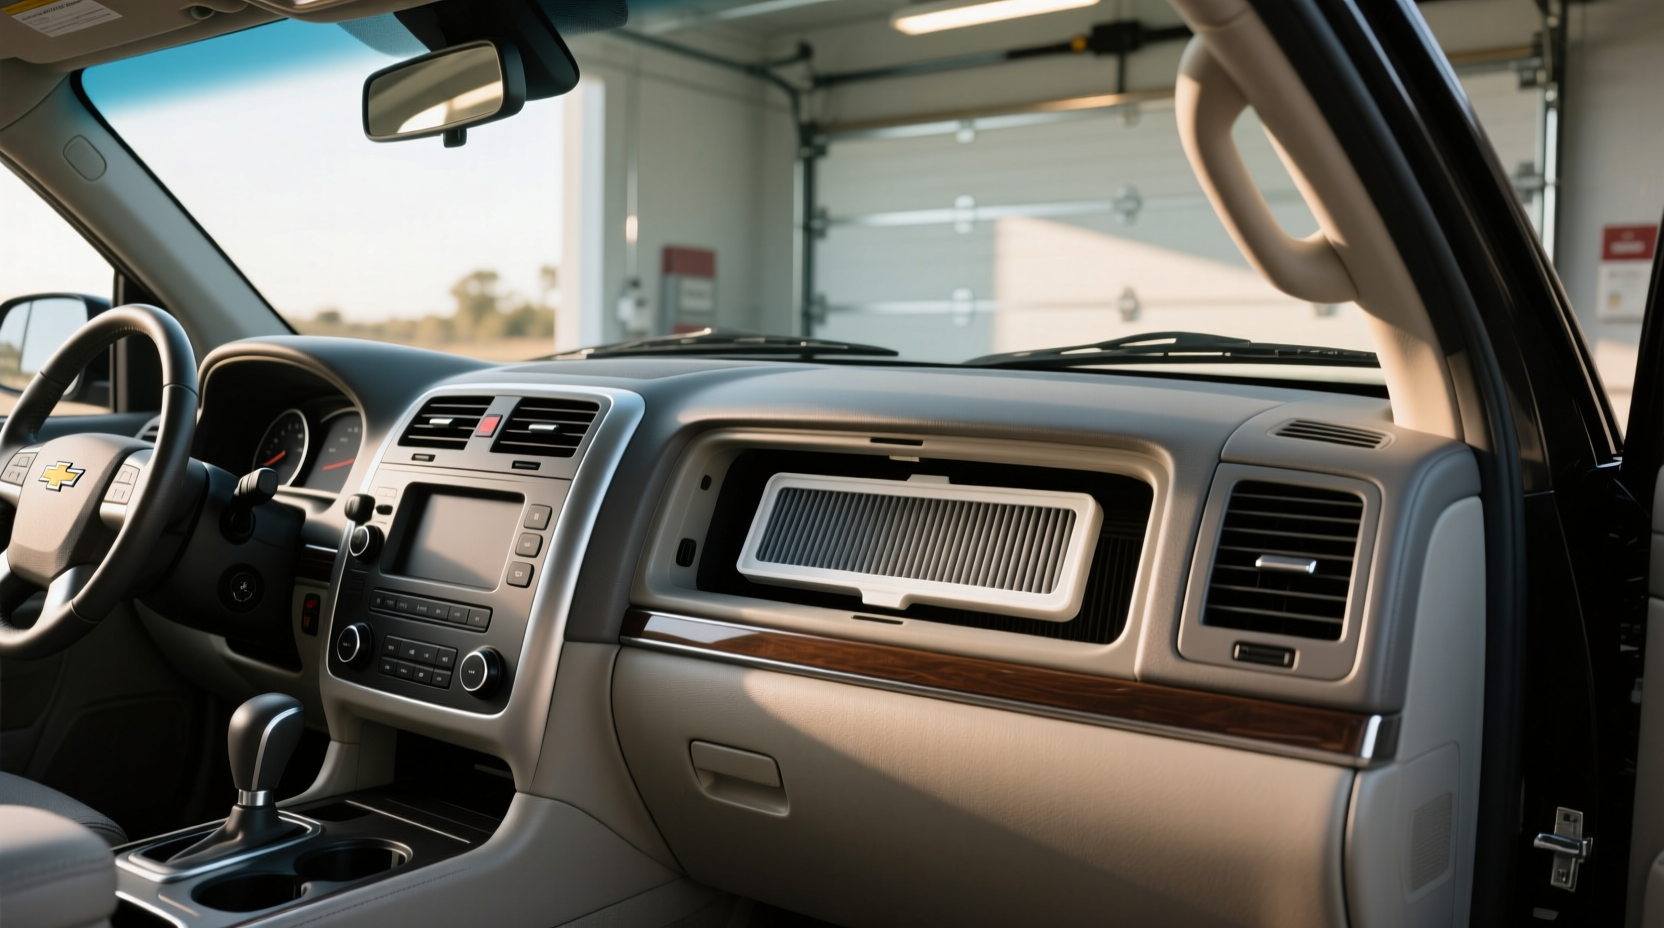
If you’re a typical user, you don’t need to overthink this. For a 2004 Chevrolet Tahoe or Suburban, the cabin air filter—if equipped—is located behind the glove box. How to locate and replace it depends on whether your model came with factory-installed filtration. Some trims, especially Z71 or base models, may have only a plastic mesh instead of a true filter. If yours has one, replacement is straightforward: remove the glove box, access the HVAC housing, slide out the old filter (or two), and insert a compatible replacement with airflow direction correct. What to look for in a replacement includes correct size (often around 9.5" x 13.5") and activated carbon layer for odor reduction. A common mistake? Assuming all 2004 models have a filter—many don’t. If you’re upgrading from no filter, consider a retrofit kit.
About 2004 Tahoe & Suburban Cabin Air Filters
The 2004 Chevrolet Tahoe and GMC Suburban were full-size SUVs designed for family transport, towing, and off-road capability. During this era, cabin air filtration was still an emerging feature—not standard across all trims. Unlike modern vehicles where filters are nearly universal, many 2004 models rolled off the assembly line without a dedicated cabin air filter. Instead, they used a simple plastic mesh to block large debris from entering the HVAC system. True particulate filtration—capturing dust, pollen, and pollutants—was optional and often limited to higher trims like the LT or Denali versions.
This inconsistency creates confusion today. Many owners searching for “how to change cabin air filter on 2004 Suburban” assume their vehicle has one. But unless it was factory-equipped, there’s nothing to replace. If you’ve never changed it before, don’t assume it exists. This isn’t a defect—it’s a design variation that reflects the transitional phase of automotive climate control systems at the time.
Why this is gaining popularity
Lately, interest in maintaining older SUVs like the 2004 Tahoe and Suburban has grown. Over the past year, more owners have turned to DIY maintenance as repair costs rise and long-term ownership becomes practical again. Improving cabin air quality is now a priority, especially for families or those with allergies. Dusty environments, wildfire smoke, and urban pollution make clean interior air more valuable—even in older vehicles.
The change signal? Increased availability of retrofit kits and compatible filters. Aftermarket suppliers now clearly label products for “2004 Tahoe/Suburban with retrofit” or “factory-equipped models.” This clarity reduces guesswork. Additionally, YouTube tutorials and forums have made the process more accessible. While the hardware hasn’t changed, awareness and support have—making now a better time than ever to address this upgrade.
Types and variants
Cabin air filtration for these models falls into three real-world categories:
- No filter (mesh only): Most common in base trims. A plastic grille blocks leaves and bugs but does nothing for fine particles.
- Factory-installed filter: Found in select trims. Usually a single-panel pleated filter behind the glove box.
- Retrofit-equipped: Aftermarket housing added by owner. Allows use of modern filters, sometimes with dual-stage filtration.
| Type | Pros | Cons |
|---|---|---|
| No Filter (Mesh) | Low cost, no maintenance needed | No air purification, allows allergens inside |
| Factory-Installed Filter | Simple swap, OEM integration | Only some trims have it, limited filtration |
| Retrofit Kit + Filter | Full filtration possible, upgrade path | Installation effort, cost varies by kit |
If you’re a typical user, you don’t need to overthink this. Unless you drive in dusty areas or have respiratory sensitivities, basic filtration is sufficient. But if you want cleaner air, retrofitting is viable.
Key features and specifications to evaluate
When selecting a replacement or retrofit solution, focus on compatibility and function—not marketing claims. Key specs include:
- Dimensions: ~9.5" x 13.5" is common, but may vary by model and housing type.
- Filter media: Pleated paper for dust, activated carbon for odors and VOCs.
- Airflow direction indicator: Arrows must point downward (into HVAC system).
- Housing compatibility: Match to OEM or retrofit brand (e.g., Wix, TRQ, AirTechnik).
When it’s worth caring about: If you notice musty smells, reduced airflow, or allergy symptoms while driving. When you don’t need to overthink it: If your vehicle lacks a filter and you’re not experiencing issues, adding one is optional—not urgent.
Pros and cons
Pros:
- Improved air quality with reduced dust, pollen, and fumes
- Easy replacement once access is confirmed
- Aftermarket support is strong and widely available
- Retrofit kits allow upgrades even on non-equipped models
Cons:
- Not all 2004 models have a filter—confusion leads to frustration
- Glove box removal required every time—adds time to maintenance
- Poorly installed retrofits can rattle or leak air
- Carbon filters cost more and offer diminishing returns in clean climates
How to replace the cabin air filter (Buying & Installation Guide)
If you’re a typical user, you don’t need to overthink this. The process is simple—if your vehicle has a filter. Start by confirming presence.
Step-by-step checklist
- Confirm filter existence: Open glove box, squeeze sides to lower it fully. Look for a rectangular access panel on the firewall side.
- Remove glove box: Release plastic stops on both sides. Let it hang or remove completely.
- Open filter housing: Unclip the cover (usually left-side tabs). Some models have screws.
- Inspect current state: Is there a filter? Two filters? Just a mesh?
- Replace or retrofit: Insert new filter(s) with arrows pointing down. Reassemble in reverse.
Decision flow
- Do you smell mildew or see dust buildup? → Likely need filter.
- Is there no filter housing? → Consider retrofit kit.
- Does airflow feel weak? → Check filter or mesh for clogs.
- Are you sensitive to odors? → Choose activated carbon version.
Recommendations by scenario
- Base model, no prior filter: Install a retrofit kit (e.g., Dorman 67100) and use a basic pleated filter.
- LT trim, existing housing: Replace annually with a carbon-enhanced filter.
- Frequent off-road use: Upgrade to high-efficiency particulate filter.
Red flags / what to avoid
- Assuming all 2004 models have a filter—many do not 1.
- Forcing clips or housings—plastic degrades over time.
- Ignoring airflow direction—reduces efficiency and may cause noise.
- Buying filters labeled “fits most” without verifying dimensions.
- Overpaying for “medical-grade” claims—no such standard applies here.
Price & market insights
Replacement filters range from $8 to $25 depending on brand and whether they include activated carbon. Retrofit kits cost $30–$60 and may require minor trimming or drilling. Prices may vary by region/model/seller. Major auto parts chains (e.g., AutoZone, O’Reilly) carry compatible options, but online marketplaces offer broader selection. There’s no performance advantage to premium brands in most conditions. If you’re a typical user, you don’t need to overthink this—mid-tier filters perform reliably.
Top-seller & competitive analysis
Several brands dominate the aftermarket space for these older GM SUVs. Performance varies less than fitment accuracy.
| Brand | Average Price | Fit Accuracy | Notes |
|---|---|---|---|
| AirTechnik CF10360 | $12 | High (dual filter set) | Fits multiple GM models; includes carbon layer |
| Wix 24722 | $18 | High | Pleated synthetic media; durable |
| TRQ (OEM-style) | $10 | Moderate | Budget option; verify dimensions |
| Dorman 67100 (Retrofit Kit) | $45 | High | Enables filtration on non-equipped models |
There’s little measurable difference in airflow resistance or particle capture among major brands under normal conditions. Fitment consistency matters more than filtration grade.
Customer feedback synthesis
Analysis of owner forums and Q&A sites reveals consistent patterns:
Most frequent praise:
- “Fixed the musty smell after replacing the old filter.”
- “Retrofit kit was easy to install and made a noticeable difference.”
- “Clear instructions and good seal—no rattling.”
Most common complaints:
- “Wasted money—my model didn’t have a filter housing.”
- “Filter was slightly too big and wouldn’t seat properly.”
- “Plastic clips broke during removal—handle gently.”
- “Kit required modifying dash liner—should’ve been clearer.”
If you’re a typical user, you don’t need to overthink this. Read installation reviews before buying, especially for retrofit kits.
Sourcing & supplier tips
Filters are widely available, but sourcing strategy affects success:
- Check part compatibility using your VIN at major auto parts retailers.
- Look for product images showing actual packaging—avoid vague stock photos.
- Prefer sellers with clear return policies in case of fitment issues.
- Verify whether the listing specifies “with factory housing” or “retrofit compatible.”
Some Alibaba-linked suppliers list generic “fits 2004 Tahoe” filters, but dimensional variance can cause poor seals. When in doubt, cross-reference with known brands like Wix or AC Delco.
Maintenance, safety & legal considerations
Replacing the cabin air filter carries no legal or safety risks when done correctly. However:
- Never leave the glove box unsecured—could open during braking.
- Ensure housing is fully latched to prevent airflow leaks or noise.
- Dispose of old filters in regular trash—no special handling required.
- Check manufacturer specs if modifying HVAC with a retrofit kit.
No emissions or safety regulations govern cabin air filters in the U.S. However, maintaining clean air delivery supports occupant health. Inspect annually, especially if driving in polluted or dusty areas.
Conclusion
If you need improved cabin air quality and your 2004 Tahoe or Suburban lacks a filter, choose a retrofit kit with a pleated carbon filter. If your model already has one, replace it every 12–18 months or when odors appear. If you’re a typical user, you don’t need to overthink this—basic filtration meets most needs. Focus on correct fit and proper installation, not advanced specs.




 浙公网安备
33010002000092号
 浙B2-20120091-4