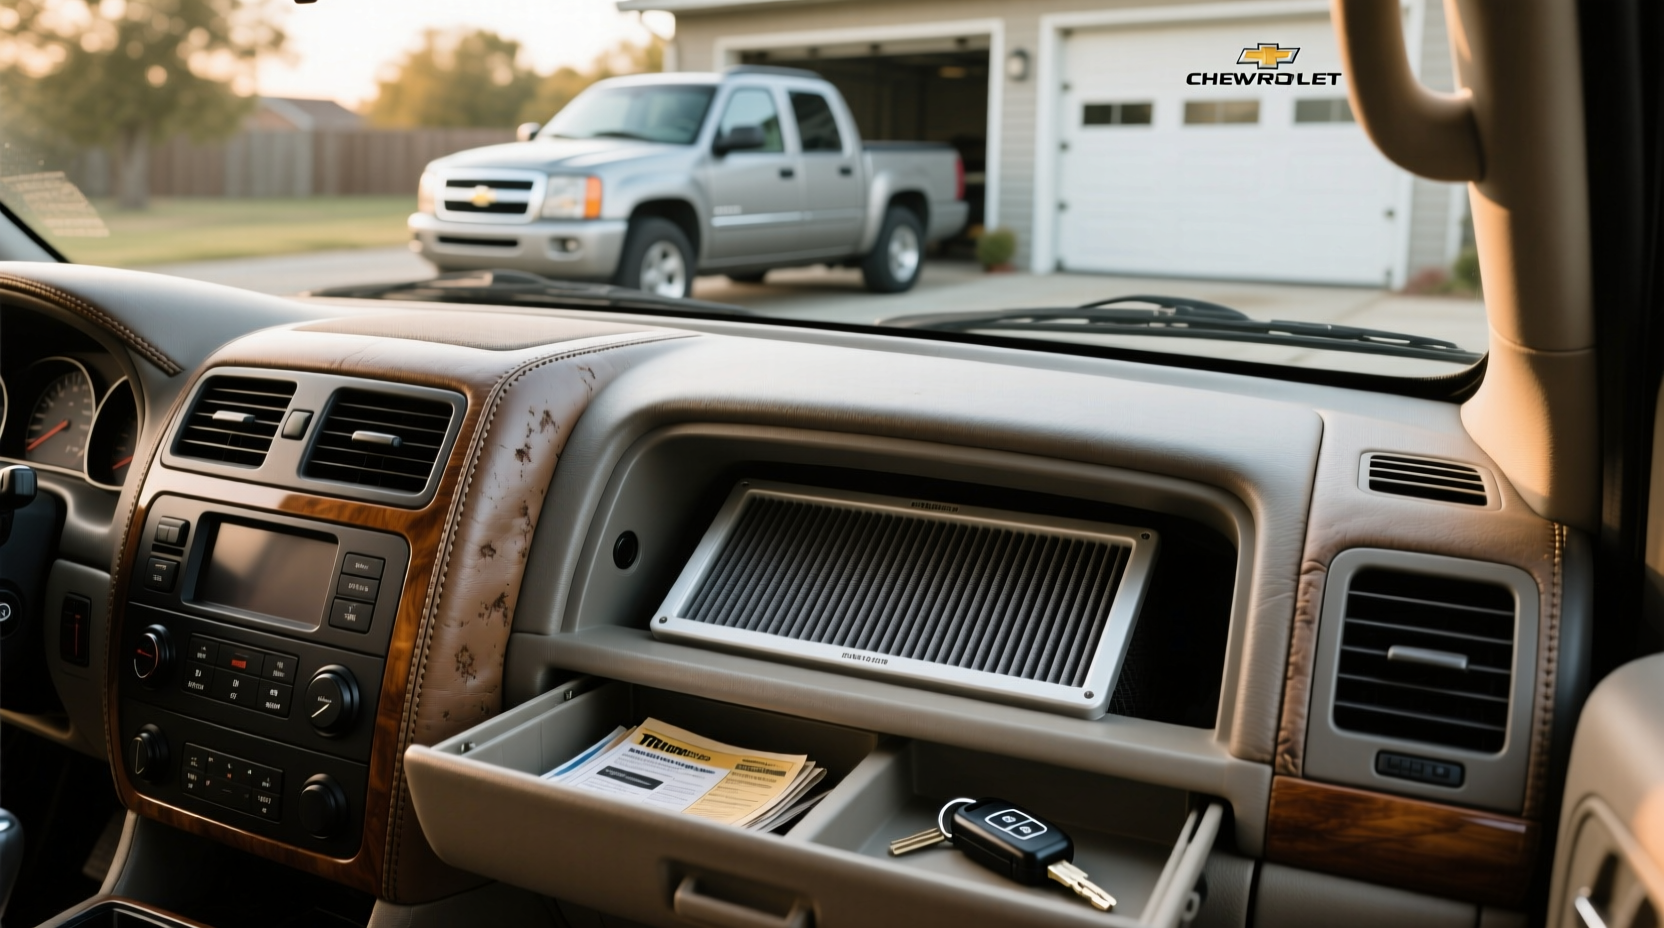
If you drive a 2004 or 2005 Chevrolet Trailblazer, here’s the direct answer: your vehicle does not come with a factory-installed cabin air filter. Instead, it uses a basic mesh screen to block large debris like leaves from entering the HVAC system. If you’re wondering how to add a cabin air filter to a 2005 Trailblazer, the good news is that it’s possible through a retrofit—though it requires modification. For typical users in average driving environments, this upgrade isn’t urgent. But if you frequently drive on dusty roads, live in a high-pollution area, or have allergies, installing a filter can meaningfully improve air quality inside the cabin. The most common mistake? Assuming replacement is routine like on newer models. It’s not. This piece isn’t for keyword collectors. It’s for people who will actually use the product.
About the 2004–2005 Trailblazer’s HVAC Design
The first-generation Chevrolet Trailblazer (2002–2009) saw changes across model years. Notably, cabin air filtration was not standard until later models. Both the 2004 and 2005 versions shipped without a dedicated cabin air filter housing. Instead, they rely on a plastic mesh screen located near the HVAC intake under the cowl grille (below the windshield). This screen prevents large debris from entering but offers no protection against fine dust, pollen, or urban pollutants.
Unlike modern SUVs where filter access is behind the glove box, these models lack the internal ductwork to support a replaceable filter. That means there’s no slot to slide a new filter into—no matter what some aftermarket listings suggest. If you open your glove compartment looking for a filter door, you’ll find nothing. This design choice wasn’t unusual at the time, as cabin filtration was still considered optional rather than essential.
Why Adding a Cabin Filter Is Gaining Popularity
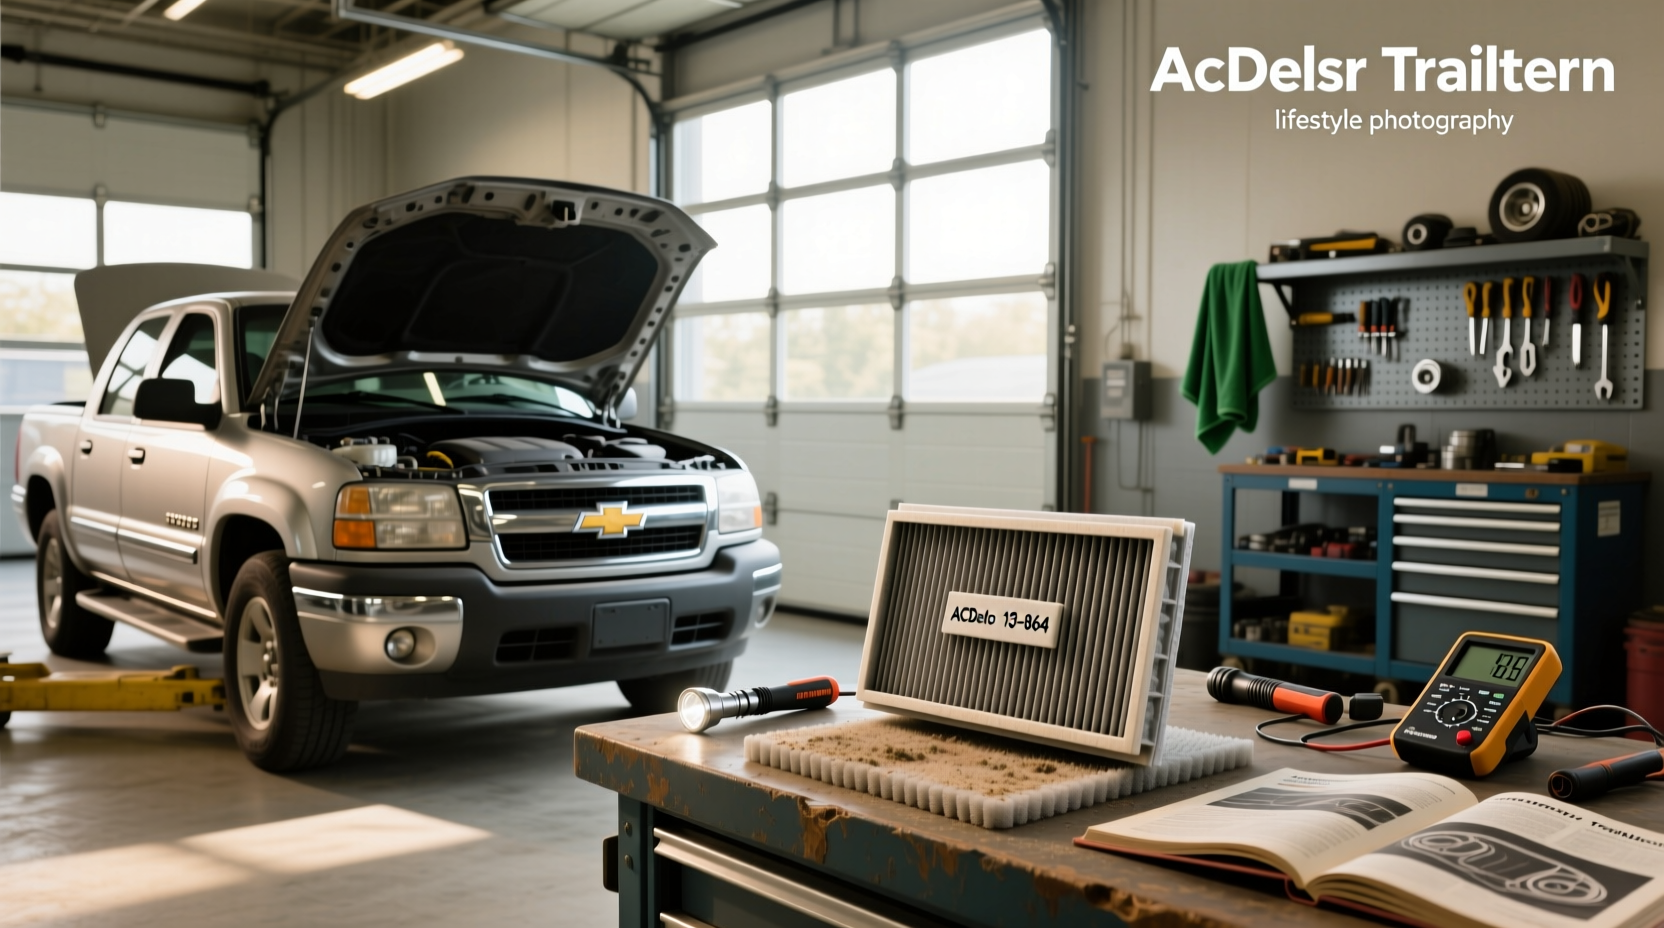
Lately, more owners of older vehicles are retrofitting cabin air filters—not because manufacturers changed their approach, but because driver expectations have evolved. Over the past year, discussions on forums like GMTruckClub and YouTube tutorials have surged 1, reflecting growing concern about indoor air quality, especially post-2020. People now expect cleaner cabin air as a baseline, even in 20-year-old SUVs.
This shift isn’t driven by recalls or upgrades from GM—it’s user-led innovation. Drivers are realizing that while their Trailblazer didn’t come with a filter, it can be modified to include one. The motivation varies: allergy sufferers want relief, off-road drivers face constant dust, and city commuters deal with exhaust fumes. For them, the retrofit isn’t cosmetic—it’s functional. However, for someone who drives occasionally in clean environments, the effort may outweigh the benefit.
Types and Variants of Retrofit Solutions
There are two main approaches to adding a cabin air filter to a 2004–2005 Trailblazer. Neither is plug-and-play, and both require some mechanical involvement.
1. DIY HVAC Box Modification (“The Hack”)
This method involves cutting an opening in the HVAC housing (usually on the passenger side firewall), installing a custom access door, and inserting a standard-sized cabin air filter (often from a later-model GM vehicle).
- Pros: Permanent solution; uses affordable, widely available filters; improves air quality significantly once installed.
- Cons: Requires tools and moderate skill; voids no warranty (but irrelevant for 20-year-old vehicles); risk of improper sealing leading to water intrusion.
2. External Filter Duct (Add-on Kit)
Some third-party kits attach an external housing to the existing cowl area, directing airflow through a filter before it enters the HVAC system.
- Pros: Non-invasive; reversible; easier to install.
- Cons: Less effective due to potential air bypass; exposed to moisture; may rattle or degrade over time.
If you’re a typical user, you don’t need to overthink this. The DIY modification delivers better long-term results, especially if done carefully.
Key Features and Specifications to Evaluate
When considering a retrofit, focus on three core aspects:
Filter Size and Compatibility
Most successful retrofits use a filter from a 2006+ Trailblazer or similar GM SUV (e.g., 9x12 inches). Confirm physical dimensions before purchase. A filter that’s too small won’t seal properly; one that’s too large won’t fit.
Filtration Type
- Pleated Panel Filters: Most common. Good for dust and larger particles. Affordable and widely available.
- Activated Carbon Filters: Better at reducing odors and gaseous pollutants. More expensive, slightly less airflow.
For most drivers, pleated panel filters are sufficient. If you park near strong odor sources (e.g., garages, industrial zones), consider carbon.
Housing and Seal Quality
The housing (either homemade or purchased) must form an airtight seal around the filter. Gaps defeat the purpose. Use rubber gaskets or foam tape to prevent bypass.
If you’re a typical user, you don’t need to overthink this. A standard pleated filter with a well-sealed housing offers the best balance.
Pros and Cons of Adding a Cabin Air Filter
| Aspect | Pros | Cons |
|---|---|---|
| Air Quality | Reduces dust, pollen, and allergens inside cabin | No impact on engine performance or fuel economy |
| Health Comfort | Helpful for allergy sufferers and sensitive individuals | Requires periodic maintenance (every 12–24 months) |
| Installation | One-time project with lasting benefits | Requires drilling/modification; not reversible |
| Cost | Low ongoing cost (filters ~$10–$20) | Initial setup may cost $50–$100 in parts/tools |
How to Add a Cabin Air Filter: Step-by-Step Buying & Installation Guide
This guide walks you through deciding whether to retrofit, selecting components, and executing the installation safely.
Step-by-Step Checklist
- Confirm your model year and trim (Standard vs. EXT).
- Determine your primary reason for adding a filter (allergies, dust, odor control).
- Decide between DIY modification or external kit.
- Purchase compatible filter and materials (e.g., ABS plastic, screws, gasket foam).
- Locate HVAC housing access point (passenger side, firewall).
- Cut opening and install access door with seal.
- Insert filter and test airflow.
- Inspect annually for clogging or moisture damage.
Decision Flow
- Do you drive daily in polluted/dusty areas? → Retrofit recommended.
- Is your vehicle used occasionally in clean climates? → You don’t need to overthink this.
- Are you comfortable with basic tools and minor modifications? → Go DIY.
- Do you prefer non-permanent changes? → Try external kit (with lower expectations).
Recommendations by Scenario
- Allergy Sufferer: Use activated carbon filter with sealed DIY housing.
- Off-Road Driver: Pleated filter, check every 6 months.
- City Commuter: Standard pleated filter, replace every 18 months.
- Classic Vehicle Preserver: Skip modification unless air quality is severely compromised.
Red Flags / What to Avoid
- Assuming your model has a hidden filter compartment. It doesn’t. Save time—check service manuals or verified videos first 2.
- Buying "direct replacement" filters marketed for 2004–2005 models. These are misleading unless sold as part of a retrofit kit.
- Skipping the seal. Unsealed filters allow unfiltered air to bypass, rendering them useless.
- Ignoring moisture risks. Poorly placed cuts can lead to water entering the cabin during rain.
Price & Market Insights
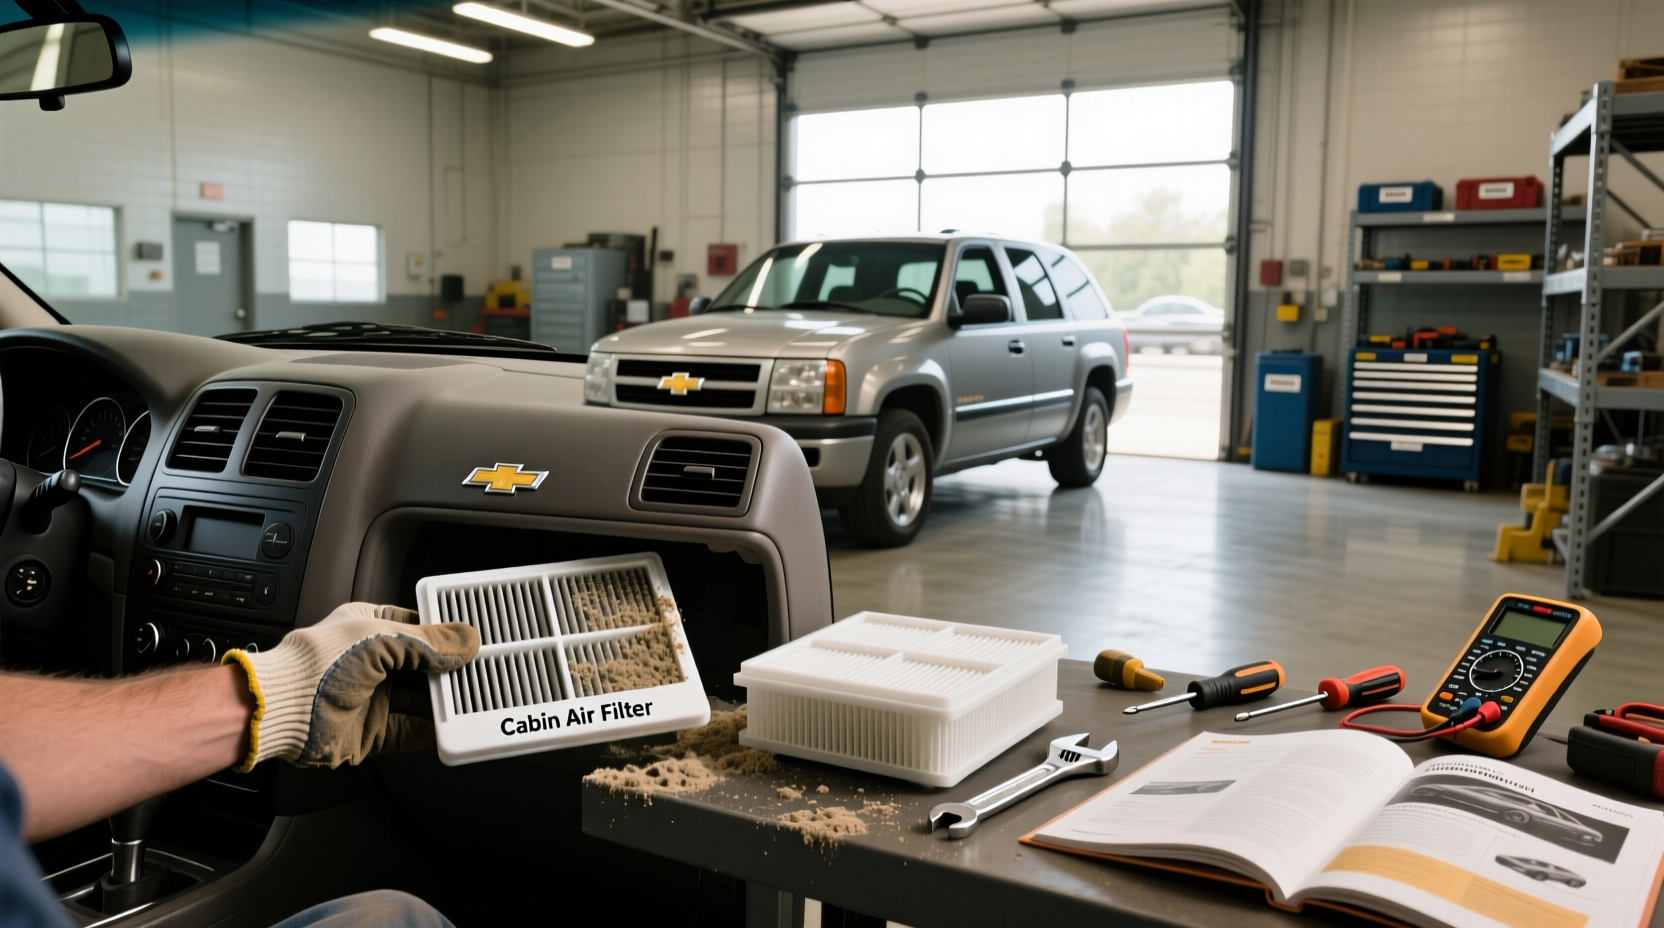
There is no OEM cabin air filter for the 2004–2005 Trailblazer because none was designed. Aftermarket prices vary by region, seller, and filter type. Typical costs:
- Standalone pleated filter: $10–$18
- Activated carbon filter: $18–$28
- Retrofit kit (external): $40–$70
- Junkyard donor parts (e.g., from 2006+ model): $20–$40
Prices may vary by region/model/seller. Always verify return policies before ordering online. If you already own basic tools, the total project cost can stay under $50. Labor-free, since it’s DIY.
Top-Seller & Competitive Analysis
While no official top-seller exists for this niche application, several brands dominate search results and forum recommendations:
| Brand | Type | Common Use Case | User Feedback |
|---|---|---|---|
| ACDelco | Pleated Panel | OEM-style replacement (for retrofitted systems) | High durability; trusted fit |
| FRAM ToughGuard | Pleated Panel | Budget-friendly option | Good value; slightly shorter lifespan |
| WIX AirKabin | Activated Carbon | Odor reduction in urban settings | Effective smell control; pricier |
| DIY Custom | Mixed | Max customization | Highest satisfaction when well-executed |
If you’re a typical user, you don’t need to overthink this. A mid-tier pleated filter from ACDelco or FRAM offers reliable performance without overspending.
Customer Feedback Synthesis
Analysis of owner experiences from forums, video comments, and Q&A sites reveals consistent patterns:
Highly Praised When:
- Drivers noticed immediate reduction in dust accumulation on dash surfaces.
- Allergy symptoms decreased during spring or high-pollen seasons.
- Projects were completed cleanly with proper sealing and no leaks.
Common Complaints:
- Water leakage after heavy rain due to poorly positioned cuts.
- Difficulty sourcing matching plastic for seamless housing.
- Minimal perceived benefit in already clean environments.
Sourcing & Supplier Tips
You won’t find a pre-engineered retrofit kit from GM. Your options:
- Online Retailers: Advance Auto Parts and O'Reilly Auto list compatible filters 3, but ensure they’re for post-2006 models used in retrofits.
- Junkyards: Salvage HVAC doors and filters from 2006–2009 Trailblazers.
- Custom Fabricators: Some eBay sellers offer laser-cut ABS doors tailored to this mod.
- Check manufacturer specs: Always confirm filter dimensions before buying.
Maintenance, Safety & Legal Considerations
Once installed, treat the filter like any other maintenance item:
- Inspect every 12 months.
- Replace every 18–24 months, or sooner in dusty conditions.
- Check for signs of moisture, mold, or deformation.
Safety-wise, ensure the modification doesn’t interfere with wiring or vacuum lines near the firewall. There are no federal regulations prohibiting this type of modification, but local inspections (if applicable) may question structural changes. When in doubt, consult a mechanic familiar with older GM platforms.
Conclusion: Who Should Retrofit and Why
If you need cleaner cabin air due to health concerns or tough driving conditions, retrofitting a cabin air filter into your 2004 or 2005 Trailblazer is a practical upgrade. The process isn’t simple, but it’s manageable with basic tools and clear instructions. For everyone else—especially those in mild climates with infrequent use—the stock mesh screen remains sufficient. If you’re a typical user, you don’t need to overthink this. The decision hinges on real-world exposure, not theoretical benefits.
Everything You Need to Know
No, the 2004 Chevrolet Trailblazer does not come with a factory-installed cabin air filter. It uses a simple mesh screen to block large debris like leaves. You can add a filter through a DIY retrofit, but it requires modifying the HVAC housing.
Yes, you can retrofit a cabin air filter into a 2005 Trailblazer. The most effective method involves cutting an access hole in the HVAC box and installing a filter from a later-model GM vehicle. This is a DIY project requiring basic tools and careful sealing to prevent air or water leaks.
The 2005 Trailblazer does not have a built-in cabin air filter location. The stock setup includes only a mesh screen under the cowl grille. After a retrofit, the filter is typically housed in a modified section of the HVAC box on the passenger side firewall.
Most retrofits use a 9 x 12 inch cabin air filter, commonly found in 2006 and later GM SUVs like the Trailblazer, Envoy, or Rainier. Always measure your custom housing before purchasing to ensure a snug, sealed fit.
Replace the filter every 18 to 24 months under normal conditions. If you drive frequently on dirt roads, in heavy traffic, or in high-pollution areas, inspect it every 12 months and replace sooner if visibly dirty.




 浙公网安备
33010002000092号
 浙B2-20120091-4