Short introduction
If you’re trying to figure out how to choose or replace a cabin air filter for a 2004 Chevy Tahoe, here’s the quick truth: many of these vehicles didn’t come with a factory-installed cabin air filter. If yours lacks one, you’ll need to verify whether your model has a housing behind the glove box or if a retrofit kit is required. Over the past year, more owners have been upgrading older Tahoes with aftermarket filters due to increased awareness of cabin air quality and rising pollen levels in urban and rural areas alike.
For those who do have the filter housing, replacement is straightforward—typically involving glove box removal and accessing a plastic cover on the passenger side footwell. If you’re a typical user, you don’t need to overthink this. Most drivers benefit from installing a basic activated carbon filter every 12,000–15,000 miles, especially if driving in dusty environments or high-traffic zones. The two most common ineffective debates? Whether OEM is always better (it isn’t), and whether all models had filters originally (they didn’t). The real constraint? Physical space under the dash—if no housing exists, you must install a retrofit kit before any filter can be used.
About cabin air filters in the 2004 Chevy Tahoe
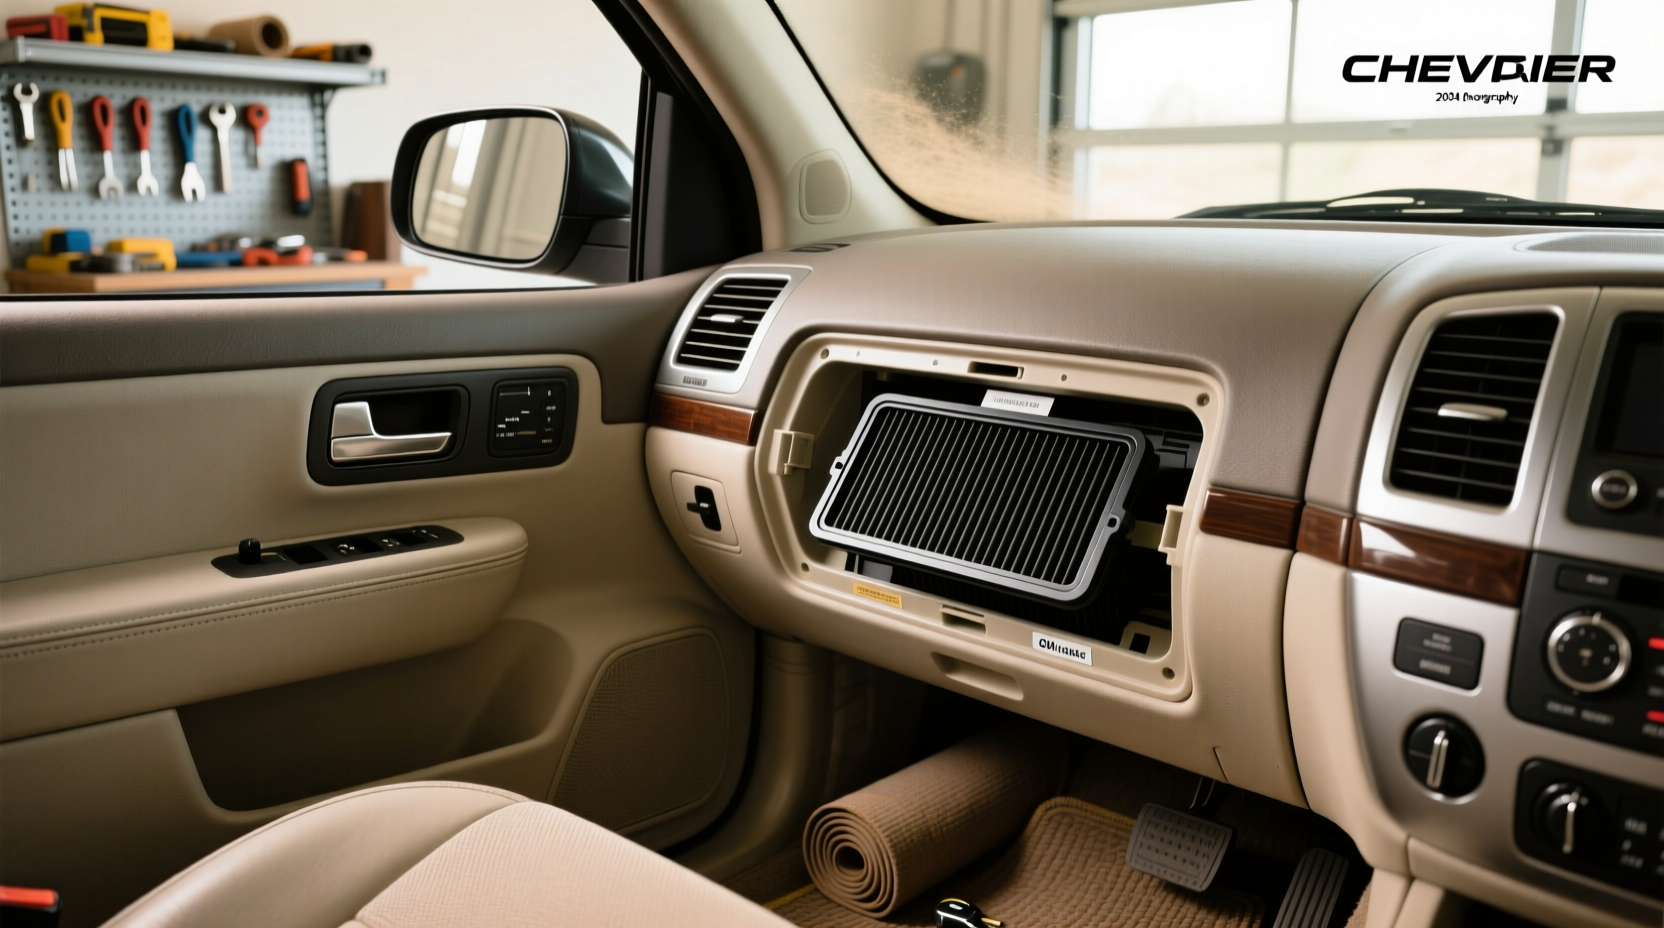
The 2004 Chevy Tahoe was built during a transition period when automakers were beginning to adopt cabin air filtration as standard equipment. However, unlike newer models, not every trim level or configuration included a dedicated cabin air filter at the factory. Instead, many units came with only a plastic mesh screen designed to block large debris like leaves and twigs—not fine particulates.
This means that while some 2004 Tahoes may already have a filter housing behind the glove compartment, others will show no sign of one. The presence of a filter depends largely on the trim (LT vs. Z71), production date, and regional specifications. If you're asking "Where is the air filter on a 2004 Tahoe?", the answer starts with checking your own vehicle rather than assuming it exists.
Why cabin air filtration is gaining popularity
Lately, there's been growing interest among 2004 Tahoe owners in retrofitting cabin air filters—even if their original system didn’t include one. This shift isn't driven by marketing hype but by measurable changes in environmental conditions: wildfire smoke, urban pollution, and longer pollen seasons have made indoor-like air quality inside vehicles more desirable.
Additionally, DIY culture has matured. Platforms like YouTube now host detailed tutorials showing how to install retrofit kits without special tools 1. These videos demonstrate that even older vehicles can gain modern benefits with minimal investment. As a result, what was once an optional upgrade is now seen by many as essential maintenance.
If you’re a typical user, you don’t need to overthink this. Breathing cleaner air during daily commutes or road trips has tangible comfort and health value, regardless of your vehicle’s age.
Types and variants
Cabin air filters fall into three main categories, each suited to different needs and constraints:
- Particulate-only filters: Capture dust, pollen, and larger airborne particles.
- Activated carbon filters: Add odor and vapor reduction (e.g., exhaust fumes, smog).
- Retrofit kits with housings: For models lacking factory provisions; includes mounting brackets and seal adapters.
| Type | Pros | Cons | Best For |
|---|---|---|---|
| Particulate-only | Inexpensive, widely available, easy to install | No odor protection, limited VOC filtration | Low-pollution areas, budget-focused users |
| Activated carbon | Reduces smells, smoke, and gaseous pollutants | Slightly higher cost, shorter lifespan in heavy traffic | City drivers, allergy sufferers |
| Retrofit kits | Enables filtration where none existed | Requires drilling/modification in some cases, may affect airflow if poorly fitted | Original non-filter-equipped models |
When it’s worth caring about: If you live near construction zones, frequently drive on dirt roads, or suffer from seasonal allergies, upgrading beyond a basic mesh screen matters.
When you don’t need to overthink it: If you drive infrequently in clean environments and haven’t noticed musty odors or reduced HVAC performance, a simple particulate filter suffices.
Key features and specifications to evaluate
Choosing the right cabin air filter involves looking past brand names and focusing on functional specs:
- Dimensions: Must match your housing (if present); common size around 9.5” x 10.5”, but may vary by retrofit kit.
- Airflow resistance: High-efficiency filters shouldn’t restrict airflow enough to reduce AC/heat output noticeably.
- Filter media density: Balanced filtration without sacrificing cabin pressure.
- Gasket/seal design: Prevents unfiltered air bypass, crucial in retrofit installations.
- Replacement interval: Typically 12,000–15,000 miles, though carbon types degrade faster in polluted areas.
If you’re a typical user, you don’t need to overthink this. A mid-tier activated carbon filter with a rubberized edge seal offers the best balance for most drivers.
This piece isn’t for keyword collectors. It’s for people who will actually use the product.
Pros and cons
| Aspect | Advantages | Drawbacks |
|---|---|---|
| Health & Comfort | Reduces allergens, dust, and unpleasant odors | Minimal impact if environment is already clean |
| Installation | Simple process if housing exists; full retrofit takes under 30 minutes | Some retrofits require minor disassembly or trimming |
| Maintenance | Easy visual check and swap; low recurring cost | Forgotten replacements lead to mold/musty smells |
| HVAC Performance | Keeps evaporator coil cleaner, improves efficiency | Poorly fitting filters can reduce airflow |
How to replace the cabin air filter (Buying guide)
Follow this step-by-step checklist to determine compatibility and complete installation correctly:
Step-by-step checklist
- Open the passenger-side door and lower the glove box by releasing the left-side hinge arm.
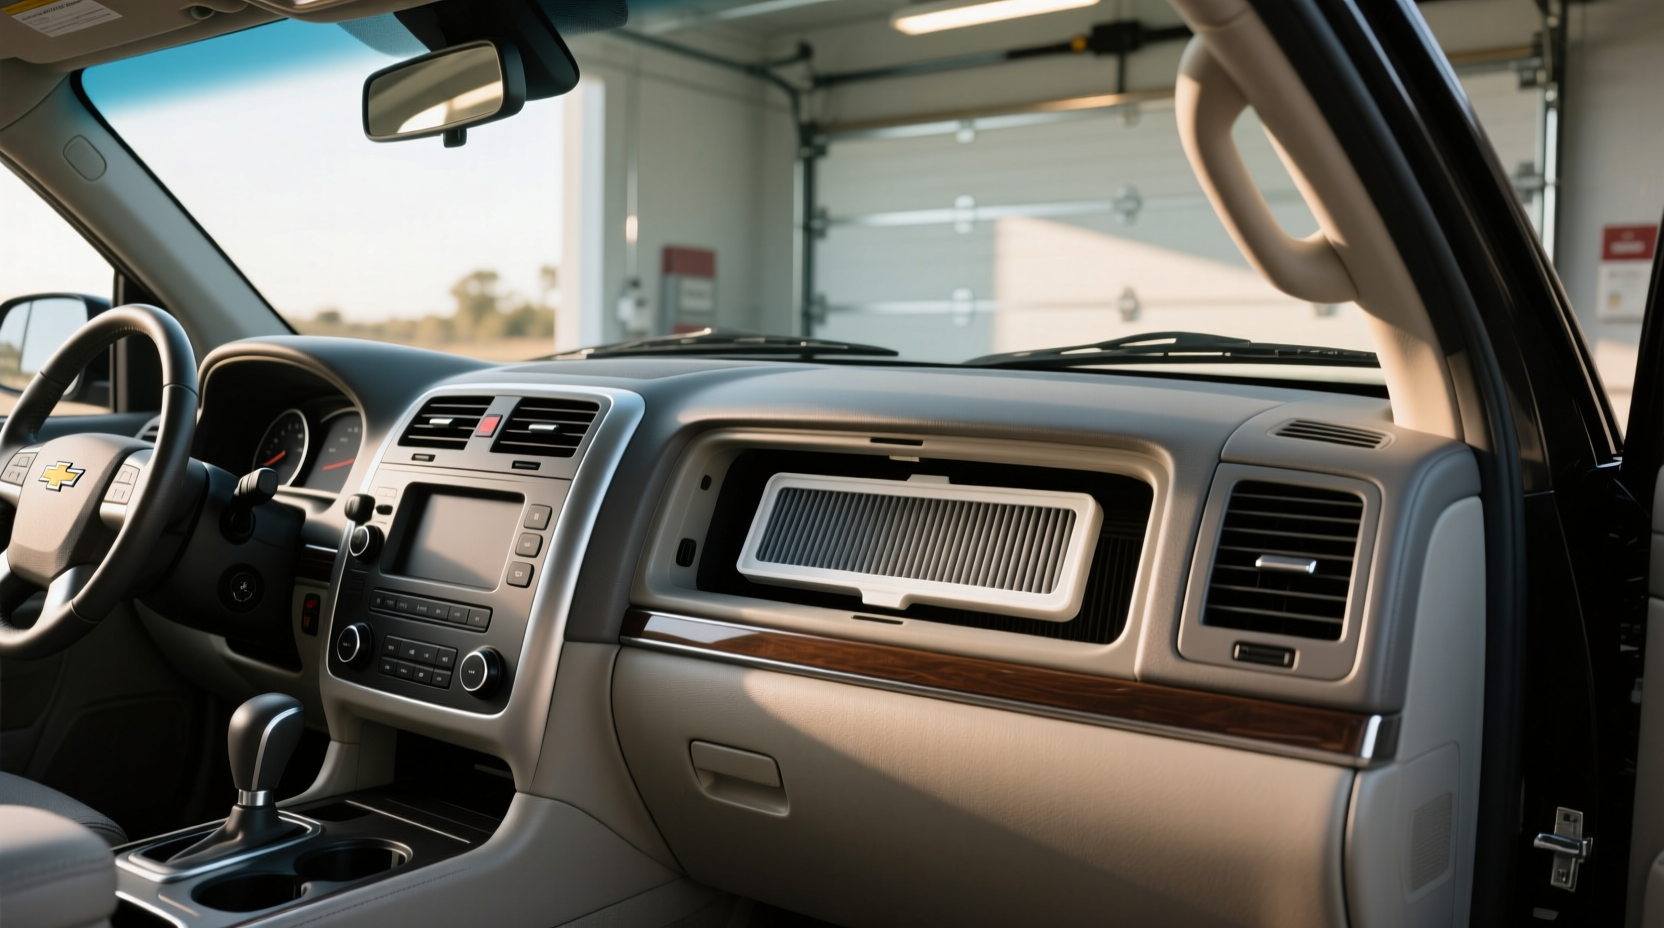
- Inspect behind the glove box for a rectangular access panel secured by a single bolt (often 10mm).
- If a housing is present, remove the bolt and slide the cover left/down to extract the old filter.
- If no housing exists, purchase a compatible retrofit kit designed for GMT800 platform vehicles.
- Select a filter based on your environment (carbon recommended for cities).
- Install new filter with airflow arrow pointing downward (usually marked on frame).
- Reassemble components and test HVAC system for airflow consistency.
Decision flow
- Does your Tahoe have a filter housing? → Yes: proceed with standard replacement. → No: buy retrofit kit first.
- Do you notice musty smells or reduced airflow? → Yes: prioritize carbon filter. → No: basic particulate filter acceptable.
- Is your Tahoe used daily in polluted/dusty conditions? → Yes: plan biannual changes. → No: annual change sufficient.
Recommendations by scenario
- Urban commuter: Activated carbon filter, replaced every 12 months.
- Rural driver: Particulate filter with pre-screen for insects/debris.
- Allergy-sensitive occupants: High-density pleated filter + regular cleaning of plenum area.
- Stock restoration project: Retain original mesh unless occupant comfort demands upgrade.
Red flags / what to avoid
- ❌ Assuming all 2004 Tahoes have filters—verify physically.
- ❌ Using oversized filters that warp the housing or block airflow.
- ❌ Installing backward—always align airflow arrows properly.
- ❌ Skipping reassembly checks—loose glove box clips cause rattles.
- ❌ Buying ultra-cheap bulk packs with inconsistent tolerances.
Price & market insights
Cabin air filters for the 2004 Chevy Tahoe vary significantly in price depending on type and source. Basic particulate filters range from $8–$15, while activated carbon versions typically cost $15–$25. Retrofit kits (including housing) sell between $30–$50 and may include installation hardware.
Pricing may vary by region/model/seller, and availability fluctuates due to demand spikes during allergy season or wildfire events. Online marketplaces often offer competitive pricing, but buyers should verify return policies before purchasing off-brand options. There is no standardized premium for “OEM” branding—some aftermarket units perform equally well or better.
Top-seller & competitive analysis
While no single brand dominates the niche retrofit space, several consistently appear in owner forums and repair guides:
| Brand | Type | Avg Price | User Feedback Summary |
|---|---|---|---|
| FRAM ToughGuard | Particulate | $10 | Reliable fit, minimal odor control |
| ACDelco CAE7233 | Carbon | $22 | OEM-style, good sealing, pricier |
| WIX 24723 | Carbon | $18 | Balanced performance, widely stocked |
| FilterMag Retrofit Kit | Housing + Filter | $40 | Ease of install, durable plastic |
Note: Performance differences are marginal among reputable brands. Fitment accuracy matters more than filtration claims.
Customer feedback synthesis
Analysis of owner discussions across Reddit and YouTube comments reveals consistent themes:
- Positive remarks:
- "Noticeably less dust inside after installing a carbon filter."
- "Retrofit took 20 minutes and eliminated that damp smell."
- "HVAC blows colder now—coil must’ve been clogged."
- Common complaints:
- "Wasted money because my Tahoe never had a housing—I didn’t know."
- "Cheap filter warped and wouldn’t seat properly."
- "Glove box won’t close right after reassembly—clip broke."
If you’re a typical user, you don’t need to overthink this. Real-world satisfaction hinges more on correct fitment than brand prestige.
Sourcing & supplier tips
Filters and retrofit kits are available through auto parts retailers, online stores, and specialty suppliers catering to GM trucks. When sourcing:
- Verify compatibility using your VIN or confirm physical dimensions before ordering.
- Check return policies—especially for non-OEM retrofit systems.
- Consider buying one extra filter during initial purchase to keep on hand.
- Avoid bundles labeled "universal fit" unless they specify GMT800 or Tahoe/Yukon compatibility.
This piece isn’t for keyword collectors. It’s for people who will actually use the product.
Maintenance, safety & legal considerations
Regular filter replacement supports long-term HVAC health and prevents microbial buildup in the plenum chamber. While there are no federal regulations mandating cabin air filter use, maintaining clean airflow contributes to occupant wellness.
To maintain safely:
- Turn off the vehicle before starting work.
- Use gloves when handling dirty filters to avoid allergen exposure.
- Inspect surrounding ducts for rodent nests or moisture accumulation during replacement.
Always confirm local requirements if modifying emissions-related components—though cabin filters are not regulated, modifications affecting intake paths may require review in certain jurisdictions.
Conclusion
If you need improved air quality and odor control in your 2004 Chevy Tahoe, choose a retrofit-compatible activated carbon filter if no housing exists, or a direct-fit model if your vehicle already has one. If you’re a typical user, you don’t need to overthink this—focus on proper fitment, correct orientation, and a realistic replacement schedule. The decision isn’t about perfection; it’s about practical improvement.
Everything You Need to Know
On models equipped with a filter, it's located behind the passenger-side glove box. Remove the glove box support and access the housing cover on the left side of the footwell. Note: many 2004 Tahoes did not come with a factory filter—only a mesh screen.
Yes. Aftermarket retrofit kits are available that add a housing and filter slot behind the glove box. Installation usually requires removing the glove box and securing the new housing with provided brackets. Make sure the kit is designed for GMT800 platform vehicles (2000–2006 Tahoe/Suburban/Yukon).
Every 12,000 to 15,000 miles under normal conditions. In dusty environments, heavy traffic, or high-pollen regions, consider replacing it every 6–12 months. Always inspect visually during routine maintenance.
Not necessarily. Some OEM-branded filters perform well, but many reputable aftermarket brands offer equivalent or superior filtration at lower prices. Focus on fitment, seal quality, and media type rather than branding.
Open the glove box and look behind it. If there's a plastic cover held by a bolt on the lower-left side, your Tahoe likely has a filter. Removing the cover will reveal the filter slot. If you see only open ductwork or a mesh screen, no filter was installed. You can also consult your owner’s manual or contact a dealer with your VIN for confirmation.




 浙公网安备
33010002000092号
 浙B2-20120091-4