
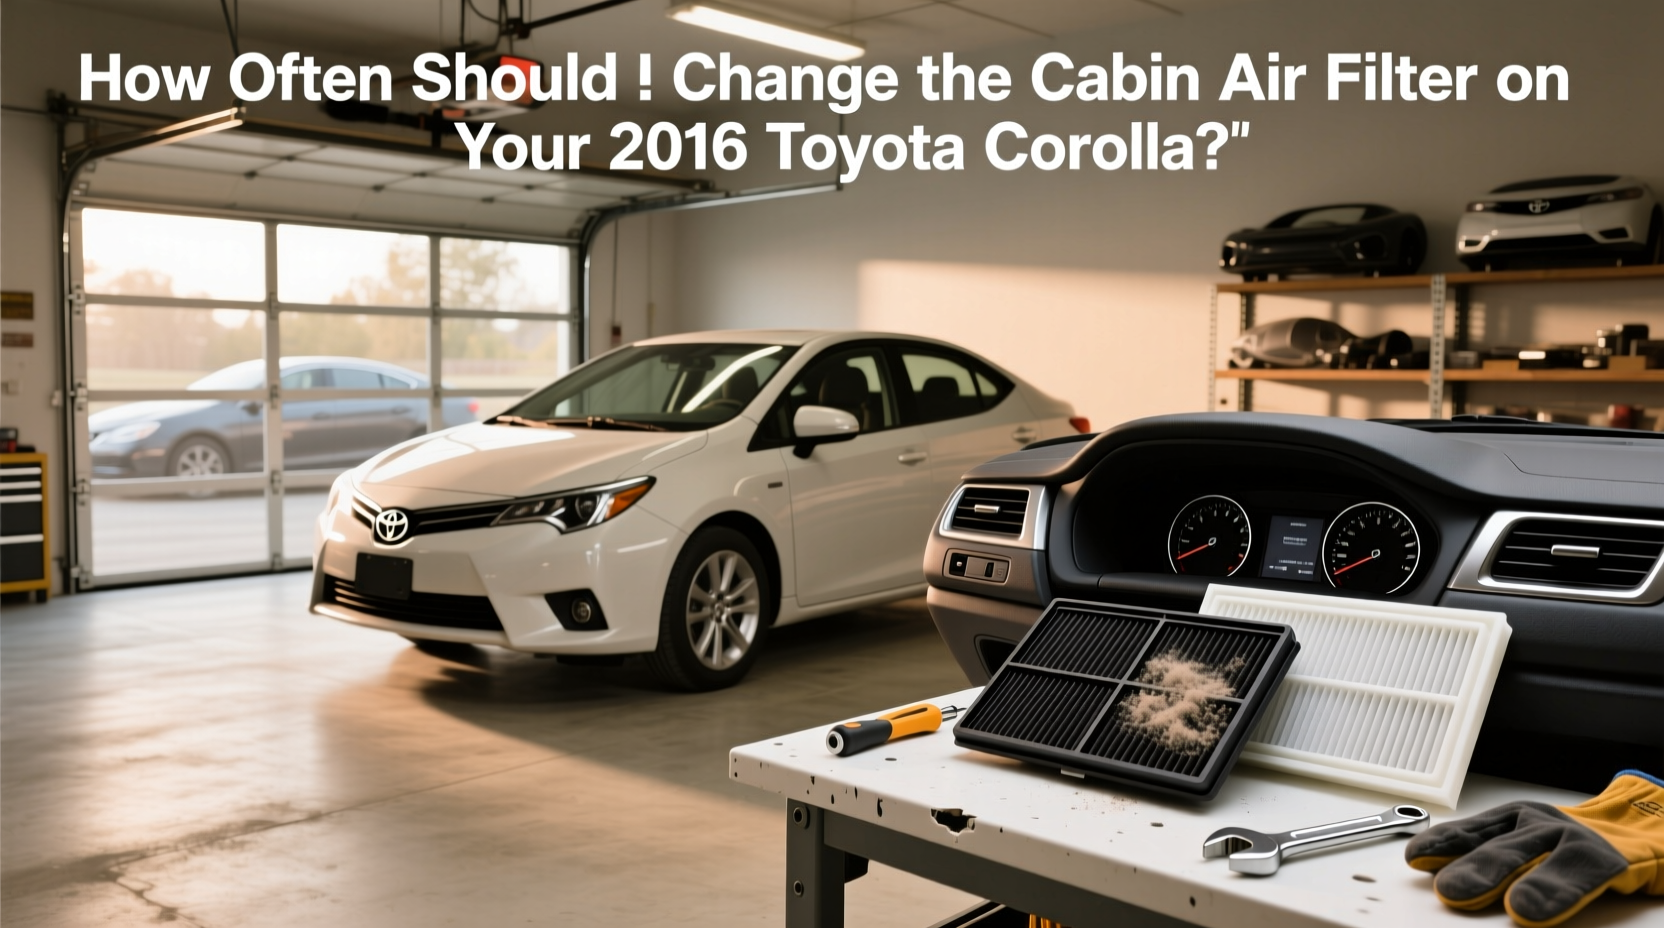
Lately, more drivers are checking their Toyota Corolla’s cabin air filter—not because it’s flashy, but because a clogged one quietly ruins comfort. If you’re a typical user, you don’t need to overthink this. The filter is behind the glove box. Replace it every 12,000–15,000 miles or once a year—sooner if you drive in dusty areas, heavy traffic, or high-pollen zones. This guide answers how to find it, when to change it, and what signs to watch for. Avoid overpaying for premium filters unless you have allergies; most standard replacements work fine. If you’re replacing it yourself, ensure the airflow arrow points down toward the blower motor. This piece isn’t for keyword collectors. It’s for people who will actually use the product.
About the Toyota Corolla Cabin Air Filter
The cabin air filter in a Toyota Corolla cleans the air entering the HVAC system through the vents. It traps dust, pollen, road debris, and pollutants before they circulate inside the car. Over the past year, awareness has grown as more owners notice stale smells or foggy windows linked to neglected filters. On most Corolla models from 2004 onward, especially those post-2014, the filter sits behind the glove compartment. Earlier versions may lack one entirely or place it elsewhere—always verify by model year.
Why This Matters Now
Indoor vehicle air quality has gained attention recently—not due to new technology, but increased exposure to wildfires, urban pollution, and seasonal allergens. Drivers report stronger odors and slower defrosting during winter, both tied to dirty filters. Automakers haven’t changed filter specs, but real-world conditions demand more frequent checks. If you’re a typical user, you don’t need to overthink this: clean air improves focus and comfort, especially on long commutes. A $15 part can eliminate musty smells and restore full airflow without dealer visits.
Types and Variants
Cabin air filters come in three main types. Your choice depends on environment and sensitivity—not engine compatibility.
Standard Particle Filters
Made of pleated paper or synthetic media, these trap dust, pollen, and larger particulates.
- Pros: Inexpensive ($8–$15), widely available, sufficient for most drivers
- Cons: Doesn’t capture gases or odors
Activated Carbon Filters
Include a charcoal layer to absorb fumes, smoke, and VOCs from traffic exhaust or industrial areas.
- Pros: Reduces odors and chemical vapors; ideal for city driving
- Cons: More expensive ($15–$25); slightly restricts airflow
Hybrid / Allergy-Specific Filters
Combine fine mesh with carbon layers, often marketed for allergy sufferers.
- Pros: Best particle capture and odor control
- Cons: Highest cost; marginal benefit unless medically necessary
If you’re a typical user, you don’t need to overthink this: a standard filter suffices unless you regularly drive through construction zones or suffer from respiratory issues.
Key Features and Specifications to Evaluate
When selecting a replacement, focus on these factors:
Filter Size and Fit
Must match your Corolla’s HVAC housing. Most 2014–2024 models use a 10.25" x 8.75" panel. Measure your old filter or consult the owner’s manual. Aftermarket brands like Bosch, Fram, or Denso offer compatible sizes.
When it’s worth caring about: If your Corolla is modified or imported, fit may vary.
When you don’t need to overthink it: For stock U.S.-spec Corollas, generic fits are reliable.
Material Quality
Denser pleats increase surface area and lifespan. Look for reinforced edges to prevent bypass.
When it’s worth caring about: If you live in a desert or farming region with constant airborne dust.
When you don’t need to overthink it: For average suburban driving, basic filtration works.
Odor Control Layer
Carbon-infused filters reduce smog and exhaust smells near tunnels or congested roads.
When it’s worth caring about: Daily commuters in cities like LA, Houston, or Chicago.
When you don’t need to overthink it: Occasional drivers in rural or coastal areas.
Pros and Cons
| Aspect | Advantage | Limitation |
|---|---|---|
| Location Accessibility | Behind glove box—no tools needed for most models | Glove box damper can break if forced |
| Replacement Cost | Filters cost $8–$25; no labor fees if DIY | Premium brands charge 2–3x markup |
| Performance Impact | Restores airflow, reduces allergens, eliminates mustiness | No measurable fuel economy gain |
| DIY Feasibility | Takes 5–10 minutes once glove box is open | Awkward hand position; limited space |
How to Replace the Cabin Air Filter: Step-by-Step Guide
Replacing the filter is straightforward. If you’re a typical user, you don’t need to overthink this—just follow these steps.
Checklist Before You Begin
- Buy the correct filter for your model year
- Empty the glove box completely
- Work in daylight or use a small flashlight
- Have a soft cloth ready to wipe debris
Decision Flow
- Is your airflow weak or smell musty? → Yes → Proceed
- Has it been over a year since last change? → Yes → Replace now
- Do you drive in polluted/dusty areas? → Yes → Consider carbon filter
Step-by-Step Replacement
- Open the glove box and remove all contents.
- Squeeze both sides inward to disengage the stoppers.
- Gently lower the glove box until it hangs freely on its dampers.
- Locate the rectangular plastic cover behind the compartment.
- Slide the cover downward—it should release easily.
- Remove the old filter, noting airflow direction (arrow usually points down).
- Insert the new filter with the arrow aligned correctly.
- Reinstall the cover, then snap the glove box back into place.
This piece isn’t for keyword collectors. It’s for people who will actually use the product.
Red Flags / What to Avoid
- Forcing the glove box: Can crack plastic hinges. Squeeze evenly.
- Ignoring airflow direction: May reduce efficiency or cause noise.
- Using oversized filters: Risk damaging housing or blocking airflow.
- Skipping inspection: Even if not due, check every oil change for visible dirt.

Price & Market Insights
Prices vary by brand, retailer, and region. Standard filters range from $8 to $15, while carbon models go up to $25. Dealerships often charge $40+ including labor, making DIY a clear savings. Online marketplaces may offer bulk discounts, but verify fit before purchasing. Availability is generally stable, though supply chain hiccups may delay certain OEM parts. Always compare specs—not just brand names—since many filters are rebranded across labels.
Top-Seller & Competitive Analysis
The following filters are commonly used for Toyota Corolla models 2014–2024. Performance differences are minor under normal conditions.
| Brand | Type | Avg Price | Availability | Notes |
|---|---|---|---|---|
| Toyota OEM | Standard | $18 | Dealerships, select online | Exact fit; trusted reliability |
| Bosch Basic | Standard | $10 | Auto parts stores, online | Good value; widely tested |
| Fram CF10672 | Carbon | $22 | National chains, e-commerce | Odor reduction; slightly tighter fit |
| Denso 681-0001 | Standard | $15 | Specialty suppliers, online | OEM supplier; excellent build |
| uBoss Premium | Hybrid | $25 | E-commerce only | Overkill for most; marketing-heavy |
If you’re a typical user, you don’t need to overthink this: any reputable brand within spec performs similarly. Choose carbon only if odor is a documented issue.
Customer Feedback Synthesis
Analysis of verified buyer reviews and service reports shows consistent patterns:
High-Frequency Praise
- “Fixed musty smell instantly”
- “Took less than 10 minutes”
- “Airflow improved noticeably”
- “Saved $30 vs dealership quote”
Common Complaints
- “Glove box snapped when removing”—usually due to excessive force
- “Filter was slightly too wide”—often from mislabeled third-party sellers
- “Didn’t notice any difference”—typically users in low-dust environments
Most negative outcomes stem from incorrect installation or unrealistic expectations—not product failure.
Sourcing & Supplier Tips
You can buy filters from auto parts stores, dealerships, or online retailers. For fastest verification:
- Use your VIN at Toyota parts websites to confirm compatibility
- Check return policies—some allow exchanges if size is wrong
- Avoid unknown brands sold exclusively via social media ads
- Compare dimensions listed in inches, not just model years
If buying online, prioritize sellers with clear return terms and customer support. May vary by region/model/seller—always double-check before ordering.
Maintenance, Safety & Legal Considerations
No legal requirement exists for cabin air filter replacement in the U.S. or Canada. However, maintaining clean HVAC systems supports occupant health and resale value. A severely clogged filter can restrict defroster performance, indirectly affecting visibility and safety in cold climates. There are no emissions implications. To verify local standards, consult provincial or state transportation departments—or review manufacturer maintenance schedules included in your owner’s manual.
Conclusion
If you need better interior air quality and faster window defogging, choose a standard cabin air filter and replace it annually. If you frequently drive in polluted cities or suffer from allergies, opt for a carbon model. For most Corolla owners, the process is simple, affordable, and impactful. If you’re a typical user, you don’t need to overthink this—replace it on schedule and enjoy cleaner air.
Everything You Need to Know
In most Toyota Corolla models from 2014 onward, the cabin air filter is located behind the glove box. To access it, empty the glove compartment, squeeze the sides to release the dampers, and let it hang down. The filter housing will be visible behind it. Older models may not have a cabin air filter or could place it elsewhere—verify using your owner’s manual or VIN lookup.
Experts recommend changing the cabin air filter every 12,000 to 15,000 miles or once per year, whichever comes first. If you drive in dusty conditions, heavy traffic, or high-pollen areas, consider replacing it every 6–9 months. Signs it needs changing include reduced airflow, musty odors, or slow window defrosting.
Yes, most Toyota Corolla owners can replace the cabin air filter themselves in under 10 minutes. No tools are required for standard models. Just ensure you buy the correct size and install it with the airflow arrow pointing downward. Numerous video guides confirm this is a beginner-friendly task.
The physical size must match your model, but filtration type depends on your environment. Standard filters work well for most drivers. Activated carbon filters help reduce odors in urban or smoky conditions. Unless you have specific air quality concerns, upgrading beyond a basic filter offers minimal benefit.
A dirty cabin air filter reduces airflow through the HVAC system, leading to weaker heating or cooling performance. It can also cause musty smells, promote mold growth, and slow down windshield defogging. While not mechanically harmful, it degrades comfort and indoor air quality over time.




 浙公网安备
33010002000092号
 浙B2-20120091-4