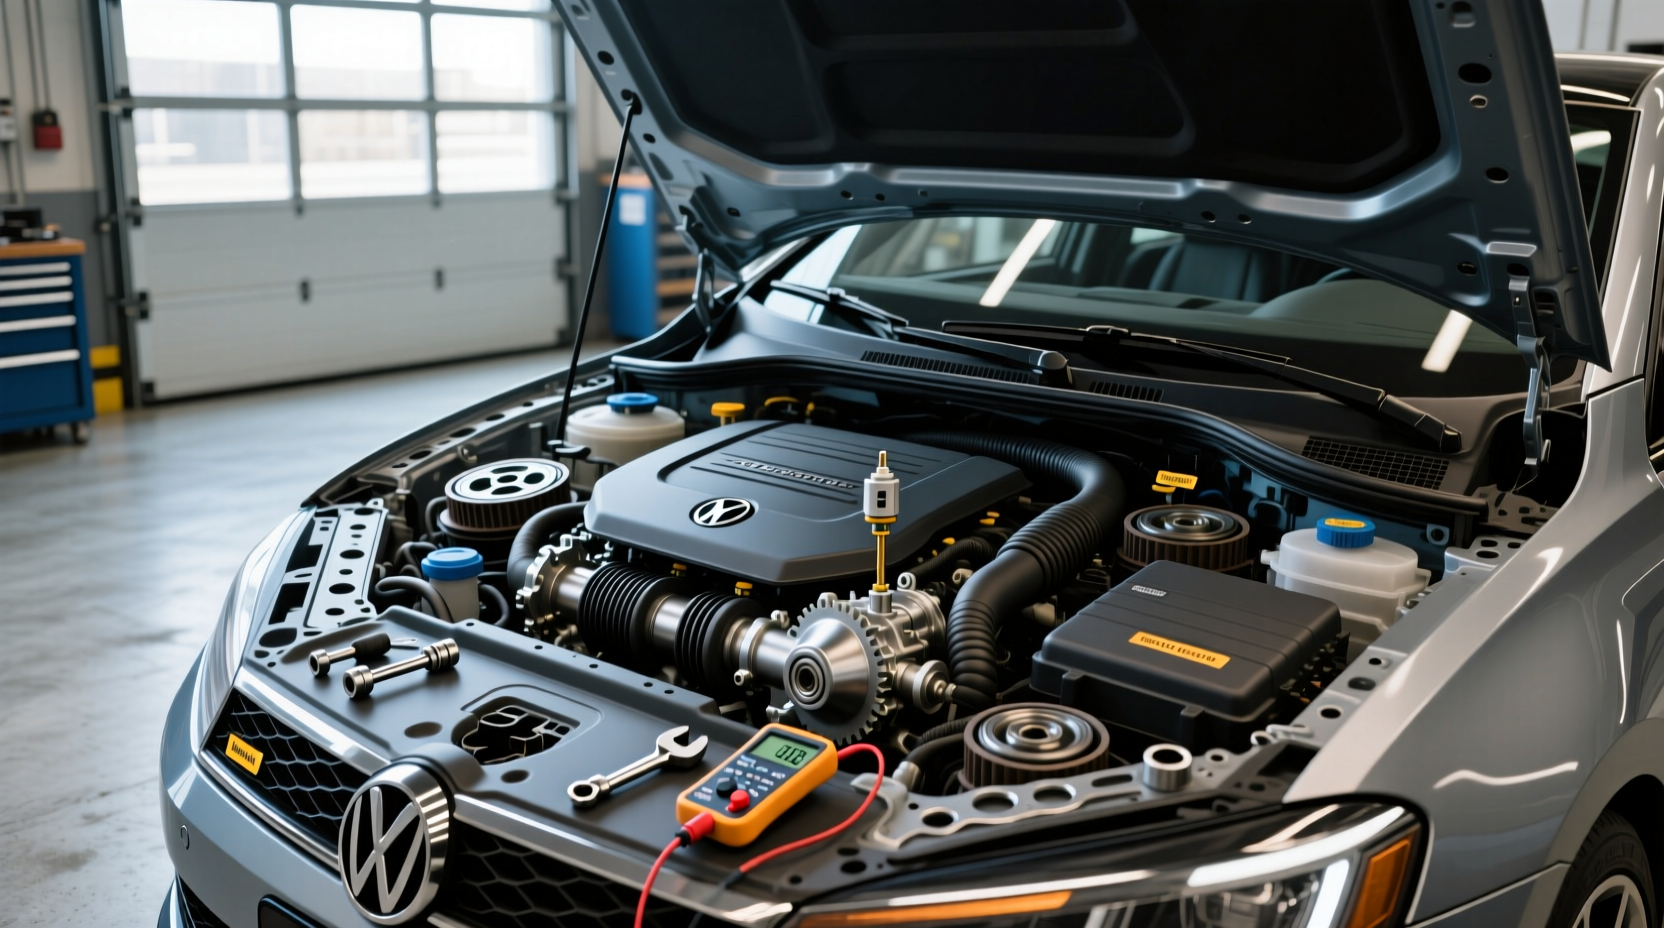
If you’re replacing a crankshaft position sensor in your hatchback, start by confirming its location—typically near the flywheel at the rear of the engine or behind the timing cover up front 1. For most users, an OEM-equivalent model with correct fitment is sufficient. Avoid generic sensors without brand verification—misalignment or signal drift can cause hard starts or stalling. If you’re a typical user, you don’t need to overthink this. What to look for in a crankshaft sensor? Correct thread size, connector type, and air gap compatibility. Over the past year, more drivers have reported early failures due to aftermarket units with poor shielding—this isn’t just about cost, it’s about consistent signal delivery.
This piece isn’t for keyword collectors. It’s for people who will actually use the product.
About Crankshaft Position Sensors
A crankshaft position (CKP) sensor monitors the rotational speed and position of the crankshaft, sending real-time data to the Engine Control Unit (ECU). This information is critical for synchronizing fuel injection and ignition timing. Without accurate input, the engine may misfire, stall, or fail to start altogether. The sensor works by detecting notches or teeth on a reluctor wheel attached to the crankshaft or flywheel.
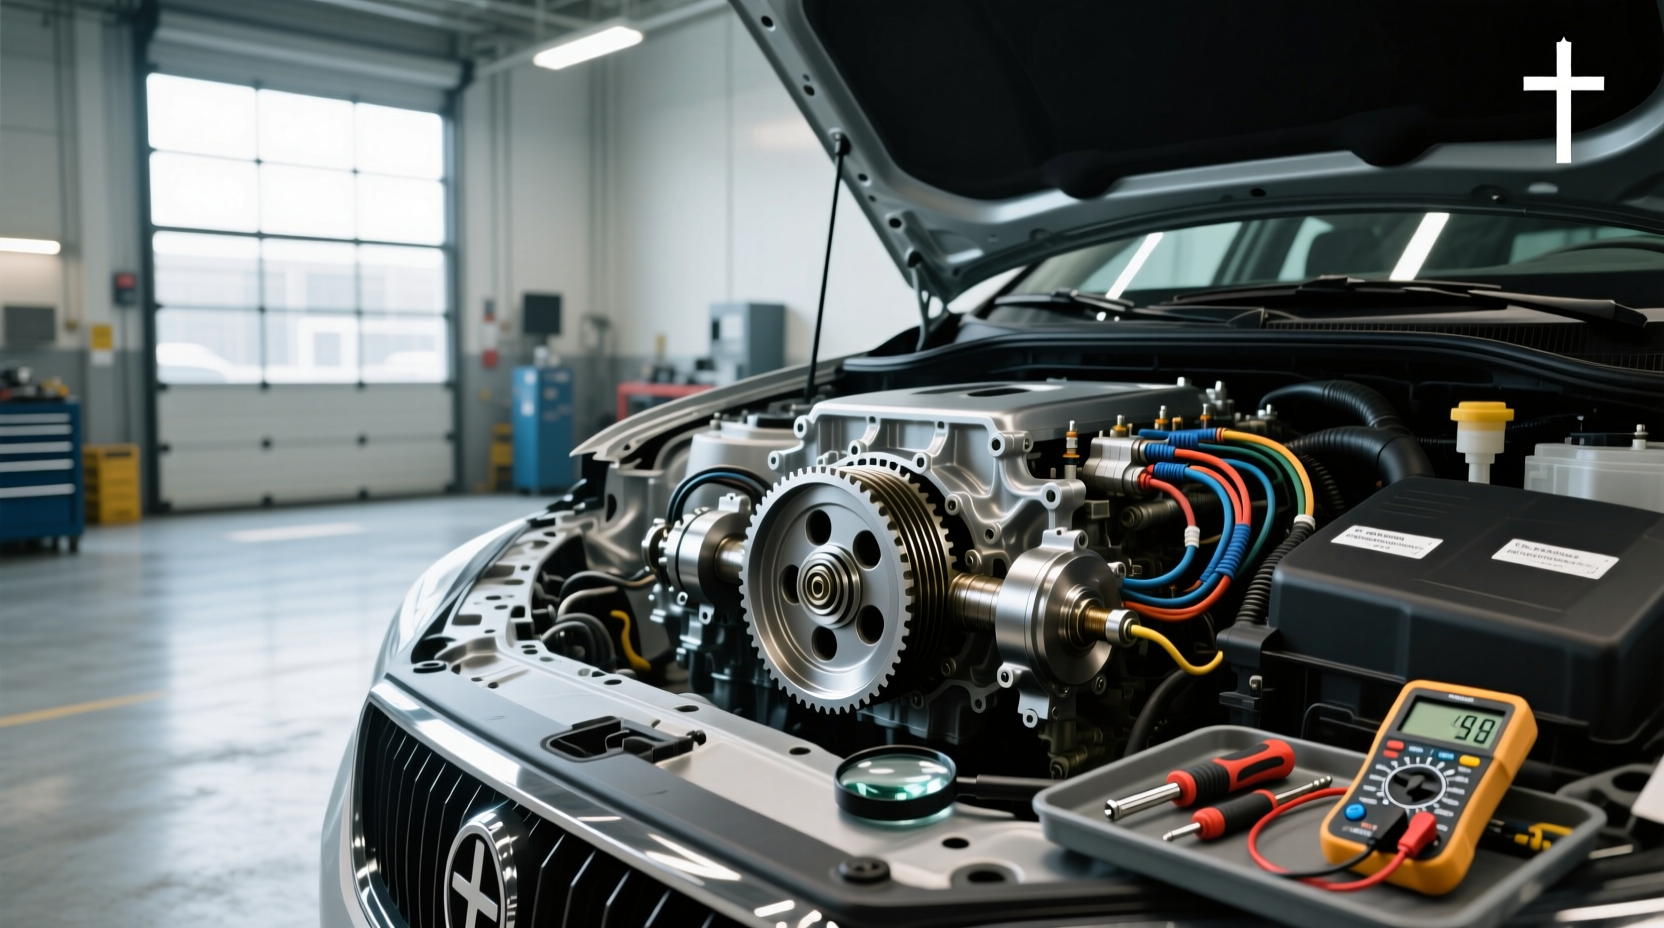
The exact design and placement vary significantly between hatchback models. Some use inductive sensors, others Hall-effect types. While functionally similar, they are not always interchangeable. Always verify compatibility with your vehicle’s make, model, and engine code before purchase.
Why Crankshaft Sensors Are Gaining Popularity
Lately, there’s been increased attention on crankshaft position sensors—not because they’ve changed, but because modern engines rely more heavily on precise timing data. With tighter emissions standards and advanced ECU logic, even minor signal inconsistencies can trigger fault codes or limp mode. DIY repairs have also become more common as basic scan tools and repair videos make diagnostics accessible.
If you’re a typical user, you don’t need to overthink this. But you do need to respect the role of the CKP sensor: it’s not a wear-and-replace part like a spark plug—it’s a precision component. Replacing it incorrectly or with incompatible hardware leads to cascading issues. Recent trends show higher return rates for non-OEM sensors, especially in compact hatchbacks with limited clearance and tight tolerances.
Types and Variants
There are two primary types of crankshaft position sensors used in hatchbacks:
1. Inductive (Magnetic Reluctance) Sensors
These generate their own AC signal as the reluctor wheel passes by. No external power required.
- Pros: Durable, simple design, resistant to voltage fluctuations
- Cons: Signal weakens at low RPM, less accurate at idle, sensitive to air gap
2. Hall-Effect Sensors
Use a powered semiconductor to detect magnetic field changes from a toothed wheel or encoder ring.
- Pros: Strong digital signal, accurate at all speeds, better cold-start performance
- Cons: Require power and ground, more complex internal circuitry, prone to wiring faults
If you’re a typical user, you don’t need to overthink this. Your vehicle already uses one type—match it exactly. Swapping between inductive and Hall-effect sensors isn’t feasible without ECU reprogramming, which isn’t practical for consumer-level repairs.
Key Features and Specifications to Evaluate
When selecting a replacement, focus on these factors:
- Connector Type: Must match original—pin count and shape differ by manufacturer.
- Thread Size & Length: M8, M10, or custom threads; incorrect length affects air gap.
- Air Gap: Distance between sensor tip and reluctor wheel. Too large = weak signal; too small = contact risk.
- Shielding Quality: Prevents electromagnetic interference from alternators or injectors.
- OEM Number Match: Cross-reference using your VIN or factory service manual.
When it’s worth caring about: if your hatchback has a history of false P0335 codes or intermittent starting issues. When you don’t need to overthink it: if you’re doing a direct swap with confirmed compatible specs and no prior electrical gremlins.
Pros and Cons
| Aspect | Pros | Cons |
|---|---|---|
| Aftermarket Availability | Widely available online and in stores | Quality varies significantly between brands |
| DIY Replacement | Often possible without special tools | Access may require starter motor removal |
| Cost | Generally affordable ($30–$120) | Poor choices lead to repeat labor costs |
| Signal Accuracy | Good OEM-grade units perform reliably | No standard calibration across third-party models |
If you’re a typical user, you don’t need to overthink this. But don’t assume all sensors labeled “compatible” actually are. Fitment databases can be outdated or overly broad.
How to Choose & Replace a Crankshaft Position Sensor
Follow this step-by-step checklist to ensure a successful replacement:
Step-by-Step Checklist
- Confirm the fault: Use an OBD2 scanner to verify P0335 or related CKP circuit codes.
- Locate the sensor: Check near the transmission bell housing (rear) or timing cover (front).
- Inspect access: Determine if starter motor, intake manifold, or heat shields must be removed.
- Unplug and remove: Disconnect the harness, then unscrew the mounting bolt(s).
- Compare new unit: Match physical dimensions, connector, and labeling.
- Install carefully: Hand-thread first to avoid cross-threading; torque to spec (usually 8–12 Nm).
- Reconnect and test: Clear codes, then start engine and monitor for smooth idle.
Decision Flow
Ask yourself:
- Is the original sensor damaged or just dirty?
- Are wiring harnesses intact and free of corrosion?
- Does the new sensor list exact OEM equivalents?
- Have I verified the location for my specific model?
If all answers align, proceed. If not, pause and investigate further.
Recommendations by Scenario
- Urban commuter hatchback: Choose a well-reviewed brand-name replacement (e.g., Delphi, Hella) with proven durability in stop-go traffic.
- High-mileage vehicle: Inspect harness and connector for brittleness—replace both if cracked.
- Cold climate operation: Prioritize Hall-effect sensors known for reliable low-RPM signal output.
Red Flags / What to Avoid
- Avoid sensors sold without clear OEM number references.
- Don’t trust listings that say “fits most Honda Civics”—engine variants matter.
- Never force-install a sensor that doesn’t thread smoothly.
- Ignore claims of “upgraded performance”—the CKP sensor doesn’t boost power.
If you’re a typical user, you don’t need to overthink this. Stick to known-compatible parts and standard procedures. This piece isn’t for keyword collectors. It’s for people who will actually use the product.
Price & Market Insights
Prices range from $30 for budget aftermarket units to $120+ for OEM or premium brands like Denso, Bosch, or Hella. Cost may vary by region/model/seller, and some include mounting hardware or thread sealant. Higher price doesn’t guarantee reliability—but consistently poor reviews on sub-$25 units suggest higher failure rates within 12 months.
If you’re a typical user, you don’t need to overthink this. Spending $60–$80 on a reputable brand offers the best balance. When it’s worth caring about: if you drive daily and depend on reliability. When you don’t need to overthink it: for short-term fixes on project cars headed for resale.
Top-Seller & Competitive Analysis
The following represents commonly available options based on technical documentation and service recommendations:
| Brand | Type | Fitment Precision | Price Range | Notes |
|---|---|---|---|---|
| Delphi | Hall-effect / Inductive | High (OEM supplier) | $70–$100 | Used by multiple manufacturers; detailed fit guides |
| Hella | Hall-effect | High | $80–$120 | Strong EMI shielding; common in European hatchbacks |
| Standard Motor Products | Inductive | Moderate | $40–$60 | Broad coverage; mixed long-term feedback |
| Beck/Arnley | Hall-effect | High | $60–$90 | Focused on Asian imports; reliable harness connectors |
Data sourced from technical portals and repair networks 2. No single brand dominates globally—selection depends on original equipment design.
Customer Feedback Synthesis
Analysis of verified owner reports reveals recurring themes:
- Positive: Smooth restart after replacement, immediate resolution of stalling, clear packaging with installation notes.
- Negative: Incorrectly labeled fitments, brittle connectors, sensors arriving pre-damaged, vague instructions.
- Pattern: Failures often occur within 6 months when installed in high-vibration zones without proper securing.
If you’re a typical user, you don’t need to overthink this. Read recent reviews filtered by your exact vehicle model. A five-star rating across all cars isn’t trustworthy—context matters.
Sourcing & Supplier Tips
Buy from suppliers that provide:
- Exact OEM cross-references
- VIN-based lookup tools
- Clear return policies for fitment issues
Check manufacturer specs before ordering. Reputable auto parts sites and specialized online retailers often include dimensional drawings and compatibility warnings. Avoid bulk-market platforms where counterfeit components have been reported. Verify retailer return policy—some charge restocking fees for electronic parts.
Maintenance, Safety & Legal Considerations
No legal certification is required for replacement in most regions, but improper installation can lead to failed emissions tests or safety recalls. Always disconnect the battery before working near engine electronics. Ensure the sensor is securely mounted—vibration loosening can cause intermittent faults.
Confirm local regulations regarding modified engine management systems. While replacing a faulty CKP sensor is routine maintenance, pairing it with tuning software may affect compliance status depending on jurisdiction.
Conclusion
If you need reliable daily operation, choose a verified OEM-equivalent sensor from a known brand with documented fitment for your hatchback. If you're tackling a one-time repair on a low-use vehicle, a mid-tier option may suffice—provided you verify compatibility. If you’re a typical user, you don’t need to overthink this. Focus on correct installation and signal integrity, not marketing claims.
Everything You Need to Know
❓ Can I drive my car with a bad crankshaft position sensor?
No, not safely. A failing sensor can cause sudden stalling, difficulty starting, or complete no-start conditions. While the vehicle might run briefly in limp mode, continued driving risks damage and leaves you stranded.
❓ Where is the crankshaft position sensor usually located?
Most commonly at the rear of the engine near the flywheel (transmission bell housing), or at the front behind the timing cover. Exact location varies by model—consult your service manual for confirmation.
❓ How do I know if my crankshaft sensor is failing?
Symptoms include engine stalling, rough idling, difficulty starting, illuminated check engine light (especially P0335), and misfires under load. Diagnosis requires scanning for fault codes and checking signal output.
❓ Do I need to calibrate a new crankshaft position sensor?
No, most modern sensors are self-calibrating once installed correctly. However, maintaining the correct air gap is crucial for proper operation—do not adjust unless specified by the manufacturer.
❓ Can a bad crankshaft sensor damage my engine?
Indirectly, yes. Incorrect timing signals can cause misfires, unburned fuel entering the exhaust, and potential catalytic converter damage over time. It won’t destroy the engine immediately, but prolonged operation increases secondary risks.




 浙公网安备
33010002000092号
 浙B2-20120091-4