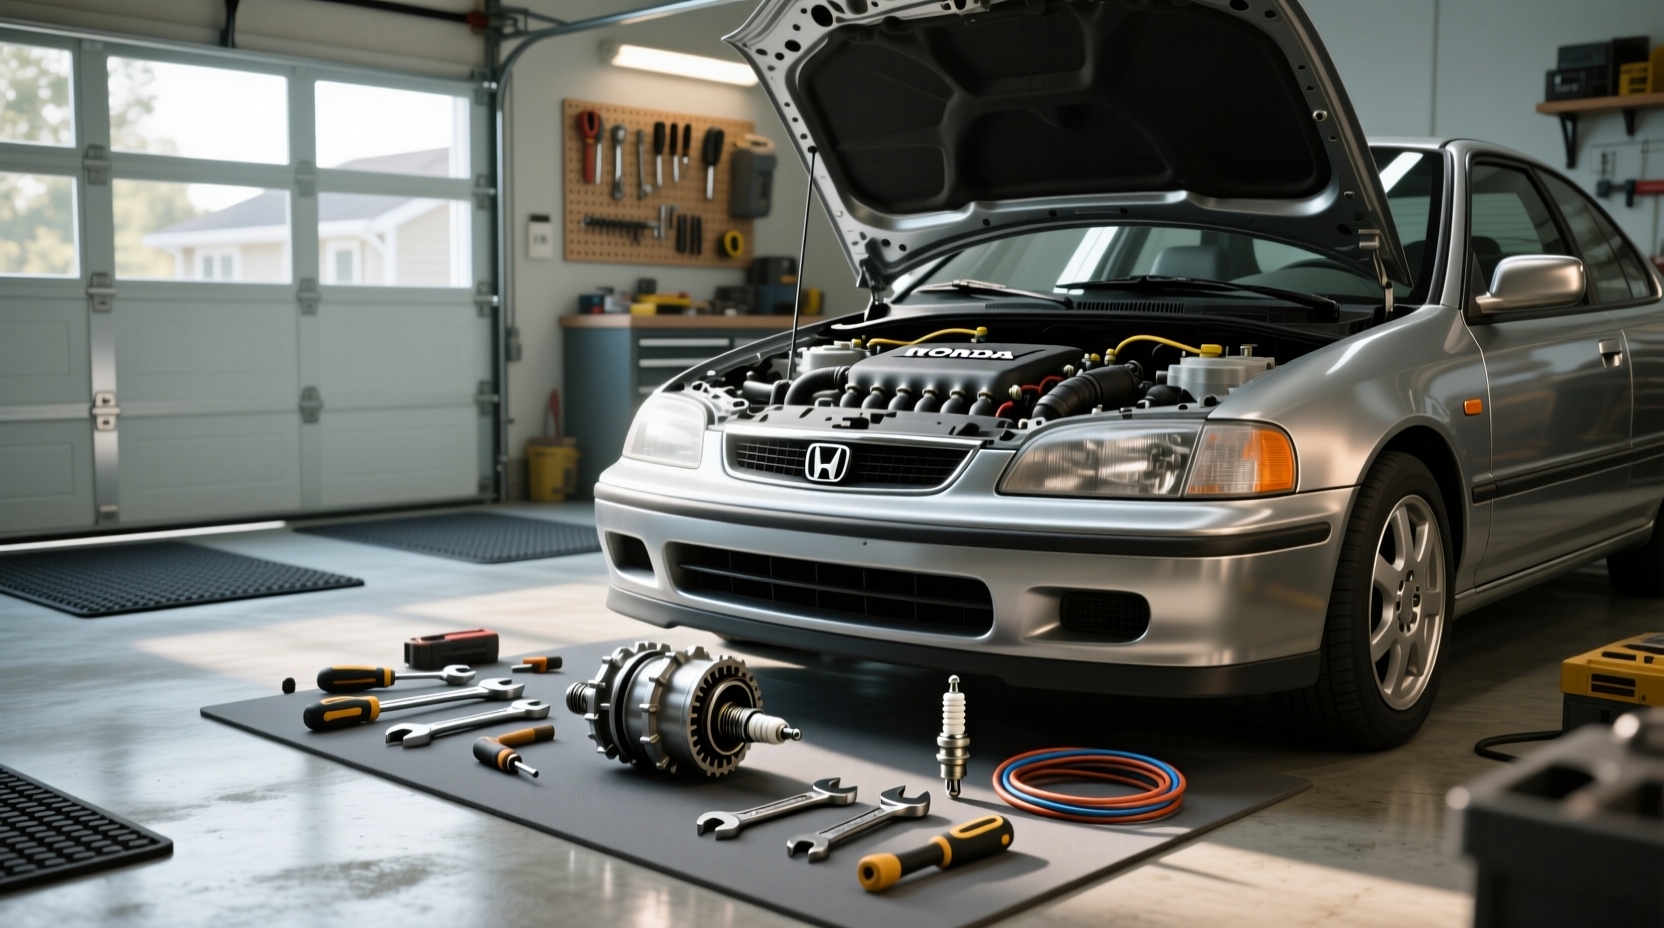
If you're experiencing engine misfires, rough idling, or your 2000 Honda Civic won't start, a failing ignition distributor could be the culprit. ⚙️ Replacing the distributor in a 2000 Honda Civic is a manageable DIY task for intermediate-level mechanics, especially since this model still uses a traditional distributor-based ignition system rather than coil-on-plug technology. ✅ Proper replacement involves not only swapping the unit but also ensuring correct ignition timing alignment to prevent performance issues. This comprehensive guide covers everything you need to know about 2000 Honda Civic distributor replacement, from diagnosing failure symptoms to step-by-step installation and timing procedures.
Why the Distributor Matters in Your 2000 Honda Civic
The ignition distributor plays a critical role in the engine's combustion process by directing high-voltage current from the ignition coil to the correct spark plug at the precise moment. 🔧 In the 2000 Honda Civic—specifically models with the D16Y7 or D16Y8 1.6L inline-four engines—the distributor is driven by the camshaft and synchronized with the crankshaft via the timing belt. This synchronization ensures that spark delivery matches the piston position in each cylinder.
Unlike newer vehicles that use distributorless ignition systems (DIS) or coil-on-plug setups, the 2000 Civic relies on a mechanical distributor with a rotor, cap, and internal pickup coil or ignition module. ⚡ When any of these components degrade, it disrupts the spark sequence, leading to poor fuel economy, reduced power, or even complete engine failure to start.
Common Symptoms of a Failing Distributor
Recognizing early signs of distributor failure can save time and prevent roadside breakdowns. Here are the most frequent indicators:
- Engine Misfires: Intermittent or constant misfiring, especially under acceleration, often traces back to arcing inside the distributor cap or worn rotor contacts.
- Rough Idling: An uneven idle may result from inconsistent spark distribution due to carbon tracking or degraded insulation in the cap.
- Difficulty Starting: If the engine cranks but doesn’t fire, check for no-spark conditions caused by a failed pickup coil or broken gear inside the distributor.
- Check Engine Light (CEL): While OBD2 systems in 2000 models don’t directly monitor distributor health, misfire codes (P0300–P0304) can point indirectly to ignition problems.
- Visible Damage: Cracks, carbon tracks, or moisture inside the distributor cap are clear visual cues that replacement is needed.
🔧 Pro Tip: Before replacing the entire distributor, inspect the cap and rotor—two low-cost, wear-prone parts that are often the root cause. Replacing them first can resolve minor issues without the expense of a full unit swap.
What’s Included in a Distributor Assembly?
A complete distributor for the 2000 Honda Civic typically includes several integrated components:
- Distributor Cap: Houses the terminal posts where spark plug wires connect.
- Rotor: Rotates inside the cap, transferring voltage from the coil to each spark plug wire in firing order (1-3-4-2).
- Ignition Module/Pickup Coil: Mounted internally or externally, this electronic component signals the ECU when to trigger the coil.
- Shaft and Gear: Driven by the camshaft, the gear must align correctly during reinstallation.
Some aftermarket units come as complete assemblies with pre-installed caps and rotors, while others require separate purchases. ❗ Always verify compatibility with your specific engine variant (SOHC non-VTEC vs. potential VTEC versions in Si trims).
Tools and Materials Needed for Replacement
To perform a successful distributor replacement on a 2000 Honda Civic, gather the following tools and supplies:
| Tool/Material | Purpose |
|---|---|
| Socket Set (10mm, 12mm) | Removing distributor hold-down bolt and mounting hardware |
| Wrench or Ratchet Extension | Accessing tight spaces near firewall |
| New Distributor Assembly | OEM or compatible aftermarket unit |
| Distributor O-ring | Prevents oil leaks from valve cover into distributor shaft |
| Timing Light | Verifying correct ignition timing after installation |
| Jumper Wire or Paperclip | Shorting service check connector for base timing mode |
| Spark Plug Wires (if old ones damaged) | Ensure clean signal transmission |
| Diesel or Electrical Contact Cleaner | Cleaning corrosion from terminals |
🛒 Note: A new O-ring is highly recommended during reinstallation. A degraded seal can allow oil seepage, which damages the internal electronics over time.
Step-by-Step Replacement Procedure
Follow these steps carefully to replace the distributor in your 2000 Honda Civic:
- Disconnect the Battery: Remove the negative terminal to prevent electrical shorts during work.
- Mark the Rotor Position: Before removing the old distributor, mark the rotor’s orientation relative to the engine block using chalk or tape. This helps maintain approximate timing during reassembly.
- Label Spark Plug Wires: Number each wire (1–4) with tape to ensure correct reconnection.
- Remove the Distributor Cap: Unscrew the two retaining screws and lift off the cap to expose the rotor.
- Unplug Electrical Connectors: Disconnect the multi-pin harness from the side of the distributor.
- Loosen the Hold-Down Bolt: Use a 12mm socket to loosen the clamp bolt securing the distributor to the cylinder head.
- Extract the Distributor: Gently pull the unit straight up. The gear will disengage from the camshaft. Inspect the gear for wear or stripped teeth.
- Install New O-Ring: Lubricate the new O-ring with dielectric grease and place it on the distributor shaft before insertion.
- Align the Rotor: Rotate the rotor in the new distributor so it points to the same position as the old one when installed.
- Seat the New Distributor: Align the drive gear with the camshaft and gently push down until fully seated. You may need to wiggle it slightly to engage the gears properly.
- Reconnect Wiring and Cap: Reattach the electrical connector, reinstall the cap, and reconnect spark plug wires according to firing order.
- Secure the Clamp Bolt: Tighten the hold-down bolt securely but avoid over-tightening.
Setting Ignition Timing After Replacement
Proper timing is crucial. Even a slight misalignment can cause knocking, poor fuel economy, or hard starting. Here’s how to set the base ignition timing:
- Locate the Service Check Connector: Found behind the glove box or near the ECU, this two-wire connector needs to be shorted to enter diagnostic mode.
- Jump the Connector: Use a paperclip or jumper wire to bridge the terminals.
- Connect the Timing Light: Attach the inductive clamp to cylinder #1 spark plug wire.
- Start the Engine: Let it warm up to normal operating temperature.
- Shine the Light on the Crank Pulley: Look for the timing marks near the harmonic balancer. The notch should align with the 16° BTDC (Before Top Dead Center) mark on the timing cover when the check connector is jumped.
- Adjust if Necessary: Loosen the distributor clamp and rotate the body slightly to advance or retard timing. Retighten once aligned.
- Remove Jumper: Turn off the engine and disconnect the service check jumper to exit diagnostic mode.
⏱️ Tip: If the engine runs poorly after timing adjustment, double-check that the rotor is pointing to cylinder #1 at TDC (Top Dead Center). Use a compression tester or remove the #1 spark plug and feel for air pressure while rotating the crank manually.
Aftermarket vs OEM Distributors: What to Consider
When sourcing a replacement, you’ll encounter both OEM and aftermarket options. Each has trade-offs:
- OEM (Original Equipment Manufacturer): Matches factory specifications exactly. Often more expensive but ensures reliability and compatibility.
- Aftermarket Units: Range from budget-friendly to performance-enhanced (e.g., high-output coils). Quality varies significantly—look for brands with solid reviews and lifetime warranties.
🔍 Key Buying Criteria:
- Compatibility with D16Y7/Y8 engines
- Included cap and rotor
- Presence of an internal ignition module
- O-ring included
- Warranty length
❗ Beware of ultra-cheap units sold online—some lack proper shielding or durable gears, leading to premature failure.
Common Mistakes to Avoid
Even experienced DIYers make errors during distributor replacement. Here are the most frequent pitfalls:
- Incorrect Rotor Alignment: Installing the distributor 180° out of phase causes immediate misfires. Always confirm #1 cylinder is at TDC on the compression stroke.
- Forgetting the O-Ring: Skipping this small part invites oil contamination and eventual electrical failure.
- Not Setting Base Timing: Assuming the distributor “drops in” correctly leads to suboptimal performance. Always verify with a timing light.
- Mixing Up Spark Plug Wires: Crossed wires cause multiple misfires. Label them clearly before removal.
- Over-Tightening the Clamp Bolt: Can crack the distributor housing or damage threads in the aluminum head.
Frequently Asked Questions (FAQ)
- Can I replace the distributor without setting the timing?
- No. Even if the engine starts, incorrect timing will lead to poor performance, increased emissions, and potential engine damage. Always set base ignition timing using a timing light and the service check connector.
- How do I know if my 2000 Honda Civic distributor is bad?
- Symptoms include engine misfires, rough idle, difficulty starting, illuminated check engine light with misfire codes, and visible damage like cracks or carbon tracks inside the cap.
- Is the 2000 Honda Civic distributor the same as earlier models?
- It shares similarities with 1996–1999 Civics, particularly those with the D16 engine, but verify part numbers (e.g., 30100-P2E-A01) for exact fitment. Later OBD2 revisions may have different connectors or internal modules.
- Do I need to replace the cap and rotor separately?
- Not necessarily. Many modern replacements come as complete assemblies with cap and rotor included. However, if purchasing individually, always replace both together for optimal performance.
- Can a bad distributor damage other engine components?
- Yes. Prolonged misfiring can foul spark plugs, damage catalytic converters due to unburned fuel, and stress ignition coils. Early diagnosis and repair minimize secondary damage.




 浙公网安备
33010002000092号
 浙B2-20120091-4