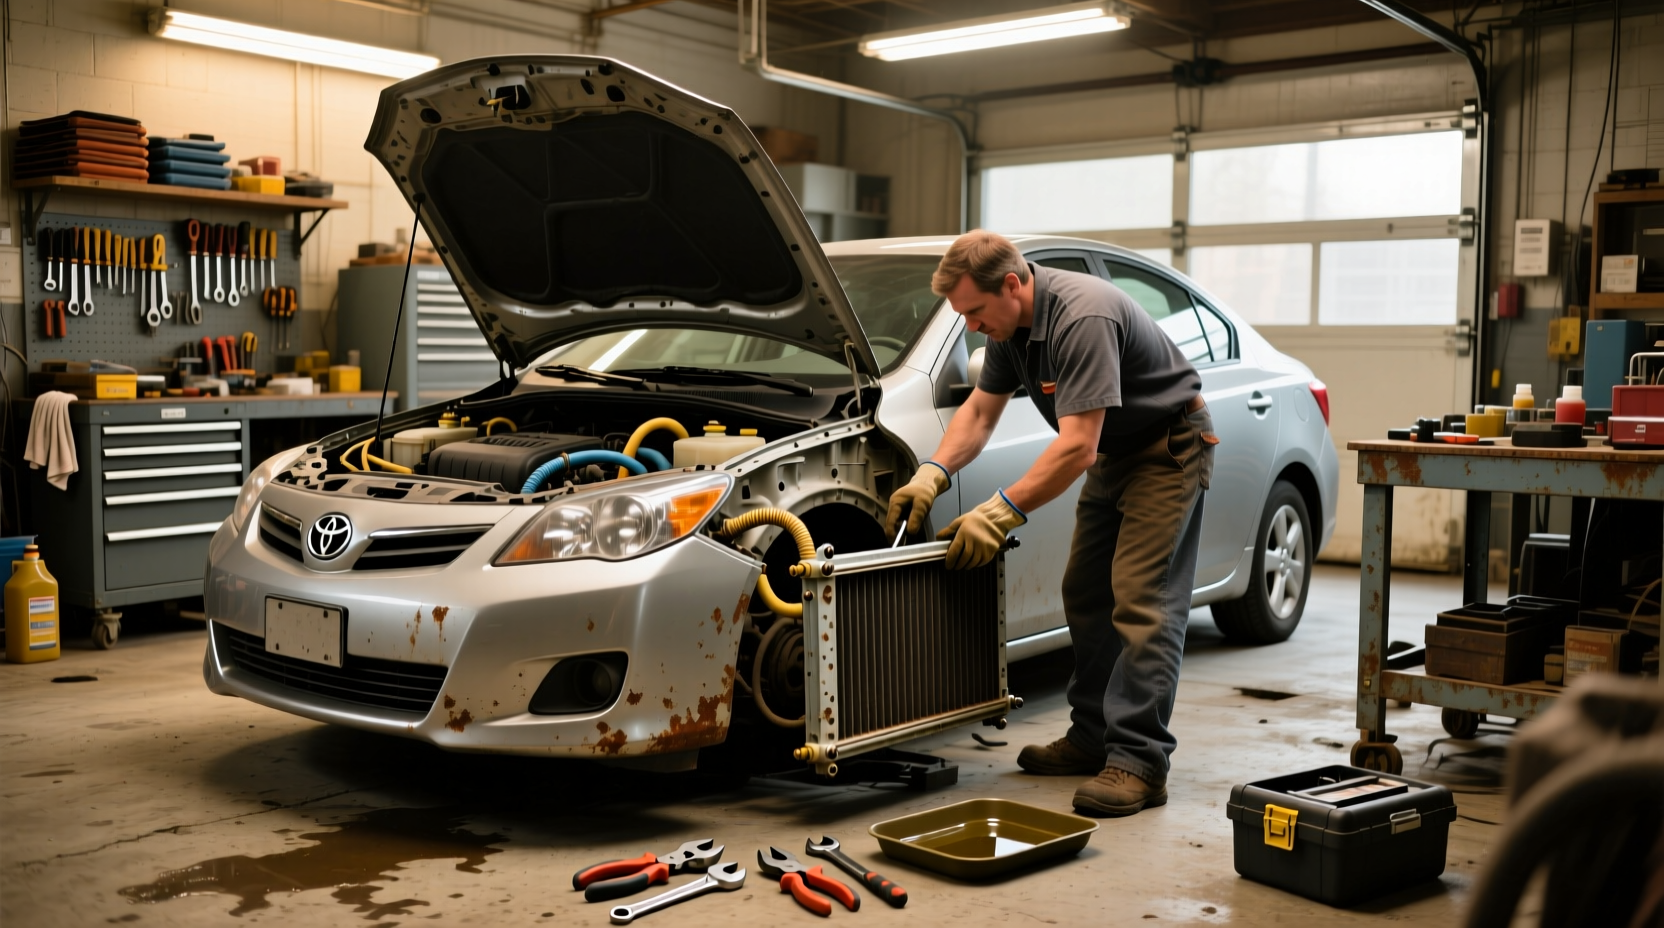
If you're searching for 2010 Toyota Corolla radiator replacement information, you're likely facing overheating issues or coolant leaks—and need a clear, reliable solution. The average cost to replace a radiator on this model ranges from $755 to $937, with parts costing $140–$270 and labor between $299 and $439 1. But if you’re mechanically inclined, doing it yourself can save hundreds. This comprehensive guide walks you through every step: signs of a failing radiator, choosing the right replacement part, tools needed, removal and installation steps, common pitfalls, and how to avoid them. Whether you're planning a DIY repair or just want to understand what mechanics might charge, this article gives you everything you need to make informed decisions.
Why Radiator Replacement Matters for Your 2010 Toyota Corolla
The radiator is a critical component in your Corolla’s cooling system. It dissipates heat from engine coolant after it circulates through the engine block. Over time, radiators can corrode, develop leaks, or become clogged—especially in vehicles over 10 years old like the 2010 Corolla. When that happens, the engine runs hotter than normal, risking serious damage such as warped cylinder heads or blown head gaskets.
Toyota designed the 2010 Corolla (1.8L 4-cylinder, front-wheel drive) with a durable aluminum cross-flow radiator. However, exposure to road debris, temperature fluctuations, and old coolant chemistry can degrade its performance. Ignoring early warning signs often leads to costly engine repairs. That’s why timely diagnosis and proper replacement are essential.
Common Signs of a Failing Radiator in a 2010 Toyota Corolla
Recognizing the symptoms early can prevent breakdowns and expensive fixes. Here are key indicators:
- ✅ Engine overheating: One of the most obvious signs. If the temperature gauge climbs into the red zone during normal driving, suspect the radiator.
- ✅ Coolant leaks under the car: Look for green, orange, or pink puddles beneath the front end. A leaking radiator often drips near the center or lower edge.
- ✅ Sludge or rust in coolant: Open the radiator cap only when cold. Discolored fluid or sludge suggests internal corrosion.
- ✅ Low coolant levels without visible leaks: Could mean slow seepage at seams or tanks.
- ✅ Steam from the hood: Immediate sign of boiling coolant due to poor heat dissipation.
- ✅ Heater not working properly: Inefficient coolant flow affects cabin heating too.
Don’t assume these issues always point to the radiator—problems could stem from the water pump, thermostat, or hoses—but the radiator should be ruled out first.
Cost Breakdown: What You’ll Pay for a 2010 Corolla Radiator Replacement
Understanding costs helps avoid surprises. There are two main paths: professional service or DIY.
| Option | Parts Cost | Labor Cost | Total Estimate |
|---|---|---|---|
| OEM Replacement (Dealer) | $420–$600 | $300–$440 | $720–$1,040 |
| Aftermarket (e.g., Spectra Premium, Denso) | $140–$270 | $300–$440 | $440–$710 |
| DIY Aftermarket Part Only | $70–$160 | $0 | $70–$160 |
As shown, going the DIY route saves significantly. Even buying a high-quality aftermarket unit like those from Spectra Premium or Mishimoto keeps total expenses under $160. Labor accounts for more than half the shop bill, so self-installation makes financial sense if you have basic tools and mechanical confidence.
Choosing the Right Radiator for Your 2010 Corolla
Not all radiators are created equal. When shopping, consider these factors:
🔧 OEM vs. Aftermarket Radiators
OEM (Original Equipment Manufacturer) units match exactly what Toyota installed at the factory. They’re reliable but expensive. Aftermarket options vary in quality:
- Spectra Premium: Known for fit and durability; often used by repair shops.
- Denso: OEM supplier for many Toyota components; excellent build quality.
- Mishimoto: Performance-focused; may offer better cooling but unnecessary for daily drivers.
- AutoShack / TYC: Budget-friendly but check reviews carefully.
For most owners, a reputable aftermarket brand like Spectra or Denso offers the best balance of price and longevity.
⚙️ Core Material: Aluminum vs. Copper-Brass
The 2010 Corolla uses an aluminum core radiator. Modern replacements follow suit because aluminum is lightweight and efficient. Avoid copper-brass unless restoring a classic—it won’t integrate well with plastic end tanks and modern mounting points.
📏 Size & Fitment Compatibility
Ensure the new radiator matches these specs:
- Vehicle: 2010 Toyota Corolla (E140 chassis)
- Engine: 1ZZ-FE 1.8L I4
- Transmission: FWD only
- AC Condenser Position: Integrated (radiator must allow space)
- Core Dimensions: ~14.8” wide x 26” tall (varies slightly by brand)
Double-check compatibility using your VIN or consult with suppliers before purchasing.
🛠️ Tools and Supplies Needed for DIY Replacement
Replacing the radiator isn’t overly complex, but preparation matters. Here’s what you’ll need:
- Wrench set (8mm–14mm)
- Socket set with ratchet
- Flathead and Phillips screwdrivers
- Funnel and drain pan
- New coolant (Toyota Genuine or equivalent DOT 4-rated)
- Coolant flush kit (optional but recommended)
- Radiator hose clamps (if reusing old ones, inspect for cracks)
- Jack and jack stands or ramps
- Gloves and eye protection
Time required: ~2–4 hours depending on experience.
🚗 Step-by-Step Guide: Replacing the Radiator on a 2010 Toyota Corolla
Follow these steps carefully to ensure a safe and correct installation:
Step 1: Prepare the Vehicle
Park on level ground, turn off the engine, and wait until completely cool. Disconnect the negative battery terminal to prevent electrical shorts during work.
Step 2: Drain the Coolant
Place a drain pan under the radiator petcock (lower right side). Open the valve and let coolant flow out. Close it once empty. Also remove the overflow tank cap to speed draining.
Step 3: Remove the Front Grille Assembly
Unscrew the fasteners around the grille (usually 10mm screws). Gently pull the grille forward to disengage clips. Set aside safely.
Step 4: Disconnect Radiator Hoses and Lines
Use pliers to loosen hose clamps on the upper and lower radiator hoses. Slide them back and disconnect the hoses. Be gentle to avoid damaging fittings. Also disconnect transmission cooler lines (if automatic), using a line wrench to prevent rounding.
Step 5: Unplug Electrical Connectors
Disconnect the radiator fan assembly wiring harnesses located behind the unit. These are typically clipped into place—press the tab and pull apart.
Step 6: Remove Mounting Bolts
Locate the top radiator support bracket bolts (usually two 12mm or 14mm). Remove them with a socket wrench. Support the radiator while doing this to prevent dropping.
Step 7: Extract the Old Radiator
Gently wiggle the radiator free from mounts and condenser fins. Pull straight forward—don’t force it. Set aside safely.
Step 8: Install the New Radiator
Align the new unit with mounting points and slide it into place. Ensure it sits flush against the fan shroud and doesn't pinch any lines.
Step 9: Reconnect All Components
Reattach upper/lower hoses, tighten clamps, reconnect cooler lines, plug in electrical connectors, and reinstall the top bracket bolts.
Step 10: Refill and Bleed the Cooling System
Pour in the correct type and amount of coolant (about 6 quarts total). Start the engine and let it warm up with the radiator cap off to bleed air pockets. Top off as needed.
Step 11: Test Drive and Inspect
Check for leaks, monitor temperature gauge, and verify heater output. Let the car idle for 15 minutes to confirm stable operation.
⚠️ Common Mistakes to Avoid During Replacement
Even experienced DIYers make errors. Watch out for these:
- Forgetting to disconnect the battery: Risk of short-circuiting fans or sensors.
- Over-tightening hose clamps: Can crack plastic nipples on the radiator.
- Using wrong coolant type: Toyota specifies long-life red or pink coolant. Mixing types causes gel formation.
- Not bleeding the system: Airlocks cause false overheating and poor heater performance.
- Reusing damaged coolant hoses: Old rubber becomes brittle—replace if cracked or swollen.
🔄 Should You Repair or Replace the Radiator?
Repairing a radiator (e.g., epoxy patches, soldering) is rarely advisable today. Most modern units are sealed aluminum designs not meant for field repairs. Even temporary fixes tend to fail quickly under pressure and heat cycles. Given the risk of engine damage from sudden failure, full replacement is almost always the safer, more cost-effective choice in the long run.
📍 Where to Buy a 2010 Toyota Corolla Radiator
You have several options:
- Online Auto Parts Retailers: Sites like RockAuto, Parts Avatar, and O'Reilly Auto Parts offer competitive pricing and detailed fitment guides.
- Dealerships: Sell OEM units but at premium prices.
- Local Mechanics: May source parts wholesale and install them efficiently.
When comparing prices, factor in shipping costs and return policies. Some online vendors offer free returns within 30 days, which adds peace of mind.
🧼 Maintenance Tips to Extend Radiator Life
Prevention beats replacement. Follow these practices:
- Check coolant level monthly.
- Flush the cooling system every 60,000 miles or 5 years.
- Inspect hoses and clamps annually.
- Keep the radiator surface clean—remove bugs, leaves, and dirt buildup.
- Address overheating immediately—don’t keep driving.
❓ Frequently Asked Questions (FAQ)
Here are answers to common follow-up questions about 2010 Toyota Corolla radiator replacement:
- Can I replace a 2010 Toyota Corolla radiator myself?
- Yes, if you have basic mechanical skills and tools. The process takes 2–4 hours and avoids $300+ in labor charges. Just follow safety precautions and double-check connections.
- How long does a Toyota Corolla radiator last?
- Typically 8–12 years or 100,000–150,000 miles. Lifespan depends on maintenance, coolant quality, and driving conditions.
- What kind of coolant does a 2010 Toyota Corolla take?
- Toyota Genuine Super Long-Life Coolant (pink/red) or an equivalent meeting ILSAC GH specification. Do not mix with green conventional coolant.
- Is it safe to drive with a leaking radiator?
- No. Even small leaks can lead to low coolant levels and engine overheating, risking severe internal damage. Stop driving and repair immediately.
- Do I need to replace the radiator cap when installing a new radiator?
- It’s recommended. The cap regulates system pressure and can wear out. A faulty cap causes boil-over and improper circulation.




 浙公网安备
33010002000092号
 浙B2-20120091-4