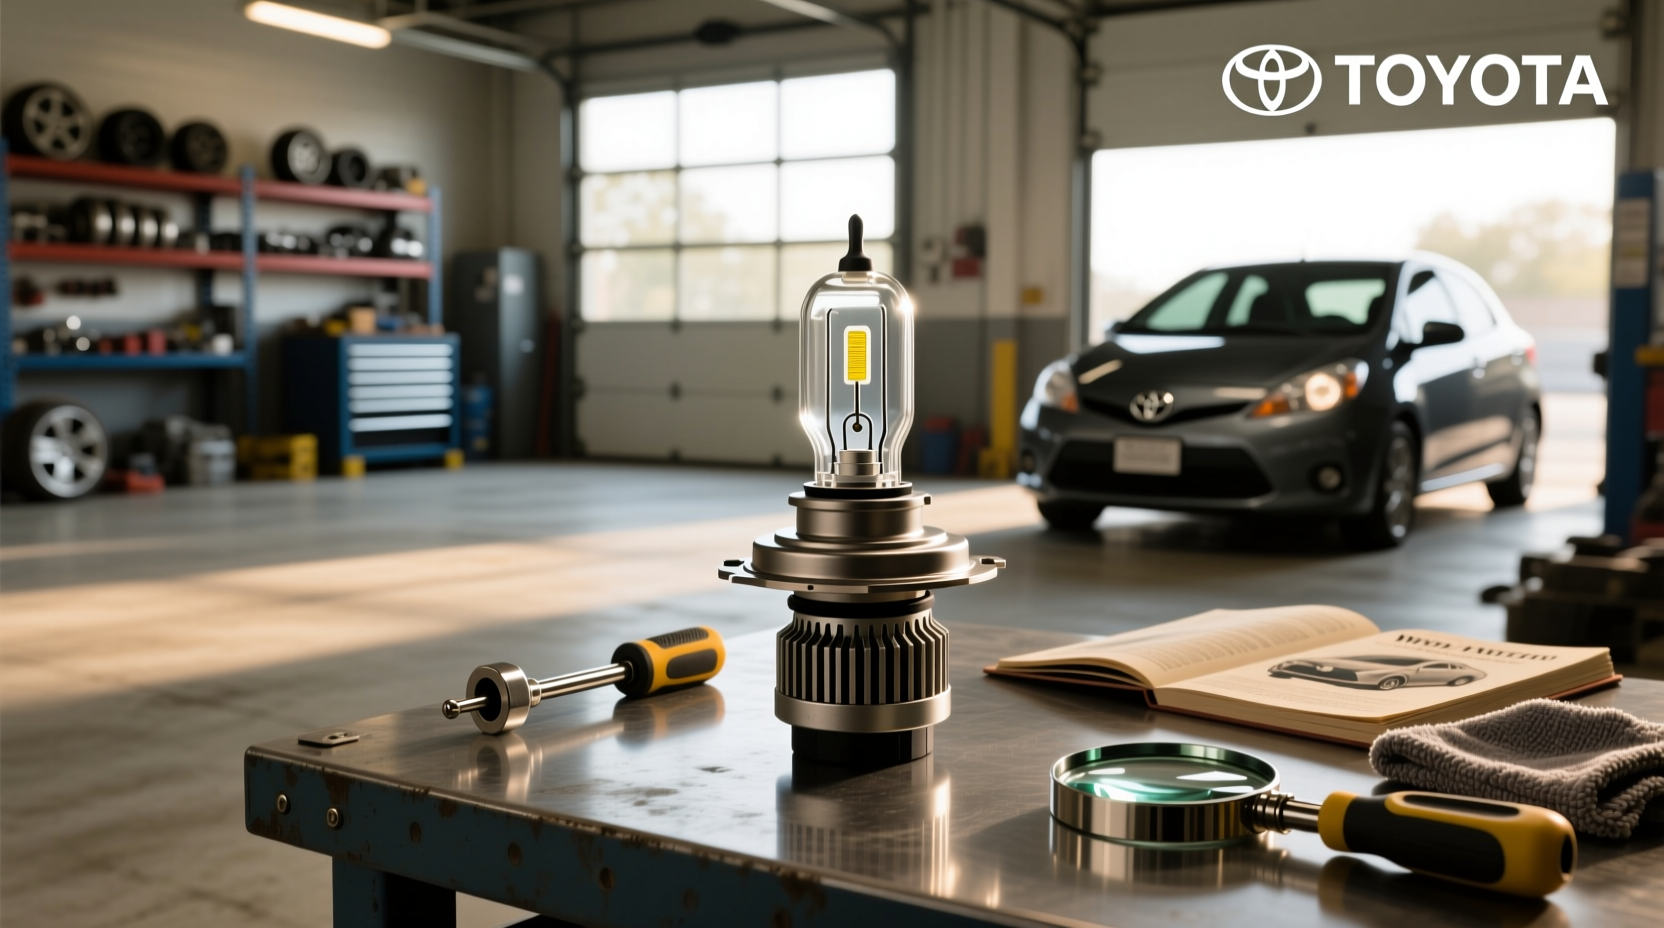
If you're searching for the right Toyota Yaris 2010 headlight bulb, you're likely facing dim lights, a burned-out beam, or preparing for a DIY upgrade. The correct replacement bulb for both low and high beams in most 2010 Toyota Yaris models is the H4 halogen bulb, a dual-filament type that powers both functions in one unit. This guide walks through everything you need to know—from identifying the correct bulb type and brightness options to step-by-step replacement instructions, common pitfalls, and whether upgrading to LED is a practical choice for your vehicle.
Understanding the 2010 Toyota Yaris Headlight System
The 2010 Toyota Yaris, available as both a hatchback and sedan, uses a conventional halogen-based headlight system. Unlike newer vehicles with separate bulbs for high and low beams, many Yaris trims from this generation use a single H4 (9003) bulb per headlight assembly to handle both functions. This design simplifies maintenance but means that if either the high or low beam fails, the entire H4 bulb must be replaced.
🔍 Bulb Type: H4 (also labeled 9003)
🔧 Voltage: 12V
⚡ Wattage: Typically 60/55W (high/low beam)
✨ Base Type: PG22-3
🛒 Common Replacement Brands: Sylvania, Philips, GE, Auxbeam
It's important to verify your specific model’s configuration. Some later facelift versions or regional variants may differ slightly, especially in international markets where the Yaris is sold as the Vios or Echo. Always check your owner’s manual or consult the label inside the engine bay or headlight housing before purchasing replacements.
Why Your 2010 Yaris Headlights May Be Dim
Many owners report that their Toyota Yaris headlights appear dimmer than expected, even with new bulbs. There are several reasons behind this:
- Aging Halogen Bulbs: Over time, halogen bulbs lose brightness due to filament degradation and glass darkening.
- Foggy or Yellowed Lenses: UV exposure causes polycarbonate lenses to oxidize, reducing light output by up to 80%1.
- Incorrect Beam Alignment: Misaligned headlights shine too low or off-center, reducing visibility.
- Weak Ground Connection: Corrosion or poor wiring can reduce voltage delivery to the bulb.
- Aftermarket Bulb Quality: Cheap bulbs often underperform compared to OEM-grade options.
Before replacing the bulb, inspect the lens clarity. If they’re hazy, consider cleaning or restoring them with a polishing kit rather than assuming the bulb is at fault.
Can You Upgrade to LED in a 2010 Yaris?
Many drivers ask: "Can I install LED bulbs in my 2010 Toyota Yaris instead of halogen?" Technically, yes—but there are trade-offs.
⚡ Pros of LED Upgrades:
- Higher lumen output (brighter light)
- Whiter color temperature (~6000K vs ~3200K for halogen)
- Longer lifespan (15,000–30,000 hours vs 500–1,000)
- Lower power draw
❗ Cons and Considerations:
- Heat Management: LEDs generate heat at the base, requiring built-in fans or heat sinks. In enclosed housings like the Yaris’, overheating can occur.
- Beam Pattern Issues: Aftermarket LED bulbs may not focus correctly in reflector-style housings designed for halogen filaments, causing glare or scattered light.
- Legal Compliance: Some LED conversions fail DOT or FMVSS 108 standards, making them non-compliant for road use in certain states.
- Canbus Errors: The Yaris’ electrical system may register LED bulbs as “burned out” due to lower power draw, triggering dashboard warnings.
If you choose to go LED, select bulbs specifically designed for reflector housing compatibility and include CANBUS error resistance. Look for models labeled “DOT-compliant” or “E-marked.” However, for reliability and compliance, sticking with high-quality halogen bulbs like Sylvania SilverStar Ultra is often the safer choice.
Step-by-Step: How to Replace a 2010 Toyota Yaris Headlight Bulb
Replacing the headlight bulb on a 2010 Yaris is a straightforward task that takes about 20–30 minutes with basic tools. Here’s how to do it safely and correctly.
🛠️ Tools & Materials Needed
- New H4 (9003) headlight bulb (do not touch glass with bare hands)
- Gloves (latex or nitrile recommended)
- Clean cloth or paper towel
- Phillips screwdriver (optional, for battery cover removal)
🔧 Replacement Procedure
- Park Safely: Turn off the engine and engage the parking brake. Open the hood.
- Locate the Headlight Housing: Stand in front of the car and look behind the headlight assembly. Access is from the back of the headlight unit, reachable through the engine compartment.
- Disconnect Power: Unplug the electrical connector from the back of the bulb. Press the release tab and pull straight out.
- Remove the Rubber Boot: Pull back the rubber dust cover to expose the bulb base.
- Release the Retaining Clip: Locate the metal wire clip holding the bulb in place. Use your fingers or a small tool to unhook one end and swing it aside.
- Remove the Old Bulb: Gently wiggle the bulb out of the socket. Avoid touching the glass portion—oil from skin can cause hot spots and premature failure.
- Insert the New Bulb: Align the base pins with the socket and push firmly until seated. Reattach the retaining clip securely.
- Reinstall the Boot and Connector: Place the rubber boot back over the base and reconnect the wiring harness.
- Test Before Closing: Turn on the headlights to verify both high and low beams work properly.
- Repeat for Other Side: Even if only one bulb failed, consider replacing both to maintain balanced lighting.
⏱️ Time Estimate: 20–30 minutes per side
📍 Difficulty Level: Easy (suitable for beginners)
Choosing the Right Replacement Bulb
Not all H4 bulbs are created equal. While the physical fit is standardized, performance varies significantly between brands and models.
| Bulb Type | Color Temperature | Lumens (Approx.) | Lifespan | Best For |
|---|---|---|---|---|
| Standard Halogen (OEM) | 3200K (Warm White) | 1,000–1,200 | 500 hours | Daily driving, budget replacement |
| Sylvania SilverStar Ultra | 3700K (Pure White) | 1,500+ | 600 hours | Better night visibility |
| Philips X-tremeVision | 3500K | 1,800+ | 450 hours | Maximum brightness |
| LED H4 Conversion | 6000K (Daylight) | 3,000–4,000 | 25,000 hours | Modern look, long-term savings |
✅ Tips for Selection:
- Avoid bulbs labeled “+100% brightness”—they often sacrifice longevity and legal compliance.
- Choose bulbs with UV-protected glass to prevent lens yellowing.
- Buy in pairs—even if only one is out—to ensure consistent color and output.
- Stick to reputable brands to avoid premature failure.
Common Mistakes to Avoid
Even simple tasks can go wrong. Here are frequent errors during a 2010 Yaris headlight bulb replacement:
- Touching the Glass: Skin oils create hot spots leading to early burnout. Always wear gloves or use a clean cloth.
- Forcing the Bulb: If it doesn’t seat easily, check alignment. Forcing can damage the socket.
- Leaving the Dust Cap Off: Moisture ingress causes corrosion and fogging inside the housing.
- Ignoring Beam Alignment: After replacement, verify the beam pattern isn’t too high (blinding others) or too low (reducing visibility).
- Using Non-H4 Bulbs: Some sellers mislabel bulbs. Confirm it's an H4/9003 before installation.
When to Replace the Entire Headlight Assembly
Sometimes, replacing just the bulb isn’t enough. If you notice any of the following, consider a full headlight assembly replacement:
- Cracked or deeply fogged lens that can’t be restored
- Water intrusion inside the housing
- Broken mounting points or misaligned aim screws
- Desire to upgrade to projector-style optics
Replacement assemblies range from $60–$150 and typically include the housing, lens, and mounting hardware. OEM units offer the best fit and durability, while aftermarket options may include aesthetic upgrades like black housings or angel eyes.
Maintenance Tips for Long-Lasting Performance
To extend the life of your headlights and maintain optimal visibility:
- Inspect Every 6 Months: Check for dimness, flickering, or condensation.
- Clean Lenses Regularly: Use a mild automotive cleaner and microfiber cloth.
- Restore Hazy Lenses: Apply a restoration kit every 1–2 years depending on climate.
- Check Aim Annually: Poor alignment reduces safety and increases glare for oncoming traffic.
- Upgrade Wiring (Optional): Adding relay harnesses ensures full voltage delivery, preventing dimming over time.
FAQs About 2010 Toyota Yaris Headlight Bulbs
Here are answers to some of the most commonly asked questions related to replacing or upgrading headlight bulbs on the 2010 Toyota Yaris.




 浙公网安备
33010002000092号
 浙B2-20120091-4