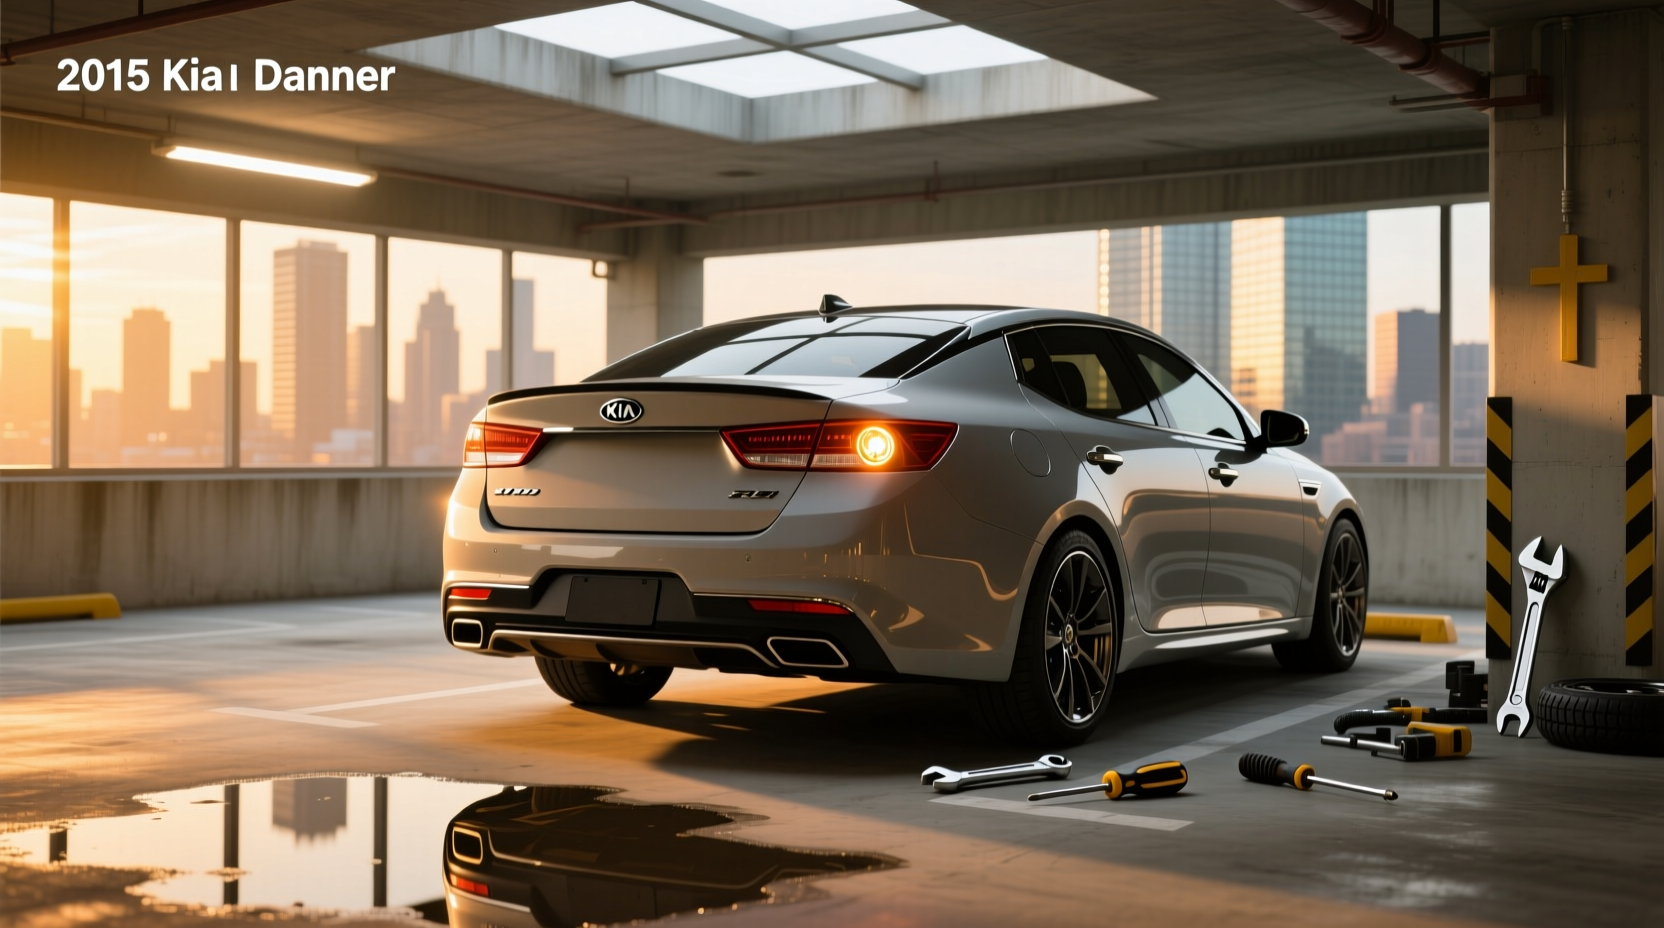
If you're searching for how to replace the 2015 Kia Optima tail light bulb, you're not alone—many owners face confusion when one or more rear lights stop working. The key fact upfront: the outer tail light assembly on most 2015 Kia Optima trims uses integrated LED modules, not replaceable bulbs. If the red LED section (tail, brake, or turn signal) fails, you’ll likely need to replace the entire tail lamp assembly rather than a single bulb. However, the backup light and license plate illumination still use standard halogen bulbs that can be replaced individually. This comprehensive guide breaks down everything you need to know—from identifying your specific lighting configuration and diagnosing issues, to replacement procedures, part types, cost considerations, and common misconceptions.
Understanding the 2015 Kia Optima Lighting System
The 2015 Kia Optima was available in several trims: LX, EX, SX, and Hybrid models. One of the most important distinctions affecting tail light serviceability is whether your vehicle has traditional bulb-based taillights or the factory-installed LED assemblies.
🔧 LX and EX trims typically came with conventional halogen taillight clusters, meaning individual bulbs could be replaced for functions like tail lights, brake lights, turn signals, and reverse lights. These systems are simpler and less expensive to maintain.
⚡ SX and Hybrid trims, however, were equipped with full LED rear lighting as a premium feature. In these versions, the tail, brake, and turn signal functions are handled by fixed LED arrays embedded within the lens housing. Since these LEDs are not designed to be removed or swapped out individually, any failure usually requires replacing the complete tail light assembly.
This distinction is critical because it directly affects repair cost, complexity, and sourcing options. Many drivers mistakenly assume all lights have user-replaceable bulbs, only to discover after opening the trunk that there’s no socket to access.
Common Symptoms of Tail Light Failure
Recognizing early signs of tail light problems can prevent safety risks and potential traffic violations. Common symptoms include:
- One side of the rear light appears dimmer or completely dark
- Brake light doesn’t illuminate when pressing the pedal (but third brake light works)
- Turn signal blinks rapidly on one side
- Backup light fails during reversing
- Dashboard warning message indicating “Check Rear Lamp”
📌 It's important to test each function separately. For example, the tail light may work at night when headlights are on, but the brake light might fail under pressure. Use a wall or garage door to observe brightness differences between left and right sides.
Can You Replace Just the Bulb? Clarifying Misconceptions
❓ A frequent question found in forums like Reddit’s r/Cartalk is: “Are the tail light and brake light the same bulb?” On older vehicles, yes—they often share a dual-filament bulb (like 7443). But in the case of the 2015 Kia Optima with LED taillights, this no longer applies.
In LED-equipped models, multiple diodes perform different roles within the same housing:
- Tail/Running Lights: Low-intensity red LEDs that activate with headlights
- Brake Lights: Brighter red LEDs that engage when braking
- Turn Signals: Amber LEDs located near the outer edge
While these appear as separate lights to the observer, they’re powered through a shared circuit board. If one set fails, it may indicate a failed driver module, wiring issue, or moisture damage—not a burnt filament. Therefore, there is no 'bulb' to replace in the traditional sense.
✅ However, even LED models retain two sockets using standard bulbs:
- #194 (or 168): License plate illumination
- #7440: Backup/reverse light
These can be accessed from inside the trunk liner and replaced following standard procedures.
Step-by-Step: How to Access and Diagnose the Tail Light Assembly
Before purchasing parts, confirm whether your 2015 Optima has LED or halogen taillights. Here’s how to inspect safely:
Tools Needed:
- Phillips screwdriver or trim removal tool
- Gloves (to avoid scratches)
- Flashlight or phone light
- Multimeter (optional, for electrical testing)
Procedure:
- Open the trunk and locate the black plastic trim panel behind the affected tail light.
- Remove screws or clips securing the panel. Some models require gently prying off the carpeted lining.
- Once exposed, look at the back of the taillight housing.
- If you see wire leads going into a solid block with no sockets, it’s an LED unit.
- If you see twist-in bulb holders (e.g., 7443), then it’s a halogen system.
- Check for condensation inside the lens—a sign of seal failure that can lead to corrosion.
⏱️ Total time: ~15–20 minutes per side. No special tools required beyond basic hand tools.
Replacing Halogen Bulbs in Non-LED Models
If your 2015 Kia Optima uses halogen taillights (common in LX/EX trims), here’s how to replace individual bulbs:
Bulb Types Used:
| Function | Bulb Type (OEM Number) |
|---|---|
| Tail / Brake Light | 7443 (92901-2K100) |
| Turn Signal | 7440NA (amber) (92900-2K100) |
| Backup Light | 7440 (92900-2K000) |
| License Plate Light | 194 / 168 (92900-1B000) |
Replacement Steps:
- Disconnect the negative battery terminal for safety.
- Access the back of the taillight cluster as described earlier.
- Locate the socket corresponding to the failed function.
- Twist the socket counterclockwise (~1/4 turn) and pull it out.
- Remove the old bulb by pulling straight out; avoid touching the glass with bare fingers.
- Insert the new bulb and reassemble in reverse order.
- Test all functions before reinstalling the trim panel.
🧼 Tip: Apply dielectric grease to the socket contacts to prevent future corrosion and improve conductivity.
Dealing with Failed LED Assemblies
When the LED section fails, replacement becomes more involved. Unlike bulbs, LED taillights cannot be repaired easily due to sealed construction and lack of standardized components.
There are three main options:
1. OEM Replacement Assembly
Factory-original units from Kia dealerships offer perfect fitment and color matching but come at a high cost—often $350–$550 per side1. These are ideal if maintaining resale value or factory warranty compliance matters.
2. Aftermarket CAPA-Certified Units
Third-party manufacturers produce assemblies meeting the Certified Automotive Parts Association (CAPA) standards. These are rigorously tested for optical performance, durability, and fit. Prices range from $100–$200 and often include a warranty. Look for units labeled “CAPA-certified” to ensure quality.
3. Used or Recycled Assemblies
Junkyard-sourced units from salvage yards or online marketplaces like LKQ Online can cost $50–$100. While economical, verify functionality before installation and check for cracks, yellowing, or moisture intrusion. Compatibility must match your exact model year and trim.
❗ Important: Always compare lens pattern and connector type before buying. Even small design changes occurred between 2014 and 2015 models.
Installation of a Full Tail Light Assembly
Replacing the entire housing is straightforward but requires care to avoid damaging surrounding panels.
Steps:
- Open the trunk and remove the interior trim panel.
- Unplug the electrical harness connected to the back of the assembly.
- Remove 3–4 10mm bolts securing the taillight to the body.
- Gently wiggle the unit outward—it may be held by rubber grommets or alignment pins.
- Install the new assembly by aligning it properly and tightening bolts to specification (do not over-tighten).
- Reconnect the harness and test all functions.
- Reinstall the trim panel.
📍 Pro tip: Have someone assist by operating pedals while you observe lighting output. This ensures brake and turn signals work correctly.
Potential Issues and Troubleshooting Tips
Even after replacement, problems can arise. Here are common post-installation issues:
- Hyper-flashing turn signal: Occurs when resistance changes after installing LED assemblies. May require adding a load resistor or updating the car’s computer settings.
- Moisture buildup: Caused by poor sealing or missing gaskets. Clean drainage holes and ensure proper alignment during reassembly.
- Different tint between sides: Older lenses yellow over time. Consider replacing both sides for uniform appearance.
- Error messages: Some Optima models display warnings if the system detects abnormal current draw. Resetting the BCM (Body Control Module) may resolve this.
Cost Breakdown: What to Expect
Repair costs vary significantly based on approach:
| Option | Avg. Cost | Labor Time | Notes |
|---|---|---|---|
| Halogen Bulb Replacement | $5–$15 per bulb | 10–15 min | DIY-friendly; minimal tools needed |
| OEM LED Assembly | $350–$550 per side | 30–45 min | Best fit and finish; includes warranty |
| Aftermarket LED Assembly | $100–$200 per side | 30–45 min | Look for CAPA certification |
| Used Assembly | $50–$120 per side | 30–45 min | Verify condition and compatibility |
🛒 While some retailers advertise deep discounts, be cautious of extremely low prices ($30–$60) for full assemblies—they may be counterfeit, poorly made, or incompatible.
Where to Buy Replacement Parts
Reliable sources include:
- Authorized Kia dealerships (for OEM parts)
- CAPA-certified aftermarket brands (TYC, Depo, Anzo)
- Reputable auto parts stores with verified return policies
- Online recyclers like LKQ Online for used units
🌐 Avoid obscure eBay sellers without reviews or clear photos. Stick to vendors offering fitment guarantees and return windows.
Recall and Reliability Notes
As of current records, there is no official recall specifically for the 2015 Kia Optima tail light assembly or bulb system 2. However, NHTSA has documented owner complaints about premature LED failure and moisture ingress in certain production batches.
If you suspect a broader defect, file a report with the National Highway Traffic Safety Administration (NHTSA) to contribute to potential future investigations.
Final Recommendations
Before spending money on replacements, accurately diagnose the issue:
- Determine if your model has LED or halogen taillights
- Test each lighting function independently
- Inspect for water damage or loose connections
- Consider replacing both sides if one is aging visibly
For halogen models, bulb replacement is simple and affordable. For LED models, expect higher costs but longer lifespan under normal conditions. Always prioritize safety and legal compliance—driving with non-functional tail lights is illegal in most jurisdictions.
Frequently Asked Questions
- Can I replace a 2015 Kia Optima tail light bulb if it's LED?
- No, the tail, brake, and turn signal sections in LED-equipped models use integrated circuits. There is no user-replaceable bulb. You must replace the entire assembly if an LED fails.
- How do I know if my 2015 Kia Optima has LED taillights?
- Visually inspect the rear lights. LED models have a sleek, segmented look with amber turn signals on the outer edge. You can also check your original window sticker (Monroney label) or consult your VIN with a dealer.
- What causes a 2015 Kia Optima tail light to stop working?
- Common causes include blown fuses, wiring faults, failed bulbs (in halogen models), moisture damage, or degraded LED modules in sealed assemblies.
- Is it safe to drive with one tail light out?
- No. Operating a vehicle with a non-functional tail light is illegal in most U.S. states and increases the risk of rear-end collisions. Repair promptly.
- Should I replace both tail lights at the same time?
- If one side has significantly yellowed or dimmed, replacing both ensures consistent brightness and color, improving aesthetics and safety.




 浙公网安备
33010002000092号
 浙B2-20120091-4