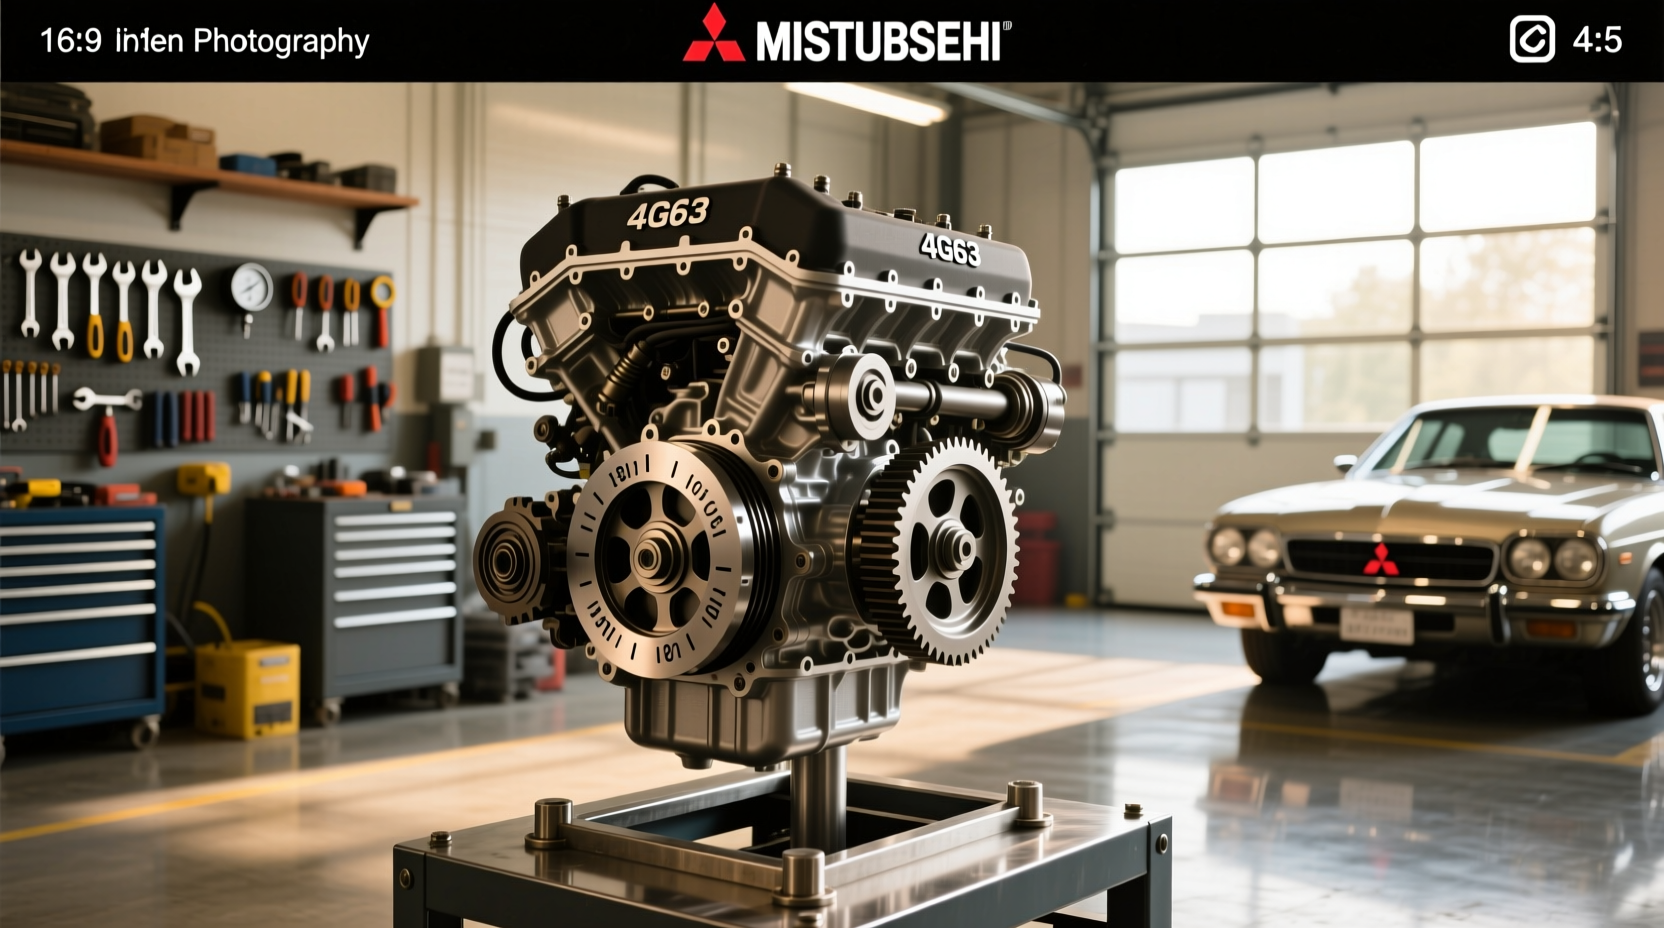
The Mitsubishi 4G63 engine timing marks must be precisely aligned during timing belt replacement or engine assembly to ensure proper valve-to-piston clearance and optimal performance. 🔧 This guide explains how to locate and set the correct 4G63 engine timing marks for both naturally aspirated (NA) and turbocharged (4G63T) models, particularly those found in DSM vehicles like the Eagle Talon, Plymouth Laser, and Mitsubishi Eclipse, as well as Lancer Evolution variants. ✅ Misaligned timing can lead to bent valves, poor idle quality, reduced power, or catastrophic engine failure—making this one of the most critical steps in maintenance or rebuilds.
Understanding the 4G63 Engine Platform
The 4G63 is a 2.0L inline-four gasoline engine from Mitsubishi’s Sirius family, produced since 1980. ⚙️ It features a cast-iron block with an aluminum DOHC 16-valve head in performance applications. While early versions were SOHC and non-turbo, the high-performance 4G63T became legendary due to its use in the DSM (Diamond Star Motors) platform (1990–1999) and later in the Lancer Evolution series up to the Evo IX. These engines are known for their robustness, ability to handle forced induction, and extensive aftermarket support.
Despite shared displacement and architecture, there are key differences between NA and turbo models that affect timing setup:
- Naturally Aspirated (NA): Found in Galant, Mirage, and base Eclipse models; uses lower compression pistons and lacks balance shafts in many configurations.
- Turbocharged (4G63T): Used in Eclipse GSX, Talon TSi AWD, and Lancer Evolution; includes forged internals, higher compression ratios (in early models), and dual balance shafts driven by a separate belt.
Both engine types rely on a timing belt to drive the camshafts, but the alignment procedure varies slightly depending on model year and application. ❗ Incorrect installation—even by a single tooth—can cause severe interference damage.
Locating the Timing Marks: Components and Positions
To correctly set the 4G63 engine timing marks, you must identify five primary components and their reference points:
- Crankshaft sprocket
- Oil pump sprocket (intermediate shaft)
- Left (exhaust) camshaft sprocket
- Right (intake) camshaft sprocket
- Belt tensioner and idler pulleys
All these parts have factory-marked indicators that must align when the engine is at Top Dead Center (TDC) on cylinder #1.
Step 1: Position the Crankshaft at TDC
🔧 Begin by rotating the crankshaft clockwise using a socket on the harmonic balancer bolt until the notch on the crank sprocket aligns with the mark on the oil pump housing. 📍 This position corresponds to TDC for piston #1.
Tip: Remove spark plug #1 and insert a soft probe (like a plastic straw) to confirm when the piston reaches peak height. This avoids reliance solely on external markings, which may have shifted if the harmonic balancer rubber has degraded.
Step 2: Align the Oil Pump Sprocket
The intermediate shaft (driving the oil pump and balance shafts in turbo models) must also be timed. On turbo 4G63T engines, the oil pump sprocket has a dimple or punch mark that should point directly upward and align with a corresponding mark on the engine block. ⚠️ In some cases, especially after disassembly, this gear can rotate independently, so it's essential to verify orientation before installing the timing belt.
Note: Naturally aspirated 4G63 engines without balance shafts do not require this step, as the oil pump is gear-driven rather than belt-driven.
Step 3: Camshaft Sprocket Alignment
For DOHC 4G63T engines:
- The left (exhaust) cam sprocket has a notch that aligns with a raised dot on the rear timing cover.
- The right (intake) cam sprocket has a similar notch that lines up with another dot just above it.
- Both notches should face outward—toward the sides of the engine—and form a straight line across the top when viewed from the front.
A common mistake is confusing intake and exhaust sprockets, which are physically different. Always double-check part numbers or casting marks before installation.
Visual Reference: Timing Mark Diagram
| Component | Mark Location | Alignment Target |
|---|---|---|
| Crankshaft Sprocket | Notch on outer edge | Pointer on oil pump housing |
| Oil Pump Sprocket (Turbo Only) | Dimple or punch mark | Vertical alignment with block mark |
| Exhaust Cam Sprocket | Notch at 9 o'clock position | Dash mark on rear cover |
| Intake Cam Sprocket | Notch at 3 o'clock position | Dash mark on rear cover |
This table summarizes standard alignment positions for 1990–1999 DSM 4G63T engines. Always confirm specifications based on your specific model year and VIN.
Differences Between NA and Turbo 4G63 Engines
While both variants share the same basic block design, several mechanical differences impact timing procedures:
- Belt Path Complexity: The turbo 4G63T requires a secondary belt for the balance shafts, adding complexity. If this belt skips or breaks, it won’t stop the engine but will increase vibration and stress on main bearings.
- Sprocket Design: Turbo models use larger cam sprockets with integrated reluctor rings for CAS (Cam Angle Sensor) operation. Misalignment here affects ignition timing and fuel delivery signals.
- Compression Ratio: Early turbo models (pre-1995) had 8.5:1 compression; later ones dropped to 8.0:1. This doesn't change timing marks but influences detonation risk if ignition timing is off.
⚙️ For NA engines used in front-wheel-drive applications (e.g., 1995+ Eclipse RS), the timing system is simpler—no balance shaft belt, smaller cam gears, and often a single-row timing chain in some SOHC versions. However, interference engine principles still apply.
Common Mistakes When Setting 4G63 Timing Marks
Even experienced mechanics can make errors during reassembly. Here are frequent issues and how to avoid them:
Mistake #1: Assuming All 4G63s Are Identical
The 4G63 evolved over decades. JDM Evo models may differ slightly from USDM DSM units in sprocket tooth count or sensor placement. Always consult a service manual specific to your vehicle’s chassis code (e.g., DC2 for Evo III, CB5A for 2G Eclipse).
Mistake #2: Ignoring Belt Slack After Installation
After tightening the tensioner, rotate the engine two full revolutions by hand and recheck all marks. ⏱️ The belt may settle into place, causing apparent misalignment. If any mark is off, repeat the entire process.
Mistake #3: Using Aftermarket Gears Without Verification
Some performance cam gears have adjustable timing marks. If you're using these, ensure zero-degree settings match stock alignment before advancing or retarding cam timing. Otherwise, factory marks become meaningless.
Mistake #4: Overlooking Crank Walk in 7-Bolt Models
Early 4G63T engines with 7-bolt crankshafts are prone to “crank walk,” where excessive thrust bearing wear allows axial crankshaft movement. This can shift the crank sprocket position relative to the timing belt, leading to inconsistent timing readings. Upgrading to a 6-bolt crank or improved thrust washers mitigates this issue 1.
Tips for Ensuring Accuracy During Reassembly
To maximize reliability and prevent engine damage:
- ✅ Use OEM-style timing tools if available—some kits include alignment pins for camshafts.
- ✅ Replace the timing belt, tensioner, and idler pulleys every 60,000–100,000 miles, even if they appear intact.
- ✅ Lubricate the tensioner pivot point and inspect for binding before final torque.
- ✅ Double-check rotation direction: always turn the engine clockwise to prevent reverse loading on the tensioner.
- ✅ Torque all fasteners to specification—especially cam sprocket bolts (typically 40–45 lb-ft).
🧰 Pro tip: Take clear photos before disassembly. Mark each component with paint or tape to preserve original orientation, especially useful when dealing with multiple sprockets or reused parts.
Verifying Proper Timing After Assembly
Once the timing belt is installed and tensioned, perform the following checks:
- Rotate the crankshaft two full turns by hand using a breaker bar.
- Recheck all alignment marks—they must return exactly to their original positions.
- Listen for resistance or scraping sounds, which could indicate piston-to-valve contact.
- Confirm rotor position in the distributor (if equipped) aligns with #1 firing position after two rotations.
If any mark fails to realign, remove the belt and investigate. Common causes include:
- Stretched or defective belt
- Worn sprocket teeth
- Incorrect belt routing
- Loose camshaft or crankshaft movement
Frequently Asked Questions About 4G63 Timing Marks
- Can I set the timing without a timing light?
- Yes—the marks discussed here are for mechanical synchronization during assembly, not dynamic ignition timing. A timing light is used separately to adjust spark advance via the ECU or distributor.
- Do all 4G63 engines have the same timing mark layout?
- No. There are variations between SOHC, DOHC, NA, and turbo models. The DSM 4G63T (1990–1999) has a standardized layout, but Evo-specific engines (especially post-2001) may differ slightly in cover markings or sprocket design.
- What happens if the timing is off by one tooth?
- Even a single tooth error advances or retards valve timing by ~7.5 degrees, potentially causing rough idle, loss of power, or valve/piston collision in extreme cases. Always verify alignment before startup.
- Is the 4G63 an interference engine?
- Yes. The 4G63 is a full interference engine, meaning that incorrect timing can result in valves striking pistons. This makes precise alignment absolutely critical.
- Should I replace the water pump when doing the timing belt?
- Highly recommended. The water pump is driven by the timing belt on most 4G63 applications. Since labor costs are high, replacing it preventively avoids future breakdowns.




 浙公网安备
33010002000092号
 浙B2-20120091-4