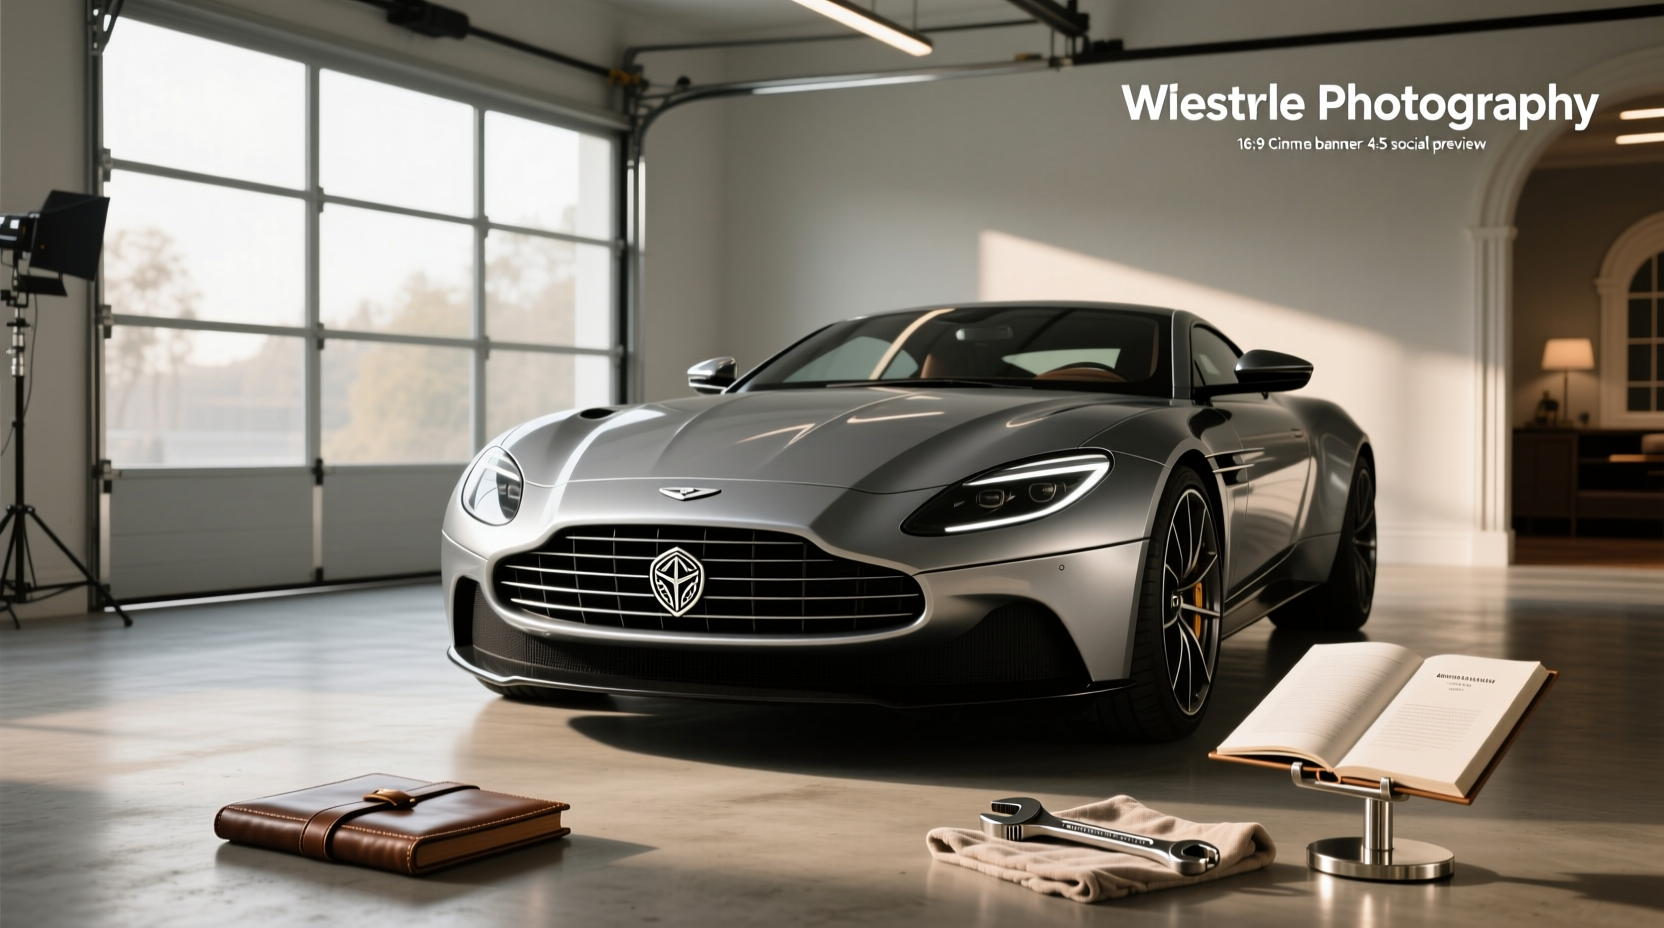
When you search for a car grille badge, you're likely looking to restore, customize, or enhance your vehicle’s front-end appearance. Whether replacing a lost emblem, upgrading to an illuminated version, or adding a custom logo, understanding the different types, materials, attachment methods, and compatibility factors is essential. This guide breaks down everything you need to know about car grille badges—from identifying OEM vs. aftermarket options to selecting durable materials like ABS plastic, aluminum, or chrome-plated zinc alloy, and installing them securely using clips, adhesive, or bolt-on systems ✅.
What Is a Car Grille Badge?
A car grille badge, also known as a front grille emblem or logo badge, is a decorative insignia mounted on the front grille of a vehicle. It typically displays the manufacturer's name (e.g., Toyota, Ford), model designation (like Camry or F-150), performance sub-brand (TRD, NISMO), or even custom designs such as 3D skulls or JDM-inspired emblems 🌐. These badges serve both aesthetic and branding purposes, contributing significantly to a car’s identity and visual symmetry.
While often small in size—ranging from 2 to 9 inches—they play a major role in curb appeal. Some modern vehicles feature illuminated versions that light up when the headlights are activated, enhancing visibility and style at night ⚡. Understanding what type fits your make and model is key before purchasing any replacement or upgrade.
Common Types of Grille Badges
Not all grille badges are created equal. There are several variations based on design, function, and mounting method:
- OEM (Original Equipment Manufacturer) Emblems: Factory-made logos designed specifically for a particular model year and trim. These match color, finish, and fit perfectly but can be more expensive.
- Aftermarket Replicas: Cost-effective alternatives that mimic OEM design. Quality varies; some use inferior adhesives or plating that may fade over time.
- Custom & Universal Fit Badges: Designed to fit multiple cars regardless of brand. Often made from aluminum or ABS plastic with strong 3M tape backing 🔧.
- Illuminated LED Badges: Feature built-in LEDs powered by tapping into the parking light circuit. Popular for luxury or modified vehicles.
- 3D Raised & Chrome Plated: Offer depth and shine, commonly used for sporty or aggressive styling themes.
- JDM-Inspired Emblems: Include brands like NISMO, HKS, or Enkei, appealing to enthusiasts who want a Japanese Domestic Market look.
Choosing between these depends on your goals: authenticity, cost savings, personalization, or enhanced nighttime presence.
Materials Used in Grille Badges
The durability and appearance of a grille badge depend heavily on its construction material. Here are the most common ones found across OEM and aftermarket products:
| Material | Pros | Cons | Best For |
|---|---|---|---|
| ABS Plastic | Lightweight, UV-resistant, low cost | Limited texture detail, prone to cracking in extreme cold | OEM replacements, budget-conscious buyers |
| Zinc Alloy | Durable, holds fine details, good weight feel | Can corrode if coating fails, heavier than plastic | Premium replicas, long-term installations |
| Aluminum | Corrosion-resistant, lightweight, ideal for engraving | Softer metal, scratches easier | Custom badges, brushed metal finishes |
| Chromed Steel/Plastic | High shine, classic look | Chrome peels over time, especially cheap plating | Restoration projects, show cars |
| Stainless Steel | Extremely durable, rust-proof | Expensive, limited availability | Marine environments, high-end builds |
For example, Honda SI models often use black-red ABS composite badges, while Ford trucks may have large oval chromed emblems made from injection-molded plastic with metallic overlay 1. Always check product specs for material composition, especially if you live in areas with harsh winters or coastal salt exposure.
How Do Grille Badges Attach? Mounting Methods Explained
One of the most frequently asked questions is: how do you attach a grille badge? The answer depends on the vehicle and badge type. Below are the primary attachment mechanisms:
- Clip-On / Snap-In System: Common in many Toyotas, Hondas, and older European models. The emblem has plastic tabs that snap into pre-drilled holes in the grille. Removal involves gently prying around the edges until it releases.
- Adhesive Backing (3M Tape): Widely used in universal fit and retrofit badges. High-strength double-sided tape ensures secure bonding. Surface prep is critical—clean with isopropyl alcohol and allow to dry fully before application 🧼.
- Bolt-On / Screw Mount: Found on larger emblems like those on Jeep Wranglers or Ram trucks. Requires access behind the grille to secure nuts or brackets.
- Magnetic Base: Rare but available for temporary use or test fitting. Not recommended for permanent installation due to vibration risks.
- Illuminated Wiring Harness: Adds complexity. Involves routing wires through the hood liner to connect to a power source, usually the side marker lights or fuse box ⚙️.
If you're replacing an existing badge, identify which system your car uses first. A mismatch can lead to improper fit or damage during installation.
Fitment: Will This Badge Fit My Car?
Fitment confusion is one of the biggest pain points for buyers. Just because a badge says “universal” doesn’t mean it will align correctly with your grille pattern or hood line. Key considerations include:
- Vehicle Make, Model, Year: Always verify compatibility. A 2018 Toyota Corolla badge won’t fit a 2023 model due to grille redesigns.
- Grille Shape and Curvature: Flat badges may not conform to curved grilles without warping or lifting edges.
- Center Logo Position: Misalignment ruins symmetry. Measure distance from top/bottom and centerline before applying adhesive.
- Size Dimensions: Compare diameter or width/height. A 9-inch Ford badge won’t suit a compact hatchback.
To avoid errors, refer to OEM part numbers when possible (e.g., Toyota part #75311-AA030 for certain Camry models). Aftermarket sellers sometimes list compatible models, but double-check reviews or contact support for confirmation.
DIY Installation: Step-by-Step Guide
Installing a grille badge yourself saves money and gives a sense of accomplishment. Follow this general process depending on the mount type:
For Adhesive-Mounted Badges 🛠️
- Open the hood and clean the area thoroughly with rubbing alcohol. Remove wax, dirt, and grease.
- Dry completely with a lint-free cloth.
- Test fit the badge without removing the tape backing. Use masking tape to temporarily hold it in place and check alignment from multiple angles.
- Peel off the protective liner and press firmly for 30–60 seconds. Apply even pressure across the surface.
- Avoid washing the car or driving at high speeds for 24 hours to let the bond cure.
For Clip/Snap-In Emblems 🔨
- Remove the old emblem by inserting a plastic pry tool around the edge and gently twisting.
- Inspect the clip sockets in the grille for cracks or deformation.
- Align the new badge’s tabs and push straight in until you hear a click.
- Do not force it—if resistance occurs, recheck orientation.
For Bolt-On or Illuminated Versions 🔌
- Access the backside of the grille—this may require partial disassembly.
- Feed bolts or wiring harness through designated holes.
- Secure with washers and nuts. For LED badges, splice into the parking light wire using butt connectors.
- Use zip ties to manage excess cable and prevent chafing.
- Test functionality before reassembling.
Videos demonstrating real-world installs (such as installing a TRD front grill emblem or upgrading to a Putco Luminix® unit) can help visualize the process 2. However, always adapt steps to your specific vehicle.
Cost Considerations: How Much Should You Pay?
Prices vary widely based on brand, material, and features:
- OEM factory badges: $15–$50
- Aftermarket plastic/emblem sets: $8–$25
- Metal or chrome-plated units: $20–$40
- Illuminated LED badges: $30–$70+
- Custom engraved aluminum: $40–$100
Higher price doesn’t always mean better quality—some budget badges last longer than OEM if installed properly. Look for UV protection, weather sealing, and reinforced backing. Avoid extremely cheap options with thin plastic or weak adhesive, as they may fail within months.
Common Problems and How to Avoid Them
Even experienced users run into issues. Here are frequent problems and solutions:
- Peeling Edges: Caused by poor surface prep or low-quality tape. Reapply with proper cleaning and higher-grade adhesive.
- Misalignment: Happens when eyeballing placement. Use measuring tools or templates.
- Faded Finish: UV degradation affects painted or plated surfaces. Choose UV-resistant coatings or stainless steel.
- Water Intrusion (for LED units): Seal connections with dielectric grease and heat shrink tubing.
- Scratches During Cleaning: Don’t use abrasive cloths. Clean gently with soapy water.
Customization Options and Trends
Many owners go beyond stock appearance. Popular trends include:
- Blackout kits for a stealthy look
- Color-matched emblems (e.g., red badge on red body)
- Personalized lettering or initials
- Skull, flame, or racing-themed inserts
- Interchangeable badge systems for rotating displays
Companies offer laser-cut aluminum or vinyl lettering that adheres directly to mesh grilles. While stylish, ensure removal won’t damage paint or leave residue.
Maintenance Tips for Longevity
To keep your grille badge looking sharp:
- Wash regularly with mild soap and water.
- Avoid high-pressure sprayers aimed directly at the edges.
- Apply wax carefully around—not directly on—chrome or glossy finishes to prevent buildup.
- Inspect annually for looseness, corrosion, or fading.
- Store spare badges in a cool, dry place away from sunlight.
Where to Buy Reliable Grille Badges
You can find grille badges at dealership parts departments, auto accessory stores, and online marketplaces. When shopping, prioritize sellers with clear return policies, detailed specifications, and customer photos. Read reviews focusing on durability claims and accuracy of fitment descriptions. Avoid listings with stock images only or vague language like “fits most cars.”
Final Thoughts: Making the Right Choice
Selecting the right car grille badge involves balancing aesthetics, durability, fitment, and installation effort. Whether restoring originality or personalizing your ride, take time to research the correct type for your vehicle. Check material quality, attachment method, and real-world feedback before buying. With proper care, a well-installed badge can last for years and significantly boost your car’s presence on the road.
Frequently Asked Questions
❓ Can I replace a car grille badge myself?
Yes, most replacements are DIY-friendly. Snap-in and adhesive-mounted badges require basic tools and careful preparation. Bolt-on or wired LED versions may need intermediate mechanical skills.
❓ How do I remove an old grille emblem without damaging the paint?
Use a plastic trim tool to gently pry around the edges. Work slowly and evenly to avoid scratching. If adhesive-backed, apply heat with a hairdryer to soften the bond before pulling.
❓ Are universal grille badges reliable?
Some are well-made and durable, but fitment isn't guaranteed. Measure your space and compare dimensions carefully. Look for models with adjustable backing or flexible bases.
❓ What causes a grille badge to fall off?
Main reasons include improper installation, degraded adhesive from UV exposure, impact from car wash brushes, or manufacturing defects in clips.
❓ Can I make my own illuminated grille badge?
Yes, with basic electrical knowledge. You’ll need an LED ring, waterproof housing, wiring, and a power tap. Kits are available, or you can modify an existing badge using silicone sealant and proper insulation.




 浙公网安备
33010002000092号
 浙B2-20120091-4