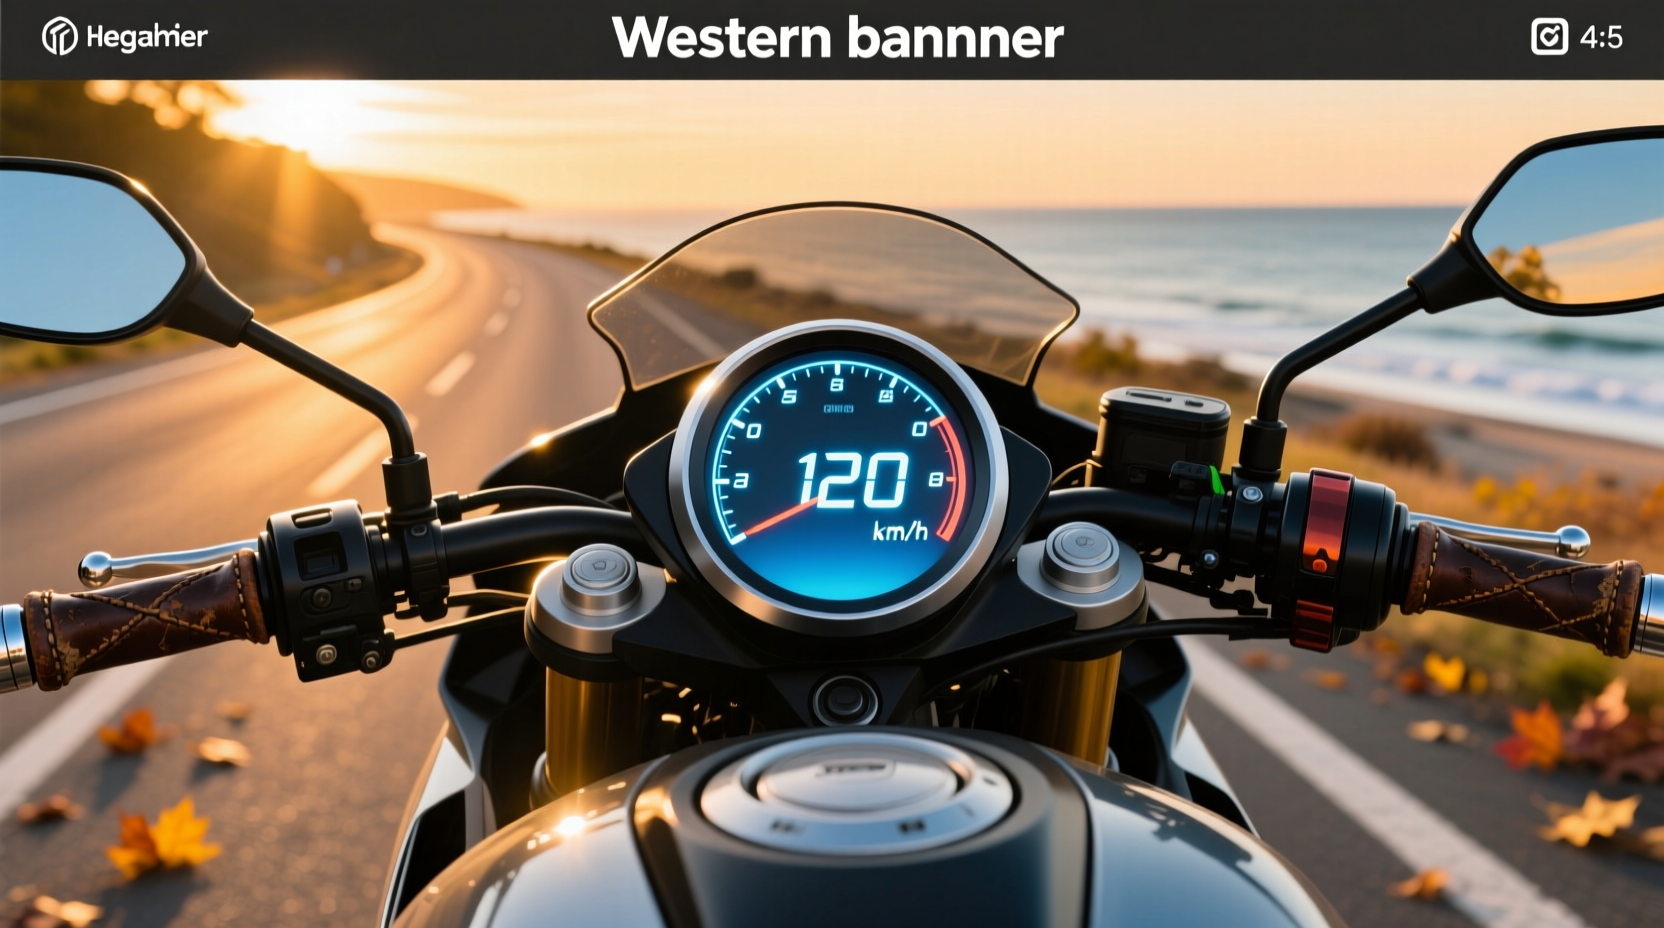
Upgrading to a digital speedometer for motorcycle can significantly improve ride clarity, accuracy, and customization—especially for custom builds, older bikes, or off-road machines with outdated analog gauges. Unlike factory-installed dials, universal digital units offer features like odometer reset, trip tracking, fuel level monitoring, and even tachometer integration—all in compact, easy-to-read LCD or LED displays. Whether you're replacing a broken gauge, building a cafe racer, or adding redundancy for long-distance touring, understanding the differences between GPS-based and sensor-driven digital speedometers is essential for proper fitment, calibration, and long-term reliability.
Why Upgrade to a Digital Speedometer on a Motorcycle?
Motorcycle riders are increasingly turning to digital instrumentation for both practical and aesthetic reasons. Traditional mechanical speedometers rely on cable-driven systems that can wear out, slip, or become inaccurate over time. In contrast, modern digital motorcycle speedometers use electronic sensors or GPS signals to deliver real-time data with higher precision. They also support additional functionalities such as dual trip meters, clock display, gear position indicators, and low-fuel warnings.
For DIY builders and restorers, one of the biggest advantages is compatibility. A universal digital speedometer can be adapted to almost any bike—regardless of make or model—as long as voltage requirements (typically 9–18V) and mounting dimensions align. This flexibility makes them ideal for choppers, scramblers, electric motorcycles, and kit bikes that lack OEM instrument clusters.
Types of Digital Speedometers: Sensor-Based vs GPS-Driven
When selecting a digital speedometer for your motorcycle, the first decision you’ll face is choosing between two primary technologies: sensor-based (hall effect or magnetic) and GPS-reliant models. Each has distinct pros and cons depending on your riding style, environment, and technical comfort level.
Sensor-Based Digital Speedometers
These units calculate speed using a small sensor mounted near the front wheel or transmission output shaft. A magnet attached to a rotating part (like the fork leg or axle) passes by the sensor, generating pulses that the speedometer interprets into speed and distance.
✅ Pros:🔸 Works without satellite signal — ideal for tunnels, urban canyons, or heavy tree cover
🔸 Faster response time compared to GPS
🔸 Often more affordable than GPS models
🔸 Compatible with most universal kits❌ Cons:
🔸 Requires precise installation and alignment of sensor and magnet
🔸 Accuracy depends on correct tire size input and sensor calibration
🔸 Susceptible to interference from metal debris or poor grounding
This type is commonly found in aftermarket universal kits sold under various brand names and is best suited for riders who want reliable performance without dependency on external signals.
GPS-Based Digital Speedometers
Instead of relying on physical sensors, these devices use Global Positioning System satellites to determine speed and location. They often come integrated with navigation features, ride logging, and smartphone connectivity.
✅ Pros:🔸 Extremely accurate speed readings regardless of tire size or drivetrain changes
🔸 No need to mount sensors or magnets — simpler mechanical setup
🔸 Can provide altitude, heading, and route tracking
🔸 Easy to transfer between motorcycles❌ Cons:
🔸 Signal loss in dense forests, underground passages, or tall buildings affects accuracy
🔸 Slight lag in speed updates during rapid acceleration/deceleration
🔸 Higher cost and increased power consumption
🔸 May require firmware updates or app pairing
Trail Tech and Koso are known manufacturers offering rugged GPS speedometers designed specifically for off-road and adventure riding1. These are excellent choices if you frequently ride in remote areas where traditional gauges may fail but still want accurate telemetry.
Key Features to Consider When Buying a Digital Speedometer
Not all digital gauges are created equal. To ensure you get the right unit for your needs, evaluate the following features before purchasing:
Voltage Compatibility ⚡
Most digital speedometers operate within a 9–18V DC range, making them compatible with standard 12V motorcycle electrical systems. However, some models designed for small engines or electric scooters may support lower voltages (6–10V). Always verify the operating voltage matches your bike’s system to avoid damage.
Display Type and Visibility ✨
The display should remain readable in direct sunlight and at night. Look for anti-glare LCD screens with adjustable backlighting (often white or blue). OLED displays offer superior contrast but may degrade faster under UV exposure. Some units include automatic brightness adjustment based on ambient light.
Mounting Options 📍
Universal digital speedometers typically come with standard 52mm or 60mm diameter housings that fit common gauge pods. For handlebar mounting, check whether the unit includes a rubber gasket and clamp-style bracket. Riders asking “is there a digital speedometer that can just be mounted onto the handlebars?” will find GPS models like those from Koso or Trail Tech particularly suitable due to their compact, self-contained design.
Water and Dust Resistance 🌍
Since motorcycles are exposed to rain, mud, and road spray, IP65 or higher ingress protection rating is recommended. This ensures the internal electronics stay dry even during prolonged wet rides.
Additional Functions 📊
- Odometer & Trip Meter: Standard on most units; look for non-resettable odometers if tracking resale value.
- Tachometer: Useful for performance tuning and shift timing.
- Fuel Level Input: Must be compatible with your bike’s sender unit resistance (e.g., 0–90Ω).
- Clock & Time Zone Settings: Especially helpful for touring riders crossing regions.
- Programmable Tire Size: Critical for calibrating speed accuracy after changing tire profiles.
Installation Process: Step-by-Step Guide 🔧
Installing a universal digital speedometer for motorcycle involves both mechanical and electrical steps. While exact procedures vary by model, the general process remains consistent.
- Disconnect Battery: Always start by disconnecting the negative terminal to prevent short circuits.
- Mount the Gauge: Secure the speedometer in its housing using the provided bezel and screws. Ensure it’s positioned for optimal visibility without blocking controls.
- Wire Power Connections: Connect red wire to switched 12V (ignition live), black to ground, and yellow (if present) to constant power for memory retention.
- Install Speed Sensor (for non-GPS models): Attach the hall-effect sensor near the front wheel using a bracket. Mount the magnet on the axle or disc bolt so it passes within 1–3mm of the sensor.
- Route Wires Safely: Use zip ties and protective sleeves to secure wiring along frame rails, avoiding moving parts or heat sources.
- Test Operation: Reconnect battery, turn on ignition, and spin the front wheel to verify speed reading.
- Calibrate Display: Enter setup mode (usually via button press) and input tire circumference or number of pulses per mile/km.
Improper calibration is a common cause of inaccurate readings. For example, installing larger tires without adjusting the speedometer settings will result in underreported speeds. Always refer to the manufacturer’s manual for specific calibration instructions.
Accuracy: How Reliable Are Digital Motorcycle Speedometers?
A frequent question among riders is: how accurate is my digital speedometer? The answer depends on several factors including sensor placement, tire condition, and signal quality.
In controlled tests comparing GPS devices with stock speedometers, discrepancies of up to 5–10% are common, especially on OEM gauges which are often programmed to read slightly high for legal compliance2. Digital aftermarket units, when properly calibrated, can achieve ±2% accuracy. GPS-based models tend to be more consistent across different bikes because they don’t depend on mechanical inputs.
To verify accuracy:
- Use a smartphone GPS app (such as Google Maps or RideWithGPS) alongside the speedometer.
- Drive at a steady 60 mph (or 100 km/h) on a highway and compare readings.
- Repeat test over multiple runs to average results.
If variance exceeds 5%, recalibrate the unit or inspect sensor alignment.
Common Issues and Troubleshooting Tips
Even well-installed digital speedometers can encounter problems. Here are the most frequent issues and how to resolve them:
No Display or Flickering Screen
- Check fuse and wiring connections.
- Verify stable voltage supply (should be ~12.6V engine off, ~14.4V running).
- Ensure ground wire is connected directly to clean metal surface.
Erratic Speed Readings
- Inspect sensor gap—adjust magnet to maintain 1–3mm clearance.
- Clean sensor tip from dirt or metallic shavings.
- Confirm correct pulse count setting in menu (varies by gear ratio).
Odometer Not Saving Mileage
- Some models require constant power (yellow wire) to retain memory.
- Battery-backed units may lose data if left unused for months.
Backlight Failure
- LED backlights can burn out; replacement may require soldering.
- Check dimmer circuit or ambient light sensor if auto-brightness fails.
Legal and Safety Considerations
In many jurisdictions, having a functioning speedometer is a legal requirement for road registration. Aftermarket installations must provide clear, visible speed indication. While GPS-only units are generally accepted, some regions require mechanical linkage for inspection purposes—verify local regulations before removing original equipment.
Additionally, placing the speedometer within natural line-of-sight reduces distraction. Avoid mounting too far forward or angled poorly, as this increases glance time away from the road.
Digital vs Analog: Which Is Better for Your Bike?
The choice between digital and analog isn't just about technology—it's about purpose and aesthetics.
| Feature | Digital Speedometer | Analog Speedometer |
|---|---|---|
| Accuracy | High (when calibrated) | Moderate (cable wear affects reading) |
| Customization | Multiple display modes, units, colors | Limited to dial design |
| Installation Complexity | Moderate (wiring + calibration) | Simple (mechanical cable connection) |
| Durability | Good (if sealed properly) | Excellent (fewer electronic components) |
| Aesthetic Appeal | Modern, tech-forward | Classic, vintage look |
Digital wins in functionality and adaptability, while analog retains charm and simplicity. For modern performance bikes or daily commuters, digital is usually the better option. For vintage restorations, maintaining an analog appearance might be preferable—even if internally upgraded with electronic sensing.
Cost and Value: What to Expect
Pricing for universal digital speedometers ranges from $25 to over $200, depending on features and build quality. Basic LCD models with odometer and backlight start around $30. Units with tachometer, fuel gauge, and Bluetooth connectivity can exceed $100. High-end GPS-enabled displays with mapping capabilities may cost $150+.
While cheaper options are attractive, consider long-term reliability. Low-cost units may use inferior seals, dim displays, or unstable firmware. Investing in a reputable design pays off in durability and serviceability.
Final Recommendations
Choosing the right digital speedometer for motorcycle comes down to matching the unit to your riding needs, bike configuration, and technical skill level. If you prioritize ease of installation and signal independence, go with a sensor-based model. If you want maximum accuracy and portability, choose a GPS version. Always confirm voltage compatibility, waterproof rating, and available mounting space before purchase.
Proper calibration and secure wiring are just as important as the hardware itself. Take time to set up the device correctly, and periodically verify its accuracy against a trusted GPS source.
Frequently Asked Questions
- Can I install a digital speedometer on any motorcycle?
- Yes, most universal digital speedometers work with any motorcycle as long as the voltage is compatible (typically 12V) and you can mount the gauge and sensor (or use GPS). You may need to adapt brackets or rewire connectors.
- Do digital speedometers need calibration?
- Yes, especially sensor-based models. You must input tire size or circumference to ensure accurate speed and odometer readings. GPS models are inherently accurate but may need time zone or unit adjustments.
- Are GPS speedometers more accurate than wired ones?
- Generally yes. GPS speedometers measure ground speed via satellite and aren’t affected by tire size, gear ratios, or sensor misalignment. However, they can lose signal in tunnels or dense canopy.
- How do I fix a speedometer that shows wrong speed?
- First, verify tire size and inflation. Then recalibrate the unit using the setup menu. For sensor models, check magnet alignment and gap distance. For GPS units, ensure clear sky view and updated firmware.
- Can I use a bicycle GPS speedometer on a motorcycle?
- Technically yes, but most bicycle GPS units aren’t built for high speeds, vibration, or weather extremes. Dedicated motorcycle GPS speedometers are more durable and support higher speed ranges (up to 199+ km/h).




 浙公网安备
33010002000092号
 浙B2-20120091-4