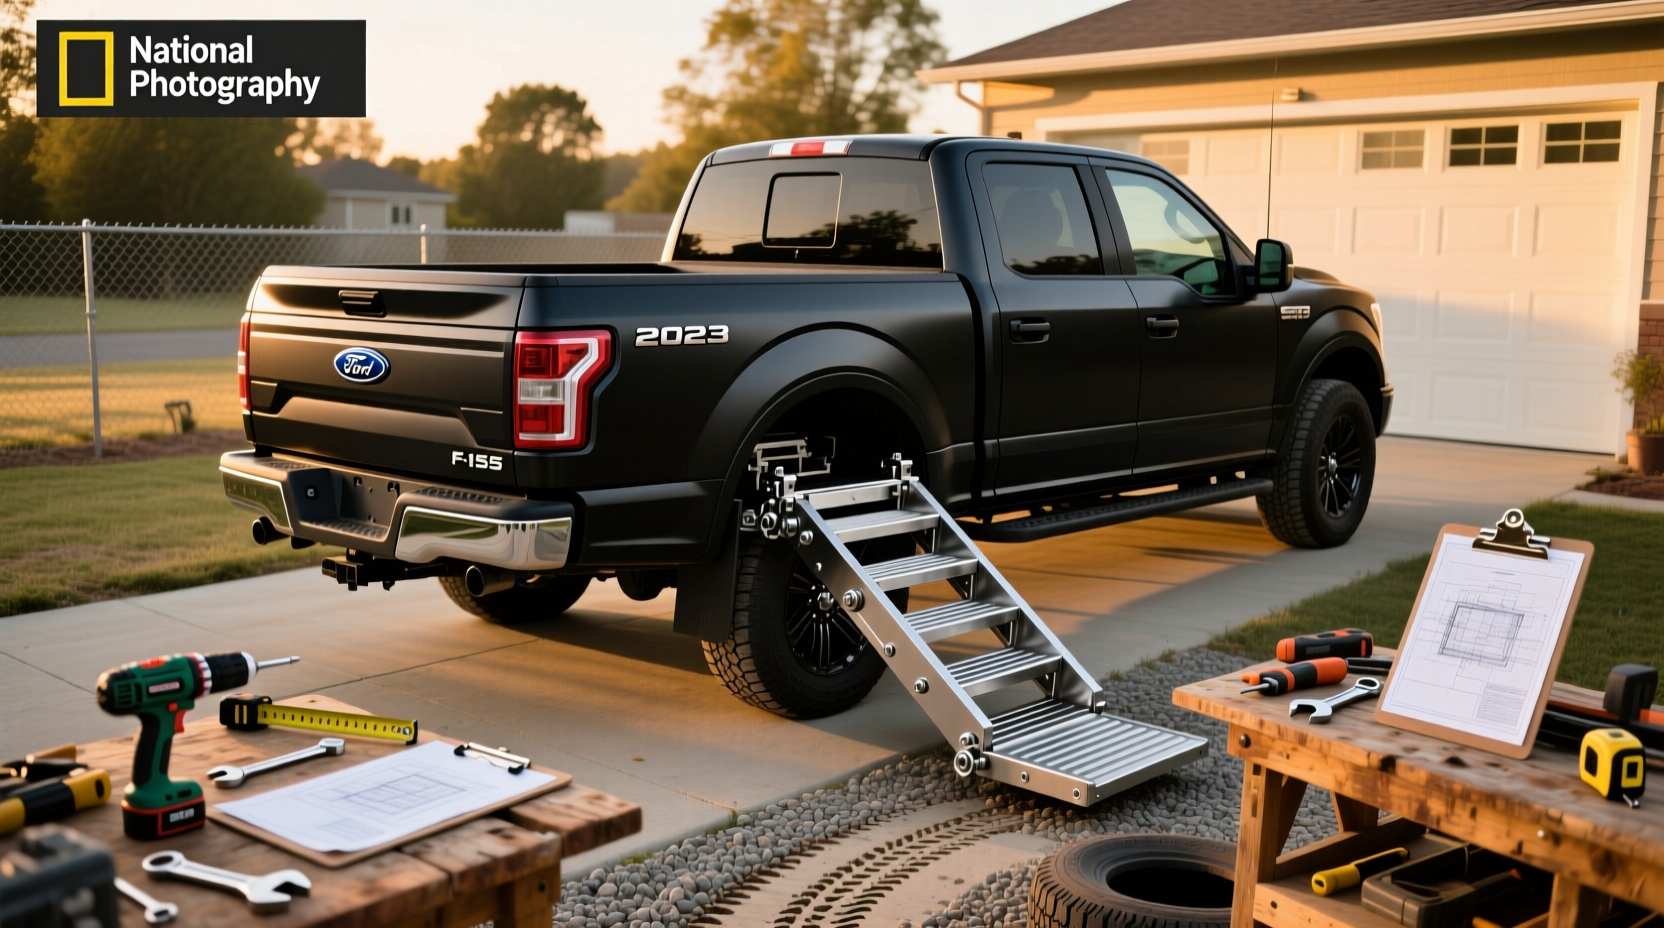
🛠️ Installing DIY retractable truck steps can significantly improve accessibility to high-clearance trucks, SUVs, or lifted pickups—especially for frequent passengers, older drivers, or those with mobility concerns. Unlike fixed running boards or basic fold-down steps, retractable systems offer a clean look when stowed and automatic or manual deployment on demand. This comprehensive guide walks through every phase of designing and building your own retractable step system from scratch, including material selection, mounting strategies, mechanical mechanisms, safety checks, and cost-effective alternatives. Whether you're modifying a daily driver or upgrading a work truck, this article delivers actionable insights to help you make informed decisions.
Why Consider DIY Retractable Truck Steps?
🚚 Modern trucks and off-road vehicles often sit higher than standard sedans or even SUVs. While this improves ground clearance and rugged aesthetics, it creates real-world challenges:
- Difficulty entering and exiting the cabin, especially for children or elderly passengers
- Increased wear on door hinges and interior trim due to forceful entry
- Reduced convenience when carrying tools, groceries, or gear
Commercial retractable steps are available, but they can be expensive and may not fit custom builds perfectly. A well-designed homemade retractable truck step offers a tailored solution that matches your vehicle’s dimensions, usage patterns, and budget.1
Understanding Retractable vs. Folding vs. Fixed Steps
Before diving into construction, it's essential to distinguish between different types of auxiliary steps:
| Type | Mechanism | Pros | Cons |
|---|---|---|---|
| Folding Hitch Step | Manual swing-out from receiver hitch | Low cost, portable, easy install | Exposes mechanism, less durable |
| Fixed Side Steps (Nerf Bars) | Permanently mounted under doors | Durable, always ready | Affects aerodynamics, prone to damage off-road |
| Retractable Electric Steps | Motorized slide or swing mechanism | Sleek appearance, automatic operation | High cost, complex wiring, maintenance needs |
| DIY Manual Retractables | Pivot arms, springs, or slide rails | Custom fit, lower cost, repairable | Requires fabrication skills |
🔧 For most DIYers, a manual retractable truck step using pivot arms and spring assistance strikes the best balance between functionality, durability, and simplicity.
Key Design Considerations for DIY Builds
When planning your project, several critical factors will determine success:
1. Vehicle Compatibility 🚘
Measure clearance between the rocker panel and ground. Most factory-installed steps deploy at 18–24 inches above ground level. Ensure your design doesn’t interfere with suspension travel, exhaust components, or fuel tanks. Lifted trucks may require longer arms or offset brackets.
2. Load Capacity ⚖️
A step should support at least 300 lbs (136 kg), ideally more if used by multiple people or heavy equipment users. Use structural aluminum (e.g., 6061-T6) or steel tubing (≥1.5 mm wall thickness). Avoid thin-walled decorative tubing.
3. Deployment Mechanism ⚙️
Common options include:
- Pivot Arm System: Hinged arms allow the step to swing down and lock in place. Can be assisted by gas struts or torsion springs.
- Sliding Rail: Step extends laterally from behind the rocker panel. Requires precise linear bearings or bushings.
- Cable-Actuated: Pull cable from inside cab releases latch; gravity lowers step.
For DIY applications, pivot arms are easiest to fabricate and maintain.
4. Weather Resistance & Drainage 💧
Steps must shed water quickly and resist corrosion. Include drain holes in platforms and use stainless steel fasteners. Powder-coated or anodized finishes enhance longevity.
5. Safety Locking Features 🔒
The deployed position must have a positive lock—such as a spring-loaded pin, cam lock, or over-center linkage—to prevent accidental retraction while stepping.
Materials and Tools Needed
🛒 Here’s a practical list for a basic dual-arm retractable step setup:
Core Materials
- Aluminum channel or square tube (1"–1.5") – for frame and arms
- Non-slip tread plate (textured aluminum or rubber insert)
- Stainless steel bolts, washers, and nyloc nuts (grade 304 or better)
- Gas struts or extension springs (for controlled lowering)
- Mounting brackets (fabricated or modified OEM-style)
- Weather-resistant pivot pins or hinge joints
Essential Tools
- Angle grinder with cutting and grinding discs
- Drill press or handheld drill with metal bits
- Welding machine (MIG recommended for aluminum/steel)
- Measuring tape, square, level
- Clamps and vise
- Safety gear (gloves, goggles, respirator)
Step-by-Step Build Process
Step 1: Measure and Plan Layout 📏
📍 Park the truck on level ground. Identify potential mounting points along the frame rail or rocker panel. Avoid areas near fuel lines, brake hoses, or electrical harnesses. Mark where the pivot arms will attach, ensuring symmetry and sufficient clearance during swing arc.
Step 2: Fabricate Pivot Arms 🔨
Cut two identical arms from structural tubing. Length depends on desired step depth and stowage clearance. Typical arm length: 12–16 inches. Weld gussets at stress points for added strength. Drill precise holes for pivot pins and step platform attachment.
Step 3: Build Step Platform 🛠️
Create a rectangular platform (approx. 10" x 18") using aluminum checker plate. Reinforce edges with angle iron if needed. Attach rubberized non-slip strips or perforated metal for wet-condition traction.
Step 4: Assemble and Mount Arms ⚙️
Attach arms to the vehicle using heavy-duty U-bolts or welded brackets. Ensure smooth rotation without binding. Test range of motion with temporary pins before finalizing mounts.
Step 5: Install Spring Assistance ⚡
Add gas struts (like those used in hatchbacks) or coil springs to assist deployment and cushion retraction. Position so tension helps lower the step but doesn’t cause uncontrolled drop.
Step 6: Add Locking Mechanism 🔐
Install a spring-loaded detent pin that engages when fully extended. Alternatively, use a magnetic catch or over-center toggle clamp for secure hold.
Step 7: Final Testing and Adjustments ✅
Perform load tests gradually. Apply weight up to 300+ lbs safely (using sandbags or calibrated weights). Check for flex, weld integrity, and ease of operation. Lubricate pivot points with marine-grade grease.
Common Mistakes to Avoid
- Underestimating Stress Points: Repeated stepping generates dynamic loads. Always reinforce joints and use proper gusseting.
- Poor Weather Sealing: Open-ended tubes trap moisture and rust. Seal ends or drill drain holes.
- Incorrect Pivot Geometry: If the swing arc hits tires or body panels, redesign arm length or mount position.
- Ignoring Legal Clearance Rules: In some regions, side extensions beyond certain widths may violate road regulations.2
- Using Inferior Fasteners: Zinc-plated bolts corrode quickly. Opt for stainless steel or galvanized hardware.
Alternatives to Full DIY: Hybrid Solutions
Not everyone has welding tools or fabrication experience. Consider these middle-ground options:
1. Modify Pre-Made Folding Steps
Some aftermarket folding hitch steps can be adapted to slide into a custom track mounted under the sill. This reduces fabrication time while still achieving a semi-retractable effect.
2. Use RV-Style Telescoping Steps
Available in manual or electric versions, these compact units deploy vertically and are designed for frequent use. They can be mounted sideways under the door jamb with minor modification.
3. Tire-Mounted Auto Steps
These clamp onto tire sidewalls and provide instant access without permanent modification. Ideal for occasional use or rental fleets.3
Maintenance Tips for Longevity
🧼 Like any mechanical component, retractable steps need periodic care:
- Inspect pivot pins and bushings every 6 months
- Lubricate moving parts quarterly with silicone or lithium grease
- Clean debris from tracks or hinges after off-road use
- Check welds annually for cracks, especially on lifted trucks
- Replace worn springs or struts promptly
Cost Comparison: DIY vs. Commercial Options
💰 Understanding the financial trade-offs helps justify the effort:
| Solution Type | Avg. Cost | Installation Time | Customization Level |
|---|---|---|---|
| Basic DIY Retractable Step | $80–$150 | 6–10 hours | High |
| Premium Electric Retractable Kit | $400–$900 | 2–4 hours | Low |
| Folding Hitch Step | $60–$120 | 15 minutes | None |
| Custom Fabrication Shop Build | $600–$1,200 | 1–2 weeks | Very High |
While commercial kits save time, DIY offers superior value for skilled builders and unique vehicle configurations.
When NOT to Attempt a DIY Retractable Step
❗ Despite the appeal of customization, some situations call for caution:
- No Access to Proper Tools: Without welding capability or metal-cutting tools, structural integrity cannot be ensured.
- Vehicle Under Warranty: Drilling or welding near frame members might void coverage—consult dealer first.
- Daily Heavy-Duty Use: Fleets or commercial operations benefit more from tested, certified products.
- Limited Mechanical Confidence: If unsure about load dynamics or material strength, opt for proven aftermarket solutions.
Final Thoughts
✨ Building your own retractable truck step system is a rewarding project that enhances both utility and personalization. With careful planning, quality materials, and attention to safety, a DIY approach can deliver performance comparable to high-end commercial units—at a fraction of the cost. The key lies in understanding mechanical principles, respecting load limits, and testing thoroughly before regular use.
Whether you're creating steps for a lifted Tacoma, a vintage Bronco restoration, or a family-friendly adventure rig, this guide provides the foundation to move forward confidently. Remember: the goal isn't just function—it's long-term reliability and peace of mind.
Frequently Asked Questions
- Can I build retractable truck steps without welding?
- Yes, but with limitations. You can use bolt-together aluminum extrusions or reinforced clamps. However, these may lack the strength of welded joints under repeated heavy loads.
- How do I prevent my DIY step from sagging over time?
- Use adequately thick tubing (minimum 1.5 mm walls), add gussets at connection points, and incorporate support struts or dual-arm designs to distribute load evenly.
- Are retractable steps safe in icy conditions?
- Safety depends on tread design. Use aggressive non-slip surfaces like grit-coated plates or replaceable rubber pads. Always clear ice buildup before use.
- Do retractable steps affect fuel efficiency?
- Minimally. When retracted, aerodynamic impact is negligible. Extended steps create slight drag, but the effect is minor compared to roof racks or open beds.
- Can I automate a DIY retractable step later?
- Possibly. Some builders retrofit 12V linear actuators or winch motors. Ensure the original structure can handle motor torque and include limit switches for safety.




 浙公网安备
33010002000092号
 浙B2-20120091-4