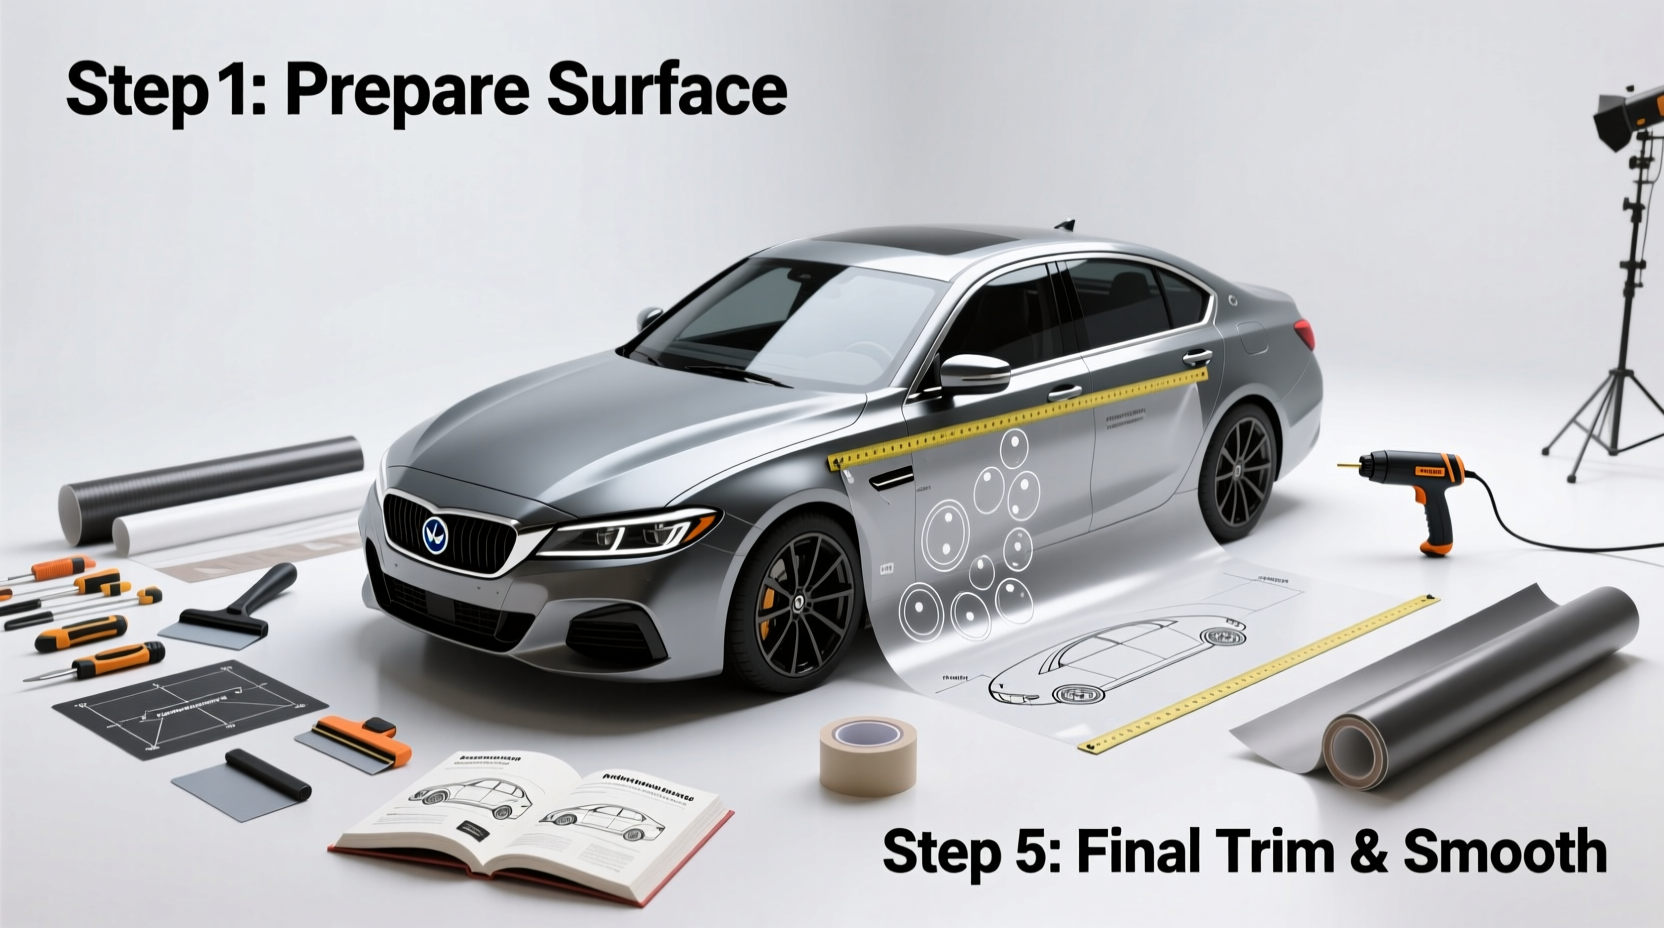
If you're looking to transform your car's appearance without spending thousands on paint, doing a do-it-yourself car wrap is one of the most cost-effective and customizable options available. A successful DIY car wrap not only protects your factory paint but also allows for bold color changes, matte finishes, or even custom graphicsâall from your driveway. With the right tools, patience, and preparation, average car owners can achieve professional-looking results. This comprehensive guide walks you through every stepâfrom choosing vinyl types to application techniquesâso you can confidently complete your own DIY vehicle wrap.
Why Choose a DIY Car Wrap?
A DIY car wrap has gained popularity among car enthusiasts and budget-conscious drivers alike. Unlike traditional paint jobs that require sanding, priming, and multiple coats, wrapping involves applying adhesive vinyl film directly over the existing paint. This method offers several compelling advantages:
- Cost savings: Professional full wraps range from $2,000 to $5,000 depending on complexity and labor. A DIY approach typically costs between $300 and $800 for high-quality vinyl, making it significantly more affordable.
- Reversibility: One major benefit of wrapping over painting is that itâs non-permanent. You can remove the wrap later without damaging the original paint (assuming proper installation and removal).
- Customization: Wraps come in hundreds of colors, textures (like matte, gloss, satin, chrome), and patterns. Some brands even offer printed designs for unique personalization. \li>Paint protection: High-quality wrap films act as a protective layer against minor scratches, UV fading, and stone chips.
However, there are trade-offs. A DIY wrap demands time, precision, and attention to detail. Mistakes like bubbles, wrinkles, or improper adhesion can be difficult to fix and may compromise both aesthetics and durability.
Understanding Vinyl Wrap Types and Quality Levels
Not all wrap films are created equal. Choosing the right type is crucial for longevity and finish quality. Hereâs a breakdown of common vinyl categories:
| Type | Best For | Lifespan | Average Cost (per roll) |
|---|---|---|---|
| PVC Cast Vinyl | Full wraps, curved surfaces | 5â7 years | $80â$150 |
| PVC Calendared Vinyl | Flat panels, short-term use | 2â3 years | $40â$70 |
| Chrome & Holographic Films | Accent pieces, show cars | 3â5 years | $120â$200 |
| Matte Black/Gloss Colors | Popular aesthetic upgrades | 4â6 years | $90â$130 |
Cast vinyl is the gold standard for DIY car wraps because it conforms well to complex curves and resists shrinking over time. Itâs more expensive than calendared vinyl but essential for durable, long-term results. Brands like 3M, Avery Dennison, and Oracal are trusted by professionals and amateurs alike.
Essential Tools and Materials for a Successful DIY Wrap
Before cutting any film, gather the necessary tools. Skipping key items often leads to poor results. Below is a checklist of essentials:
- Vinyl wrap rolls â Measure your vehicle size to estimate needed footage (e.g., sedan â 50â60 ft²)
- Squeegees (plastic and felt-edged) â For smoothing and positioning
- Heat gun or infrared heater â Softens vinyl for stretching around contours
- Installation solution (slip solution) â Mix water with mild soap (or use pre-made solutions) to allow repositioning during application
- Cutting tools: Precision knife (X-Acto), Teflon tape edge trimmer
- Cleaning supplies: Isopropyl alcohol (IPA) cleaner, microfiber cloths, lint-free towels
- Tape measure and ruler â For accurate panel measurement
- Soft cloth towels â To dry surfaces without scratching
Optional but helpful: Panel sizer tool, masking tape for alignment guides, and a dust-free workspace.
Preparing Your Vehicle Properly
Proper prep is half the battle in any DIY car wrap project. Even the best vinyl will fail if applied over dirt, wax, or grease. Follow these steps:
- Wash thoroughly: Use automotive shampoo and clean all exterior surfaces. Avoid waxes or sealants.
- Decontaminate: Clay bar the surface to remove embedded contaminants like tree sap or industrial fallout.
- Degrease: Wipe down each panel with 50/50 mix of isopropyl alcohol and water. Let dry completely.
- Inspect for damage: Repair dents, rust spots, or chipped paint before wrapping. Vinyl wonât hide imperfectionsâit magnifies them.
- Work indoors: Choose a garage or covered area free from wind, dust, and direct sunlight. Ideal temperature: 60â80°F (15â27°C).
Allow at least 2â3 hours just for cleaning and drying. Rushing this stage increases the risk of lifting edges and trapped debris.
Step-by-Step Application Process
Now comes the actual wrapping. While full-wrap projects can take 2â5 days for beginners, breaking it into stages improves accuracy.
Step 1: Measure and Cut Panels
Use measuring tape to determine dimensions of each body panel. Add 2â3 inches extra on all sides for trimming. Pre-cut large sections like doors, hoods, and roofs ahead of time. Never stretch vinyl dryâalways apply using slip solution.
Step 2: Apply Slip Solution
Mist the cleaned panel and the adhesive side of the vinyl lightly with soapy water. This prevents premature sticking and allows sliding into position.
Step 3: Position and Squeegee
Peel back about 6 inches of liner and align the vinyl carefully. Use a plastic squeegee to press from center outward, pushing out liquid and air. Work slowly and avoid trapping bubbles.
Step 4: Heat and Stretch Around Curves
On rounded areas (fenders, bumpers), use a heat gun on low setting to soften the vinyl. Gently stretch and conform it using a felt-edge squeegee. Do not overheatâthis can cause shrinkage or adhesive failure.
Step 5: Trim Excess Material
Once the film is adhered and dried (wait 12â24 hours), use a sharp X-Acto knife or edge trimmer to cut along seams, windows, and moldings. A Teflon trimmer glides smoothly without scratching paint.
Step 6: Final Inspection and Burnishing
After trimming, go over all edges with a soft squeegee to ensure full adhesion. Inspect under bright light for missed bubbles or lifts. If needed, use a pin to puncture tiny bubbles and press flat.
Common Mistakes to Avoid When Doing a DIY Car Wrap
Even experienced DIYers make errors. Being aware of pitfalls helps prevent costly fixes:
- Rushing the cleaning process: Dust or oil residue causes delamination within weeks.
- Working in direct sunlight: Heat causes vinyl to expand during application, then contract laterâleading to gaps or puckering.
- Over-stretching film: Especially with cheaper vinyl, excessive pulling creates tension and eventual shrinkage.
- Improper overlap: Avoid placing seams over sharp edges or moving parts (like door jambs).
- Skipping test patches: Always test adhesion and shrinkage on a small hidden area first.
Another frequent issue is misjudging how much film to buy. Underestimating leads to visible joins; overbuying wastes money. Use online calculators or consult manufacturer charts based on your car model.
Regional Considerations and Climate Impact
Your geographic location affects wrap performance. In hot climates (Arizona, Middle East), UV exposure accelerates vinyl degradation unless UV-resistant films are used. Cold regions (Canada, Scandinavia) may see reduced adhesive strength in winter installations unless heated environments are used.
Some countries have legal restrictions on certain finishesâsuch as mirror chrome or neon colorsâthat could be mistaken for emergency vehicles. Always check local regulations before selecting your design.
Additionally, humidity impacts slip solution drying time. High-humidity areas may require longer curing periods before trimming.
Maintenance Tips After Installation
A DIY car wrap isn't maintenance-free. To extend its life:
- Hand wash onlyâavoid automatic car washes with brushes.
- Use pH-neutral cleaners; harsh chemicals degrade vinyl.
- Donât park under trees long-termâsap and bird droppings can stain or etch the surface.
- For matte finishes, use specialized matte-safe cleaners to prevent shine spots.
- Inspect edges monthly for lifting, especially after extreme weather.
With proper care, a DIY wrap can last up to five years or more before needing replacement.
When to Consider Professional Help
While many people successfully wrap their own cars, some situations call for expert hands:
- Complex vehicle shapes (e.g., supercars, trucks with bed liners)
- Desire for printed graphics or color-shifting films
- Limited time or workspace
- Concern about warranty implications (some dealers void paint warranties if wraps are improperly removed)
If youâre unsure, consider wrapping simpler parts yourself (like roof or hood) and hiring a pro for intricate areas.
Frequently Asked Questions (FAQs)
Can I wrap a car with dents or repainted panels?
No. Dents will remain visible, and uneven surfaces increase bubble risks. Repainted areas should cure for at least 90 days before wrapping to avoid off-gassing that weakens adhesion.
How long does a DIY car wrap last?
High-quality cast vinyl lasts 5â7 years with proper care. Calendared films last 2â3 years. Exposure to sun, salt, and abrasion reduces lifespan.
Is wrapping better than painting?
It depends on goals. Wrapping is cheaper, reversible, and faster. Painting offers deeper gloss and permanence but costs more and requires extensive prep work.
Can I remove a DIY wrap myself?
Yes. Use a heat gun to warm the film and peel slowly at a 45-degree angle. Any residual adhesive can be cleaned with IPA or commercial adhesive remover.
Does wrapping damage factory paint?
Generally noâif done correctly. However, very old paint (over 10 years) might lift during removal due to weakened bonding. Test a small area first.





 浙公网安备
33010002000092号
浙公网安备
33010002000092号 浙B2-20120091-4