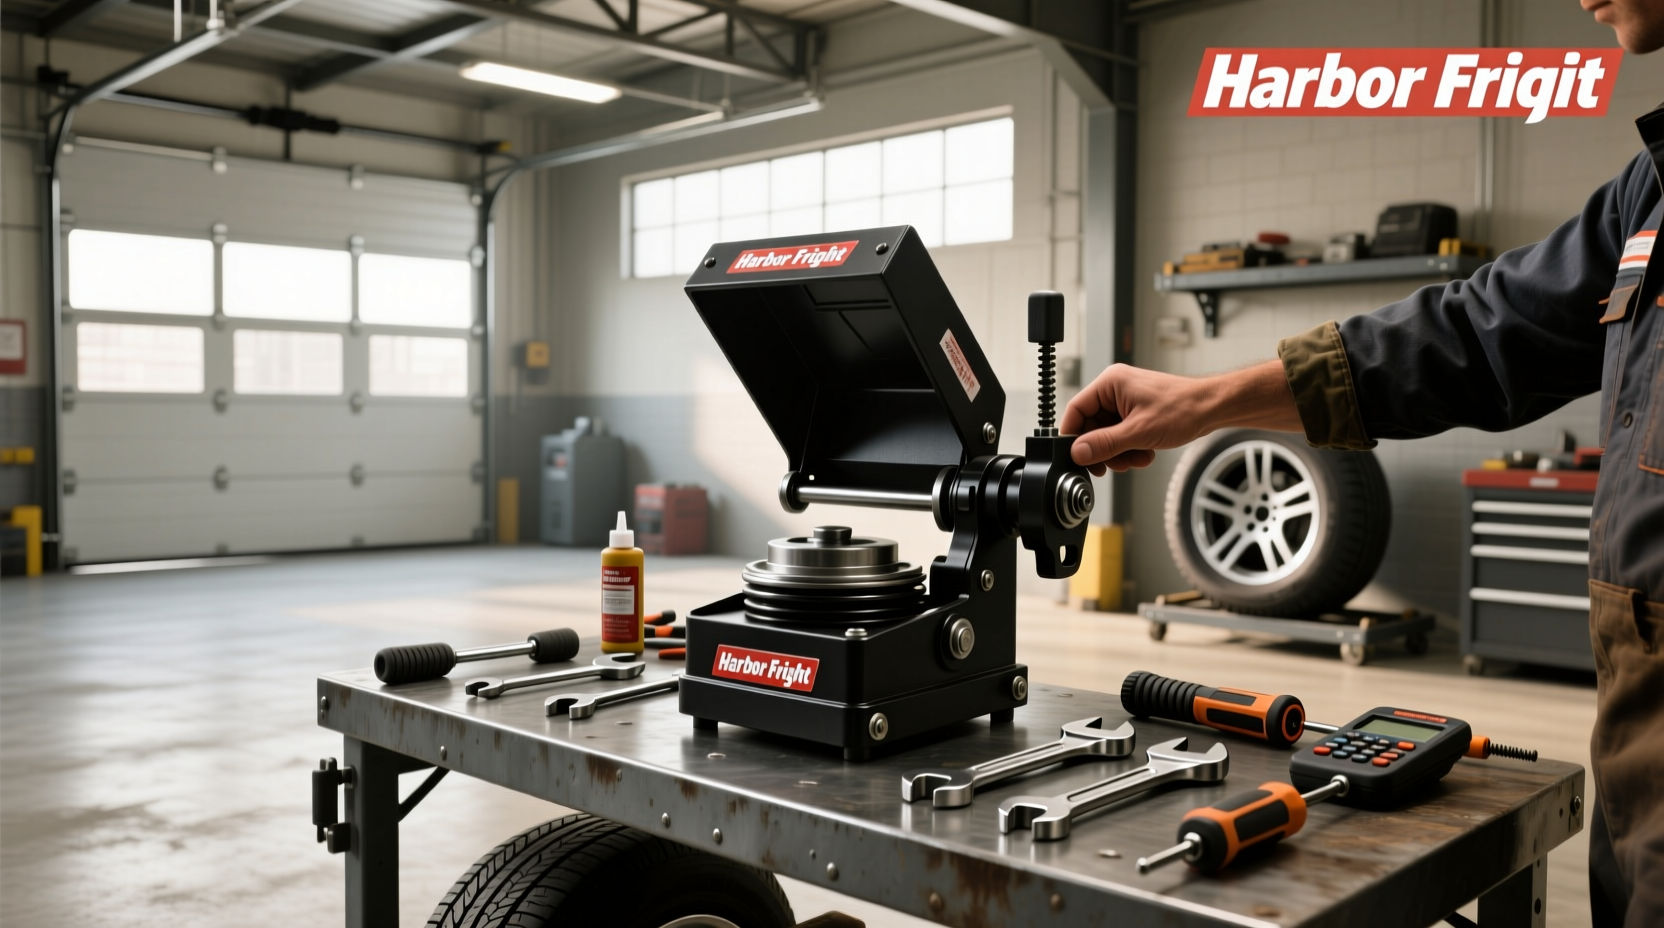
🔧 If you're maintaining ATVs, golf carts, or small off-road vehicles at home, the Pittsburgh Mini-Tire Changer (model 58920) from Harbor Freight is one of the most affordable entry points into DIY tire servicing. This manual tool is designed specifically for rims up to 10 inches in diameter, making it ideal for changing tires on lawn mowers, go-karts, pit bikes, and utility trailers without requiring air-powered equipment or professional help. While it’s not built for daily commercial use, it offers a functional solution for occasional home mechanics looking to save time and avoid service fees. In this guide, we’ll break down exactly how it works, who should consider buying it, what its limitations are, and how it compares to higher-end portable changers like Rabaconda or VEVOR models.
What Is the Harbor Freight Mini Tire Changer?
The Harbor Freight mini tire changer, sold under the Pittsburgh brand (model 58920), is a compact, manually operated device that assists in removing and reinstalling tires onto rims for small vehicles. Unlike full-size tire changing machines used in auto shops, this unit doesn’t require electricity or compressed air — everything is done by hand using leverage, proper lubrication, and mechanical clamping force.
🛒 It typically retails for around $60 and is available directly through Harbor Freight stores and their website. The design focuses on simplicity: a base stand, rim clamp, bead breaker arm, mounting/demounting spoon, and adjustable turntable. Its primary purpose is to reduce physical effort when dealing with stubborn tire beads and prevent rim damage during removal and installation.
Key Features and Specifications
- Rim Size Compatibility: Designed for wheels between 4" and 10" in diameter
- Tire Width Capacity: Handles tires up to approximately 3–4 inches wide (varies based on sidewall stiffness)
- Clamp Type: Manual screw clamp secures the wheel to the turntable
- Bead Breaker Mechanism: Lever-based system applies downward pressure to separate the tire bead from the rim flange
- Mounting/Demounting Tool: Integrated metal spoon with protective plastic tip to avoid scratching rims
- Weight: Approximately 15 lbs – lightweight and portable
- Assembly Required: Yes, but minimal; takes about 20–30 minutes with basic tools
This model does not support tubeless tire inflation systems or automatic centering arms. All operations must be performed step-by-step with user input and correct technique.
Who Should Consider This Tool?
✅ The Harbor Freight mini tire changer makes sense for homeowners or hobbyists who:
- Maintain multiple small vehicles (e.g., two lawn tractors, an ATV, and a golf cart)
- Currently change tires by hand using screwdrivers or pry bars (which risk damaging rims)
- Want to avoid recurring trips to repair shops ($20–$50 per tire change)
- Have moderate mechanical skills and patience for learning new tools
It’s particularly useful for those working with older equipment where tire rubber has hardened, making dismounting difficult without proper leverage.
Common Use Cases and Real-World Applications
📍 Many users report success using this tool for:
- Changing rear tires on zero-turn mowers
- Servicing 6"–10" wheels on utility trailers
- Replacing worn tires on children's dirt bikes (50cc–85cc)
- Rotating or repairing flat-resistant turf tires on small garden tractors
⏱️ One YouTube reviewer noted cutting tire change time from 40+ minutes per wheel (using improvised tools) down to about 20 minutes with proper lubrication and workflow 1. However, initial attempts may take longer as users learn positioning and leverage techniques.
Step-by-Step: How to Use the Harbor Freight Mini Tire Changer
- Deflate the Tire Completely – Remove the valve core to ensure no residual pressure remains.
- Break the Bead First – Position the bead breaker arm over the edge of the tire and apply steady downward pressure until both inner and outer beads release from the rim.
- Mount the Wheel on the Turntable – Place the rim onto the rotating plate and secure it tightly with the central clamp.
- Dismount One Side of the Tire – Rotate the wheel slowly while pressing the demounting spoon under the bead edge. Work your way around the circumference.
- Remove the Inner Tube (if applicable) – Inspect for punctures or wear.
- Install the New or Repaired Tire – Lubricate the bead and rim with soapy water. Start one side of the tire back onto the rim by hand, then use the mounting spoon carefully to finish seating.
- Inflate Off the Machine – Never inflate while the tire is mounted on the changer. Transfer to a rim clamp or safety cage before inflating.
🧼 Proper lubrication is critical. Dish soap mixed with water works well for reducing friction. Some users also recommend tire mounting gel for stiff sidewalls.
Advantages of the Harbor Freight Model
✨ Affordability: At under $60, it’s significantly cheaper than most portable changers.
🚚 Portability: Lightweight and compact enough to store in a garage corner or shed.
⚙️ No Power Needed: Fully manual operation means it can be used anywhere — no need for outlets or air compressors.
✅ Rim Protection: Plastic-coated tools reduce the chance of gouging aluminum or painted steel rims.
📋 Simplicity: Few moving parts mean less maintenance and fewer failure points.
Limits and Common Complaints
❗ Despite its value, the Harbor Freight mini tire changer has notable drawbacks:
- Limited Rim Diameter Support: Only suitable for rims up to 10", excluding many modern ATVs and UTVs.
- No Support for Wide or Stiff Tires: Aggressive all-terrain or heavy-duty trailer tires may resist mounting even with the tool.
- Build Quality Concerns: Made primarily from stamped steel and plastic components; some users report bent levers after repeated use.
- Learning Curve: Requires practice to avoid pinching tubes or breaking beads unevenly.
- No Safety Cage or Inflation System: Users must have separate means to safely inflate tires post-installation.
👥 Customer reviews on Harbor Freight’s site average 4.5 stars from over 130 ratings, but several mention needing additional tire irons or extra hands for larger tires.
Comparison With Other Portable Mini Tire Changers
To understand where the Harbor Freight model stands, here’s how it stacks up against similar products:
| Model | Price Range | Max Rim Size | Key Advantages | Drawbacks |
|---|---|---|---|---|
| Pittsburgh 58920 (HF) | $50–$60 | 10" | Low cost, simple setup | Limited capacity, basic materials |
| VEVOR Manual Tire Changer | $70–$90 | 16" | Supports car-sized tires, sturdier frame | Heavier, more complex assembly |
| Rabaconda Mini Changer | $399 | 17" | Ergonomic design, excellent for dirt bike tires | Expensive, niche application |
| Strongway 13473i (Walmart/Northern Tool) | $100 | 16" | Better build quality, wider compatibility | Less accessible than Harbor Freight |
As shown, the Harbor Freight option excels in price but falls short in versatility. For anyone working beyond 10" wheels, investing in a mid-tier model like the VEVOR or Strongway becomes necessary.
When NOT to Use This Tool
🚫 There are clear scenarios where the Harbor Freight mini tire changer isn’t appropriate:
- Tires Larger Than 10": Attempting to force-fit larger rims can damage the clamp mechanism.
- High-Performance or Run-Flat Tires: These often have extremely stiff sidewalls unsuitable for manual changers.
- Commercial Repair Shops: Not durable enough for repeated daily use.
- Tubeless Tires Requiring Seating: Without an air chuck or burst inflation method, resealing bead locks is challenging.
For these cases, semi-automatic or fully powered tire changers with hydraulic assist or flip-type designs are better suited, though they come at a much higher cost ($1,500+).
Tips for Getting the Best Results
- Use Soapy Water Liberally: Apply inside the bead and on the rim flange to reduce resistance.
- Work Slowly and Evenly: Don’t rush the demounting process — maintain consistent angle and pressure.
- Check Rim Condition: Pitted or corroded rims increase friction and make mounting harder.
- Add Extra Tools: Keep a set of tire levers nearby for tight spots the changer can’t reach.
- Store Indoors: Prevent rust on metal parts by keeping the unit dry when not in use.
Safety Precautions When Using Any Manual Tire Changer
⚠️ Tire work carries inherent risks due to stored energy in compressed air and strong rubber tension. Always follow these guidelines:
- Never inflate a tire while it’s still attached to the changer.
- Wear safety glasses to protect against flying debris.
- Ensure the wheel is securely clamped before applying force.
- Use a remote inflation setup (like a hose with a gauge and clip-on chuck) from behind a barrier if possible.
- Inspect tires for internal damage before reuse — bulges, cracks, or separated belts compromise safety.
Frequently Asked Questions (FAQs)
- Can I use the Harbor Freight mini tire changer on motorcycle tires?
- No, not reliably. Most motorcycles use rims larger than 10", and their tires often have tighter bead tolerances. This tool is best suited for smaller utility vehicles and mowers.
- Does the mini tire changer come with tire lubricant?
- No, it does not include lubricant. You’ll need to provide your own — a mixture of dish soap and water is sufficient for most applications.
- Is assembly difficult?
- Not especially. Assembly usually takes 20–30 minutes with a wrench and screwdriver. Instructions are included, though some users suggest watching online tutorial videos for clarity.
- Will it work on split-rim or dual-beadlock wheels?
- No. The Harbor Freight mini tire changer is intended only for single-piece, drop-center rims commonly found on small recreational and lawn equipment.
- Are replacement parts available?
- Limited. Harbor Freight offers some customer support for broken components, but availability varies. Keeping spare bolts or plastic tips on hand is advisable for long-term use.




 浙公网安备
33010002000092号
 浙B2-20120091-4