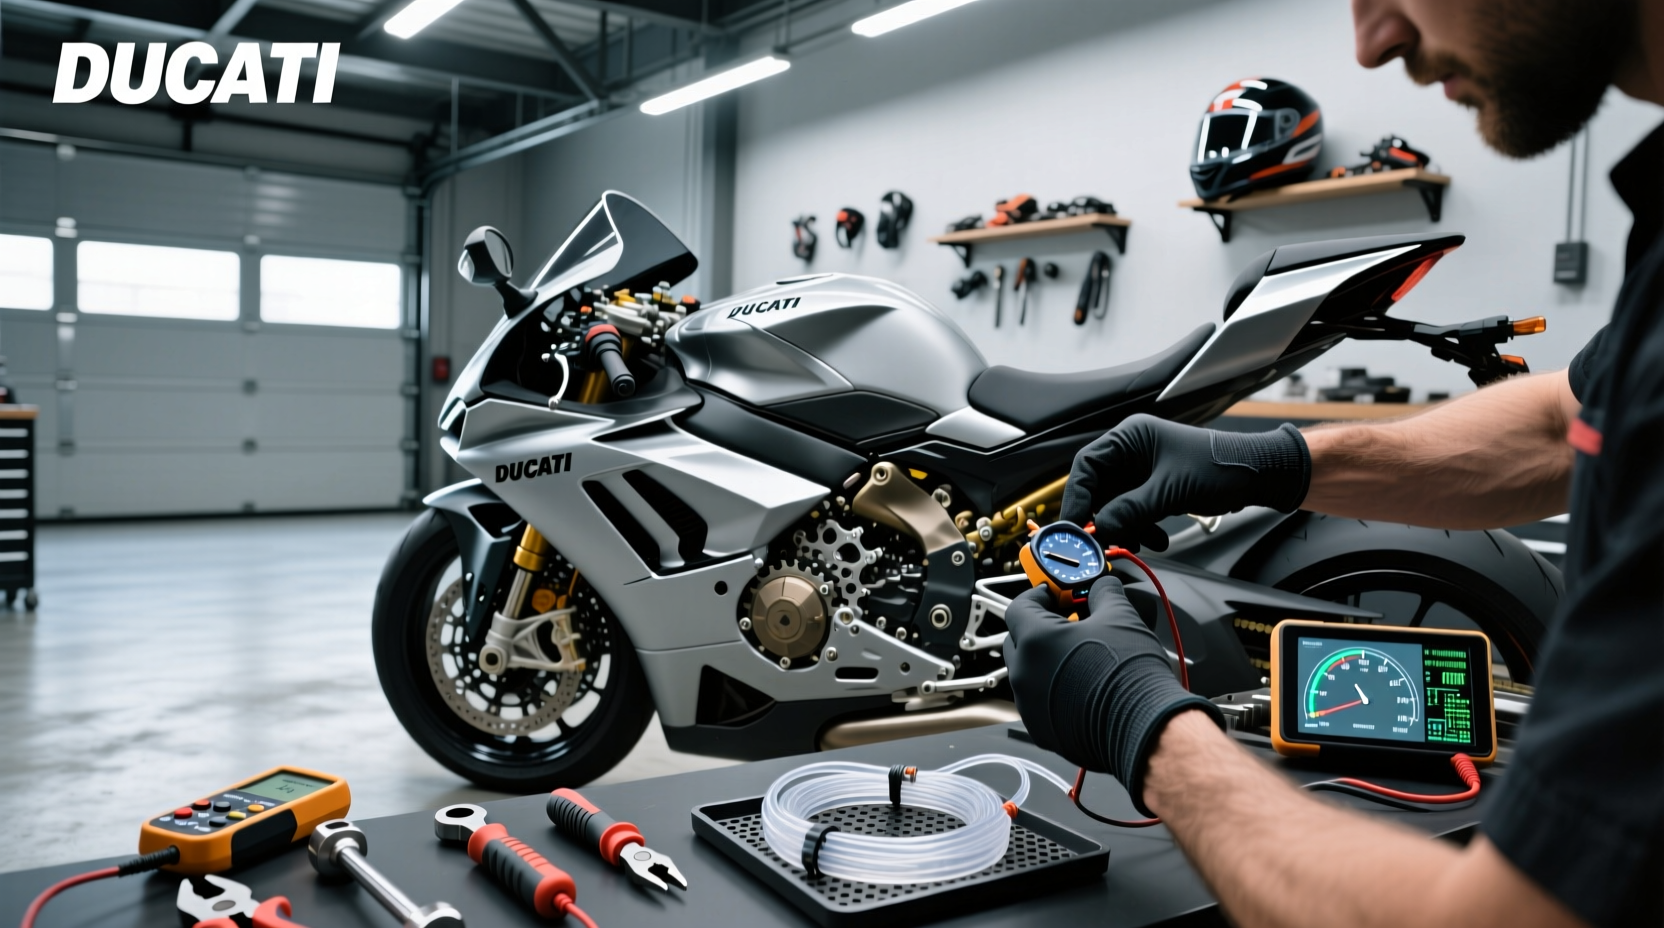
If you're wondering how to install a motorcycle gear indicator, you're not alone. Many riders seek a reliable way to add real-time gear position feedback to bikes that lack factory indicators. The most effective universal gear indicators use RPM and speed signal inputs to calculate current gear by analyzing the ratio between engine speed and road speed during operation 1. Installation is generally DIY-friendly but requires careful attention to wiring, compatibility, and sensor placement. This guide breaks down every step—from selecting the correct type of indicator to final calibration—so you can complete the job safely and accurately.
Why Riders Install Aftermarket Gear Indicators
Many modern motorcycles, especially sport bikes and cruisers, don’t come with built-in gear position indicators. While experienced riders often rely on engine sound and road feel, having a visual reference improves precision in urban traffic, low-speed maneuvers, or track riding. A gear indicator helps prevent missed shifts, reduces clutch wear from incorrect gear selection, and enhances overall situational awareness.
For commuters and touring riders, knowing your current gear without guesswork adds convenience. For performance riders, some advanced units integrate shift lights or data logging features. Whether you ride a Honda CB500F, Yamaha MT-07, or Harley-Davidson Sportster, adding a gear indicator can improve both functionality and confidence.
Types of Motorcycle Gear Indicators
Not all gear indicators work the same way. Understanding the differences ensures you select one compatible with your motorcycle’s electrical system and physical layout.
1. Speed & Tach Signal-Based Indicators ⚙️
This is the most common type for universal installations. These units connect directly to your bike’s speed sensor (usually near the front wheel or transmission output) and tachometer (RPM) signal wire. By continuously comparing engine RPM to vehicle speed, the device calculates which gear is engaged based on expected gear ratios.
✅ Pros: No mechanical modification required, works on most fuel-injected bikes
❗ Cons: May require calibration; accuracy depends on tire size and final drive settings
These are ideal for riders who want plug-and-play functionality without drilling or modifying stock components.
2. Transmission Sensor-Based Indicators 🔧
Some high-end or OEM-style systems read gear position directly from a multi-wire connector at the transmission. Each gear produces a unique resistance or voltage pattern across several wires. If your motorcycle already has this sensor (common on BMWs, some KTM models, and newer Japanese bikes), an aftermarket display can interpret these signals directly.
✅ Pros: Highly accurate, instant reading, no calculation delay
❗ Cons: Only works if your bike has the necessary harness; limited model compatibility
This method is less common in universal kits but offers superior reliability when available.
3. Magnetic Pickup / Hall Effect Sensors 🌐
A few specialized systems use a magnetic ring mounted inside the transmission cover and an external sensor to detect rotational changes linked to gear engagement. These are typically found in racing applications or custom builds.
✅ Pros: Direct mechanical sensing, extremely precise
❗ Cons: Requires invasive installation, not practical for street bikes
4. Plug-and-Play Modules for Specific Models ✅
Certain brands like HealTech and Koso offer model-specific versions (e.g., for Yamaha R6, Suzuki SV650) that tap into existing connectors under the seat or dash. These minimize wiring complexity and reduce risk of damaging stock looms.
When shopping, look for terms like “plug and play,” “OEM diagnostic port compatible,” or “harness included.” These significantly simplify installation.
Tools and Materials Needed for Installation 🧰
Before starting, gather the following tools and supplies:
- Wire strippers and crimping tool
- Heat shrink tubing or electrical tape
- Multimeter (for identifying signal wires)
- Zip ties or Velcro straps (for routing wires)
- Soldering iron and solder (optional, for stronger connections)
- Small screwdrivers and socket set
- Electrical grease (to protect connectors from moisture)
- The gear indicator unit and any included sensors or harnesses
Ensure your motorcycle battery is disconnected before beginning any electrical work to prevent short circuits or ECU damage.
Step-by-Step Installation Process ⏱️
Step 1: Identify Compatible Indicator for Your Bike
Check whether your motorcycle uses analog or digital instrumentation. Fuel-injected bikes after 2005 usually have accessible speed and RPM signals through the ECU or instrument cluster. Older carbureted models may need additional adapters.
Consult forums like r/motorcycles or owner groups specific to your make/model to see what others have used successfully 2. Look for posts discussing wiring diagrams or compatibility issues.
Step 2: Locate Signal Wires
Access the back of the instrument cluster or junction box under the seat/tank. Use a wiring diagram (if available) or a multimeter to identify:
- Speed Signal Wire: Often gray, black/white, or green/yellow—produces a pulsed signal as the wheel turns
- Tach Signal (RPM): Usually red/black or yellow—carries pulses proportional to ignition firing
Test while cranking the engine or spinning the front wheel to confirm activity.
Step 3: Tap Into Wires Safely
Use soldered joints or insulated piercing taps to connect to signal wires. Avoid cutting wires unless absolutely necessary. Wrap connections tightly with heat shrink tubing to prevent corrosion.
📌 Pro Tip: Keep splice points away from moving parts, exhaust components, and water exposure.
Step 4: Mount the Display Unit
Choose a location within clear view of the rider—common spots include above the speedometer, near the handlebar cluster, or integrated into a GPS mount. Use double-sided tape, adhesive brackets, or custom brackets depending on design.
Ensure it doesn’t block critical gauges or controls.
Step 5: Route Wiring Neatly
Run wires along existing loom paths using zip ties. Avoid sharp edges or areas subject to vibration. Seal entry points with silicone if passing through fairings.
Step 6: Power Connection
Connect the indicator’s power leads to a switched 12V source (ignition live) and ground to the frame or battery negative. Never draw power directly from sensitive ECU lines.
Step 7: Calibration
After powering up, follow the manufacturer’s calibration procedure. This usually involves riding through each gear at steady throttle and allowing the unit to record RPM vs. speed profiles.
🔁 Most systems require 2–3 full runs from first to sixth gear for accurate mapping.
Common Installation Mistakes to Avoid ❗
- Incorrect Wire Identification: Misreading speed or tach signals leads to erratic behavior. Always verify with a multimeter.
- Poor Grounding: A weak ground causes flickering or false readings. Clean metal contact point and ensure tight connection.
- Skipping Calibration: Without proper learning cycles, the unit cannot distinguish gears accurately.
- Exposing Electronics to Moisture: Even waterproof-rated units benefit from sealed connectors and upward-facing orientations.
- Using Non-Switched Power: Connecting to constant +12V drains the battery when parked.
Troubleshooting Common Issues 🔍
| Issue | Possible Cause | Solution |
|---|---|---|
| No Display | Power not reaching unit | Check fuse, wiring continuity, and ignition-switched source |
| Flashing or Flickering | Poor ground or unstable voltage | Reconnect ground to clean metal surface; test regulator output |
| Wrong Gear Shown | Improper calibration or tire size change | Recalibrate; update settings if tire diameter differs from stock |
| Only Shows Neutral and Top Gear | Missing speed signal input | Verify speed sensor connection and signal strength |
| Unit Resets Frequently | Battery drain or poor power filtering | Install inline fuse and check for parasitic draw |
Legal and Safety Considerations 🚫
In some regions, modifying dashboard displays or adding bright LEDs may fall under vehicle modification laws. Check local regulations before installing illuminated devices that could distract the rider or other road users.
Also, ensure no part of the installation interferes with steering, brake levers, or throttle operation. Any added weight or obstruction near controls increases accident risk.
Do You Really Need a Gear Indicator? 👥
While helpful, gear indicators aren’t essential for safe riding. Experienced riders develop muscle memory and auditory cues to identify gear position. However, they’re beneficial for:
- New riders building confidence
- Shared bikes where gearing habits vary
- Track days requiring precise shift timing
- Bikes with close-ratio transmissions prone to misshifts
If you frequently ride in stop-and-go traffic or teach new riders, a gear indicator adds value. Otherwise, consider whether the effort justifies the benefit.
Alternatives to Electronic Gear Indicators ✨
For riders hesitant about electrical modifications, alternatives exist:
- Shift Light Kits: Focus only on optimal upshift points using RPM thresholds.
- Digital Dash Upgrades: Replace entire instrument cluster with programmable units (e.g., AIM, Ducati Corse).
- Bluetooth Gauges: Devices like Coyote or Sena SPH10 offer basic gear estimation via app integration.
- Manual Techniques: Learn to estimate gear via engine note and road speed—free and always functional.
Final Thoughts and Recommendations 📋
Installing a motorcycle gear indicator is a manageable project for intermediate DIYers. The key success factors are choosing the right type for your bike, correctly identifying signal wires, and completing calibration thoroughly. Universal speed-and-RPM-based units offer broad compatibility but demand more setup than model-specific plug-in versions.
Always prioritize safety over convenience. Double-check all connections, route wires securely, and never compromise structural or electrical integrity. When done right, a gear indicator enhances your riding experience without introducing new risks.
Frequently Asked Questions ❓
- Can I install a gear indicator on any motorcycle?
- Most fuel-injected motorcycles support universal gear indicators using speed and RPM signals. Carbureted or older models may lack accessible signals, making installation difficult or impossible without adapter modules.
- How does a motorcycle gear indicator know what gear I’m in?
- It analyzes the ratio between engine RPM and road speed. Each gear has a predictable relationship between these two values, allowing the device to infer the current gear once calibrated.
- Do I need to calibrate a gear indicator after installation?
- Yes. Calibration teaches the unit the unique RPM-to-speed ratios of your motorcycle, including tire size and final drive. Skipping this step results in inaccurate readings.
- Will installing a gear indicator void my warranty?
- It might, if the dealer determines the modification caused a failure. To minimize risk, use non-invasive tapping methods and remove the unit before service appointments if needed.
- Are there wireless motorcycle gear indicators?
- True wireless models don’t exist because they still require wired connections to speed and RPM sensors. Some use wireless power (like GoPro batteries), but signal inputs remain hardwired.




 浙公网安备
33010002000092号
 浙B2-20120091-4