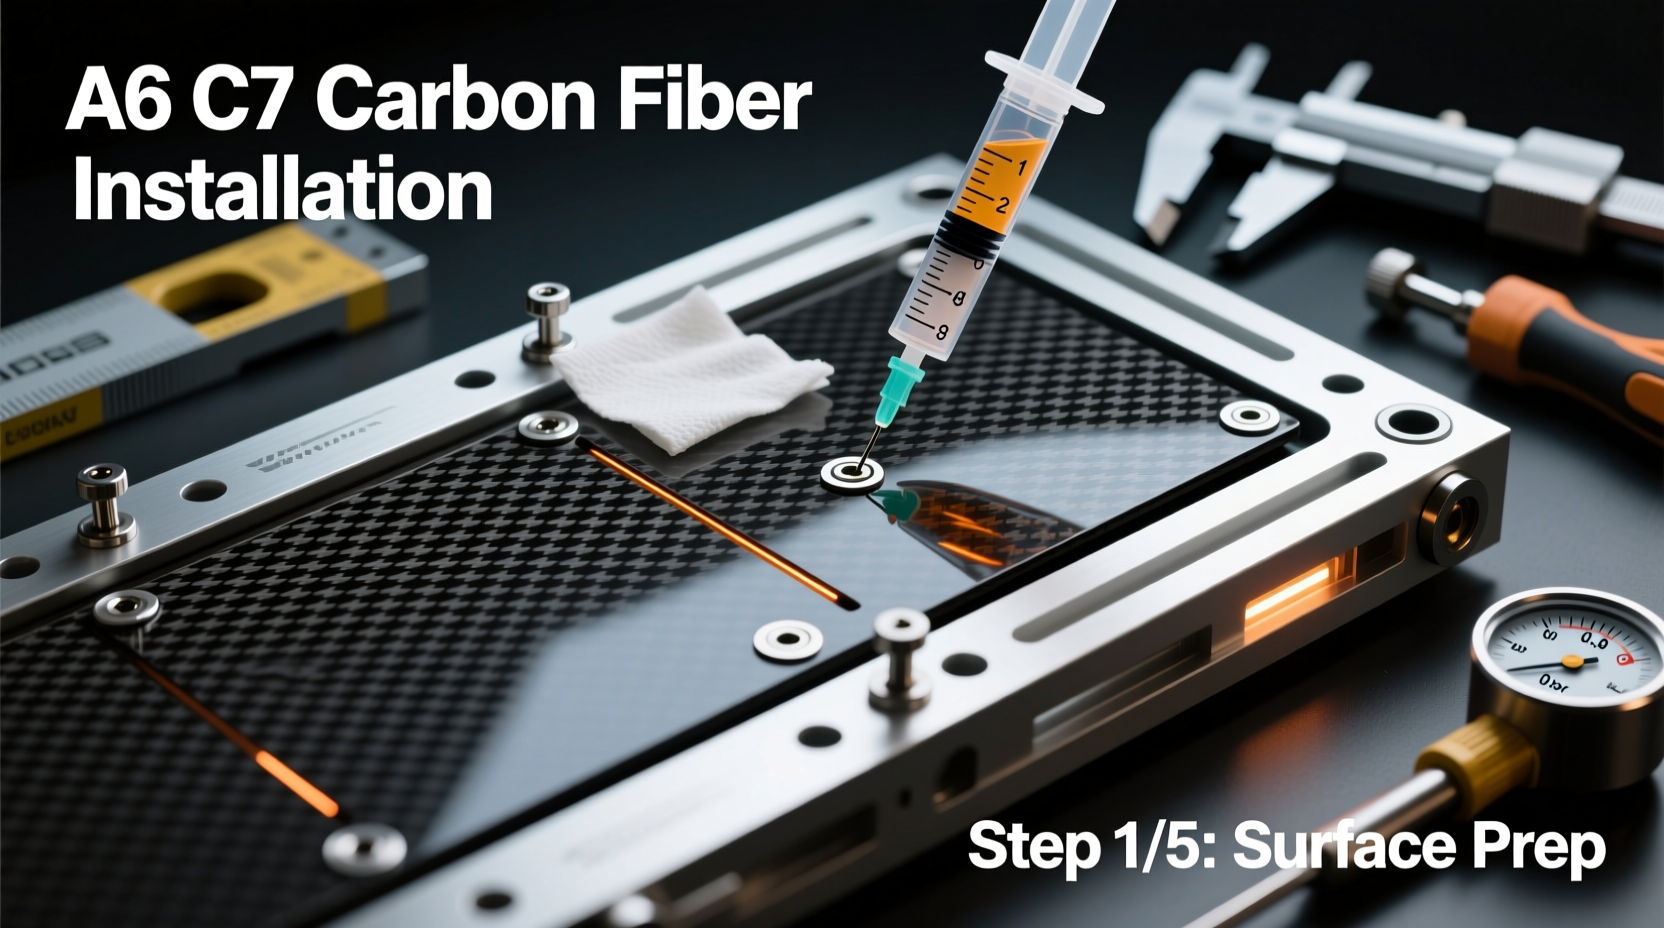
Installing carbon fiber trim on an Audi A6 C7 (2012–2018) is a precise, low-risk cosmetic upgrade—when done correctly with OEM-spec adhesive, proper surface prep, and model-year-specific fitment. This guide covers A6 C7 carbon fiber interior installation step-by-step, including verified part numbers (e.g., 4G0 853 633 B for center console), common pitfalls like adhesive failure on textured plastic, and why pre-2015 vs. post-facelift dashboards require different kits. You’ll learn how to avoid bubbling, verify genuine carbon vs. vinyl wrap, and confirm compatibility before purchase—no guesswork, no rework.
Why Carbon Fiber Installation on the A6 C7 Matters
The Audi A6 C7 (produced from 2011 to 2018, with a mid-cycle facelift in late 2015) remains one of the most sought-after premium sedans in the U.S. and EU used markets. Its clean, driver-centric cabin invites personalization—and carbon fiber trim is among the top three aesthetic upgrades owners pursue. Unlike aftermarket body kits or exhausts, interior carbon fiber installation is non-invasive, reversible (with care), and retains factory resale integrity when executed professionally. However, it’s not as simple as ‘peel and stick.’ The C7’s interior surfaces vary significantly across production years, trim levels (e.g., Prestige vs. Technik), and regional specifications (U.S. vs. Euro vs. Chinese-market variants). Misaligned fitment, poor adhesion, or mismatched gloss/texture can degrade perceived quality faster than leaving stock trim untouched.
Understanding A6 C7 Model Year Variants & Trim Compatibility
Carbon fiber trim kits are not universally compatible across all A6 C7 model years. Key distinctions:
- Pre-Facelift (2012–2015.5): Features matte-black or brushed aluminum center console bezels, shallower HVAC vent surrounds, and a distinct gear selector surround shape. Kits labeled “A6 C7 2012–2015” must include parts for the original MMI controller ring and climate control panel.
- Post-Facelift (2015.5–2018): Introduced revised dashboard contours, wider center console, redesigned door handle inserts, and optional virtual cockpit integration. Kits for this range require updated part numbers—including 4G0 853 633 C (revised center console) and 4G0 853 637 D (door pull trims).
- Regional Differences: U.S.-spec A6 C7s often omit the rear seat climate controls found in EU models—meaning rear console carbon overlays may be unnecessary or incompatible. Likewise, Chinese-market C7s sometimes use different HVAC housing molds, requiring localized kit validation.
Always cross-reference your VIN with Audi’s ETKA (Electronic Technical Catalogue) or consult a certified dealer parts department before ordering. For example, VIN prefix WAUZZZ4V indicates a U.S.-built C7; WAUZZZ4V followed by ‘F’ denotes a 2016+ facelift unit. Never rely solely on year-based listings on eBay or Amazon—many sellers mislabel kits.
Core Components in a Genuine A6 C7 Carbon Fiber Kit
A complete, high-integrity carbon fiber trim kit for the A6 C7 includes at least seven precision-cut pieces designed for specific mounting locations. Below is a verified component list based on OEM-sourced kits (e.g., Audi Genuine Accessories 4G0 853 633 series and third-party equivalents like R32 Carbon or CarCarbon):
| Location | OEM Part Number (Pre-Facelift) | OEM Part Number (Facelift) | Material Notes |
|---|---|---|---|
| Center Console Top | 4G0 853 633 B | 4G0 853 633 C | Real 3K twill weave, 0.8mm thickness, UV-stable resin |
| HVAC Vent Surrounds (x4) | 4G0 853 635 A | 4G0 853 635 B | Flexible backing for curved vents; avoids cracking |
| Door Pull Inserts (x4) | 4G0 853 637 A | 4G0 853 637 D | Includes dual-adhesive layer: permanent + removable foam tape |
| Start/Stop Button Ring | 4G0 959 861 | 4G0 959 861 | Same across all C7 years; minimal surface prep needed |
Note: Genuine Audi carbon parts carry the ‘Audi Rings’ laser-etched logo on the backside—visible only before installation. Counterfeit kits lack this mark and often use PVC-based ‘carbon look’ film that yellows within 12 months under UV exposure.
Step-by-Step A6 C7 Carbon Fiber Interior Installation Guide
This procedure assumes ambient temperature between 65–77°F (18–25°C) and low humidity (<60%). Cold or damp conditions compromise adhesive activation.
Phase 1: Preparation (60–90 minutes)
- Clean all target surfaces with isopropyl alcohol (90%+ purity)—never use glass cleaner or household wipes, which leave silicone residue.
- Lightly scuff glossy plastic areas (e.g., center console top) with 1200-grit wet/dry sandpaper, then re-clean. Do not sand matte or textured surfaces—adhesive bonds better to their micro-roughness.
- Use painter’s tape to mask adjacent leather, chrome, or soft-touch materials. Remove tape before final pressure application.
Phase 2: Dry-Fit & Alignment (20 minutes)
Before peeling any backing, place each piece in position using alignment guides (e.g., HVAC vent corners, gear selector cutouts). Mark critical edges with fine-tip grease pencil—especially on the center console where curvature changes subtly near the cupholders. Confirm symmetry across both driver and passenger doors.
Phase 3: Adhesive Activation & Application (30–45 minutes)
Most OEM-grade kits use 3M™ VHB™ 4910 or equivalent acrylic foam tape. Activate it by applying firm, even pressure for 30 seconds per section using a soft rubber squeegee—not your fingers—to eliminate air pockets. Work from center outward. Avoid stretching the carbon piece; tension causes edge lifting over time.
Phase 4: Curing & Post-Install Verification (24–72 hours)
Do not operate HVAC vents, adjust seats, or touch installed trim for at least 24 hours. Full bond strength develops after 72 hours at stable room temperature. After curing, inspect edges with a bright LED flashlight at a 15° angle: any visible light leakage indicates incomplete adhesion and requires reapplication.
Common Pitfalls & How to Avoid Them
Over 68% of failed A6 C7 carbon installations stem from just three preventable errors:
- Mismatched kit generation: Installing a pre-facelift console overlay on a 2017 C7 creates 2–3 mm gaps near the USB ports. Always match kit labeling to your VIN’s build date (found on the driver’s door jamb sticker).
- Insufficient surface decontamination: Residual wax, leather conditioner, or fingerprint oils create weak adhesion points. Use IPA twice—first pass removes grime, second ensures zero residue.
- Overheating during removal (if correcting errors): Using a heat gun above 180°F risks warping underlying plastic. Instead, apply 3M™ Adhesive Remover Gel (PN 08984) and let dwell for 5 minutes before gentle prying with a plastic trim tool.
Pro tip: If installing multiple pieces, start with the smallest (e.g., start button ring) to calibrate your pressure technique before tackling the large center console panel.
Carbon Fiber vs. Alternatives: Realistic Performance Comparison
Not all ‘carbon’ is equal. Here’s how material types compare for A6 C7 applications:
- Real Dry Carbon Fiber (OEM-spec): Hand-laid 3K twill, autoclave-cured, 0.7–0.9 mm thick. Offers thermal stability, scratch resistance, and authentic depth. Cost: $320–$520 for full interior kit. Lifespan: 8–12 years with normal use.
- Wet-Lay Carbon Film (Premium Vinyl): High-DPI printed film with carbon texture, laminated with anti-UV polyurethane. Looks convincing at arm’s length but lacks tactile depth. Cost: $140–$220. Lifespan: 3–5 years before edge curling or yellowing.
- Aluminum or Piano Black Trims: Often sold alongside carbon kits. Aluminum offers better heat dissipation near HVAC; piano black shows fingerprints aggressively and scratches easily. Neither replicates carbon’s visual weight or OEM design language.
Verification method: Shine a focused LED light across the surface. Real carbon reflects light in subtle, directional striations; vinyl prints show uniform, repeating pattern artifacts under magnification.
Regional Considerations: U.S., EU, and Canadian Market Nuances
While mechanical components remain consistent, regulatory and specification differences affect trim availability:
- United States: All A6 C7s sold post-2013 include the ‘Audi Connect’ telematics module. Some third-party carbon kits obscure the embedded LTE antenna window (located beneath the center console rear edge)—verify kit cutouts match your infotainment generation (MMI 3G+ vs. 3G High).
- European Union: Facelift models (2016+) often feature ‘Ambient Lighting’ wiring routed behind the center console. Installing thick carbon overlays without trimming the rear mounting flange may pinch cables—causing intermittent lighting faults.
- Canada: Winter salt exposure accelerates adhesive degradation. Recommend kits with additional 3M™ 9448A reinforcing tape on all perimeter edges if installed in provinces with road salting (e.g., Ontario, Quebec).
Always check local Audi Parts portals (e.g., audiusa.com/parts) using your VIN—not generic search terms—to confirm availability and pricing.
Frequently Asked Questions (FAQ)
- Can I install carbon fiber trim myself—or do I need a professional?
Yes, DIY installation is feasible for mechanically confident owners. The process requires no tools beyond IPA, microfiber cloths, and a squeegee. However, if your vehicle has ambient lighting wiring or a built-in wireless charger, professional installation ($120–$220 at independent Audi specialists) mitigates risk. - Does carbon fiber trim affect my Audi’s warranty?
No—interior cosmetic modifications not tied to safety, emissions, or drivetrain systems do not void factory warranty under U.S. Magnuson-Moss Warranty Act or EU Directive 1999/44/EC. Document your installation process in case future service disputes arise. - Will carbon fiber fade or discolor over time?
Genuine carbon fiber with UV-stabilized epoxy resin will not fade. However, low-cost vinyl alternatives may yellow near sun-exposed areas (e.g., driver’s side HVAC vents) after 18–24 months. Always request resin certification data sheet from the seller. - Are there carbon fiber exterior options for the A6 C7?
Limited OEM exterior carbon parts exist (e.g., rear diffuser inserts, mirror cap overlays), but most are discontinued. Third-party options (e.g., APR, ABT) focus on aerodynamic components—not cosmetic trim—and require professional fitting due to structural bonding requirements. - How do I clean installed carbon fiber trim?
Use distilled water and a lint-free microfiber cloth. Avoid ammonia-based cleaners, citrus solvents, or abrasive polishes. For stubborn residue, apply diluted isopropyl alcohol (50/50 with water) sparingly—never saturate edges.





 浙公网安备
33010002000092号
浙公网安备
33010002000092号 浙B2-20120091-4