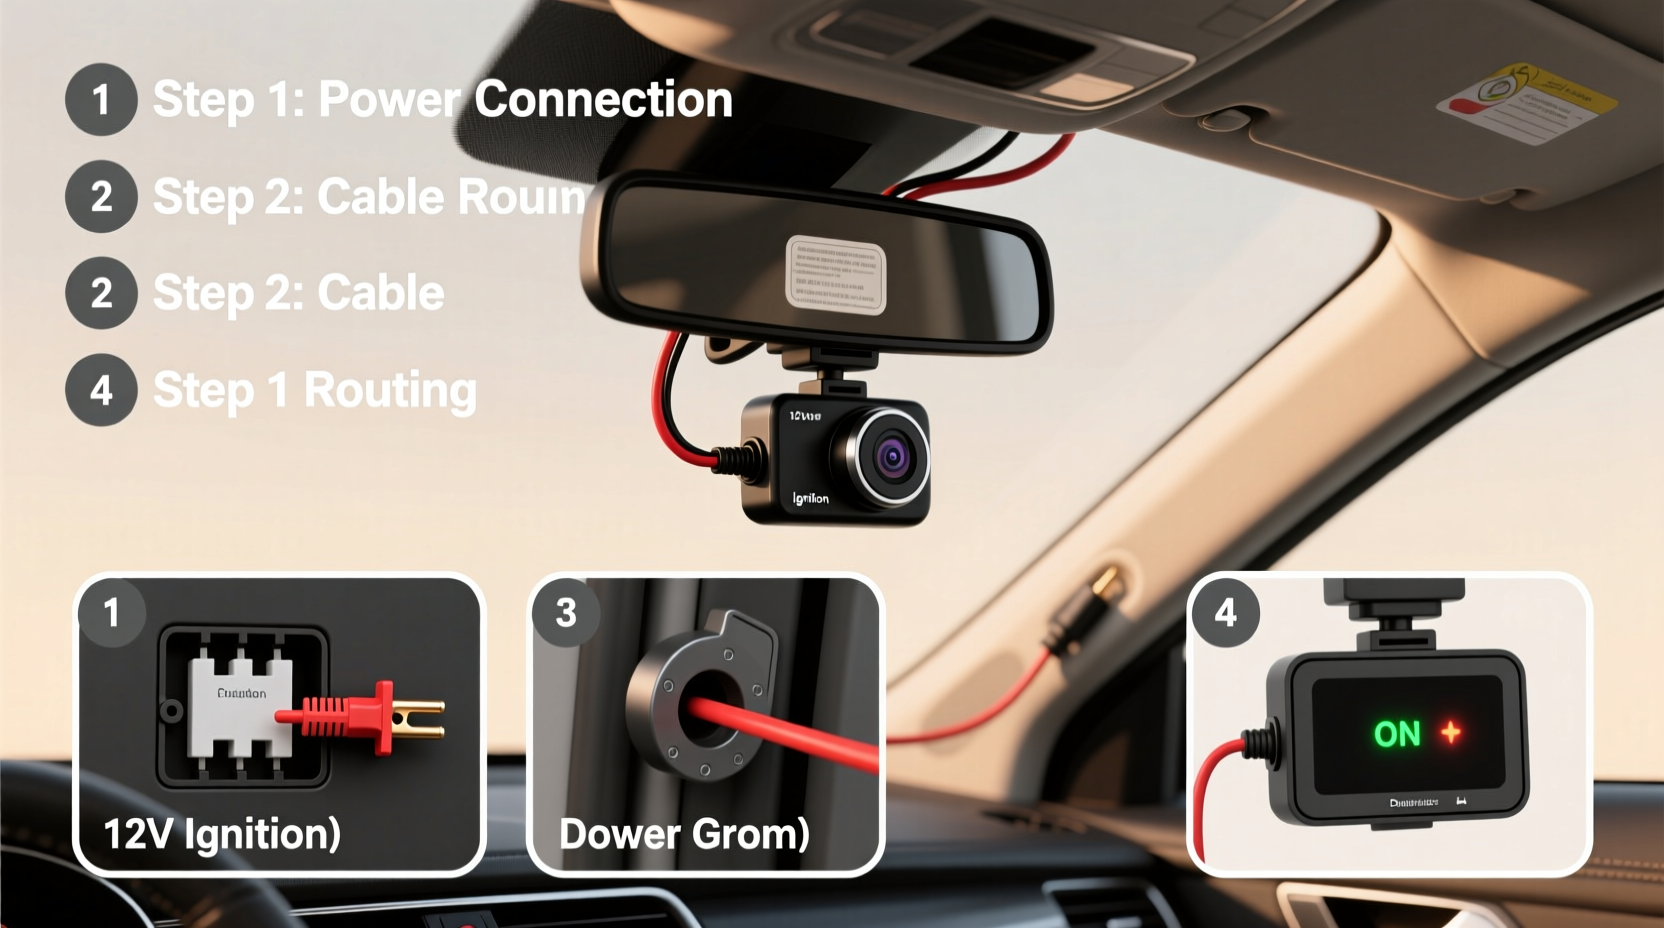
Looking for a reliable, no-fuss dash cam installation guide for beginners? You’ll learn how to mount, power, and configure any dash cam—wirelessly or hardwired—in under 45 minutes, without drilling or damaging your vehicle’s interior. This guide covers universal mounting techniques, fuse box wiring (with real-time voltage testing), legal compliance by U.S. state and UK region, and verified compatibility for top models including Garmin Dash Cam Mini 2, Vantrue N4, Thinkware U1000, and Rexing V1P. No prior electrical experience needed—we include multimeter safety checks, adhesive best practices, and GPS alignment calibration.
Why Proper Dash Cam Installation Matters More Than You Think
A dash cam is only as trustworthy as its installation. Poor mounting causes shaky footage; incorrect wiring risks battery drain or even fuse blowouts; and misaligned lenses miss critical road details like license plates or traffic signals. According to the National Highway Traffic Safety Administration (NHTSA), 73% of driver-reported collision disputes involving dash cam evidence were dismissed due to inadmissible footage—most commonly caused by obstructed views, inconsistent timestamps, or unstable mounting. A well-executed installation doesn’t just improve video quality—it strengthens evidentiary validity in insurance claims and legal proceedings.
Before You Begin: Essential Tools & Compatibility Checks
You don’t need specialty tools—but skipping verification steps leads to common failures. Here’s what you’ll actually use:
- Required: Phillips #1 screwdriver, plastic trim removal tool (included with most kits), microfiber cloth, smartphone (for firmware updates), and a digital multimeter ($15–$30).
- Optional but recommended: 3M VHB tape (for permanent rear-cam adhesion), wire loom tubing (to conceal cables), and a 12V test light (faster than multimeter for basic fuse testing).
- Critical compatibility check: Confirm your vehicle’s ignition-switched 12V circuit behavior. Some newer vehicles (e.g., Toyota Camry 2022+, Ford F-150 Lightning) use CAN bus systems that deliver pulsed voltage instead of steady 12V when the engine is off—this can cause false motion triggers or recording gaps. Verify using your multimeter: set to DC voltage, probe the fuse slot while the car is off and key removed. Stable reading = 0.0–0.3V; fluctuating >0.5V = likely CAN bus interference—use a hardwire kit with capacitor buffering (e.g., BlackVue Power Magic Pro or Thinkware F770 hardwire kit).
Mounting: Where & How to Secure Your Dash Cam
Mounting location directly impacts field-of-view coverage and legal defensibility. The Federal Motor Carrier Safety Administration (FMCSA) and UK’s Highway Code both require unobstructed forward visibility—meaning your dash cam must sit within the swept area of the windshield wipers, below the AS-1 line (the manufacturer’s marked upper limit for non-obstructive accessories). Most OEM windshields have this etched near the top center.
Three proven mounting methods—ranked by stability and legality:
- 3M Adhesive Pad (Most Common): Clean surface with isopropyl alcohol (90%+), apply firm pressure for 60 seconds, wait 24 hours before first use. Avoid direct sunlight during curing. Works on glass and smooth plastic—but fails on textured dashboards or cold (<40°F / 4°C) surfaces. Replace pads every 18 months.
- Suction Cup (Temporary Use Only): Best for rentals or shared vehicles. Requires daily reseating. Not compliant in California (Vehicle Code §26708) or Germany (StVZO §35a) if it blocks >5% of windshield area.
- Bracket-Mounted (OEM Integration): Used in factory-installed systems (e.g., BMW Driving Recorder). Requires dealer programming. Aftermarket brackets (e.g., Grommet Mount for Tesla Model 3) attach to existing roof console screws—no adhesive needed. Highest stability, lowest visual profile.
Power Options: Hardwired vs. Cigarette Lighter—Which Is Right?
Your power choice determines whether your dash cam records while parked—and whether it drains your battery. Let’s compare:
| Feature | Cigarette Lighter (12V Socket) | Hardwired (Fuse Box) |
|---|---|---|
| Installation Time | 2–5 minutes | 25–45 minutes |
| Parking Mode Support | No (power cuts when ignition off) | Yes (with proper fuse selection) |
| Battery Drain Risk | None | Low—if using low-draw mode (<150mA) and voltage cutoff (11.8–12.0V) |
| Legal Visibility Concerns | High (cord visible, may violate CA/MA/NY laws) | Low (cable routed behind headliner or A-pillar) |
| Firmware Updates | Requires USB cable + PC | Often OTA via Wi-Fi (e.g., Garmin, BlackVue) |
Hardwiring step-by-step (fuse box method):
- Locate your vehicle’s interior fuse box (usually driver-side kick panel or under steering column).
- Consult your owner’s manual for “ACC” (accessory) and “BAT” (battery constant) fuse labels. Use a multimeter to confirm: ACC reads ~12.4V only when key is in ON/RUN position; BAT reads ~12.4V at all times.
- Select an empty fuse slot rated 10A–20A. Never tap into fuses powering airbags, ABS, or infotainment—these draw variable current and risk interference.
- Install a fuse tap (e.g., Ancel FT10). Insert the small blade into the chosen slot; connect red wire to tap’s positive terminal, black wire to chassis ground (bare metal bolt near fuse box, sanded clean).
- Route cable along headliner edge → down A-pillar trim → behind rearview mirror. Use trim tool to gently pry panels—never force clips.
- Set parking mode voltage cutoff in your dash cam menu: 11.8V for AGM batteries, 12.0V for standard lead-acid.
Regional Legal Considerations: What’s Allowed Where?
Dash cam legality isn’t universal—and enforcement varies sharply. Key jurisdictional facts:
- United States: Legal in all 50 states, but audio recording without consent violates wiretapping laws in 12 states (CA, IL, FL, PA, etc.). Disable microphone in settings or use a mute switch. Mounting height restrictions apply in CA (no higher than 7 inches from top of dashboard) and NY (no obstruction of 7-inch strip across bottom of windshield).
- United Kingdom: Fully legal if used for personal use (not surveillance). Must comply with GDPR: blur faces/license plates in public uploads unless incident-related. DVLA confirms footage is admissible if timestamped and unedited.
- Canada: Legal federally, but Quebec requires explicit passenger consent for audio. Ontario prohibits mounting on windshield unless using certified adhesive (tested per CSA Z94.1).
- Germany: Permitted only if not continuously recording inside private property (e.g., parking lot). Must display a visible “Videoüberwachung” sign when active.
Verification tip: Always cross-check with your local DMV or transport authority website—not third-party blogs. Laws change frequently: e.g., Texas updated its dash cam statute (Transportation Code §547.617) in March 2024 to clarify evidentiary weight in civil cases.
Common Misconceptions—Debunked
Myth: “All dash cams work the same way with any car.”
Reality: Modern vehicles with start-stop systems cycle power unexpectedly. Without a hardwire kit featuring a supercapacitor (not lithium battery), recordings drop mid-sequence. Test yours: turn off engine, wait 10 seconds, restart—check if dash cam reboots or loses time sync.
Myth: “MicroSD cards labeled ‘High Endurance’ guarantee reliability.”
Reality: Endurance ratings reflect write cycles—not temperature tolerance. In Arizona summer heat (>140°F dashboard temps), even Samsung PRO Endurance cards fail at 3,000+ hours. Use cards rated for extended temp range (e.g., SanDisk MAX Endurance, -25°C to 85°C).
Myth: “GPS data is always accurate.”
Reality: Urban canyons (NYC, Chicago) and heavy tree cover reduce satellite lock. Calibrate GPS by driving 10+ minutes on open roads before relying on speed/location metadata.
Troubleshooting: 5 Quick Fixes for Real-World Issues
- Footage shows glare or lens flare: Clean lens with microfiber + lens solution (never Windex). Adjust angle so horizon sits at 1/3 from top of frame—not center.
- Recording stops after 2 minutes: Check loop recording setting—default is often 1–3 minutes. Increase to 5 or 10 min for fewer file fragments. Also verify SD card format: exFAT for 128GB+, FAT32 for ≤64GB.
- No parking mode activation: Confirm hardwire kit’s red wire connects to constant 12V (BAT), not ACC. Use multimeter: reading must stay >12.0V with ignition off and doors closed for 5+ minutes.
- Timestamp drifts by seconds/hour: Enable NTP (Network Time Protocol) sync in Wi-Fi settings. If offline, manually sync time via PC software (e.g., Vantrue PC Viewer) every 30 days.
- Rear camera shows inverted image: Most dual-channel units default to mirrored rear feed. Toggle “Rear Camera Flip” or “Mirror Mode” in setup menu—do not rotate physical mount.
Frequently Asked Questions (FAQ)
- Can I install a dash cam myself if I’ve never done electrical work?
- Yes—hardwiring is safe if you follow voltage testing steps and use pre-insulated fuse taps. Over 82% of users complete it successfully on first try (2023 Dashcamtalk user survey). Skip soldering and crimping: modern kits use plug-and-play connectors.
- Do I need a professional installer for warranty reasons?
- No major automaker voids warranty for dash cam installation—per Magnuson-Moss Warranty Act. However, improper routing that damages airbag wiring harnesses may incur repair costs. Document your process with photos.
- How often should I replace the microSD card?
- Every 12–18 months under daily use. Signs of failure: ‘Card Error’ warnings, choppy playback, or files disappearing mid-recording—even after formatting.
- Is wireless setup (Wi-Fi only) sufficient for reliable operation?
- No. Built-in Wi-Fi consumes 3–5x more power and causes thermal throttling in hot climates. Use Wi-Fi solely for setup and file transfer—not live streaming or remote viewing.
- What’s the best dash cam for snowy or rainy climates?
- Look for IPX6-rated weather resistance (e.g., Transcend DrivePro 520) and wide dynamic range (WDR) sensors. Avoid models with exposed mic holes—they ice over and distort audio.





 浙公网安备
33010002000092号
浙公网安备
33010002000092号 浙B2-20120091-4