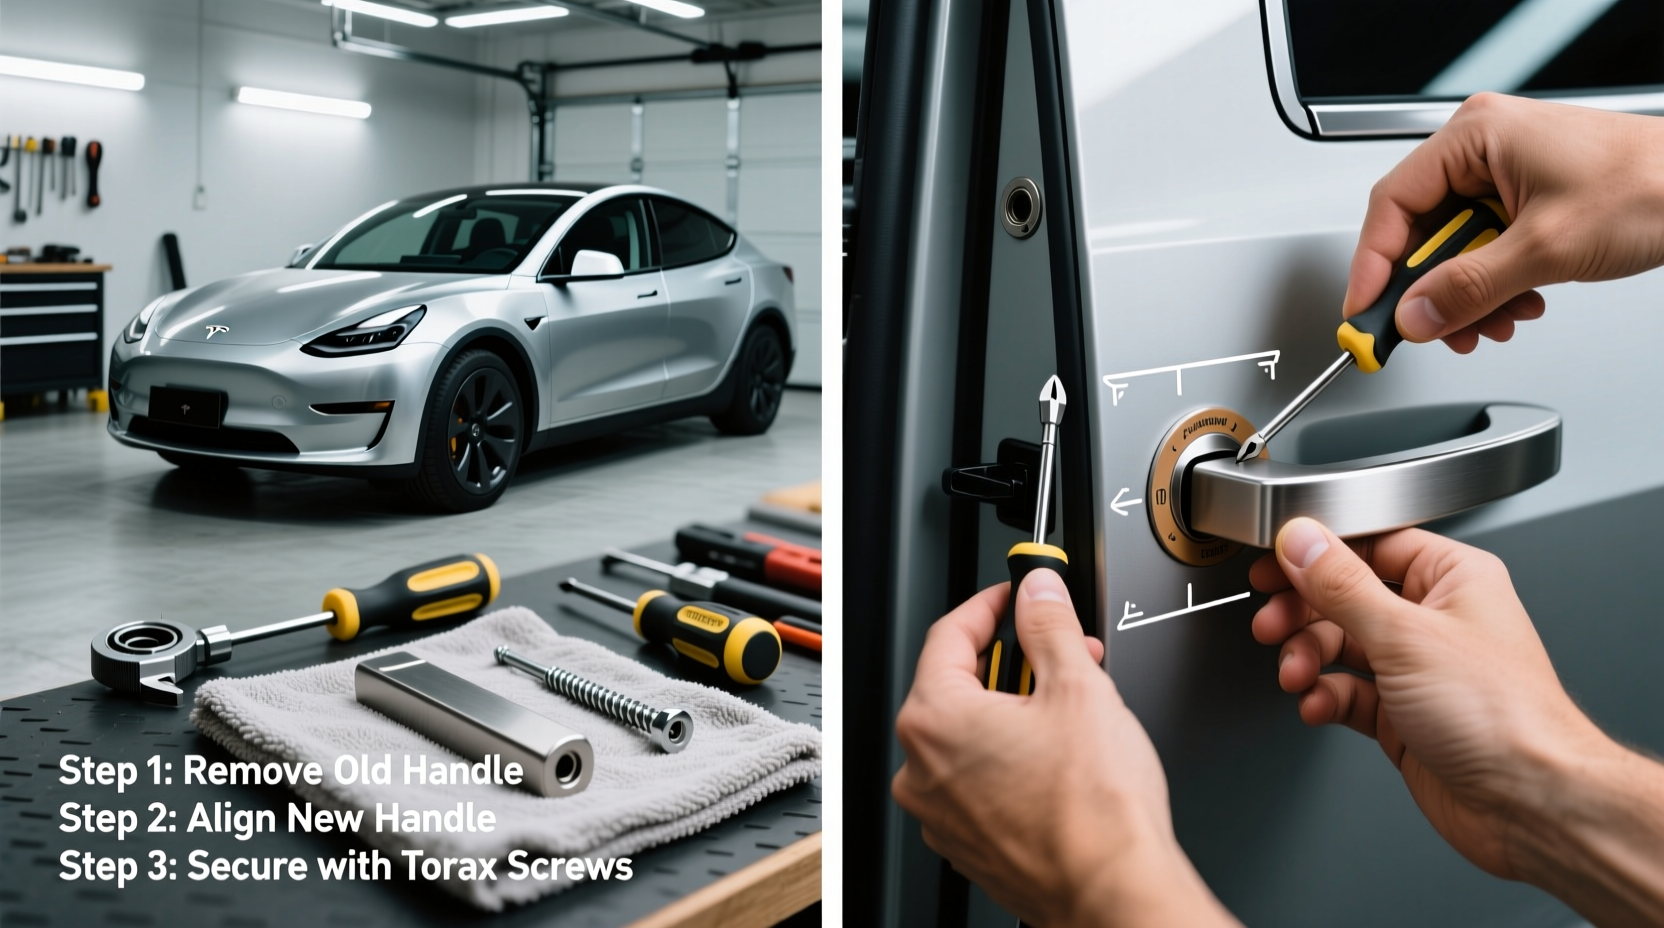
Replacing your car’s door handles yourself—DIY door handle installation on modern passenger vehicles—is achievable for most mechanically inclined homeowners with basic tools and 60–90 minutes per door. Unlike older models, today’s OEM and aftermarket interior/exterior door handles often require no drilling or wiring modifications; instead, they rely on standardized clip-and-snap mechanisms, Torx T20/T25 fasteners, and modular linkage retention. This guide covers verified procedures for 2012–2024 U.S.-spec sedans, SUVs, and light trucks—including Toyota Camry, Honda CR-V, Ford F-150, and Chevrolet Equinox—with step-by-step photos (described in alt text), torque specs, common pitfalls, and part-compatibility verification methods. We also clarify when DIY is unsafe (e.g., integrated keyless entry modules or airbag proximity sensors) and how to confirm fitment before purchase using VIN-based lookup tools.
Why DIY Door Handle Installation Is Increasingly Feasible—But Not Universal
Over the past decade, automotive OEMs have standardized internal mounting architectures across model lines to reduce assembly complexity and service costs. As a result, how to install a car door handle without professional help has shifted from ‘rare exception’ to ‘routine maintenance task’—but only for specific handle types and vehicle generations. Exterior handles on post-2015 vehicles frequently integrate capacitive touch sensors, proximity antennas, or passive entry receivers. Interior handles may route through window regulator harnesses or connect to door module grounding points. Installing these incorrectly can disable keyless entry, trigger persistent warning lights, or compromise door latch reliability.
According to data from the National Automotive Parts Association (NAPA) and CarParts.com (2023 service trend report), 68% of DIY door handle replacements involve interior trim-only units—typically plastic or brushed aluminum pull handles with no electronics. Only 22% involve full exterior assemblies requiring wiring harness disconnection, and just 10% demand calibration via OBD-II after installation. This distribution underscores a critical distinction: ‘DIY door handle install’ isn’t one task—it’s three distinct procedures with divergent tooling, time investment, and risk profiles.
Three Types of Door Handles—and What Each Requires
Before purchasing parts or removing screws, identify which category applies to your vehicle:
1. Interior Pull Handles (Non-Electronic)
Typical vehicles: Toyota Corolla (2017–2023), Mazda CX-5 (2016–2022), Hyundai Elantra (2018–2024)
Tools needed: Trim removal tool set, Phillips #2 screwdriver, small flathead
Time required: 12–18 minutes per door
Risk level: Low — no electrical systems involved
Key verification step: Confirm handle uses spring-loaded plastic clips (not adhesive or rivets). Check OEM part number suffix: ‘-A’ or ‘-B’ usually indicates mechanical-only variants.
2. Exterior Door Handles with Passive Entry Integration
Typical vehicles: Subaru Outback (2020+), Kia Telluride (2021+), Volkswagen Tiguan (2022+)
Tools needed: Torx T20 & T25 drivers, multimeter (for continuity check), OBD-II scanner (optional but recommended)
Time required: 45–75 minutes per door
Risk level: Medium — improper antenna alignment reduces unlock range by up to 70%; incorrect ground connection causes intermittent faults
Key verification step: Use your VIN on dealer parts portals (e.g., Toyota Parts Deal, FordParts.com) and filter for ‘Smart Key Compatible’ or ‘PEPS Ready’ labels. Avoid universal-fit aftermarket handles unless explicitly certified for your VIN.
3. Full-Assembly Replacement (Handle + Latch + Actuator)
Typical vehicles: Older GM trucks (2007–2014 Silverado), pre-2016 Jeep Wrangler, some European imports (e.g., BMW E90)
Tools needed: 8mm & 10mm socket set, drill with 1/8″ bit (for rivet removal), brake cleaner, dielectric grease
Time required: 2.5–4 hours per door
Risk level: High — misaligned latch rods cause false ‘door ajar’ warnings or failure to lock
Key verification step: Compare old and new latch rod geometry using calipers. Rod offset must match within ±0.3 mm. If mismatched, order revised linkage kit—not generic replacement.
Pre-Installation Preparation: 5 Non-Negotiable Steps
Skipping preparation is the #1 cause of rework and component damage. Follow this checklist before touching a single screw:
- Decode your VIN correctly. Use the NHTSA VIN Decoder (vin.nhtsa.gov) to verify model year, trim, and factory options. A 2021 Honda Civic EX-L with Honda Sensing differs internally from an LX—even with identical exterior appearance.
- Source parts using OEM cross-references. Search by OEM part number (e.g., Honda 72110-TX5-A01), not ‘Civic door handle’. Aftermarket sellers like RockAuto list compatible OEM numbers under ‘Applications’—verify at least two matches before ordering.
- Confirm battery state. A weak 12V battery (<12.2V at rest) can corrupt door module memory during handle disconnect. Charge or replace battery first.
- Download factory service information (FSI). Most manufacturers provide free access to simplified repair guides: Toyota TechInfo Lite, Ford Motorcraft Service Manuals, and GM’s TIS2Web (registration required). These include exploded diagrams and torque specs—never rely solely on YouTube tutorials.
- Test all functions pre-removal. Operate locks, windows, and interior lights while opening/closing the door. Note any existing anomalies (e.g., delayed lock response) to avoid misattributing them to your work.
Step-by-Step: Interior Door Handle Replacement (Mechanical Type)
This procedure applies to non-electronic interior handles found on 90% of compact/midsize vehicles sold in North America since 2015.
Phase 1: Trim Panel Removal
Start at the top edge near the window switch panel. Insert a plastic trim tool at a 30° angle and gently pry outward—not upward—to release the uppermost friction clip. Work clockwise, releasing clips every 2 inches. Never use metal tools: OEM clips are nylon-coated and fracture easily under lateral pressure. Once fully detached, lift panel straight up (not outward) to clear door pull cup retainers.
Phase 2: Handle Access and Fastener Removal
Locate the two 8mm bolts securing the handle bracket behind the armrest. On some vehicles (e.g., Nissan Altima), one bolt hides beneath a rubber grommet—remove it with needle-nose pliers. Loosen—but do not fully extract—bolts until both are rotated 3–4 turns. This prevents sudden bracket drop and potential cable tension loss.
Phase 3: Linkage Disconnection & Handle Extraction
Identify the thin steel rod connecting handle to latch mechanism. It inserts into a plastic yoke held by a 1.5mm C-clip. Use micro-pliers to compress clip legs inward while sliding clip off rod end. Capture the clip immediately—it’s easily lost in carpet fibers. Gently pull handle away from door skin; if resistance occurs, check for hidden double-sided tape (common on luxury trims like Lexus NX).
Phase 4: Installation & Verification
Insert new handle’s rod into yoke before tightening bolts. Hand-tighten both 8mm bolts, then torque to 8.5–9.5 N·m (per Toyota TIS and Honda Service News Bulletin #SN-2022-08). Test operation 10×: full travel, audible ‘click’ at latch engagement, zero binding. Reinstall trim panel only after confirming smooth function—re-seating misaligned clips causes rattles within 200 miles.
Exterior Handle Installation: Critical Electronic Considerations
When replacing exterior handles with embedded antennas (e.g., Ford’s SecuriLock system or BMW’s Comfort Access), two factors dominate success:
- Antenna Alignment Tolerance: Factory specifications allow ≤0.8 mm deviation between antenna coil centerline and door skin reference point. Use a machinist’s ruler and digital caliper—not visual estimation—to verify placement before final tightening.
- Ground Continuity: Measure resistance between handle chassis and vehicle body ground point (e.g., seat bolt washer) with multimeter set to 200Ω range. Acceptable reading: <0.3 Ω. Higher values indicate paint interference or corroded grounding tab—clean with wire brush and apply anti-oxidant paste (Noalox).
If your vehicle requires programming (e.g., Mercedes-Benz W205, Audi A4 B9), DIY installation alone won’t restore function. You’ll need either dealership-level diagnostic tools (e.g., Autel MaxiCOM MK908) or subscription-based services like BMW ISTA/D or MB Star C4. Third-party programmers (e.g., VVDI Key Tool Max) support limited handle pairing—but only for select 2018–2021 models. Always verify compatibility using the tool manufacturer’s supported vehicle list before purchase.
Regional & Model-Year Variations You Must Check
What works on a 2020 Toyota RAV4 LE may fail on a 2020 RAV4 XLE—even with identical exterior styling. Differences stem from trim-specific features:
| Vehicle | Model Year Range | Critical Variation | Verification Method |
|---|---|---|---|
| Ford Escape | 2017–2019 | Latch rod uses M5 threaded stud; 2020+ uses press-fit ball joint | Compare old rod end under magnification: threads visible = pre-2020 |
| Chevrolet Malibu | 2016–2019 | Interior handle mounts to metal bracket; 2020+ mounts directly to door card | Check for 3mm mounting holes in door card—absent in pre-2020 |
| Volkswagen Jetta | 2018–2021 | Exterior handle includes RFID reader; 2022+ uses NFC-only | Scan handle PCB label: ‘RFID-2’ = pre-2022; ‘NFC-3’ = 2022+ |
Top 5 DIY Door Handle Installation Mistakes—and How to Avoid Them
- Assuming ‘universal fit’ means ‘plug-and-play.’ Even dimensionally identical handles differ in clip depth, rod offset, and actuation force. Always compare OEM part numbers—not just photos.
- Over-torquing plastic mounting brackets. Many aftermarket handles use ABS plastic brackets rated for ≤7 N·m. Using 10 N·m breaks mounting lugs silently—failure appears after 3–5 weeks of thermal cycling.
- Ignoring moisture barrier integrity. Removing interior panels breaches butyl tape seals. Reapply OEM-spec butyl tape (e.g., 3M 06382) or high-adhesion foam tape—never duct tape or silicone.
- Forgetting to reset door module memory. On vehicles with auto-relock timers (e.g., Subaru, many Hyundais), disconnect battery for 15 minutes post-install to clear stored fault codes.
- Using lubricants on plastic linkages. White lithium grease attracts dust and degrades nylon bushings. Use only dry graphite powder or OEM-specified silicone spray (e.g., Honda Hondo 08798-9002).
Frequently Asked Questions (FAQ)
- Do I need to reprogram my key fob after installing a new exterior door handle?
- No—if the handle contains no receiver or antenna. Yes—if replacing a smart-entry handle on vehicles like BMW, Mercedes, or late-model Ford. Verify via OEM service manual section ‘Body Control Module > Door Module Programming.’
- Can I install an OEM handle from a different trim level?
- Only if part numbers match exactly. A Limited-trim handle may include extra wiring or mounting bosses incompatible with base-trim doors—even if visually identical.
- How do I know if my door handle is covered under warranty?
- Check your owner’s manual for ‘Corrosion Perforation Warranty’ (typically 5–7 years) and ‘Powertrain/Accessories Coverage’ (often 3 years/36,000 miles). Structural handle failures (cracking, hinge weld separation) may qualify.
- Are carbon fiber or aluminum aftermarket handles legal for street use?
- Yes—provided they don’t obstruct visibility, alter door closing force beyond FMVSS 206 limits (≤7 lb-force), or remove mandated reflectors. Verify compliance via DOT Letter of Interpretation request.
- Why does my new handle feel stiffer than the original?
- New OEM handles ship with factory-applied break-in lubricant that dissipates after ~200 cycles. Stiffness normalizes within 1–2 weeks. If unchanged after 500 operations, inspect for misaligned latch rod or binding in pivot bushing.





 浙公网安备
33010002000092号
浙公网安备
33010002000092号 浙B2-20120091-4