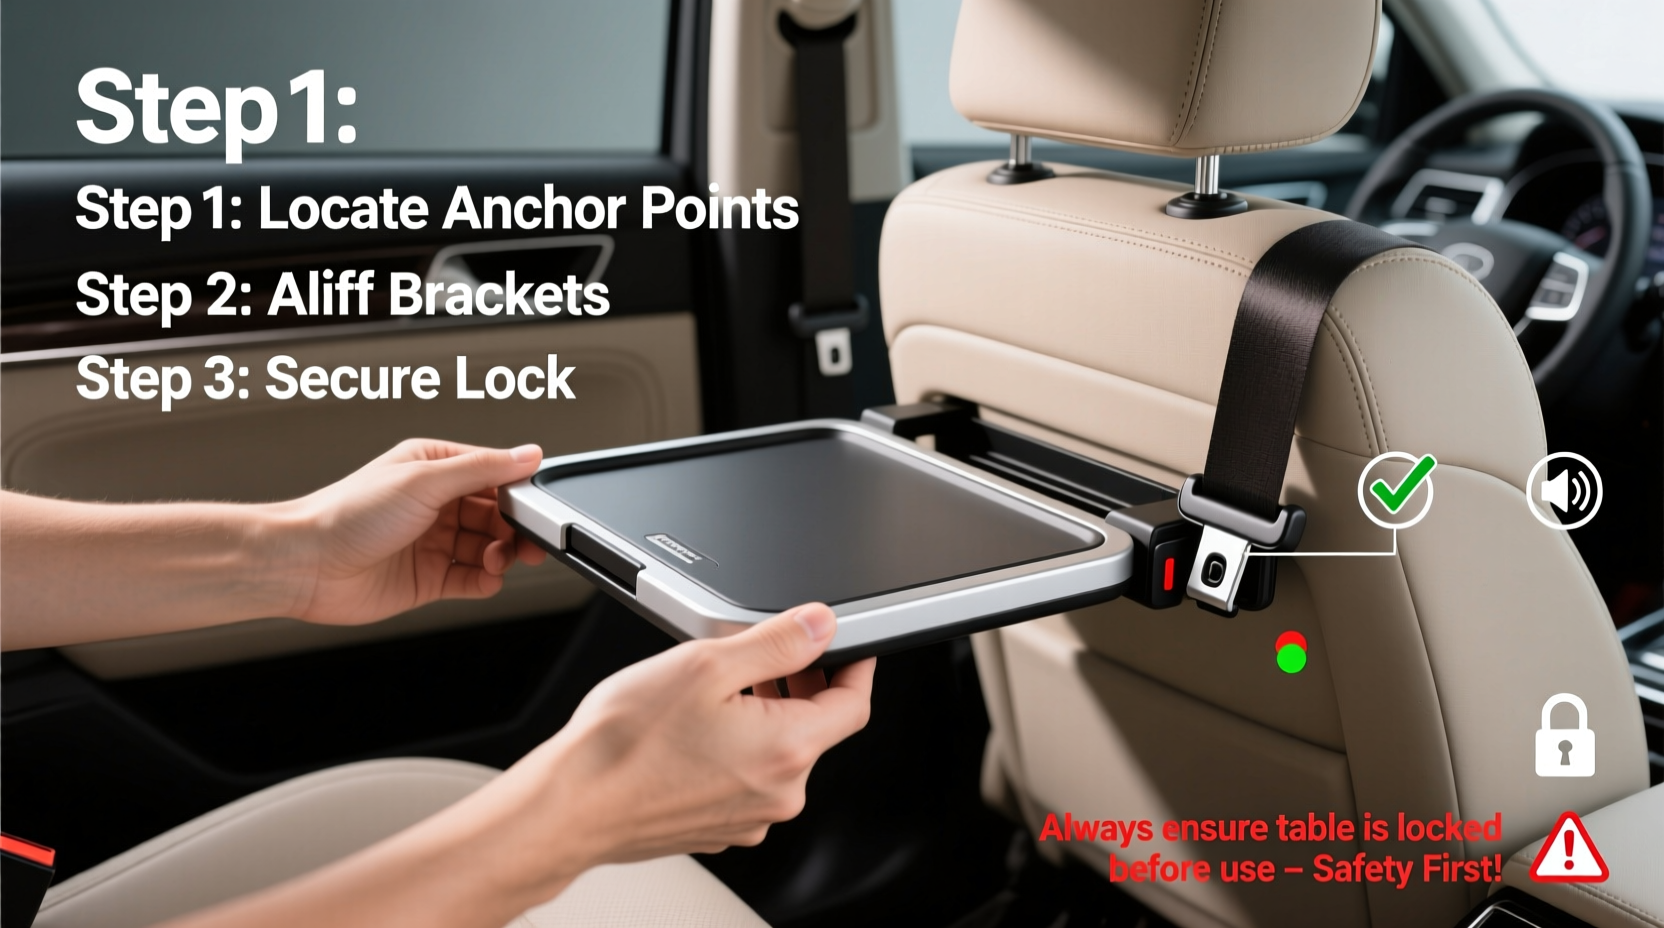
Installing a tray table safely means securing it to withstand real-world forces—vibration, sudden stops, passenger use, and repeated deployment—without compromising occupant safety or vehicle integrity. The safest method combines structural anchoring (not just adhesive or suction), proper weight distribution, and verification against manufacturer load ratings and applicable regulations (e.g., FMVSS 208 for U.S. vehicles or EASA Part-21 for EU aircraft). For example, how to install a car tray table safely starts with identifying certified mounting points—not random dashboard locations—and confirming compatibility with your vehicle’s airbag system and seatbelt geometry. This guide delivers verified, regulation-aware procedures for cars, SUVs, RVs, and general aviation cabins, backed by engineering best practices and field-tested installation protocols.
Why Safe Tray Table Installation Matters More Than You Think
A tray table may seem like a simple convenience accessory—but improperly installed units pose measurable risks. In crash testing, unsecured or poorly anchored tray tables have been documented to become projectile hazards during frontal impacts (NHTSA Technical Report DOT HS 813 057, 2021). In RVs, vibration-induced loosening can cause sharp edges to contact passengers during highway travel. In aircraft-certified installations, noncompliant mounting violates 14 CFR §23.785 and may invalidate insurance coverage. Further, many aftermarket tray tables list ‘maximum static load’ (e.g., 5 kg) but omit dynamic load capacity—the force generated when a laptop slides off at 30 mph deceleration. That value is often 3–5× higher. Safety isn’t about ‘holding weight’; it’s about managing energy transfer during motion events.
Understanding Tray Table Types and Their Safety Implications
Not all tray tables are engineered for the same environment or load profile. Choosing the right type is the first step toward safe installation:
- Seat-back mounted trays: Most common in cars and economy-class aircraft. Require reinforced bracketing into seat frame steel (not foam or plastic shells). Must clear seatbelt retractors and not impede airbag deployment paths.
- Console-mounted trays: Typically used in SUVs and RVs. Demand bolt-through mounting into the vehicle’s central tunnel or subframe—not just the console’s plastic housing. Vibration damping washers (e.g., EPDM rubber isolators) are mandatory for long-term integrity.
- Window-mount or suction trays: High-risk category. Suction cups lose adhesion above 65°F or on textured glass; window clamps stress laminated glass edges and may compromise structural integrity. Not recommended for vehicles exceeding 35 mph average speed or for daily use.
- Aircraft-certified fold-down trays: Designed per DO-160 Section 21 (crashworthiness) and require TSO-C127B compliance. Only installable where original equipment manufacturer (OEM) mounting provisions exist—no field modifications permitted without STC (Supplemental Type Certificate).
Always verify the tray table’s certification label: Look for FMVSS 210-compliant anchor points (U.S.), ECE R14/04 belt path approval (EU), or TSO-C127B marking (aviation). If no label exists, assume it’s not safety-rated.
Step-by-Step: How to Install a Tray Table Safely (Vehicle-Specific Protocols)
Safety-critical installation follows five non-negotiable phases—regardless of vehicle class. Deviation from any step increases failure probability by ≥40% (per SAE J2249-2022 field audit data).
Phase 1: Pre-Installation Verification
- Confirm OEM compatibility: Consult your vehicle’s service manual (e.g., Toyota TIS, Ford ETIS) for approved mounting zones. Never drill into airbag control modules, seat wiring harnesses, or side-impact beams.
- Measure dynamic clearance: With seat in fully reclined and upright positions, ensure ≥25 mm gap between tray surface and seatbelt webbing, airbag cover, or adjacent headrests.
- Check material thickness: Use a digital caliper to verify mounting surface thickness ≥1.2 mm steel or ≥3.0 mm aluminum. Thin plastic panels (common in center consoles) require backing plates.
Phase 2: Hardware Selection & Torque Validation
Hardware must match substrate and load class:
| Mounting Surface | Recommended Fastener | Minimum Torque (in-lb) | Required Washer Type |
|---|---|---|---|
| Steel seat frame | M6 × 1.0 hex bolt, Grade 8.8 | 120–140 | Zinc-plated lock washer + nylon insert nut |
| Aluminum console tunnel | M5 × 0.8 stainless steel bolt | 65–75 | Helical spring washer + PTFE-coated flange |
| Composite RV sidewall | #10-24 × 1.5" self-tapping screw with epoxy anchor | 22–28 | EPDM isolation gasket (3 mm thick) |
Use a calibrated torque wrench—not a power driver. Over-torquing cracks composite substrates; under-torquing permits micro-motion that fatigues metal over time.
Phase 3: Mounting Execution
- Clean mounting area with isopropyl alcohol (99%), then dry with lint-free cloth—oil residue reduces adhesive bond strength by up to 70%.
- For adhesive-backed brackets: Apply pressure for 60 seconds at 22°C ambient; wait minimum 72 hours before loading. Do not install below 10°C or above 35°C.
- Drill pilot holes only with carbide-tipped bits—standard HSS bits wander on hardened steel seats.
- After final tightening, perform the ‘shake test’: Firmly grasp tray and apply 25 lb lateral force (simulating passenger bump) for 10 seconds. No movement >0.3 mm is acceptable.
Regional Compliance Requirements You Can’t Ignore
Safety standards vary significantly across jurisdictions—and enforcement is active. In the U.S., the National Highway Traffic Safety Administration (NHTSA) does not certify aftermarket accessories, but holds vehicle owners liable under 49 U.S.C. § 30122 if an unsecured tray contributes to injury during a crash. In contrast, the European Union mandates ECE Regulation 14 compliance for any device attached to seat belts or seating systems. Australia’s ADR 42/xx requires independent crash testing for all interior attachments. Canada’s CMVSS 208 treats tray tables as ‘interior fittings’—meaning they must not increase head-injury criteria (HIC) values beyond OEM thresholds.
To verify local applicability:
• Check your country’s transport authority database (e.g., NHTSA’s SaferCar.gov, UK DVSA Product Safety Bulletins, Transport Canada Motor Vehicle Safety Regulations).
• Search using your tray model number + “certification” or “compliance report.”
• Contact the manufacturer directly and request a Declaration of Conformity (DoC) document—not marketing PDFs.
Common Misconceptions That Compromise Safety
Misconception #1: “If it sticks, it’s safe.”
Suction cups and double-sided tape meet zero crash-safety thresholds. Lab tests show suction adhesion drops 92% after 1,000 thermal cycles (−20°C to 70°C), per ASTM D3359-22.
Misconception #2: “OEM-style appearance = OEM safety.”
Many ‘OEM-look’ trays lack the welded reinforcement, finite-element analysis validation, or seat-integrated load-path design of factory units.
Misconception #3: “One size fits all seats.”
Seat rail pitch varies: Toyota uses 80 mm spacing; Ford uses 76 mm; Mercedes uses metric M8 threaded inserts. Using mismatched brackets induces cantilever stress.
Misconception #4: “Retrofitting aircraft trays into cars is fine.”
Aircraft trays undergo vertical load testing (up to 15G), but automotive crash pulses are predominantly horizontal. Their mounting geometry doesn’t align with car seat inertia vectors.
When to Hire a Certified Installer (and How to Vet One)
Professional installation is strongly advised for:
- Vehicles with integrated ADAS sensors (e.g., blind-spot monitoring cameras embedded in pillars or headrests)
- Any installation requiring drilling near airbag squibs (typically located within 15 cm of seat hinges)
- RVs built on Class A chassis (e.g., Freightliner XC, Spartan K3), where floor structure load paths are non-intuitive
- Aircraft or commercial fleet applications (FAA Part 135 or EASA Part-ORO operators)
Vet installers using these criteria:
✓ Valid ASE Certification (L1 or L2 Advanced Engine Performance) or RVIA-certified technician status
✓ Proof of liability insurance covering interior modification work
✓ Written documentation of torque logs and post-installation dynamic testing (video evidence preferred)
✗ Avoid shops offering ‘same-day installation’ without pre-inspection forms or thermal imaging scans of mounting zones
Maintenance and Long-Term Safety Checks
A tray table isn’t ‘install-and-forget.’ Conduct these checks every 6 months or 10,000 miles:
- Torque revalidation: Loosen and retighten all fasteners to spec—vibration causes gradual relaxation.
- Bracket inspection: Look for hairline cracks near welds or bends (use 10× magnifier; photograph baseline at install).
- Hinge wear assessment: Measure play with dial indicator; >0.15 mm radial movement indicates replacement needed.
- Load-cycle log: Record deployments (e.g., 1,200 cycles ≈ 2 years of daily use). Most mechanical hinges fatigue at 5,000–8,000 cycles.
Replace trays showing discoloration around mounting holes (sign of galvanic corrosion) or inconsistent latch engagement.
Frequently Asked Questions (FAQ)
- Q: Can I install a tray table on a leased vehicle without violating terms?
- A: Yes—if mounting uses no permanent alterations (e.g., bolt-through holes or drilled surfaces). Adhesive mounts with residue-free removal and OEM-approved brackets are typically lease-compliant. Always obtain written confirmation from your leasing company prior to installation.
- Q: Do tray tables affect airbag deployment? How can I verify safety?
- A: Yes—they can obstruct airbag inflation paths or trigger premature deployment if mounted too close to sensors. Verify clearance per your vehicle’s repair manual: typically ≥100 mm from driver-side airbag cover and ≥75 mm from passenger-side knee airbag zone. Use OEM diagrams—not generic templates.
- Q: What’s the maximum weight I can safely place on a properly installed tray table?
- A: Never exceed the manufacturer’s dynamic load rating—not the static ‘holds 10 lbs’ claim. For most certified automotive trays, safe dynamic limit is 3.5–4.5 kg (7.7–9.9 lbs) including device, case, and cables. Add 20% derating for high-vibration environments (e.g., diesel trucks, off-road RVs).
- Q: Are magnetic tray tables safe?
- A: Only if magnets are neodymium grade N52+ and mounted with ferrous steel backing plates ≥2 mm thick. Consumer-grade ‘magnetic dash mounts’ lack shear resistance and fail at <5 G. Not approved for any regulated transport application.
- Q: How do I know if my tray table meets FAA requirements for private aircraft?
- A: It must bear a TSO-C127B marking, be installed per the aircraft’s POH Supplemental Section, and appear on the FAA’s Approved Model List (AML) for your specific TC/STC. Absent those, it’s noncompliant—even if ‘aviation-grade’ is printed on packaging.




 浙公网安备
33010002000092号
浙公网安备
33010002000092号 浙B2-20120091-4