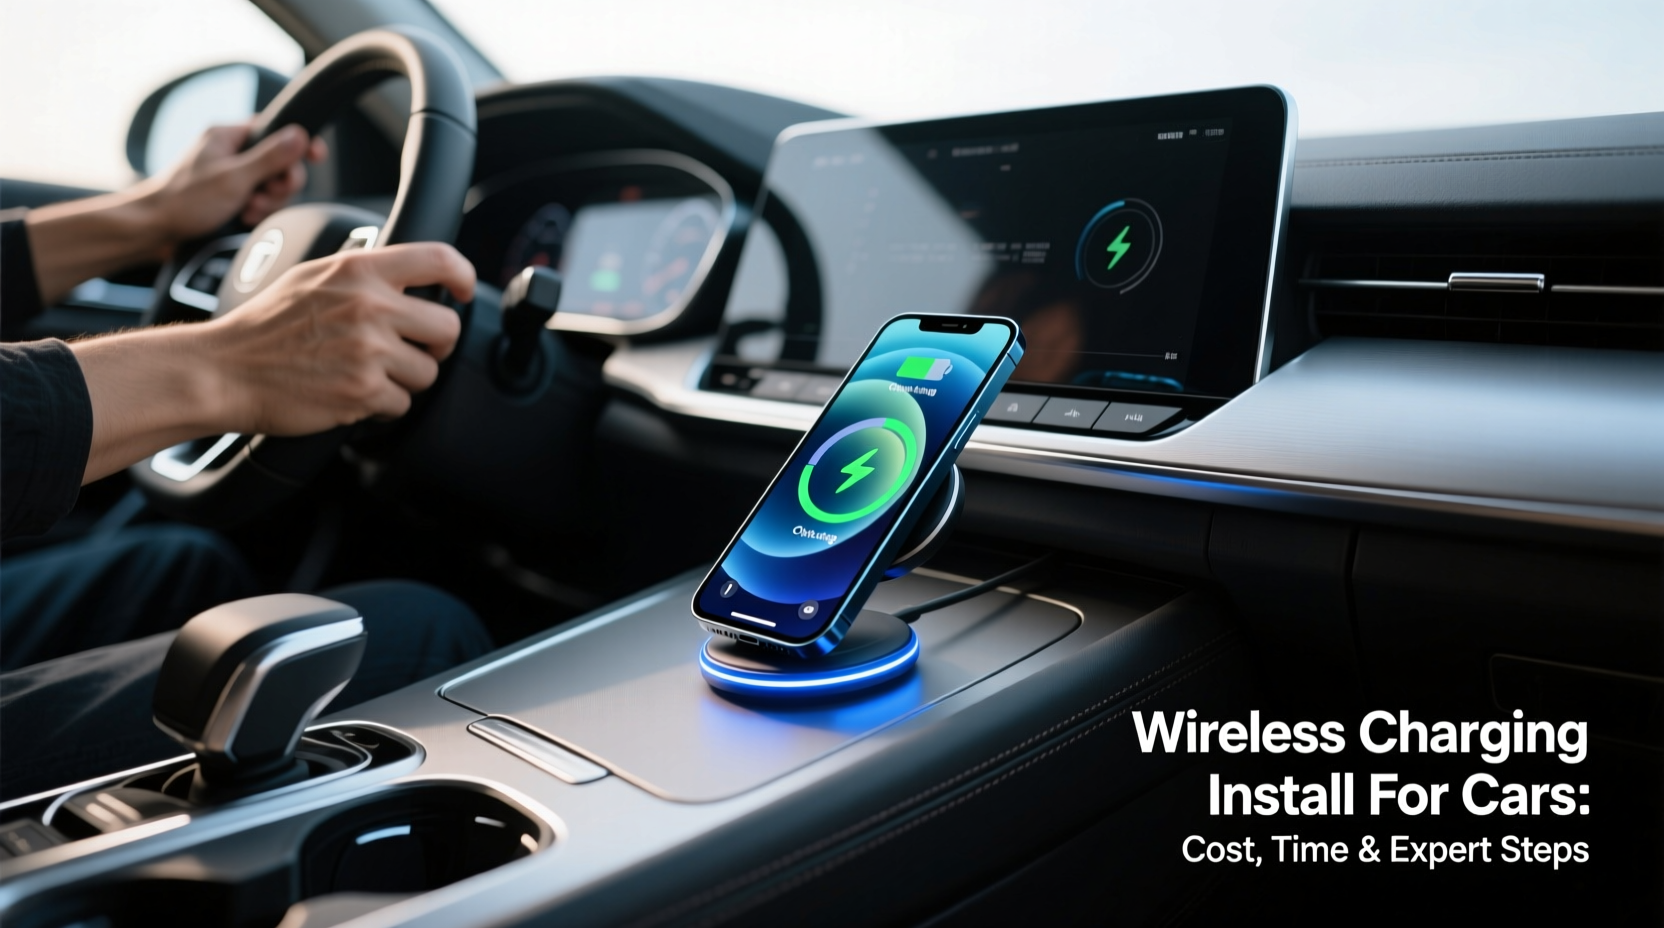
Installing wireless charging in your vehicle is a practical upgrade that enhances convenience and reduces cable clutter—especially for drivers who rely on smartphones daily. A wireless charging install for cars typically takes 1–3 hours, costs $120–$450 (parts + labor), and works reliably only when the phone supports Qi v1.2+ and is properly aligned on the pad. Most modern OEM-integrated systems (e.g., BMW, Mercedes-Benz, Ford) use proprietary mounting brackets and CAN bus integration, while aftermarket kits require careful dash or console modification. This guide walks you through every critical step: compatibility verification, OEM vs. aftermarket trade-offs, wiring safety protocols, alignment calibration, real-world performance testing, and region-specific regulatory notes (e.g., FCC Part 15 compliance in the U.S., CE RED in EU). You’ll also learn how to avoid common pitfalls like thermal throttling, inconsistent power delivery, and dashboard interference with keyless entry.
Why Wireless Charging Install Matters Now More Than Ever
Smartphone dependency in vehicles has surged: 87% of U.S. drivers use navigation apps while driving (NHTSA, 2023), and over 62% report ‘charger anxiety’ during longer trips. Wireless charging eliminates tangled cables, reduces wear on USB ports, and supports seamless device handoff between home, office, and car environments. Unlike wired alternatives, it enables true ‘drop-and-charge’ behavior—but only if installed correctly. Poor installation leads to intermittent charging, overheating, or even battery degradation due to repeated failed negotiation cycles between the transmitter coil and phone’s receiver IC.
Understanding the Two Main Installation Paths
There are two fundamentally different approaches to wireless charging install: OEM-integrated and aftermarket retrofit. Each carries distinct technical, financial, and functional implications.
OEM-Integrated Wireless Charging Install
Factory-installed systems—found in vehicles from 2018 onward (e.g., Toyota Camry XSE, Honda CR-V Touring, Tesla Model Y)—are engineered as part of the vehicle’s electrical architecture. They draw power directly from the 12V system via fused circuits, communicate with the infotainment head unit via LIN or CAN bus, and often include temperature sensors and foreign object detection (FOD).
- Pros: Seamless UI integration (charging status appears on dash display), automatic power management, thermal regulation, warranty coverage, and consistent 15W output (if phone supports it).
- Cons: Non-upgradable; limited to specific trims; replacement pads cost $180–$320 (OEM parts only); incompatible with non-Qi-certified devices (e.g., older Samsung Galaxy models without WPC certification).
Crucially, OEM installs are not field-serviceable in most cases. If the charging coil fails, dealers usually replace the entire center console assembly—a $900–$1,400 repair. Always verify whether your VIN qualifies for dealer-installed accessory kits before assuming factory support exists.
Aftermarket Wireless Charging Install
Aftermarket solutions fall into three categories: dash-mount kits, console-insert modules, and steering-wheel-integrated units. Reputable brands include iOttie, Scosche, and Nillkin—each requiring different levels of mechanical skill and electrical knowledge.
| Kit Type | Installation Time | Tools Required | Risk of Dashboard Damage | Max Output |
|---|---|---|---|---|
| Dash-Mount Adhesive Pad | 10 minutes | None | Low (removable) | 7.5W |
| Console-Insert Module (e.g., Scosche Rhythm+) | 45–90 min | Trim removal tools, multimeter, soldering iron (optional) | Moderate (requires disassembly) | 15W (with QC 3.0 input) |
| Hardwired Under-Dash Transmitter | 2–4 hours | Wire strippers, crimping tool, relay harness, fuse tap | High (permanent modification) | 15W (stable) |
| Kit Type | Installation Time | Tools Required | Risk of Dashboard Damage | Max Output |
|---|---|---|---|---|
| Dash-Mount Adhesive Pad | 10 minutes | None | Low (removable) | 7.5W |
| Console-Insert Module (e.g., Scosche Rhythm+) | 45–90 min | Trim removal tools, multimeter, soldering iron (optional) | Moderate (requires disassembly) | 15W (with QC 3.0 input) |
| Hardwired Under-Dash Transmitter | 2–4 hours | Wire strippers, crimping tool, relay harness, fuse tap | High (permanent modification) | 15W (stable) |
Important: Aftermarket kits rarely support dynamic power negotiation. Many advertise ‘15W’ but deliver only 7.5W unless connected to a high-amperage USB-C PD source (≥3A @ 9V). Always measure actual output using a USB power meter (e.g., Cable Matters Power Meter) before finalizing installation.
Step-by-Step Wireless Charging Install: What You Actually Need to Do
Whether choosing OEM or aftermarket, follow this universal 6-step protocol to ensure reliability and safety.
Step 1: Verify Device & Vehicle Compatibility
Not all phones charge wirelessly at full speed—or at all—in cars. Confirm:
- Your phone supports Qi Extended Power Profile (EPP) (required for >10W output).
- Your vehicle’s 12V socket delivers ≥2.4A (test with multimeter under load).
- The intended mounting location is metal-free within 5mm of the transmitter coil (aluminum trim or steel brackets will induce eddy currents and shut down charging).
Tip: Use the Wireless Power Consortium’s certified device list to cross-check your model.
Step 2: Choose the Right Power Source
Never power a wireless charging pad solely from a cigarette lighter socket without verifying voltage stability. Under-engine vibration can loosen connections, causing intermittent 12V dips below 11.2V—triggering shutdown. Preferred options:
- Fuse box tap (recommended): Locate an ignition-switched circuit (e.g., radio or accessory fuse) rated ≥10A. Use a mini blade fuse tap with built-in LED indicator.
- USB-C PD adapter with 12V–24V input: Only for kits explicitly rated for automotive input (e.g., Anker PowerDrive III Duo + Qi pad combo).
- Avoid: Cheap DC-DC converters without overvoltage/overcurrent protection—they risk frying your phone’s PMIC chip.
Step 3: Mounting Location Best Practices
Optimal placement balances ergonomics, safety, and efficiency:
- Center console tray: Lowest interference risk; easiest access; ideal for dual-phone setups.
- Below HVAC controls: Requires cutting or bracket fabrication; watch for HVAC airflow disrupting coil cooling.
- Avoid glovebox or door pockets: Metal enclosures block magnetic fields entirely.
Always test coil alignment using a Qi-compatible NFC tag or metal coin (place on pad—no heating = proper shielding). If the pad warms noticeably (>35°C surface temp after 5 min idle), reposition or add thermal tape (3M 8810).
Step 4: Wiring & Grounding Protocol
Improper grounding causes ground loops, noise in audio systems, and false FOD triggers. Follow these rules:
- Ground wire must connect to bare metal within 12 inches of the charger’s location—not to the negative battery terminal.
- Use 18 AWG stranded copper wire (not solid core) for flexibility and vibration resistance.
- Insulate all splices with heat-shrink tubing (not electrical tape), and secure wires with nylon zip ties—not adhesive clips (they fail in heat).
Step 5: Calibration & Real-World Testing
After physical install, validate performance across conditions:
- Test with phone at 20%, 50%, and 90% battery—some chips throttle input above 80%.
- Run 30-minute highway cruise (65 mph) to check for vibration-induced misalignment.
- Measure temperature rise using an IR thermometer: >45°C sustained = insufficient airflow or undersized heatsink.
- Confirm no interference with tire pressure monitoring system (TPMS) or passive keyless entry (PKES) by walking away and verifying lock/unlock function.
Step 6: Documentation & Warranty Compliance
Keep dated receipts, part numbers, and photos of wiring. In the U.S., the Magnuson-Moss Warranty Act prohibits dealers from voiding your vehicle warranty solely due to aftermarket accessories—unless they prove the part caused the failure. However, some luxury brands (e.g., Porsche, Lexus) require certified installer documentation for warranty retention. Check your owner’s manual Appendix D or contact your regional OEM customer service for written confirmation.
Regional Variations You Can’t Ignore
Wireless charging install isn’t one-size-fits-all globally. Key differences include:
- United States: FCC Part 15 Subpart B governs unintentional radiators. All transmitters must be certified—look for FCC ID printed on the PCB. Uncertified kits may interfere with AM radio reception or ADS-B aviation signals near airports.
- European Union: CE RED Directive 2014/53/EU mandates electromagnetic compatibility (EMC) and radio equipment safety. Kits sold post-June 2022 require EU Declaration of Conformity (DoC) and authorized representative listed in packaging.
- Canada: ISED RSS-Gen applies; same technical limits as FCC but requires Canadian label and ISED certification number.
- Australia/NZ: ACMA Radiocommunications (Electromagnetic Radiation – Human Exposure) Standard 2014 applies—limits SAR exposure near driver position.
Always verify certification status via official databases: FCC ID Search, EU NANDO, or ISED Certification Search.
Five Common Misconceptions—Debunked
- “Any Qi pad will work in any car.” False. Automotive environments demand wider operating temperatures (−40°C to +85°C), vibration resistance, and EMI hardening. Consumer-grade pads (e.g., IKEA, Belkin Home) lack these specs and often fail within 6 months.
- “Higher wattage always means faster charging.” Not in cars. Phones limit input based on ambient temperature. At 35°C cabin temp, even a 15W pad may deliver only 5W to prevent thermal runaway.
- “Wireless charging harms battery life.” Unfounded—if implemented correctly. Modern Li-ion batteries degrade primarily from voltage stress (≥4.35V) and heat (>40°C). Properly installed automotive Qi systems operate well within safe thresholds.
- “OEM systems are always superior.” Not necessarily. Some 2020–2022 BMW systems used under-spec coils that couldn’t sustain 10W beyond 10 minutes. Third-party reviewers documented 30% output drop after thermal saturation.
- “Installation voids my warranty.” Legally inaccurate in most jurisdictions—provided the installer follows electrical safety standards and uses certified components.
Frequently Asked Questions (FAQ)
- Can I install wireless charging in a car without a center console?
- Yes—using a vent-mounted Qi holder with integrated power (e.g., iOttie Easy One Touch 6) or a dash-pad kit with 3M VHB tape. Avoid suction cups in hot climates; they detach above 60°C.
- Does wireless charging work with phone cases?
- Most cases ≤3mm thick (non-metallic, non-magnetic) won’t interfere. Test with your case: if charging initiates and sustains for 10+ minutes, it’s compatible. MagSafe cases are optimized but not required.
- Why does my phone stop charging when the AC is on?
- Likely voltage sag from compressor load. Install a dedicated circuit from the fuse box instead of sharing with HVAC or headlights.
- Is it safe to leave my phone on the pad overnight?
- Yes—if the pad includes trickle-charge cutoff (standard in certified automotive kits). Consumer-grade pads without FOD or temperature cutoff may overheat.
- How do I know if my vehicle already has factory wireless charging?
- Check your owner’s manual index for ‘wireless charging’, ‘Qi’, or ‘inductive charging’. Also look for a subtle embossed symbol (⚡ inside a circle) on the console surface—or test with a Qi-enabled phone placed flat in the cupholder area.





 浙公网安备
33010002000092号
浙公网安备
33010002000092号 浙B2-20120091-4