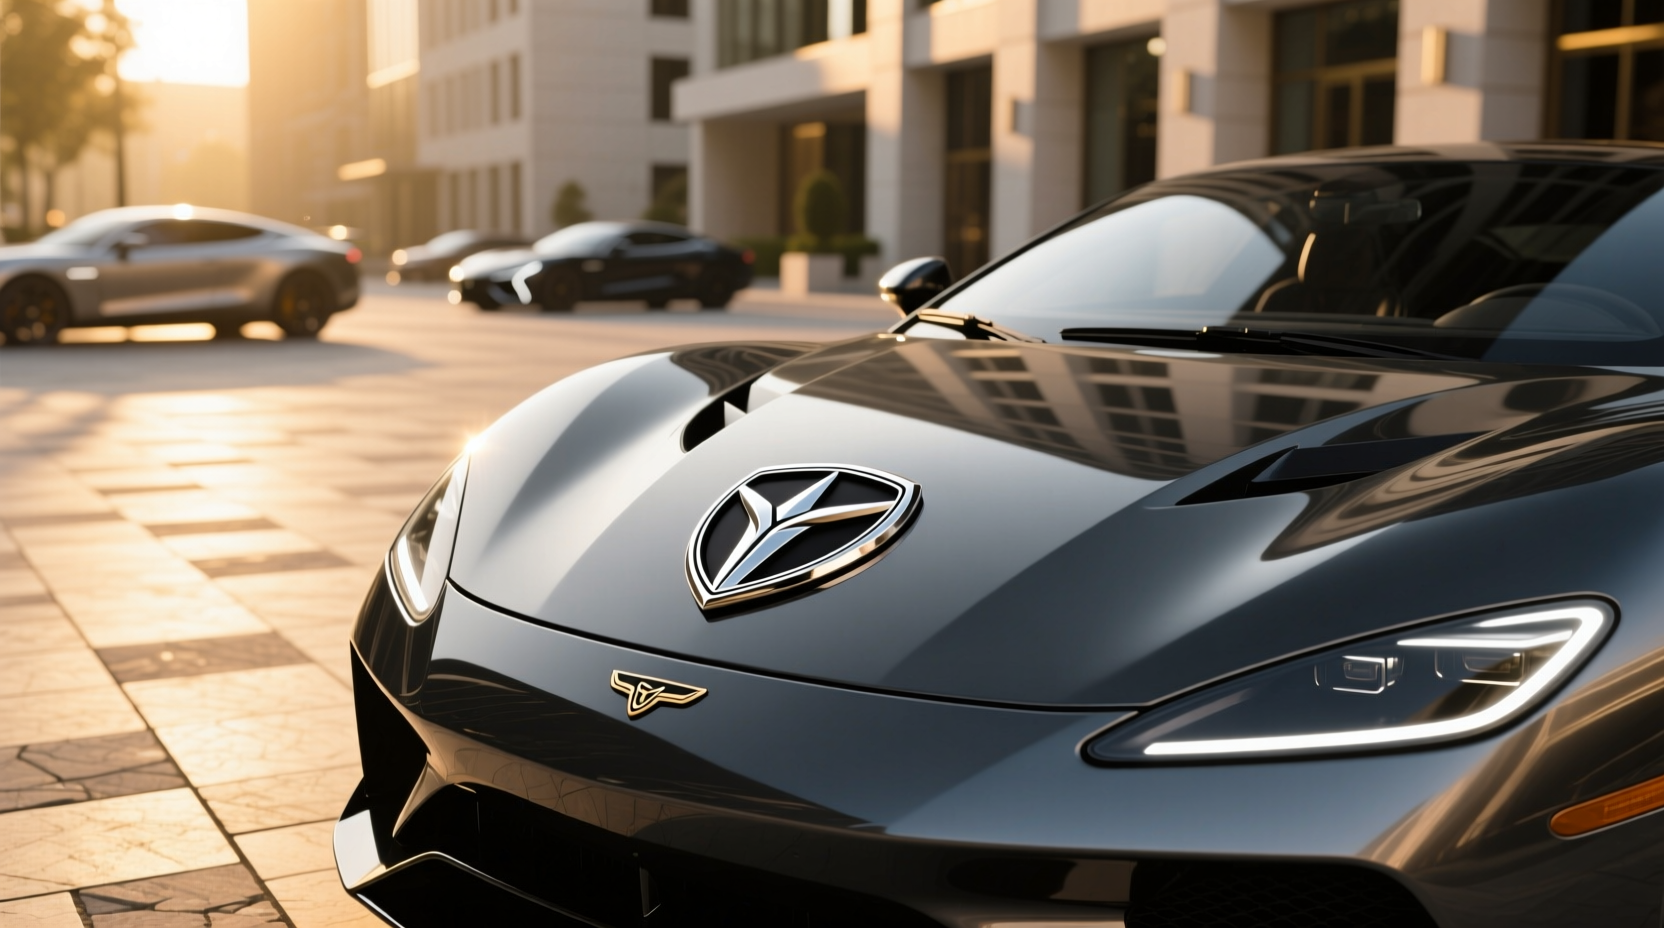
When searching for a 3D emblem for car customization, understanding material types, adhesion methods, and design compatibility is essential to ensure long-term durability and aesthetic appeal. Most aftermarket 3D emblems are made from ABS plastic, chrome-plated resin, or metal alloys, each offering different levels of weather resistance and visual impact. The best choices combine UV-resistant finishes with strong self-adhesive backing or mechanical fastening options, especially for vehicles exposed to extreme temperatures or frequent washing. Whether you're replacing a factory badge, adding a personalized nameplate, or restoring a classic model, knowing what separates high-quality emblems from cheap imitations can prevent premature peeling, fading, or misalignment.
What Is a 3D Car Emblem and Why Install One?
A 3D car emblem is a raised, three-dimensional badge typically mounted on a vehicle’s grille, trunk lid, fender, or wheel center cap. Unlike flat stickers or decals, these emblems have depth and texture, often mimicking original equipment manufacturer (OEM) styling with chrome plating, polished metal, or painted plastic finishes ✨. They serve both decorative and branding purposes—enhancing visual identity, reflecting personalization, or restoring authenticity in vintage models.
Common uses include:
- Brand identification: Factory logos like Ford, BMW, or Toyota.
- Custom personalization: Names, nicknames, or family monograms. \li> Restoration projects: Replicating discontinued or rare badges.
- Aftermarket upgrades: Upgrading dull OEM badges with glossier or larger designs.
While seemingly minor, emblems contribute significantly to curb appeal. A well-maintained emblem set can improve resale value by signaling attention to detail. Conversely, missing, cracked, or poorly installed emblems may suggest neglect.
Materials Used in 3D Emblems: Pros, Cons & Longevity
The durability of a 3D emblem depends largely on its construction material. Below are the most common types found in the market today:
| Material | Pros | Cons | Lifespan (Outdoor) |
|---|---|---|---|
| ABS Plastic | Lightweight, cost-effective, paintable | Can warp under heat; lower prestige feel | 3–7 years |
| Chrome-Plated Resin | High shine, affordable alternative to metal | Prone to chipping if scratched | 4–6 years |
| Stainless Steel | Rust-resistant, durable, premium look | Heavier, more expensive | 10+ years |
| Aluminum with Coating | Corrosion-resistant, lightweight | Coating may degrade over time | 5–8 years |
| Epoxy-Coated Plastic | UV resistant, flexible adhesion | Less dimensional depth than true 3D | 5–7 years |
For regions with intense sunlight or salty coastal air, stainless steel or coated aluminum offers better protection against fading and corrosion. In colder climates, ABS plastic may become brittle over time, increasing the risk of cracking during winter car washes or ice removal.
Adhesive vs. Screw-Fastened 3D Emblems
Installation method plays a critical role in longevity. Most modern 3D emblems use one of two attachment systems:
✅ Self-Adhesive Backing (Most Common)
Pre-applied double-sided tape (often 3M VHB) allows tool-free installation 🛠️. These are popular due to ease of use and clean removal without drilling.
Best practices:
- Clean surface thoroughly with isopropyl alcohol before application.
- Avoid installing in temperatures below 50°F (10°C).
- Press firmly for at least 30 seconds per emblem.
- Wait 24–48 hours before washing the vehicle.
⚠️ Limitations: Adhesives degrade faster on curved surfaces or areas exposed to constant water runoff (e.g., hood edges). Repainting or waxing after installation can weaken bond strength.
🔧 Mechanical Fastening (Screws or Clips)
Some OEM and high-end aftermarket emblems attach via screws through pre-drilled holes or plastic clips. This method provides superior hold but requires modification to the body panel.
Considerations:
- Drilling may void paint warranties or invite rust if not sealed properly.
- Ideal for heavy metal emblems or off-road vehicles subject to vibration.
- Requires alignment tools to maintain symmetry.
Customization Options for Personalized 3D Emblems
Many buyers seek custom 3D emblems to display names, mottos, or unique designs. Customization is widely available through specialty manufacturers and online platforms that offer digital previews before production.
Key features to look for in a custom provider:
- Design upload tools: Ability to preview text, font, and layout.
- Material selection: Choice between plastic, metal, or hybrid builds.
- Finish options: Gloss black, chrome, brushed nickel, matte, etc.
- Size flexibility: Ranging from 1 inch to over 6 inches wide.
- Batch ordering: Useful for fleet branding or club insignias.
📌 Note: Always verify whether the supplier offers fitment data for your specific make and model. A generic “universal” emblem may not align with existing contours or spacing.
Where to Buy 3D Emblems: Online Marketplaces vs. Specialty Makers
Purchasing options fall into three main categories:
🛒 General Marketplaces (e.g., Etsy, eBay)
These platforms host numerous small vendors offering customizable emblems at competitive prices. Advantages include user reviews, price comparison, and fast shipping options.
🔍 Watch out for:
- Vague product descriptions lacking material specs.
- Stock photos instead of actual item images.
- Inconsistent sizing across batches.
🏭 Direct-from-Manufacturer Sites
Companies specializing in automotive badging (such as those producing for OEMs or restoration parts) often sell directly online. These tend to offer higher build quality and technical support.
✅ Benefits:
- Detailed engineering drawings.
- Compatibility databases by VIN or model year.
- Bulk pricing for commercial buyers.
🌐 B2B Platforms (e.g., Alibaba.com)
For bulk purchases or business resellers, B2B suppliers provide access to large inventories of standardized or semi-custom emblems. Minimum order quantities (MOQs) typically start at 50–100 units.
📌 Ideal for:
- Auto detailing shops adding branded accessories.
- Fleet managers needing uniform identification.
- Restoration businesses sourcing period-correct replicas.
Installation Tips to Avoid Common Mistakes
Even high-quality emblems fail prematurely when improperly installed. Follow these guidelines to maximize performance:
- Surface Prep: Remove all wax, grease, and dirt using isopropyl alcohol. Do not use household cleaners containing silicone.
- Alignment: Use masking tape or a template to position the emblem accurately. Check symmetry from multiple angles.
- Temperature: Install in ambient temperatures between 60–80°F (15–27°C) for optimal adhesive activation.
- Pressure Application: Apply firm, even pressure for 30+ seconds. Use a roller or soft cloth to eliminate air pockets.
- Post-Install Care: Wait at least 48 hours before pressure washing or applying ceramic coatings near the emblem.
🛠️ For screw-mounted emblems: Seal drilled holes with clear RTV silicone to prevent moisture intrusion and rust formation underneath.
Regional Considerations and Legal Restrictions
While emblems are generally allowed worldwide, some jurisdictions regulate their placement or content:
- Europe: ECE regulations prohibit reflective materials near headlights that could cause glare.
- USA: No federal restrictions, but individual states may limit modifications affecting safety certification (e.g., obstructing VIN tags).
- Gulf Countries: Some nations restrict political, religious, or offensive symbols on public vehicles.
Always check local transportation authority guidelines before installing non-OEM emblems, particularly on commercial or exported vehicles.
Cost Range and Value Comparison
Prices vary widely based on material, size, and customization level:
| Type | Avg. Price Range | Best For |
|---|---|---|
| Standard Plastic (Self-Adhesive) | $8–$25 | Everyday drivers, budget replacements |
| Chrome-Resin (Custom Text) | $15–$40 | Personalization, gifts |
| Metal Alloy (Stainless/Aluminum) | $30–$80 | Classic restorations, luxury upgrades |
| Bulk Orders (10+ units) | $5–$20/unit | Fleets, clubs, resellers |
Higher-priced emblems usually offer better sealing against moisture ingress and more precise mold detailing. However, price alone isn’t a reliable indicator of quality—always review customer feedback and request material certifications when possible.
DIY 3D Emblems: Feasibility and Tools Needed
With advancements in 3D printing and casting techniques, creating DIY 3D emblems has become accessible to hobbyists. Two primary methods exist:
🖨️ 3D Printing (Using ASA or PETG Filament)
Direct printing allows full design control. Use UV-stable filaments like ASA to prevent yellowing outdoors. Post-processing steps include sanding, priming, and chrome painting or electroplating.
🧪 Resin Casting (From Original Badges)
This involves making a silicone mold of an existing emblem, then pouring liquid polyurethane or epoxy resin. Once cured, the replica can be painted and finished to match OEM appearance.
⚠️ Challenges:
- Requires ventilation and protective gear.
- Matching exact color and reflectivity takes practice.
- Home-made emblems may lack long-term durability unless sealed properly.
📹 Video tutorials on platforms like YouTube demonstrate both processes in detail, though results depend heavily on skill level and equipment quality.
Misconceptions About 3D Emblems Debunked
Several myths persist about aftermarket emblems. Here’s what’s fact vs fiction:
- Myth: All chrome emblems are metal.
Fact: Many are plastic with vapor-deposited chrome coating, which can flake over time. - Myth: Larger emblems increase theft risk.
Fact: There's no evidence that 3D emblems are targeted more than stock badges. - Myth: Adhesive emblems can't withstand car washes.
Fact: High-grade VHB tapes perform well even under repeated exposure—if applied correctly. - Myth: Custom emblems void vehicle warranties.
Fact: Unless they damage wiring or structural components, cosmetic mods don’t affect warranty coverage.
How to Verify Quality Before Purchase
To avoid low-quality imports, ask sellers or manufacturers for the following:
- Material specification sheet: Confirms type of plastic or metal used.
- Adhesive test reports: Indicates bond strength (measured in psi).
- UV resistance certification: Such as ASTM G154 compliance.
- Sample orders: Test fit and finish before bulk buying.
Reputable suppliers will provide this information upon request. If unavailable, consider it a red flag.
Maintenance and Care for Longevity
Proper care extends the life of any 3D emblem:
- Wash gently with mild soap and water; avoid abrasive pads.
- Apply wax sparingly around—not directly on—chrome-plated surfaces to prevent hazing.
- Inspect annually for lifting edges or discoloration.
- Replace immediately if water starts pooling behind the emblem, as this can lead to paint blistering.
🧼 For stubborn grime, use a soft toothbrush and diluted vinegar solution—never razor blades or chemical removers.
Conclusion: Making the Right Choice for Your Vehicle
Selecting the right 3D emblem for car enhancement involves balancing aesthetics, durability, and proper installation. Whether choosing a ready-made badge or designing a custom piece, focus on material integrity, adhesion method, and environmental suitability. Avoid impulse buys based solely on appearance—verify construction details and read real-world user experiences. With correct selection and care, a 3D emblem can remain a sharp, lasting feature of your vehicle’s exterior for years.





 浙公网安备
33010002000092号
浙公网安备
33010002000092号 浙B2-20120091-4