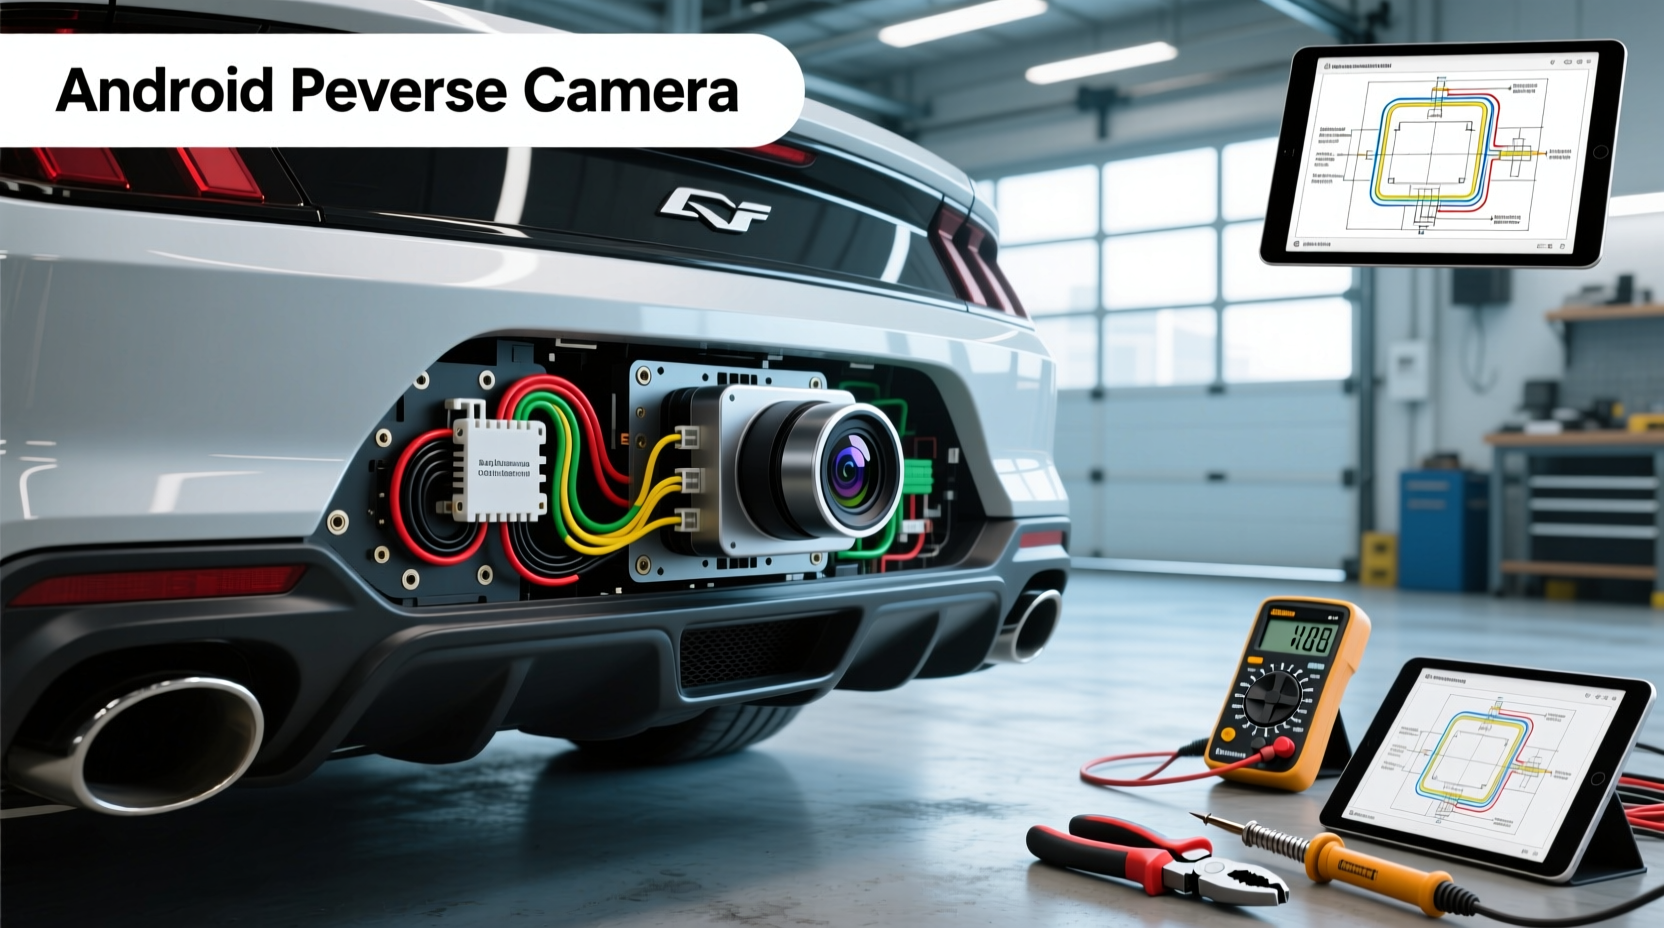
If you're searching for an android reverse camera wiring diagram, you're likely installing or troubleshooting a backup camera on your aftermarket Android head unit. The good news: most installations follow a standard pattern—connect the camera’s video signal (usually via RCA) to the head unit’s yellow video input, trigger reverse activation using the brown reverse wire, and ensure proper power and grounding. This comprehensive guide walks you through every step, including wire identification, connection methods, configuration settings, and solutions to frequent problems like no signal or incorrect triggering.
Why Understanding Android Reverse Camera Wiring Matters
Modern vehicles often come with factory-installed rearview cameras, but if you've upgraded to an aftermarket Android head unit—or are retrofitting a camera into an older vehicle—you’ll need to manually handle the wiring. Unlike OEM systems that auto-detect gear changes, Android stereos rely on physical signals to activate the camera when the car shifts into reverse.
Without the correct wiring setup, your camera won’t turn on, will display incorrectly, or may interfere with other electrical components. Miswiring can also damage the head unit or drain the battery. That’s why knowing how to interpret and apply a reliable android reverse camera wiring diagram is essential for DIY installers and technicians alike.
Core Components of a Reverse Camera System
Before diving into connections, understand the key parts involved:
- Android Head Unit: The central infotainment system running Android OS, typically with multiple video inputs and configurable camera settings.
- Reverse Camera: Usually a license plate-mounted or bumper-mounted camera with a wide-angle lens and infrared LEDs for night vision.
- Video Cable: Typically carries the video signal from the camera to the head unit via an RCA connector (yellow).
- Power Wires: Include constant power (red), ground (black), and reverse trigger (brown or white, depending on brand).
- Fuses and Relays: Used to safely draw power from existing circuits without overloading them.
Standard Android Head Unit Wiring Colors & Functions
While colors can vary slightly by manufacturer, most Android head units follow a near-universal color code. Here's a breakdown:
| Wire Color | Function | Voltage/Notes |
|---|---|---|
| Red | Constant Power (Battery +) | 12V always on; connects to fuse box or battery |
| Yellow | Accessory Power / Memory | 12V when ignition is on; powers settings memory |
| Brown | Reverse Trigger Input | Activates camera when grounded or receives 12V |
| Black | Ground | Connects to chassis or negative terminal |
| White/Orange | Front/Rear Camera Video In | RCA input; often labeled AV-IN2 or CAM-IN |
⚠️ Note: Always verify your specific model’s wiring harness using its manual. Some brands (like Joying, Eonon, or Carrozzeria) may deviate slightly.
Step-by-Step Installation: Connecting Your Reverse Camera
Follow these steps to correctly wire your reverse camera to an Android head unit:
📍 Step 1: Identify the Reverse Signal Source
The camera should only activate when the transmission is in reverse. To achieve this, the head unit needs a signal—either a ground signal or +12V—from the vehicle’s reverse light circuit.
- Locate the reverse light wires at the tail lights (usually pink/white or green/red).
- Use a multimeter to confirm they receive 12V only when in reverse gear.
- Tap into this wire using a tap connector or solder joint (avoid cutting factory wires if possible).
🔧 Step 2: Run the Camera Cable from Rear to Dashboard
Route the camera’s cable from the trunk or bumper through the interior trim panels to the dashboard behind the head unit.
- Start at the taillight area, remove trim clips carefully.
- Feed the cable along the door seals and under carpet edges.
- Avoid sharp metal edges; use grommets where necessary.
- Leave extra slack near the head unit for future service.
⚡ Step 3: Connect Power and Ground to the Camera
Most backup cameras require two power connections:
- Positive (Red): Can be connected to the reverse light power (so it only runs when needed) or to a constant source if used as a rearview monitor.
- Ground (Black): Attach to any clean metal part of the chassis or frame.
✅ Tip: Use inline fuses (3–5A) on positive lines for safety.
⚙️ Step 4: Link Video and Trigger Wires to the Head Unit
This is where the android reverse camera wiring diagram becomes critical:
- Connect the camera’s video output (RCA) to the head unit’s yellow AV-IN port (often labeled “CAM IN” or “Rear View”).
- Connect the brown wire on the head unit harness to the vehicle’s reverse light power line. This tells the head unit when to switch to camera mode.
- If your camera has a separate power wire, connect it to the same reverse light circuit so it turns on simultaneously.
✨ Step 5: Test Before Final Assembly
Before reassembling dash panels:
- Turn the ignition on.
- Shift into reverse.
- Check if the screen automatically displays the rear camera feed.
- If not, verify polarity, grounding, and input selection in settings.
Configuring Camera Settings on Android Head Units
Even with perfect wiring, incorrect software settings can prevent proper function. Access the camera menu via:
- Settings → Backup Camera
- Display → Rear View Options
- Long press on screen while in reverse (model-dependent)
Common adjustable parameters include:
- Mirror Image Toggle: Reverses left/right view if camera is mounted upside down.
- Guideline Enable/Disable: Shows dynamic parking lines based on steering angle.
- Activation Delay: Sets how quickly the camera turns on after shifting gears.
- Input Source Assignment: Ensures the correct AV channel is mapped to “Rear Camera.”
Wiring Diagram Variations by Brand
Not all head units use identical wiring schemes. Below are known variations:
Joying Units
- Brown wire = reverse trigger (needs +12V to activate)
- White RCA = rear camera input
- No built-in video amplifier—may require external booster for long runs
Eonon & Uniden Models
- Pink wire = reverse trigger input
- Supports dual cameras (front + rear) with automatic switching
- Some models allow Wi-Fi camera integration
Generic Chinese Android Radios
- Often lack labeling; test each wire with a multimeter
- May require firmware update to enable full camera features
- Use standard ISO harness—color codes usually match JVC/Pioneer standards
Common Problems and Troubleshooting
Even with correct installation, issues arise. Here’s how to fix them:
❌ No Camera Display in Reverse
- Check: Is the brown (or pink) trigger wire receiving 12V in reverse?
- Verify: Is the video cable securely plugged into the correct AV input? \li>
- Solution: Try swapping RCA cables or testing with another device.
🔄 Camera Turns On Randomly
- Cause: Trigger wire touching another live circuit or poor insulation.
- Solution: Insulate all splices, route away from ignition or fuel pump wires.
📹 Black & White or Fuzzy Image
- Indicates: Weak signal due to long cable run or interference.
- Solution: Install a video amplifier or use shielded coaxial cable.
🔋 Battery Drain After Installation
- Possible cause: Camera powered constantly instead of only in reverse.
- Fix: Reconnect camera power to switched reverse light circuit, not constant 12V.
Can You Use the Reverse Camera While Driving Forward?
Yes—but only if you modify the power supply. Normally, the camera activates only when the reverse wire is triggered. However, some users want continuous rear monitoring (e.g., towing, off-roading).
To enable this:
- Supply constant 12V to the camera’s power wire (via fuse box).
- Add a toggle switch to manually control camera power.
- In the head unit, disable auto-switching or assign a manual button.
⚠️ Legal Note: In many regions, displaying non-driving-related video while moving is illegal. Check local laws before enabling this feature.
Differences Between OEM and Aftermarket Systems
Understanding these differences helps manage expectations:
| Feature | OEM System | Aftermarket Android Unit |
|---|---|---|
| Integration Level | Full CAN bus integration | Limited; relies on analog signals |
| Activation Method | Digital signal from TCM | Analog voltage on brown wire |
| Image Quality | High (digital transmission) | Variable (analog RCA) |
| Customization | Minimal user control | Adjustable guidelines, mirroring, input mapping |
| Expandability | Locked to brand ecosystem | Supports third-party cameras, wireless options |
Wireless vs. Wired Reverse Cameras
You may consider skipping complex wiring altogether with a wireless camera. Let’s compare:
Wired Cameras
- Pros: Stable signal, no latency, immune to interference, lower cost.
- Cons: Requires physical cable routing, more labor-intensive.
Wireless Cameras
- Pros: Easy installation, no long cable runs, modular upgrades.
- Cons: Potential signal dropouts, interference from Bluetooth/WiFi, higher price, battery or charging concerns.
For reliability, especially in daily drivers, wired setups are preferred. Wireless is best for temporary setups or vehicles where drilling/routing is impractical.
Safety and Best Practices
To avoid damage and ensure longevity:
- Disconnect the car battery before starting work.
- Use heat shrink tubing instead of electrical tape for waterproof joints.
- Label all wires during installation for future reference.
- Double-check polarity before powering up.
- Test all functions before finalizing trim reassembly.
When to Seek Professional Help
While DIY installation is feasible, certain scenarios warrant professional assistance:
- Your vehicle uses a multiplexed CAN bus system without accessible reverse light wires.
- You’re integrating with advanced driver aids (like blind-spot monitoring).
- The head unit doesn’t recognize any camera despite correct wiring.
- You’re uncomfortable working around high-current circuits or airbag zones.
Future Trends: Android 13/14 and Camera Integration
Newer Android head units running Android 13 or 14 offer improved camera support:
- Better app compatibility (e.g., IP camera viewers).
- Enhanced UI customization for split-screen or PiP modes.
- Native support for digital AHD/CVI cameras (higher resolution).
- Improved stability in reverse detection logic.
However, the underlying wiring principles remain unchanged—you still need a proper trigger signal and video input.
Conclusion
An accurate android reverse camera wiring diagram is crucial for successful installation. By understanding wire functions, following safe practices, and configuring settings correctly, you can add a reliable backup camera to any Android head unit. Whether you're doing a DIY upgrade or troubleshooting an existing setup, this guide covers the core knowledge needed to get it right the first time.
Frequently Asked Questions
- ❓ How do I know which wire is the reverse trigger on my Android head unit?
- The reverse trigger is typically a brown wire on the head unit’s harness. When the vehicle shifts into reverse, this wire must receive +12V (or be grounded, depending on model) to signal the unit to switch to camera view. Confirm using a multimeter or consult your unit’s manual.
- ❓ Can I install a reverse camera without tapping into the reverse light circuit?
- Yes, but not recommended for automatic activation. You can power the camera manually via a switch or keep it on constantly. However, to have the camera turn on automatically when reversing, you must connect the trigger wire to the reverse light circuit or a gear selector signal.
- ❓ Why does my reverse camera show a black screen?
- A black screen usually means no power to the camera or a broken video connection. Check if the camera LED lights up, verify power supply, inspect RCA cable integrity, and ensure the head unit is set to the correct input channel.
- ❓ Do all Android head units support reverse cameras?
- Almost all modern Android head units support reverse cameras via an AV input. However, some budget models may lack a dedicated trigger input or software calibration options. Always verify camera compatibility before purchase.
- ❓ Can I use a front-facing camera as a reverse camera?
- Technically yes—if it’s weatherproof and mounted appropriately—but it’s not ideal. Front cameras aren't designed for rear mounting exposure and often lack the wide-angle lens needed for safe reversing. Use a purpose-built backup camera for best results.





 浙公网安备
33010002000092号
浙公网安备
33010002000092号 浙B2-20120091-4