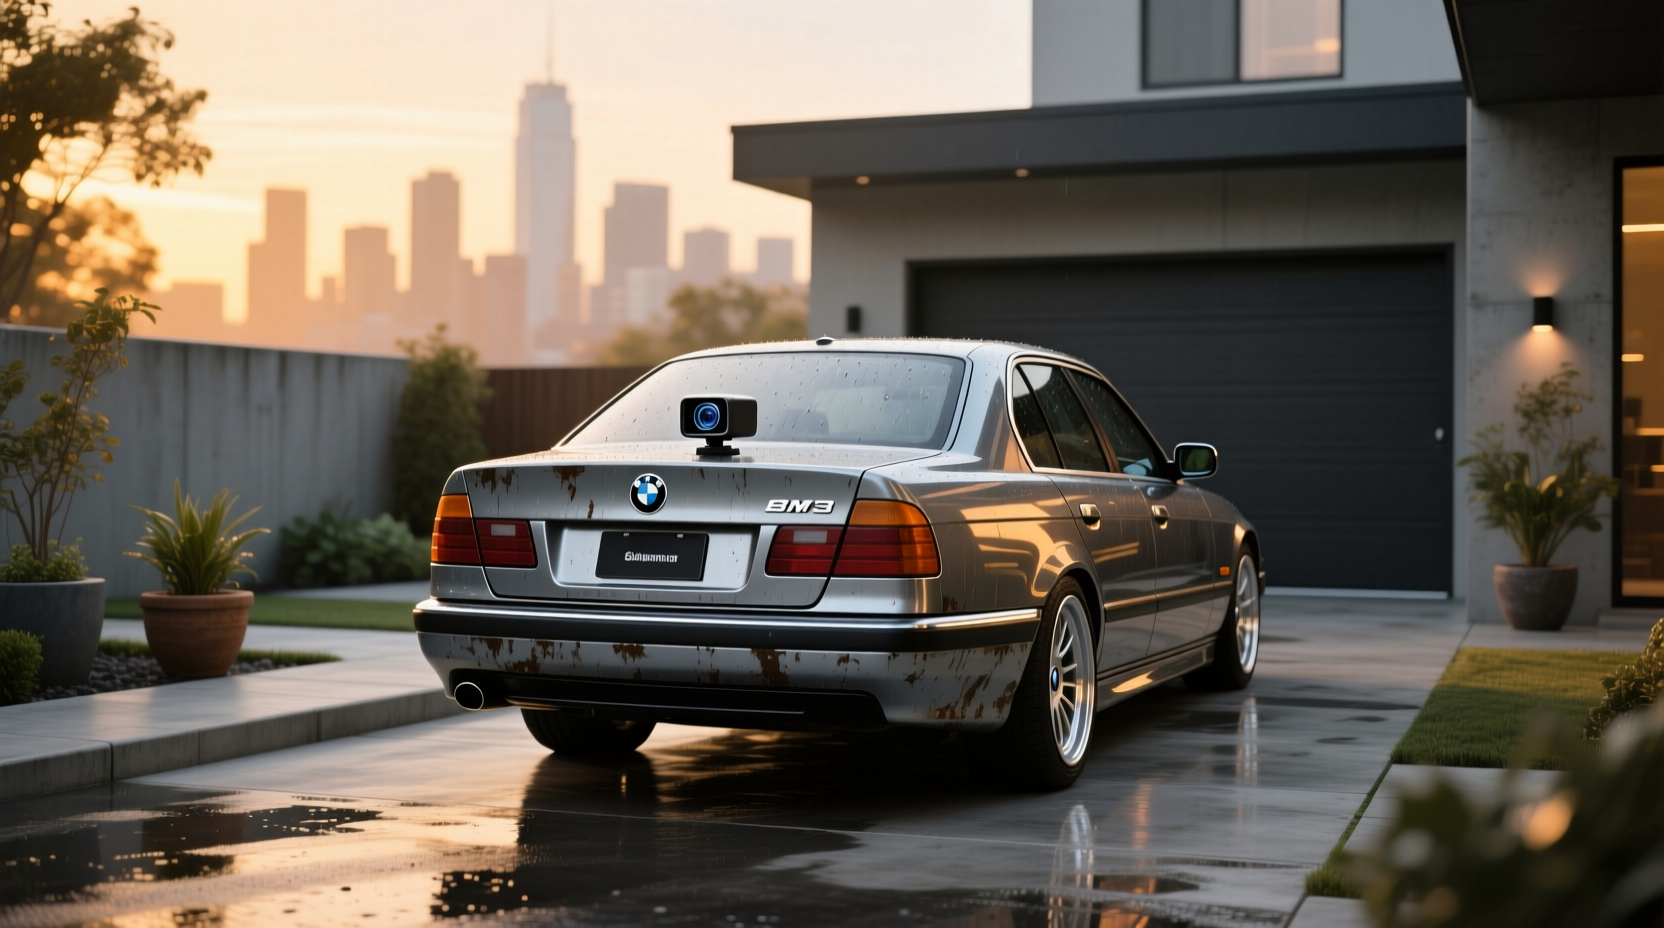
If you're wondering how to install a reverse camera on a BMW E39, you're not alone—many owners of this classic 1995–2003 luxury sedan seek improved visibility for parking and safety. While the E39 never came factory-equipped with a backup camera in most markets, adding one is entirely feasible through aftermarket solutions that integrate cleanly with existing electrical systems and display options. This comprehensive guide walks you through every step—from choosing the right camera type and location to wiring it correctly and syncing it with your head unit or standalone monitor. We’ll also cover common challenges like reverse light triggering, screen compatibility, and maintaining OEM aesthetics without damaging trim or seals.
Why Add a Reverse Camera to Your BMW E39?
The BMW E39 generation (produced from 1995 to 2003) was praised for its balanced driving dynamics, durable inline-six engines, and elegant interior design. However, technology from that era didn’t include modern driver aids like rearview cameras. Today, backing up can be challenging due to:
- Limited rear visibility—especially in Touring (station wagon) models where cargo often blocks the rear window
- Tall trunk lids that obstruct low-angle views when reversing
- No factory parking sensors or camera support on most trims
Adding a reverse camera significantly improves spatial awareness, reduces scrape risks, and enhances safety in tight garages or crowded lots. Many users report feeling more confident during night maneuvers or in poor weather conditions after installation 1.
Compatibility Considerations for E39 Models
Before purchasing any camera system, confirm compatibility with your specific E39 variant:
| Model Variant | Body Style | Trunk Handle Design | Recommended Camera Type |
|---|---|---|---|
| E39 Sedan (1995–2003) | Sedan | Integrated handle with license plate lights | License plate frame or handle-replacement camera |
| E39 Touring (1996–2003) | Wagon | Vertical handle, wider tailgate | Tailgate-mounted or spoiler-integrated camera |
| M5 (E39) | Sedan | Oval exhaust tips, sport bumper | Custom-fit license plate camera |
There are no direct OEM retrofit kits from BMW for the E39, so all installations rely on third-party or universal components. That said, some high-quality replicas mimic OEM styling and fit precisely into the trunk handle or license plate bezel.
Types of Reverse Cameras for BMW E39
Three main types are commonly used for E39 retrofits:
1. License Plate Frame Cameras ✅
These replace the standard license plate holder with a slim housing containing a wide-angle lens. They’re popular because they require no modification to original body parts.
- Pros: Easy installation, reversible, affordable (~$30–$80), maintains factory look
- Cons: Exposed position vulnerable to theft or impact; image quality varies by model
- Best for: Daily drivers, those avoiding permanent modifications
2. Trunk Handle Replacement Cameras 🔧
These units swap out the entire trunk lid handle with one that has a built-in camera lens behind a discreet opening.
- Pros: Clean OEM-style appearance, protected lens, excellent viewing angle
- Cons: Requires removal of inner trunk liner; higher cost (~$100–$200); may affect water sealing if not installed properly
- Best for: Enthusiasts prioritizing aesthetics and long-term integration
3. Spoiler or Tailgate-Mounted Cameras 📍
Typically used on E39 Touring wagons, these mount either on the top edge of the tailgate glass or within a modified rear spoiler.
- Pros: High vantage point improves depth perception; less prone to splashing mud
- Cons: Drilling required; visible unless carefully concealed; potential for moisture ingress
- Best for: Wagon owners needing optimal upward view over cargo
Choosing the Right Display Option
A camera is only useful if you have a screen to view it on. The E39’s original radio (such as the Business CD or HiFi systems) lacks video input, so you must choose an alternative display method:
A. Aftermarket Head Unit Integration ⚙️
Replacing the stock radio with a double-DIN touchscreen unit (e.g., Android Auto/Apple CarPlay headunit) allows direct video input from the camera.
- Requirements: DIN adapter kit, CAN-BUS interface module, microphone for Bluetooth
- Advantages: Full multimedia upgrade, automatic switching to camera when reverse engaged
- Drawbacks: Loss of OEM aesthetic; possible HVAC control relocation; wiring complexity
B. Standalone Dashboard Monitor 📺
Small 4.3” or 7” screens mounted on the dash or windshield via suction cup or adhesive.
- Pros: Non-invasive, portable, inexpensive (~$50)
- Cons: Clutters cabin space; may block instrument cluster view; power needs constant connection
- Note: In some regions, dash-mounted screens are regulated—check local laws before permanent mounting.
C. Mirror-Integrated Display ✨
Dual-function rearview mirrors with embedded LCD screens activate when reverse gear is selected.
- Benefits: Maintains clean dashboard; easy viewing angle; often includes compass, temperature, or tire pressure readouts
- Installation: Usually powered via cigarette lighter or hardwired to fuse box; video signal runs alongside camera cable
- Price range: $80–$150 depending on features
Wiring the Reverse Camera System ⚡
Proper wiring ensures reliable activation whenever the car shifts into reverse. Here's how to do it safely:
Step 1: Power Source Selection
The camera should only turn on when reverse lights are active. The best practice is to tap into the reverse light circuit at the trunk harness.
- Locate the wiring loom leading to the left or right reverse light bulb socket
- Use a multimeter to verify +12V output when transmission is in R
- Splice the camera’s red (power) wire using a solder-and-heat-shrink or T-tap connector
Step 2: Running the Video Cable 🛠️
Route the coaxial or RCA video cable from the trunk to the front of the vehicle:
- Start at the camera location (license plate or handle)
- Feed the cable through the rubber grommet between trunk lid and chassis (shared with brake light wires)
- Run along the roof lining or side pillars toward the dashboard
- End at your chosen display device (head unit, mirror, or monitor)
Avoid sharp edges and moving parts. Use zip ties sparingly to prevent rattles.
Step 3: Ground Connection
Connect the camera’s black (ground) wire to a clean metal surface near the trunk latch or wheel well. Sand off paint for solid contact.
Common Installation Challenges & Fixes
Even experienced DIYers encounter issues. Here are frequent problems and solutions:
❓ Camera Doesn't Turn On
- Check: Fuse for reverse lights (usually F24 or F25 in glovebox panel)
- Test: Voltage at splice point with key ON and gear in R
- Solution: Re-splice or use relay if voltage drop occurs
❓ Image Is Reversed or Upside Down
- Some cameras have a flip switch or software setting—consult manual
- If using an aftermarket head unit, adjust “Camera Flip” option in settings menu
❓ Night Vision Poor or Glare from Reverse Lights
- Position camera above or below reverse lamps to avoid direct exposure
- Choose a model with IR LEDs or wide dynamic range (WDR) sensor
- Clean lens regularly—dirt amplifies glare
❓ Interference Lines on Screen
- Occurs when video cable runs parallel to power wires
- Solution: Cross power and video cables at 90° angles; use shielded coaxial cable
Preserving Water Sealing and Trim Integrity
One major concern with E39 modifications is water intrusion, especially around the trunk area. To minimize risk:
- Apply dielectric grease around connectors
- Seal drilled holes with rubber grommets or silicone (use non-acidic type)
- Reinstall trunk weather stripping carefully after working inside the panel
- Test seal integrity by spraying water while inspecting inside trunk
Performance vs. Aesthetics: What to Prioritize?
When selecting a system, consider what matters most:
- For daily usability: Focus on image clarity, quick boot time, and consistent triggering
- For show cars: Invest in handle-integrated or hidden-wire designs that preserve clean lines
- For budget builds: Start with a basic license plate camera and upgrade later
Do You Need Additional Sensors?
A reverse camera provides visual feedback, but doesn’t measure distance. For enhanced safety, consider pairing it with:
- Aftermarket parking sensors: Audible alerts as obstacles approach
- OEM-style PDC retrofit: Possible on later E39s with compatible front modules
- Hybrid systems: Some cameras come with on-screen distance guidelines that simulate proximity
Legal and Safety Notes 🌍
While installing a reverse camera is legal in most countries, ensure compliance with local regulations:
- In the EU, modifications must not impair original lighting function
- In the US, FMVSS 111 requires rear visibility systems for new vehicles—but retrofits are unregulated
- Always maintain functional brake and reverse lights post-installation
Final Tips Before You Begin
✅ Verify camera voltage compatibility (most are 12V DC, matching E39’s system)
⏱️ Allow 2–4 hours for full installation if doing it yourself
🛒 Purchase from reputable suppliers offering clear specs and warranty
🔧 Have basic tools ready: trim removal tools, wire strippers, multimeter, drill (if needed)
🧰 Work in a dry environment to protect electronics and finishes
Frequently Asked Questions
- Can I install a reverse camera on my BMW E39 without modifying the trunk handle?
- Yes, many owners use license plate frame cameras that bolt directly onto existing screws without altering original components. These are fully reversible and maintain resale value.
- Will a reverse camera work with my stock BMW radio?
- No, the factory E39 radios lack video input capability. You’ll need an aftermarket head unit, a mirror display, or a standalone monitor to view the camera feed.
- How do I make the camera turn on automatically in reverse?
- Wire the camera’s power line to the reverse light circuit in the trunk harness. When the car detects reverse gear engagement, the lights—and thus the camera—will activate simultaneously.
- Are there wireless reverse camera options for the E39?
- Yes, wireless systems transmit video via 2.4GHz or 5.8GHz signals. However, they may suffer from interference or latency. Hardwired setups remain more reliable for consistent performance.
- What’s the best camera resolution for an E39 retrofit?
- A minimum of 720p (HD) is recommended. Look for CMOS or CCD sensors with at least 420 TVL (television lines) resolution and wide dynamic range (WDR) for better low-light performance.




 浙公网安备
33010002000092号
浙公网安备
33010002000092号 浙B2-20120091-4