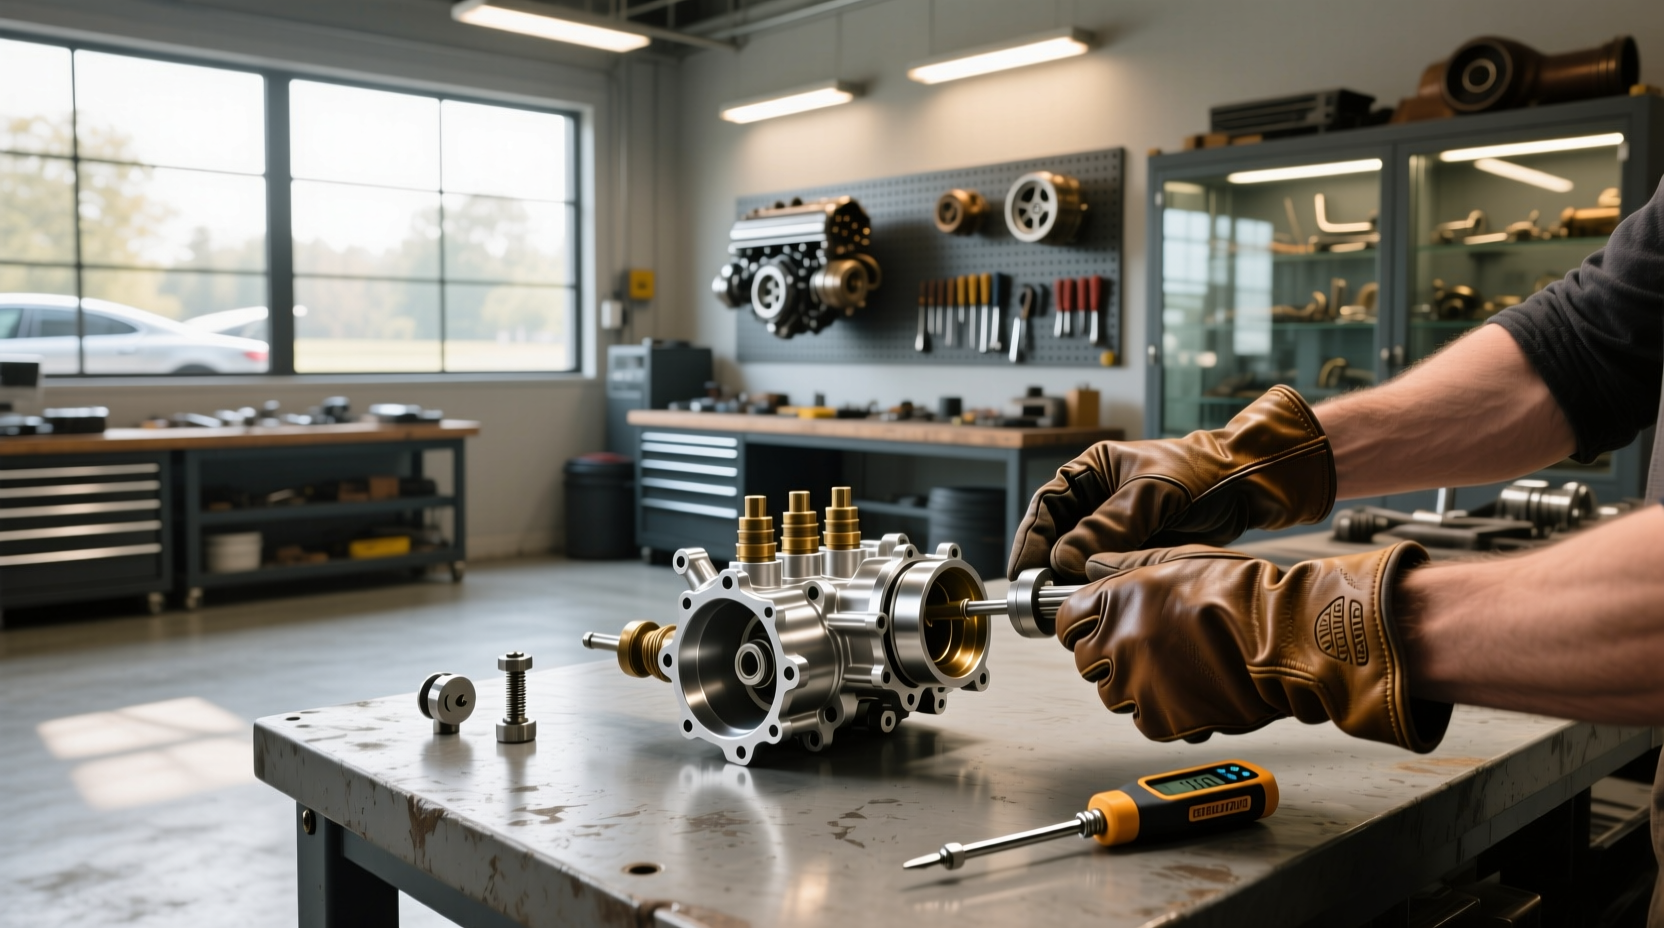
🔧 A carburetor synchronizer tool is essential for tuning multi-carburetor engines—especially on classic motorcycles and vintage cars. When carburetors are out of sync, the engine runs unevenly, idles poorly, and loses power. Using a carburetor synchronizer tool ensures each cylinder receives an equal air-fuel mixture by balancing vacuum pressure across all carbs. This article explains how these tools work, when to use them, step-by-step syncing procedures, and what to look for in a reliable gauge setup—all without brand bias or promotional language.
What Is a Carburetor Synchronizer Tool?
A carburetor synchronizer tool measures vacuum pressure at each carburetor’s intake manifold to align throttle openings so that airflow is evenly distributed. This process, known as carb synchronization, is critical for smooth idle, consistent acceleration, and optimal fuel efficiency in engines with multiple carburetors (typically two or four).
Most tools use either analog gauges with colored fluid (like mercury or water-based solutions) or digital sensors that display real-time vacuum readings. The goal is to adjust idle screws or throttle stop screws until all carburetors show identical vacuum levels.
⚙️ These tools are commonly used on:
- Motorcycles with twin or inline-four engines (e.g., Honda CB750, Yamaha XS650)
- Vintage sports cars (e.g., Triumph, MG, Alfa Romeo)
- Classic British bikes with SU or Zenith-Stromberg carburetors
- Some older Japanese and European models with dual or quad carb setups
Why Synchronize Carburetors?
When carburetors aren’t synchronized, one cylinder may draw more air than another, creating an imbalance in combustion. This leads to several drivability issues:
✅ Common symptoms of unsynchronized carbs:- Uneven or rough idle
- Hesitation during acceleration
- Poor fuel economy
- Engine misfires or backfiring
- Vibration at low RPMs
- One exhaust pipe running hotter than others
Synchronization restores balanced engine operation, which improves ride quality and extends engine life by preventing lean or rich conditions in individual cylinders.
Types of Carburetor Synchronizer Tools
There are two main types of tools used for carb syncing: analog vacuum balancers and digital synchronizers. Each has advantages depending on your experience level, budget, and application.
1. Analog Vacuum Manifold Gauges (Fluid-Based)
These traditional tools use U-shaped tubes filled with liquid (often dyed oil or water). As vacuum pulls on each side, the fluid level shifts, showing differences in pressure between carburetors.
📌 How it works:- Hoses connect from the intake ports of each carburetor to individual gauge tubes
- Vacuum draws fluid down on the higher-pressure side
- You adjust throttle stops until fluid levels match across all tubes
- No batteries required
- Durable and long-lasting
- Simple mechanical design
- Inexpensive compared to digital options
- Liquid can evaporate or leak over time
- Less precise than digital tools
- Harder to read in low light
- Not suitable for steeply angled intake manifolds
Popular among DIY mechanics and restorers due to simplicity and reliability.
2. Digital Carb Synchronizer Tools
Digital units use electronic pressure sensors connected via hoses to each carb. They display vacuum readings numerically on an LCD screen, often allowing simultaneous comparison of up to four carburetors.
📌 How it works:- Sensors detect absolute or differential vacuum pressure
- Data transmitted to a central display unit
- Real-time values allow fine adjustments for perfect balance
- High precision (reads to 0.1 inHg or better)
- Easier to interpret numbers vs. fluid movement
- Can be used in any orientation
- Some models include data logging or Bluetooth output
- Higher cost
- Requires battery power
- More complex; potential for sensor drift or failure
- May require calibration before use
Digital tools like the Digi Sync system are favored by professional shops and enthusiasts working on high-performance or hard-to-access engines.
How to Synchronize Carburetors: Step-by-Step Process
Synchronizing carburetors isn’t difficult, but it requires patience and attention to detail. Below is a universal procedure applicable to most twin- and four-carb setups.
Tools & Materials Needed
- Carburetor synchronizer tool (analog or digital)
- Appropriate hose adapters for your carb type
- Screwdriver or small wrench for adjusting idle screws
- Shop manual for your vehicle (recommended)
- Safety gloves and eye protection
Preparation Steps
- Warm up the engine: Run the motorcycle or car until it reaches normal operating temperature. Cold engines give inaccurate readings.
- Inspect for vacuum leaks: Check all intake boots, gaskets, and hoses. Any leak will throw off synchronization.
- Clean the carbs: If you’ve recently rebuilt or cleaned the carburetors, ensure they’re properly reassembled and adjusted for baseline idle mixture.
- Locate sync points: Find the vacuum ports on each carburetor. On some models, you may need to remove caps or plugs.
Synchronization Procedure
- Connect the tool: Attach hoses from the synchronizer to each carburetor’s vacuum port using correct fittings. Ensure connections are airtight.
- Start the engine: Let it idle steadily. Keep hands and tools clear of moving parts.
- Compare readings: Observe the difference in vacuum levels between carburetors.
- Adjust primary carb: Choose one carb as the reference (usually #1 or #3 on fours). Adjust its idle screw slightly if needed to stabilize idle speed.
- Match secondary carbs: Adjust the other carb(s) using their throttle stop screws until vacuum readings match the reference carb.
- Recheck and repeat: After adjustments, let the engine idle again and verify consistency. Small tweaks may be necessary.
- Test ride/drive: Take a short test run to assess idle smoothness and throttle response. Re-sync if vibrations persist.
⏱️ Total time: Typically 30–60 minutes for experienced users. Allow extra time if doing it for the first time.
When Should You Synchronize Your Carburetors?
Carb sync isn't a routine maintenance task like oil changes—but there are specific situations when it's necessary:
📋 Recommended times to perform carb synchronization:- After replacing or rebuilding any carburetor
- Following removal and reinstalling of carbs
- If the engine was disassembled around the intake manifold
- When experiencing rough idle or hesitation
- After installing new exhaust or air filter systems
- Every 10,000–15,000 miles for frequently ridden classics
However, if the bike runs smoothly and idles evenly, unnecessary syncing can introduce new imbalances. Only proceed if symptoms suggest misalignment.
Common Mistakes to Avoid
Even experienced mechanics make errors during carb syncing. Here are frequent pitfalls and how to avoid them:
❌ Mistake 1: Syncing coldNever attempt syncing on a cold engine. Thermal expansion affects throttle plate position and vacuum readings. Always warm up fully. ❌ Mistake 2: Ignoring vacuum leaks
A tiny crack in a rubber boot can mimic carb imbalance. Inspect all intake components before starting. ❌ Mistake 3: Mixing up primary and secondary adjustment screws
On some carbs, there are separate idle mixture and throttle stop screws. Only adjust throttle linkage screws during sync—not fuel mixture screws. ❌ Mistake 4: Forcing hose connections
Using incorrect adapters or forcing stiff hoses can damage delicate vacuum nipples. Use soft silicone tubing and proper-sized connectors. ❌ Mistake 5: Not securing the tool
Letting the gauge dangle or rest on hot engine parts can cause inaccurate readings or damage. Mount securely away from heat sources.
Choosing the Right Carburetor Synchronizer Tool
Selecting a tool depends on your needs, frequency of use, and engine configuration. Consider these factors:
🔍 Key Selection Criteria:- Number of carburetors supported: Twin-cylinder bikes need 2-gauge tools; inline-fours require 4-gauge capability.
- Type of gauge: Analog for simplicity, digital for accuracy.
- Hose length and flexibility: Longer, pliable hoses help reach awkward positions.
- Adapter kit included: Look for kits with various sizes of vacuum fittings.
- Durability: Metal-bodied gauges last longer than plastic ones.
- Portability: Compact designs are better for garage storage or roadside repairs.
For occasional home use, a basic dual-gauge analog tool offers excellent value. For frequent tuning or shop work, investing in a digital system pays off in speed and repeatability.
DIY Alternatives: Can You Make Your Own?
Yes—it’s possible to build a simple carb sync tool using readily available materials. Some riders create homemade versions using clear plastic tubing, food coloring, and rubbing alcohol.
📌 Basic DIY setup:- Cut two equal-length sections of transparent vinyl tubing (about 24 inches)
- Fill halfway with colored liquid (rubbing alcohol prevents freezing)
- Connect one end to each carb’s vacuum port
- Hold vertically and observe fluid height difference
This creates a rudimentary manometer. While not as accurate as commercial tools, it can detect major imbalances.
❗ Limitations:- No quantitative measurement (only visual estimation)
- Difficult to stabilize while riding or adjusting
- Risk of spills near hot engine parts
- Not suitable for four-carb engines
Best for emergency checks or learning the concept—but not recommended for final tuning.
Regional Differences and Compatibility
Carburetor designs vary globally, affecting tool compatibility:
🌍 British motorcycles (Triumph, Norton):- Often use Amal or SU carbs with standard vacuum ports
- Compatible with most universal sync tools
- Many models have dedicated sync ports under rubber plugs
- Use metric-threaded adapters (common sizes: M5, M6)
- May require specialized fittings
- Digital tools often preferred due to tight engine layouts
Always verify adapter fit before purchasing or beginning work.
Myths and Misconceptions About Carb Syncing
Several myths persist about carb synchronization. Clarifying these helps prevent wasted effort or damage.
📌 Myth 1: "Syncing fixes poor performance"Reality: If carbs are dirty, leaking, or improperly jetted, syncing won’t solve underlying issues. Clean and adjust carbs first. 📌 Myth 2: "All carbs must be perfectly matched"
Reality: Minor variations (<0.5 inHg) are acceptable. Focus on eliminating large discrepancies. 📌 Myth 3: "Digital tools are always better"
Reality: A well-maintained analog tool can be just as effective for most applications. Precision beyond mechanical tolerances offers diminishing returns. 📌 Myth 4: "You need to sync every tune-up"
Reality: Only sync when symptoms appear or after physical disturbance to the carb linkage.
Final Tips for Accurate Results
To get reliable results every time:
- Use a tachometer to monitor stable RPM during adjustment
- Double-check hose routing—don’t cross connections between carbs
- Work in a well-lit area to clearly see gauge movements
- Record initial readings to track progress
- Keep the engine clean—grease and grime attract debris during open-intake work
Proper use of a carburetor synchronizer tool brings measurable improvements in engine behavior. It’s a skill worth mastering for anyone maintaining carbureted vehicles.
Frequently Asked Questions (FAQ)
Can I synchronize carburetors without a tool?
While not ideal, you can estimate balance by listening to idle sound or feeling exhaust pulses, but this lacks precision. A proper tool is strongly recommended for accurate results.
How often should I synchronize my motorcycle’s carburetors?
Only when needed—such as after carb removal, rebuilds, or if you notice rough idle. There’s no fixed interval, but checking every 1–2 years is reasonable for regularly used classics.
What happens if my carburetors are out of sync?
Unbalanced carbs cause rough idling, reduced power, poor fuel economy, and potential long-term engine wear due to uneven combustion loads.
Do fuel-injected engines need synchronization?
No. Fuel injection systems electronically control air-fuel ratios and don’t require manual synchronization like carburetors.
Is a digital carb synchronizer worth the extra cost?
For professionals or those tuning frequently, yes. For occasional users, a quality analog tool provides sufficient accuracy at lower cost.





 浙公网安备
33010002000092号
浙公网安备
33010002000092号 浙B2-20120091-4