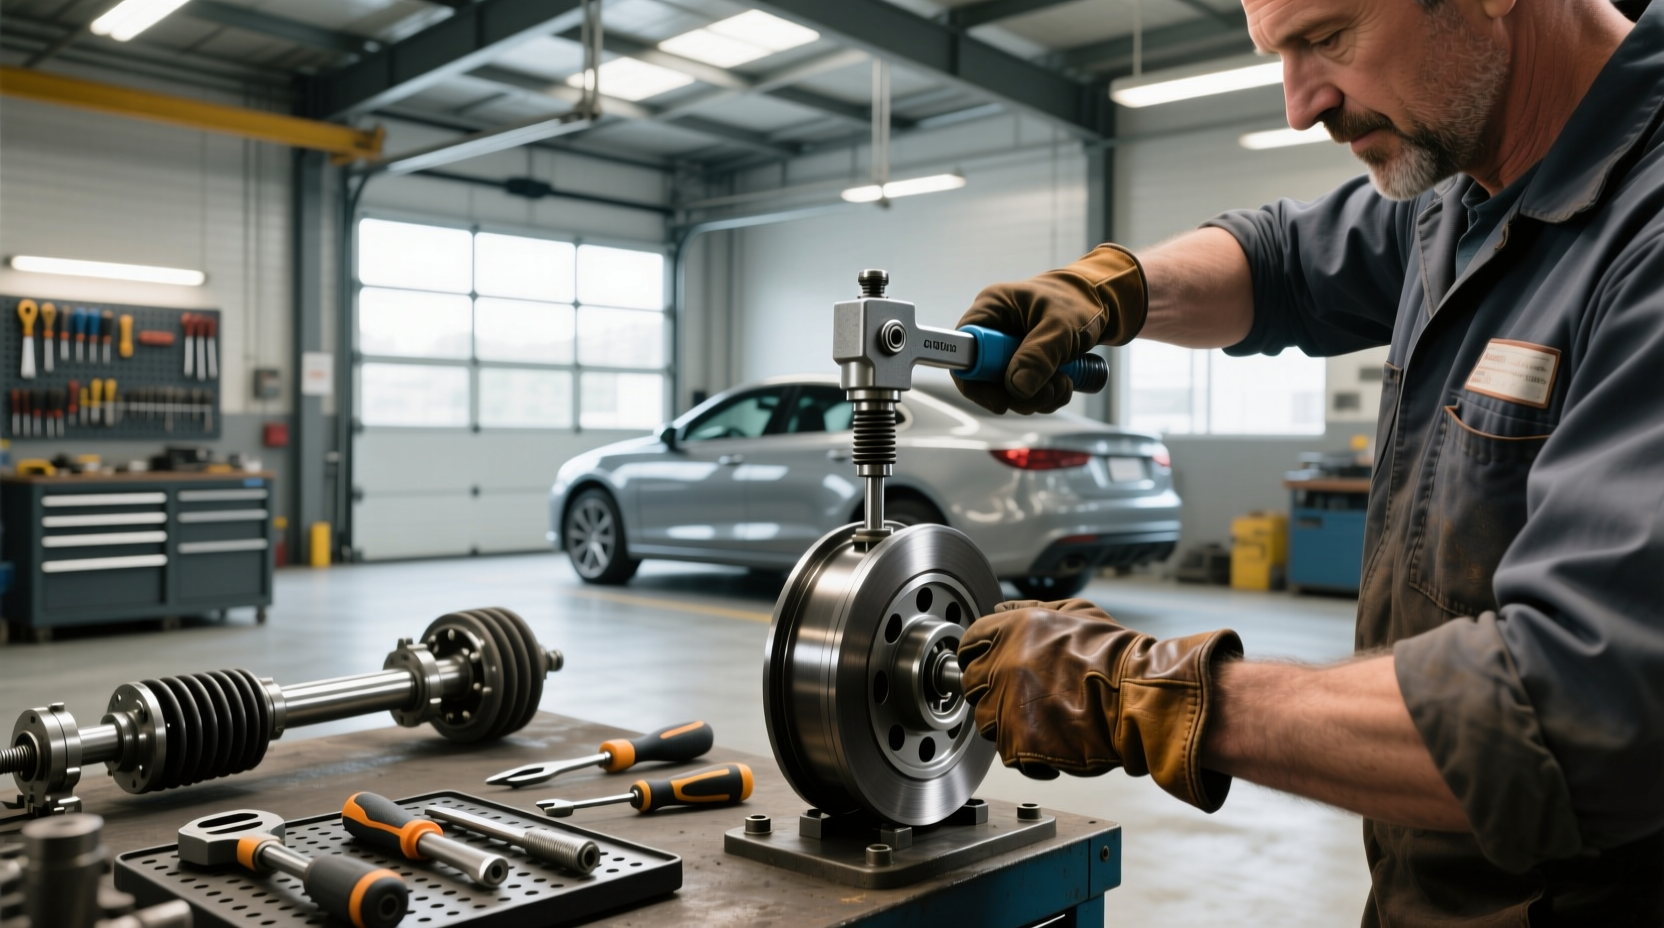
Replacing a constant velocity (CV) joint boot doesn’t have to mean removing the entire driveshaft from your vehicle. With the right CV boot expander tool, you can stretch and install a new boot directly on the car—saving significant time and labor. This method is especially useful for mechanics and DIYers working on front-wheel-drive vehicles like those from Volkswagen, BMW, or Ford, where access is tight and disassembly is complex ✅.
What Is a CV Boot Expander Tool?
A CV boot expander tool is a mechanical or pneumatic device designed to stretch the opening of a CV joint boot so it can be slipped over the existing CV joint without dismantling the half-shaft. These tools are also known as CV boot installation tools, boot spreaders, or CV boot guns. They work by gradually expanding the rubber or synthetic boot lip to create enough clearance for sliding it past the knuckle or flange ⚙️.
This eliminates the need to fully remove the driveshaft—a process that often involves unbolting suspension components, draining transmission fluid, or even lifting the engine slightly in some models. By using an expander tool, you reduce job time by up to 70%, according to field reports from independent garages 1.
Why Replace a CV Boot?
The CV joint connects the transmission to the wheels and allows power transfer while accommodating suspension movement and steering angles. The rubber boot surrounding the joint serves a critical function: it keeps grease inside and contaminants like dirt, water, and road salt out 🌍.
When a boot cracks, splits, or develops holes—even small ones—moisture enters and mixes with the lubricating grease. Over time, this leads to rust, pitting, and eventual failure of the CV joint itself. Once the joint fails, replacement costs rise dramatically because now you're replacing not just a $20–$50 boot, but a $150–$400 axle assembly.
🔧 Key signs of a failing CV boot:
- Grease splattered inside the wheel well or along the underside of the fender
- Creaking or clicking noises when turning at low speeds
- Visible cracks, tears, or collapsed sections on the boot
- Loose or gritty feeling in the front end during acceleration
Traditional vs. Modern CV Boot Replacement Methods
Historically, replacing a CV boot required complete removal of the driveshaft. Here’s how the two approaches compare:
| Factor | Traditional Method | Using CV Boot Expander Tool |
|---|---|---|
| Driveshaft Removal | Required | Not required |
| Time Required | 2–4 hours | 30–60 minutes |
| Labor Complexity | High (suspension work, torque specs) | Moderate (access-dependent) |
| Risk of Damage | Higher (seals, boots, threads) | Lower (if tool used correctly) |
| Tool Cost | Basic socket set | $50–$200 for expander tool |
| Skill Level | Intermediate to advanced | Beginner with guidance |
As shown, the primary advantage of using a universal CV boot installation tool is reduced downtime and lower risk of introducing new issues during reassembly, such as overtightening hub nuts or damaging ABS sensors.
Types of CV Boot Expander Tools
There are several designs available, each suited to different shop environments and budget levels:
1. Manual Rod-Type Expanders 🔧
These consist of interlocking metal rods that are inserted into the boot and twisted or pushed apart to expand the diameter. They’re inexpensive and compact, making them ideal for home garages or mobile technicians.
✅ Pros:
- No air compressor needed
- Pocket-sized storage
- Low cost (~$15–$40)
❌ Cons:
- Slower application
- Requires careful alignment
- Limited expansion range
2. Pneumatic CV Boot Guns ⚡
Powered by compressed air, these tools use hydraulic force to rapidly expand the boot. Brands like Laser Tools and Ferdus offer models that claim installation in under 30 seconds.
✅ Pros:
- Fast operation
- Consistent pressure
- Suitable for high-volume shops
❌ Cons:
- Requires air supply
- Bulkier design
- Higher upfront cost ($150+)
3. Cone & Slide Tools ✨
A simple conical funnel made of plastic or aluminum. You roll the boot over the cone, then slide the whole unit onto the joint. While not technically an “expander,” it achieves a similar result through controlled stretching.
Best used with more elastic aftermarket boots rather than OEM-style rigid rubber. Often included with universal boot kits sold online.
Step-by-Step: How to Install a CV Boot Using an Expander Tool
Follow this procedure to replace a damaged boot without removing the driveshaft:
- Secure the Vehicle: Lift and support the car safely using jack stands. Remove the wheel for clear access.
- Clean the Area: Use brake cleaner to remove old grease and debris around the CV joint. This prevents contamination of the new boot.
- Remove Old Clamps: Cut off the outer clamp with a zip cutter or side cutters. Some inner clamps may require special tools or pliers.
- Peel Back the Old Boot: Carefully pull it away from the joint. Inspect the CV joint for pitting or wear—if metal is exposed, consider full axle replacement.
- Apply New Grease: Pack fresh high-temperature molybdenum-disulfide grease into the joint. Most repair kits include enough for one side.
- Position the New Boot: Place the new boot loosely over the joint. Do not attach clamps yet.
- Insert the Expander Tool: Depending on model, either insert rods radially or position the pneumatic head over the boot lip.
- Expand Gradually: Activate the tool slowly. Watch for even expansion—avoid overstretching, which can cause micro-tears.
- Slide Into Position: Once expanded, gently push the boot over the joint until seated properly.
- Remove Tool & Secure Clamps: Release the expansion force, withdraw the tool, and install both inner and outer clamps tightly.
- Final Inspection: Rotate the shaft and verify the boot moves freely without binding.
⏱️ A skilled technician can complete this process in under an hour once familiar with the tool.
Choosing the Right CV Boot
Not all boots are created equal. Even with the best CV boot installation tool, success depends on material flexibility:
- OEM Boots: Often stiffer and less elastic; harder to install without heat or excessive force.
- Universal Aftermarket Boots: Designed with higher elasticity for easier installation. Look for terms like “stretch-fit” or “pre-lubricated.”
- Heat Application Tip: Warming the boot in hot water (~160°F / 70°C) for 2–3 minutes increases pliability and reduces tearing risk 2.
Common Mistakes to Avoid
Even experienced mechanics make errors when rushing this job:
- Over-tightening clamps: Can pinch the boot and lead to premature cracking.
- Reusing old clamps: They lose tension and may not seal properly.
- Skipping grease replacement: Old grease contains metal particles that accelerate wear.
- Improper alignment: Installing the boot cocked can cause rubbing against suspension parts.
- Ignoring inner joint condition: If the joint clicks or feels rough, replacement is safer than repair.
Can You Install a CV Boot Without a Special Tool?
Yes—but with caveats. Some DIYers attempt to roll the boot on by hand, using dish soap or silicone spray as a lubricant. Others try funnel-shaped PVC pipes or modified bottles. However, these methods carry risks:
- Fingertip injuries from slipping tools
- Tearing the boot due to uneven force
- Incomplete seating leading to early failure
While possible, skipping the proper CV boot expander tool increases the chance of redoing the job within months. For frequent repairs, investing in a quality tool pays off quickly.
Where to Get a CV Boot Expander Tool
These tools are widely available through automotive specialty suppliers. Some auto parts stores offer loaner programs—check with local providers like AutoZone, O'Reilly, or NAPA under their tool rental services 🛒.
If purchasing, look for:
- Adjustable jaws or rod lengths to fit various boot sizes (up to 115mm diameter)
- Durable construction (steel over plastic)
- Compatibility with common vehicle makes (European imports often need wider reach)
Are All CV Joints Accessible for On-Car Repair?
No. While most front axles allow in-place boot replacement, some rear-wheel-drive or performance vehicles have limited clearance. Always inspect the workspace first:
- Measure clearance between the CV joint and suspension knuckle
- Check for obstructing brake lines, ABS sensors, or control arms
- Confirm there's enough room to insert and operate the tool
In tight spaces, partial driveshaft removal (e.g., separating only the outer joint) might still be necessary. Consult service manuals for specific access procedures.
Cost-Benefit Analysis: Repair vs. Replace Axle
Here’s a realistic breakdown for a single-side CV boot replacement:
| Option | Parts Cost | Labor Time | Total Estimate |
|---|---|---|---|
| Boot Replacement (with tool) | $25 (boot kit) | 1 hour | $100–$150 |
| New Axle Assembly | $120–$200 | 1.5–2 hours | $250–$400 |
For a functioning CV joint, repairing the boot is clearly more economical. But if the joint already shows play or noise, replacement avoids a second labor charge later.
Environmental & Safety Considerations
Used CV boots and greases should be disposed of properly. Waste grease is considered hazardous in many regions and must not be poured down drains or left on the ground 🧼.
Wear gloves and eye protection when handling old components. Old boots may contain metal shavings from internal wear, which can irritate skin or eyes.
Future Trends in CV Joint Maintenance
As electric vehicles grow in popularity, traditional CV joints remain relevant—especially in AWD configurations. However, some manufacturers are integrating modular drive units that discourage field repairs. In such cases, boot damage may necessitate full unit replacement, increasing the value of preventive maintenance today.
Additionally, newer materials like thermoplastic elastomers (TPE) are being tested for longer-lasting, more flexible boots that could simplify installation even further.
Conclusion
A CV boot expander tool is a smart investment for anyone regularly maintaining front-wheel or all-wheel-drive vehicles. It enables quick, clean boot replacements without disturbing other drivetrain components. Whether you choose a manual rod-type or pneumatic gun depends on volume, workspace, and budget—but any option beats the outdated method of full driveshaft removal.
By understanding how these tools work, selecting compatible boots, and following safe practices, you extend the life of your CV joints and save money over time. Just remember: inspect early, act before leaks become failures, and always use the right technique for durable results.
Frequently Asked Questions
- Can I reuse the old CV boot if it’s only slightly cracked?
- No. Even small cracks allow moisture entry, leading to rapid joint deterioration. Always replace damaged boots immediately.
- Is it safe to drive with a torn CV boot?
- Short distances (under 50 miles) may be acceptable, but continued driving risks complete joint failure and potential loss of control. Repair as soon as possible.
- Do I need special clamps for the new boot?
- Yes. Use clamps specified in the repair kit or OEM equivalents. Improvised wire ties or hose clamps lack durability and sealing ability.
- Can I use a CV boot expander tool on both inner and outer joints?
- Most tools work on both, but outer joints typically have more space. Inner joints near the transmission may require extra care due to tighter clearance.
- Where can I rent a CV boot installation tool?
- Many auto parts stores in the U.S. and Canada offer free tool rental with purchase. Check availability at regional chains like AutoZone, Advance Auto Parts, or Canadian Tire.





 浙公网安备
33010002000092号
浙公网安备
33010002000092号 浙B2-20120091-4