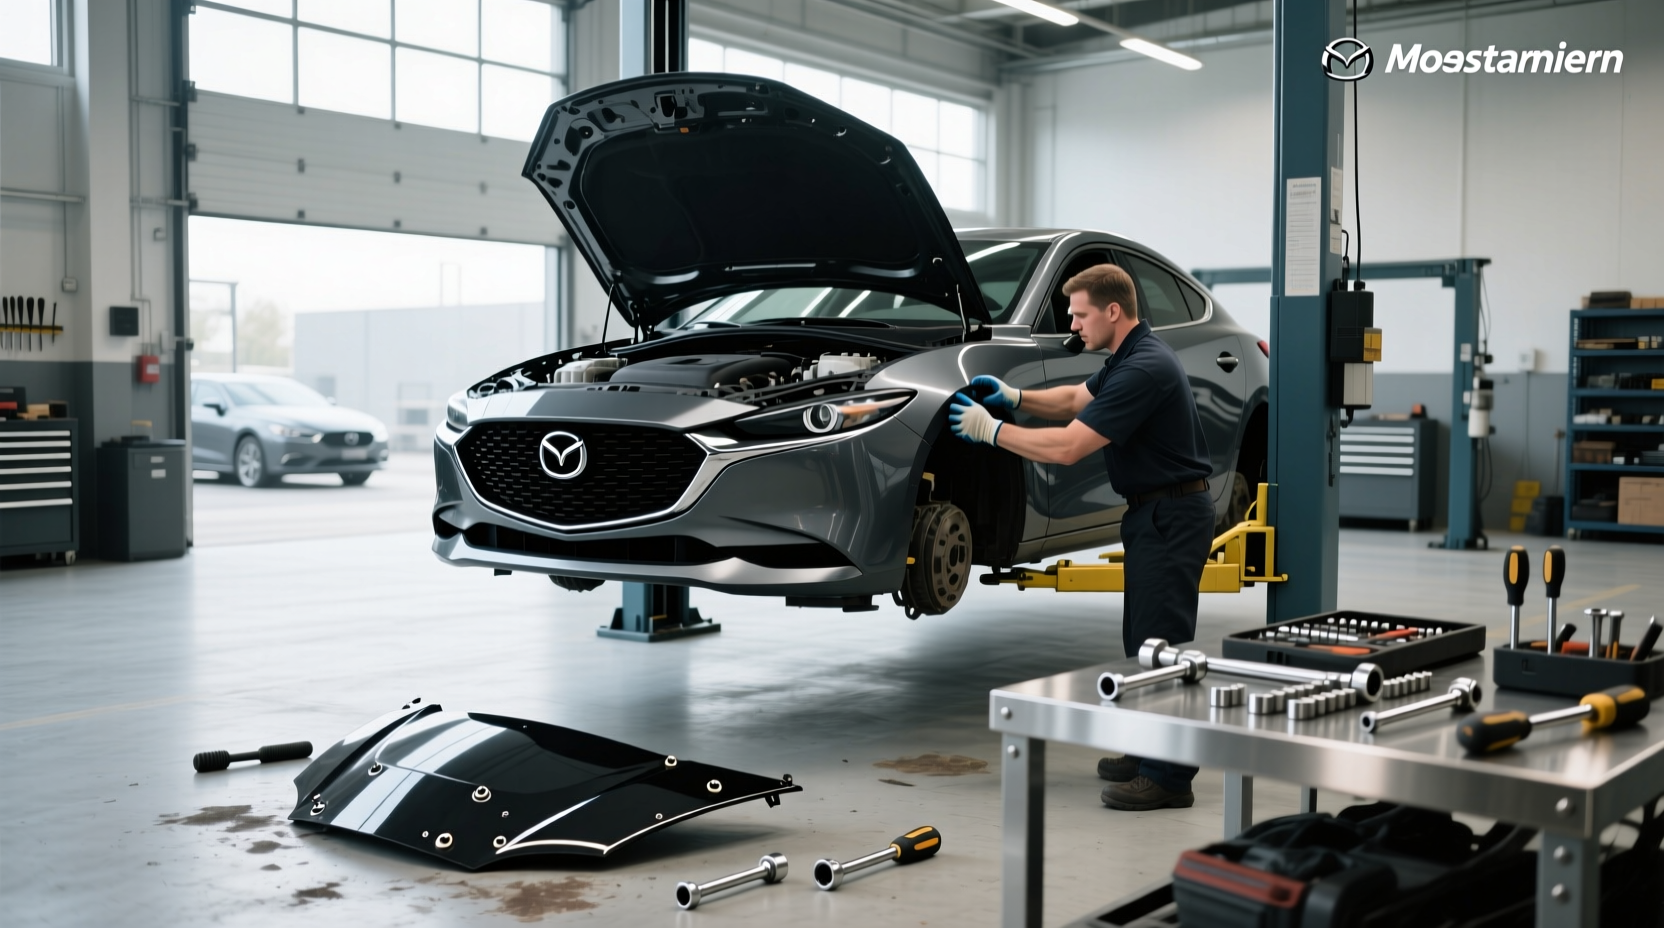
If your Mazda 3 engine splash shield is cracked, loose, or missing, you're not just exposing critical undercarriage components to road debris—you may be setting yourself up for costly repairs down the line. Replacing the engine splash shield on a Mazda 3 is a straightforward DIY task that most owners can complete in under an hour with basic tools. This comprehensive guide walks you through everything you need to know about Mazda 3 lower engine cover replacement, from identifying damage and selecting compatible parts to step-by-step installation and long-term maintenance tips.
What Is an Engine Splash Shield and Why Does It Matter?
An engine splash shield—also known as an underbody cover, lower engine cover, or splash guard—is a protective panel mounted beneath the front or rear of your vehicle’s engine compartment 🛠️. Its primary function is to deflect water, dirt, rocks, and other road debris away from sensitive mechanical and electrical components such as the engine block, transmission, wiring harnesses, and radiator hoses.
For Mazda 3 models (especially those manufactured from 2004 to present), this plastic or metal panel plays a crucial role in maintaining both performance and longevity. Without it, consistent exposure to moisture and abrasives increases corrosion risk and can lead to premature wear on belts, sensors, and hoses.
🚗 Common Scenarios Leading to Damage:
- Driving over speed bumps or curbs without clearance
- Hitting potholes or gravel at high speeds
- Improper removal during oil changes or service work
- Aging material causing brittleness in older vehicles (especially pre-2014 models)
Signs Your Mazda 3 Needs a New Engine Splash Shield
You don’t always need visible cracks to know something’s wrong. Here are key indicators that prompt immediate inspection:
| Symptom | Likely Cause | Urgency Level |
|---|---|---|
| Flapping noise at low speeds | Loose or partially detached shield | ⚠️ Moderate – Fix within 1–2 weeks |
| Vibrations felt under acceleration | Shield rubbing against drive shaft or exhaust | ⚠️ Moderate |
| Visible cracks or large holes | Impact damage or UV degradation | ❗ High – Replace immediately |
| Missing bolts or fasteners | Prior improper reinstallation | ✅ Low to Moderate – Inspect full assembly |
| Engine warning lights after heavy rain | Moisture intrusion due to missing shield | ❗ High – Check wiring and sensors |
🔧 TIP: If you hear unusual noises when driving over puddles or wet roads, pull over safely and inspect underneath using a flashlight. Even minor misalignment can cause fluttering sounds that mimic more serious mechanical issues.
Can You Drive Without an Engine Splash Shield?
Yes—but not safely for long. While the car will run normally in the short term, skipping replacement exposes your Mazda 3 to several risks:
- Increased vulnerability to hydrolock: Water entering the air intake system during deep puddle crossings can damage the engine irreversibly.
- Dirt buildup on cooling fans and radiators: Over time, accumulated grime reduces heat dissipation efficiency, increasing the chance of overheating.
- Higher repair costs: A $30 splash shield failure could eventually lead to $500+ in sensor replacements or hose repairs.
- Voided warranty implications: Some dealerships may deny coverage for related damage if they determine lack of protection contributed to the issue.
📌 According to discussions among Mazda 3 owners on automotive forums like Reddit’s r/mazda3, many report no immediate problems after losing their shields—but nearly all recommend prompt replacement to prevent future complications 1.
Choosing the Right Replacement Part: OEM vs Aftermarket
When shopping for a new Mazda 3 front engine splash shield, you’ll typically encounter three types:
- Genuine OEM (Original Equipment Manufacturer): Made by Mazda or its direct suppliers. Matches factory specs exactly. Priced higher but ensures perfect fitment.
- Aftermarket branded (e.g., TRQ, AP, Garage-Pro): Often less expensive and widely available. Quality varies; look for reviews confirming durability and correct bolt patterns.
- Universal-fit panels: Rarely recommended. These require modification and often fail to seal properly around steering components or exhaust pipes.
📍 Compatibility Tips:
- Confirm model year range: 2004–2009, 2010–2013, 2014–2018, and 2019–2025 have distinct designs.
- Check engine type: Most shields fit both 2.0L and 2.5L inline-four engines, but verify before purchase.
- Differentiate between sedan and hatchback variants where applicable (especially 2019+).
- Look for part numbers like MA1228113C, B45A-56-11Y, or BDTS-56-3D0 for precise matching.
🛒 Where to Buy: Trusted auto parts retailers offer verified compatibility filters. Avoid third-party marketplaces without return policies or clear manufacturer details.
Cost Breakdown: How Much Should You Expect to Pay?
The total cost depends on whether you do it yourself or hire a mechanic:
| Component | OEM Price Range | Aftermarket Price Range |
|---|---|---|
| Front engine splash shield | $40 – $75 | $20 – $45 |
| Rear splash shield (if separate) | $35 – $65 | $25 – $50 |
| Fasteners & clips (set) | $8 – $15 | $5 – $12 |
| Professional labor (avg.) | $60 – $120/hour (usually 0.5–1 hr job) | |
⚡ Pro Tip: Always replace broken plastic push clips—even if some remain intact. Old ones become brittle and won’t hold securely after removal.
Step-by-Step Guide: Replacing a Mazda 3 Front Engine Splash Shield
This procedure applies to most Mazda 3 generations (2004–2025). Adjustments may be needed based on body style and trim level.
Tools Needed ⚙️
- Socket wrench set (typically 8mm and 10mm sockets)
- Extension bar and universal joint (for tight spaces)
- Flathead screwdriver (for clip removal)
- New fasteners or push pins (recommended)
- Jack and jack stands OR access to a lift
- Gloves and safety glasses
Installation Steps ✅
- Lift the Vehicle Safely: Use ramps or a floor jack with jack stands. Never rely solely on a hydraulic jack.
- Locate the Shield: The front splash shield sits behind the bumper and below the radiator. It usually spans from left to right wheel wells.
- Remove Fasteners: Unscrew all bolts along the top edge (attached to frame rails) and sides (connected to fender liners). Remove any remaining push clips with a flathead.
- Detach and Remove: Carefully slide the old shield out. Watch for snagging on the steering rack or AC lines.
- Clean Mounting Area: Wipe off dirt, grease, or old adhesive residue. Inspect surrounding areas for rust or wire chafing.
- Position New Shield: Align tabs and slots first. Make sure cutouts match exhaust manifold and steering components.
- Reinstall Bolts and Clips: Hand-tighten initially, then torque to ~7–9 ft-lbs. Don’t overtighten plastic fasteners.
- Lower Vehicle and Test: Take a short drive over bumpy terrain to ensure no rattling or vibration.
⏱️ Time Required: Average DIYers take 30–60 minutes. First-time users should allow up to 90 minutes.
Common Mistakes to Avoid During Installation
Even experienced DIYers make errors. Here are frequent pitfalls:
- Skipping new fasteners: Reusing old clips leads to looseness and early failure.
- Incorrect alignment: Misaligned shields rub against moving parts, creating noise or damage.
- Over-torquing bolts: Can strip threads in aluminum subframes or crack plastic mounts.
- Ignoring missing pieces: Some kits only include partial coverage—verify full protection is restored.
- Forgetting to reconnect nearby sensors: Rare, but possible if working near ABS or speed sensors.
Regional Considerations: Climate and Road Conditions
Your location affects how critical the splash shield is:
- Cold climates (e.g., Midwest U.S., Canada): Salted roads accelerate undercarriage corrosion. A functioning shield acts as a barrier against brine spray.
- Wet regions (Pacific Northwest, UK): Constant moisture raises mold and rust risks. Proper sealing helps keep electronics dry.
- Dry/arid zones (Southwest U.S.): Less corrosion concern, but sand and rocks pose impact hazards at highway speeds.
- Urban environments: Frequent stop-and-go driving exposes the underside to curbs, speed humps, and debris.
🌍 In snowy areas, consider upgrading to a reinforced skid plate (like those from CorkSport) for added durability, especially if you frequently park outdoors or drive on plowed streets.
Are There Performance Benefits Beyond Protection?
While the main purpose is protection, there are secondary advantages:
- Aerodynamic improvement: A smooth underbody reduces drag slightly, which can improve fuel economy by 1–2% at highway speeds.
- Reduced road noise: Sealing the engine bay lowers wind turbulence and tire roar transmitted into the cabin.
- Better airflow management: Helps direct cool air toward the radiator and away from hot exhaust components.
✨ However, these gains are modest. Don’t expect dramatic improvements—focus on protection as the primary benefit.
Myths and Misconceptions About Engine Splash Shields
Let’s clarify some widespread misunderstandings:
- Myth: “It’s just a cheap piece of plastic—no real value.”
- Truth: It prevents thousands in potential damage by shielding vital systems.
- Myth: “Dealers remove them intentionally for easier access.”
- Truth: They should always reinstall them. Failure to do so violates service standards.
- Myth: “Aftermarket shields are always inferior.”
- Truth: Many reputable brands meet or exceed OEM quality at lower prices.
- Myth: “You can tape it back on temporarily.”
- Truth: Tape fails quickly under heat and vibration. Not a safe workaround.
Maintenance Tips to Extend Splash Shield Life
Prevention beats replacement. Follow these practices:
- Inspect every oil change: Look for cracks, loose bolts, or warping.
- Clear snow and ice buildup: After winter storms, use lukewarm water to melt packed slush trapped beneath.
- Avoid high-pressure washes aimed upward: Can force water into seals and dislodge clips.
- Use caution when parking: Angle approaches to ramps or curbs to reduce scraping.
🧼 Clean the shield periodically with mild soap and water to prevent grime accumulation that adds weight and promotes cracking.
Frequently Asked Questions (FAQ)
Below are answers to common follow-up questions about Mazda 3 engine splash shield replacement:
- ❓ Can I replace the engine splash shield myself?
- Yes, most owners can replace it with basic hand tools. It requires lifting the car safely and removing 6–10 bolts/clips. No special skills needed, but caution is essential when working under a raised vehicle.
- ❓ How often should the engine splash shield be replaced?
- There’s no fixed interval. Replace it only when damaged, cracked, or missing. With proper care, OEM shields last 8–12 years depending on climate and driving conditions.
- ❓ Is it safe to drive with a broken engine splash shield?
- Short-term driving is generally safe, but prolonged use risks water, dirt, and debris damaging engine components. Repair or replace it as soon as possible to avoid costly issues.
- ❓ What tools do I need to remove a Mazda 3 engine splash shield?
- You’ll typically need an 8mm and 10mm socket wrench, extension bar, jack and stands, gloves, and a flathead screwdriver for push clips. Torque wrench optional but recommended.
- ❓ Does a missing splash shield affect fuel efficiency?
- Potentially yes. Missing panels increase aerodynamic drag slightly, which may reduce highway fuel economy by 1–2%. More importantly, it leaves your engine vulnerable to damage.




 浙公网安备
33010002000092号
浙公网安备
33010002000092号 浙B2-20120091-4