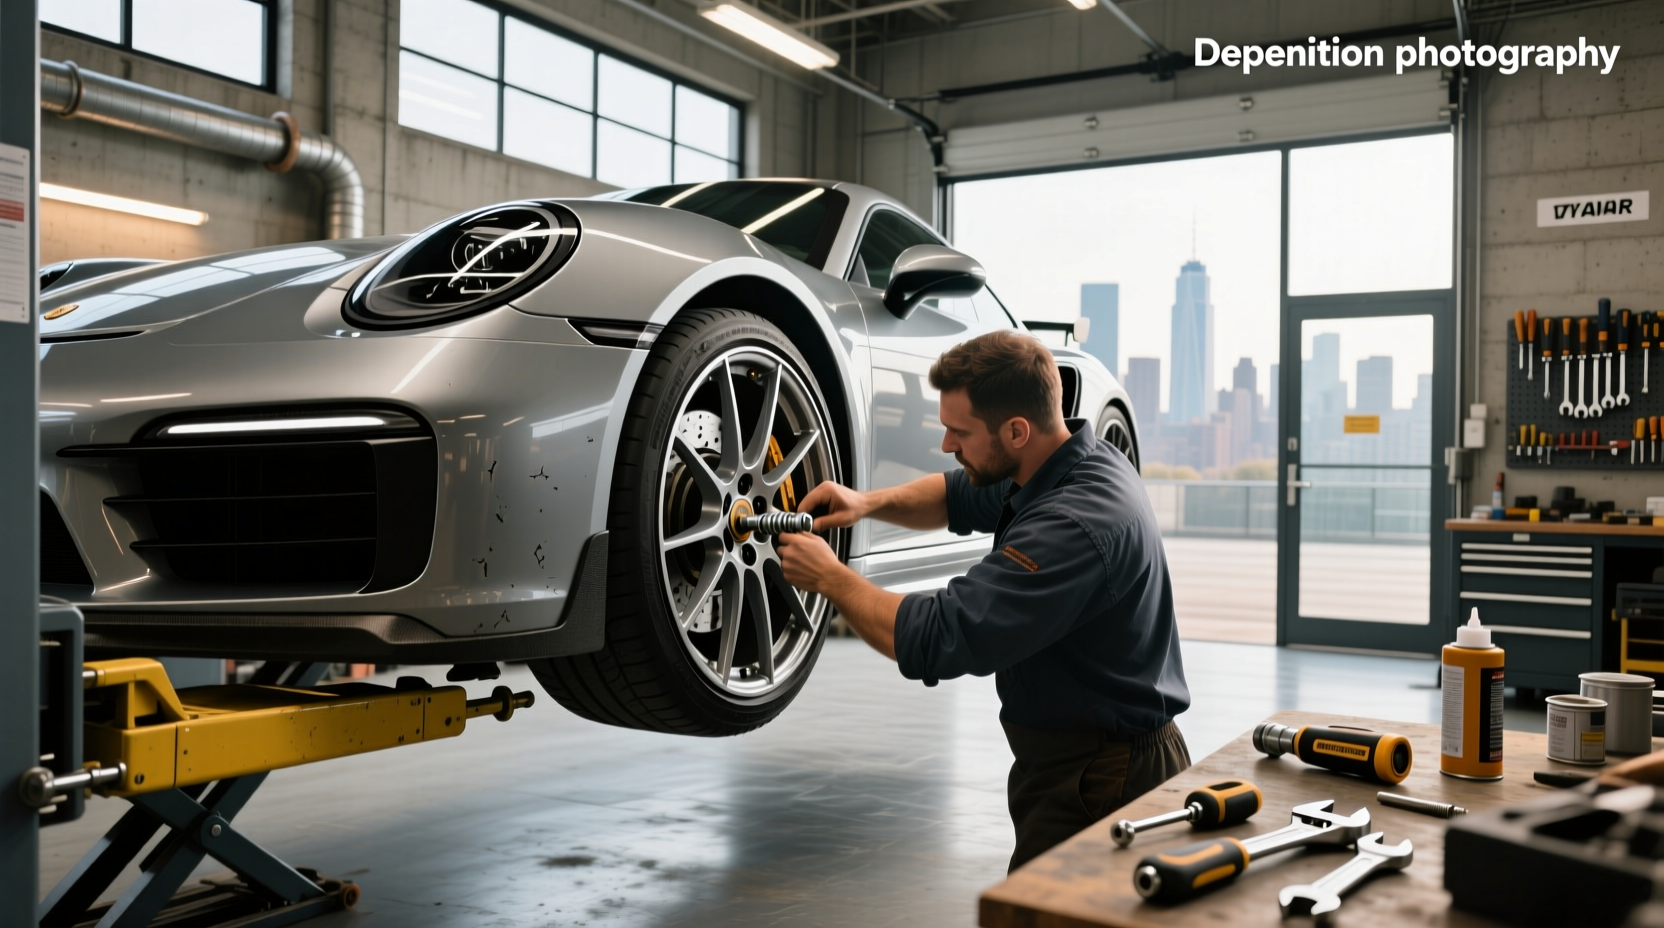
Properly mounting a wheel—especially on grinding machinery—is critical for performance, precision, and operator safety. Whether you're working with bench grinders, surface grinders, or centerless grinding systems, incorrect wheel installation or imbalance can lead to excessive vibration, poor surface finishes, premature machine wear, and even catastrophic failure. This guide explains the complete process of how to mount and balance a grinding wheel correctly, covering tools needed, step-by-step procedures, common mistakes, and best practices used in professional workshops worldwide.
Why Correct Mounting Wheel Procedures Matter
When users search for terms like "mounting wheel", they’re often trying to solve real-world problems: excessive noise during operation, inconsistent grinding results, or visible wobble in rotating components. While some may assume these issues stem from dull abrasives or motor defects, the root cause frequently lies in improper wheel mounting or lack of static balancing.
A poorly mounted grinding wheel doesn’t just degrade performance—it introduces serious safety risks. According to OSHA and ANSI standards, unbalanced wheels can disintegrate at high speeds, releasing shrapnel-like debris1. That’s why understanding the full cycle—from handling and inspection to arbor fitment and final balancing—is essential for anyone using industrial or workshop-grade grinding equipment.
Understanding the Components: What Is a Mounting Wheel System?
The term "mounting wheel" can be misleading because it's not typically a standalone part but rather refers to the entire assembly process involving several key components:
- Grinding wheel: The abrasive disc itself, made from materials like aluminum oxide, silicon carbide, or CBN (cubic boron nitride).
- Arbor (spindle): The shaft that rotates the wheel; must match the wheel’s bore size precisely.
- Flanges: Metal plates on either side of the wheel that secure it in place. They should be clean, flat, and of equal diameter (usually at least one-third the wheel diameter).
- Blotting paper or rubber rings: Used as cushioning between flange and wheel to prevent cracking under clamping pressure.
- Balancing stand and arbor kit: A separate fixture used off-machine to statically balance the wheel before installation.
🔧 Key Tip: Never force a wheel onto an arbor. If there's resistance, check bore size compatibility. Using adapters or reducing bushes is acceptable only if designed for such use and properly secured.
Step-by-Step: How to Mount a Grinding Wheel Safely
Follow this standardized procedure every time you replace or install a new grinding wheel:
- Inspect the Wheel Visually and Audibly
Before mounting, examine the wheel for cracks, chips, or moisture damage. Perform a ring test: suspend the wheel with a soft string or place it on a balancing arbor, then tap gently with a non-metallic tool. A clear, ringing sound indicates integrity; a dull thud suggests internal damage and the wheel should be discarded. - Clean All Components
Remove dust, oil, or debris from the arbor, flanges, and wheel bore. Contamination can create uneven seating and misalignment. Use a lint-free cloth and mild solvent if necessary. - Check Flange Condition and Size
Ensure both flanges are identical in diameter and thickness. Worn or warped flanges distort clamping force. Replace them if pitted or uneven. Always follow manufacturer recommendations—typically flange diameter ≥ 1/3 of wheel diameter. - Install Blotting Paper or Rubber Gaskets
Place thin paper or elastomeric washers between each flange and the wheel face. These distribute clamping pressure evenly and protect the abrasive bond from fracturing. - Slide Wheel Onto Arbor
Align the wheel carefully onto the spindle. It should slide freely without tight spots. Do not hammer or press-fit unless specified by the machine manual. - Secure with Nut or Retaining Bolt
Tighten the retaining nut firmly but do not overtighten. Excessive torque can crack the wheel or deform flanges. Use a torque wrench when possible, following OEM specifications.
What Is Grinding Wheel Balancing and Why Is It Necessary?
Even after proper mounting, a grinding wheel may still vibrate due to material inconsistencies, slight eccentricities, or minor damage. This is where wheel balancing comes into play. Balancing ensures mass symmetry around the axis of rotation, minimizing centrifugal forces that cause vibration.
There are two primary types of balancing:
- Static Balancing: Performed off-machine using a balancing stand. The wheel will naturally rotate until its heaviest point faces downward. Weights are added opposite this point until the wheel remains stationary in any position.
- Dynamic Balancing: Done while the wheel spins on the actual machine, often using electronic sensors and adjustable counterweights. More precise, especially for high-speed or large-diameter wheels.
How to Manually Balance a Grinding Wheel on a Bench Grinder
For most hobbyists and small shops, static balancing is sufficient and cost-effective. Here’s how to do it:
- Remove the Wheel Assembly
Take the wheel, flanges, and arbor off the grinder. Some setups allow direct balancing on the machine; others require a dedicated balancing fixture. - Mount on a Balancing Arbor
Use a precision-ground arbor supported by V-blocks or roller bearings. Ensure free rotation with minimal friction. - Let the Wheel Find Its Heavy Spot
Gently rotate the wheel and let it come to rest. Mark the lowest point—the heavy side—with chalk or tape. - Add Counterweights
If your flanges have threaded holes for balance weights, attach a small weight at the top (180° from the heavy spot). Rotate again. Repeat until the wheel stops randomly instead of consistently settling in the same orientation. - Dress the Wheel After Balancing
Once balanced, reinstall and dress the wheel with a diamond dresser to true the surface and remove minor irregularities that could affect balance post-installation.
Common Mistakes When Mounting and Balancing Wheels
Avoid these frequent errors that compromise safety and performance:
- Mixing Flanges from Different Machines: Flange runout or mismatched diameters create uneven clamping and imbalance.
- Omitting Blotting Paper: Direct metal-to-abrasive contact increases fracture risk.
- Ignoring Ring Testing: Skipping pre-mount inspection leads to in-service failures.
- Using Damaged or Improvised Tools: Pliers or hammers can damage the wheel structure.
- Assuming Factory-Balanced Wheels Don’t Need Checking: Handling, shipping, and storage can shift internal density.
Tools and Equipment Needed for Effective Wheel Mounting and Balancing
To perform reliable mounting and balancing, gather these essentials:
| Tool | Purpose | Recommended Features |
|---|---|---|
| Balancing Stand | Supports wheel during static balancing | V-blocks or low-friction rollers, stable base |
| Balancing Arbor | Holds wheel concentrically during balancing | Precision ground, multiple bushings for different bores |
| Ring Test Hammer | Checks wheel integrity acoustically | Wooden or plastic handle, non-marring tip |
| Dressing Tool (e.g., Diamond Pen) | Trues wheel surface post-mounting | Adjustable holder, single-point diamond |
| Balance Weights | Corrects mass asymmetry | Threaded inserts compatible with flanges |
| Torque Wrench | Ensures proper nut tightness | ¼" or ½" drive, range matches machine specs |
Regional and Industry-Specific Variations
While core principles remain consistent globally, regional standards influence practices:
- North America: Follows ANSI B7.1 safety code for grinding wheels, which mandates ring testing, flange sizing, and guarding requirements.
- Europe: Governed by EN 12413 and Machinery Directive 2006/42/EC, emphasizing CE marking and risk assessments.
- Asia-Pacific: Varies by country; Japan follows JIS standards, while Australia adheres to AS 5097.
Myths and Misconceptions About Mounting Wheels
Several myths persist in DIY and trade circles:
- Myth: "Small wheels don’t need balancing."
Fact: Even small-diameter wheels generate significant centrifugal force at high RPMs. Imbalance affects bearing life and finish quality. - Myth: "If it fits, it’s safe."
Fact: Bore-to-arbor fit must be precise. Loose fits cause slippage; tight fits induce stress fractures. - Myth: "Factory-new wheels are perfectly balanced."
Fact: Manufacturing tolerances exist. Always inspect and verify balance before use.
How Often Should You Rebalance a Grinding Wheel?
Rebalancing frequency depends on usage intensity and application:
- Light-duty sharpening (home shop): Every 3–5 uses or whenever vibration increases.
- Industrial production grinding: Before each shift or after any wheel change/dressing cycle.
- After impact or drop: Immediately inspect and rebalance, even if no visible damage.
Alternatives and Advanced Solutions
For high-precision applications, consider:
- Self-balancing flanges: Contain internal weights that automatically adjust during rotation.
- Electronic dynamic balancers: Use sensors and microprocessors to detect and correct imbalance in real time.
- Automated dressing systems: Integrate with CNC grinders to maintain roundness and balance over long runs.
Final Checklist Before Operation
Before powering up, confirm the following:
- ✅ Wheel passed ring test
- ✅ Flanges are clean, matched, and undamaged
- ✅ Blotting paper installed
- ✅ Arbor snug, no play
- ✅ Retaining nut torqued correctly
- ✅ Wheel balanced (static or dynamic)
- ✅ Guard securely fastened
- ✅ Machine running smoothly during test spin
Frequently Asked Questions (FAQs)
Here are answers to common questions about mounting and balancing grinding wheels:
- Q: Can I use a grinding wheel with a slightly larger bore?
A: Only if a certified bushing is used to reduce the bore size. Never use makeshift spacers like washers or tape. - Q: What happens if a grinding wheel is unbalanced?
A: Unbalanced wheels cause vibration, leading to poor surface finish, accelerated bearing wear, potential machine damage, and increased risk of wheel rupture. - Q: How tight should the grinding wheel nut be?
A: Tight enough to prevent slippage but within manufacturer-specified torque limits—typically 15–25 ft-lbs for bench grinders. Over-tightening can crack the wheel. - Q: Do all grinders require wheel balancing?
A: While not all machines have built-in balancing systems, all rotating wheels benefit from being balanced—especially those running above 3,000 RPM. - Q: Can I balance a wheel without special tools?
A: Basic static balancing can be done using homemade stands with V-blocks and a smooth arbor, though precision suffers compared to commercial kits.





 浙公网安备
33010002000092号
浙公网安备
33010002000092号 浙B2-20120091-4