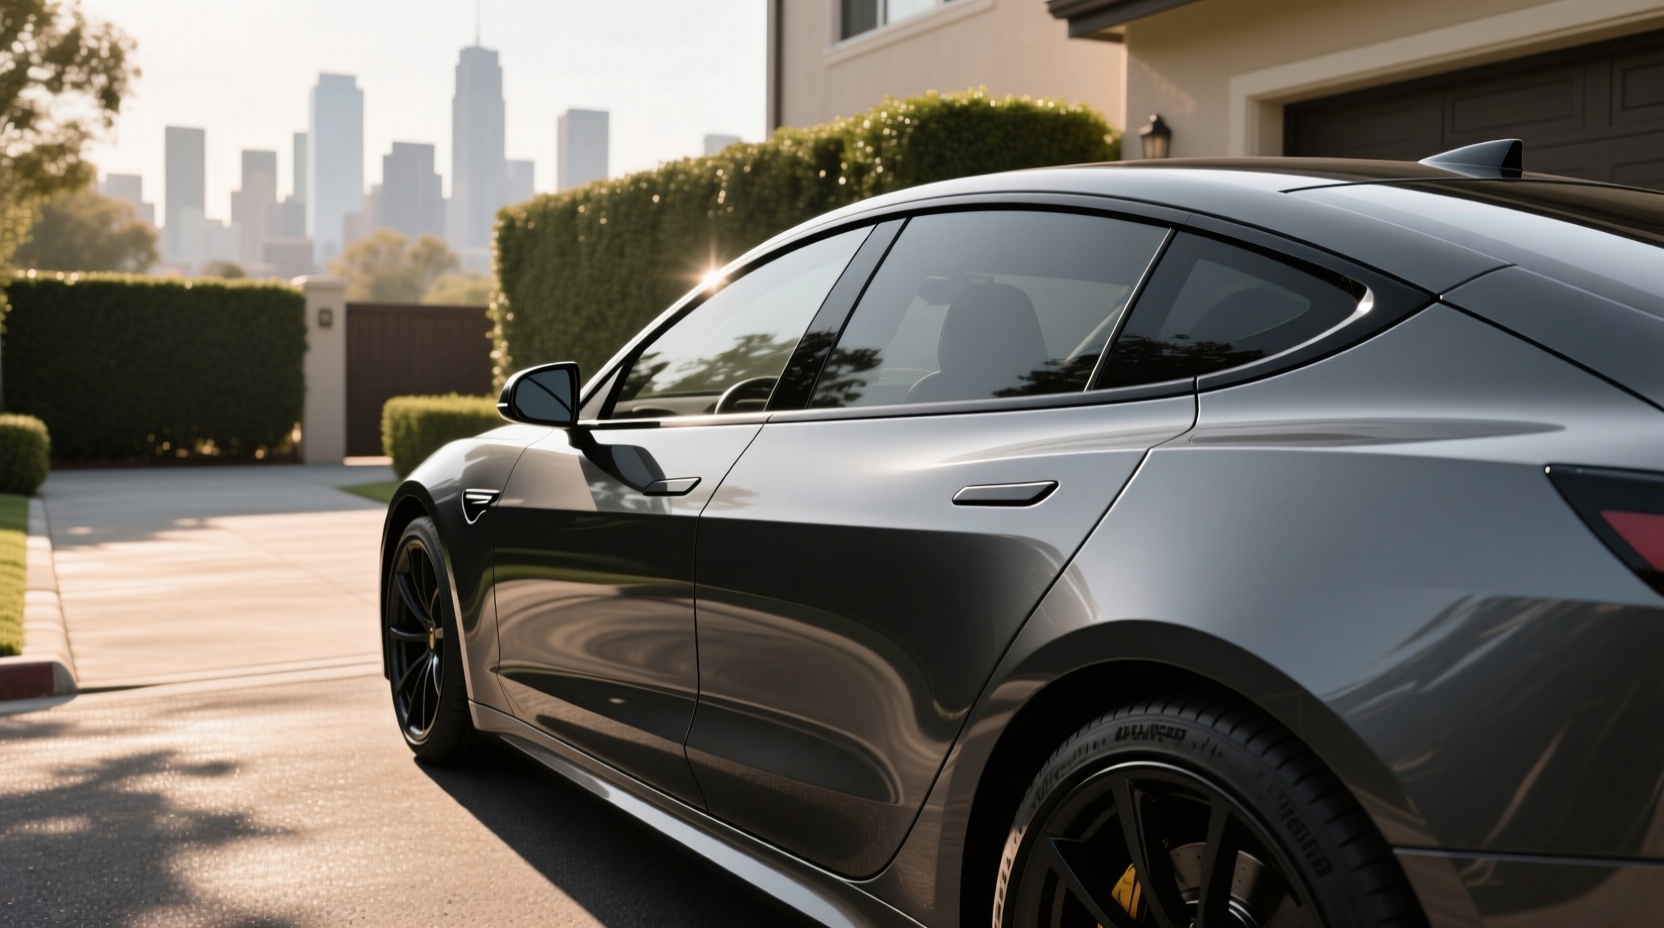
Side window deflectors, also known as rain guards or vent visors, are automotive accessories designed to allow drivers to crack their windows open in light rain or windy conditions without letting moisture enter the cabin. These slim panels attach above the side windows of a vehicle and redirect airflow and precipitation away from the interior—making them especially useful for those who want ventilation during inclement weather without compromising comfort or safety. Whether you’re commuting through city streets or parked with windows slightly open for airflow, these accessories can improve daily driving experiences by reducing humidity buildup, minimizing sun glare, and decreasing window fogging.
What Are Side Window Deflectors?
Sometimes referred to as window visors, rain deflectors, or wind deflectors, side window deflectors are trim pieces typically installed along the top edge of a car’s side windows. They are most commonly made from acrylic, polycarbonate, or tinted PET (polyethylene terephthalate) materials and come in various finishes such as clear, smoke, or dark-tinted. Their primary function is to create a small overhang that blocks rain and debris while still permitting airflow when the window is partially lowered.
These accessories have become increasingly popular among drivers seeking improved climate control within their vehicles. For example, during warm weather, cracking a window slightly helps release trapped heat after parking in direct sunlight. However, doing so in rainy conditions risks water entering the cabin. A properly fitted deflector prevents this issue by channeling water down and away from the opening.
Types of Side Window Deflectors
There are several distinct designs available on the market today, each differing in fitment method, appearance, and performance. Understanding these variations helps buyers make informed decisions based on their vehicle type, budget, and aesthetic preferences.
1. In-Channel (Frameless) Deflectors ✅
In-channel deflectors slide into the gap between the glass and the door frame, where they remain held in place by tension or adhesive clips. This design offers a sleek, nearly invisible profile once installed. Because they don’t require drilling or permanent modifications, they are favored for factory-like integration.
- Pros: Clean look, easy removal, no visible hardware
- Cons: May rattle if not properly secured; requires precise measurement for correct fit
These are ideal for modern sedans and coupes with deep enough channels to accommodate the insert. Some models include rubber seals or foam backing to minimize vibration noise.
2. Tape-On (Surface-Mount) Deflectors 🛒
Tape-on deflectors use strong double-sided adhesive tape to bond directly to the exterior surface of the window or door frame. Unlike in-channel types, they sit visibly on top of the panel and often extend further outward.
- Pros: Universal fit options available, suitable for older or non-standard vehicles
- Cons: More noticeable appearance; potential residue upon removal
This style works well for trucks, SUVs, or classic cars lacking built-in channels. Installation is straightforward but demands careful surface preparation to ensure long-term adhesion.
3. Drill-Mount (Bolt-On) Deflectors 🔧
Less common today due to permanence concerns, drill-mount deflectors are secured using screws through pre-drilled holes in the door frame. Typically found on commercial fleets or off-road vehicles, they offer maximum durability under extreme conditions.
- Pros: Extremely secure attachment, resistant to high-speed airflow
- Cons: Permanent modification required; risk of corrosion at mounting points
Due to the invasive nature of installation, many consumers avoid this option unless operating in harsh environments like construction zones or desert regions.
Benefits of Using Side Window Deflectors
When correctly selected and installed, side window deflectors deliver practical advantages across different driving scenarios.
Ventilation Without Rain Intrusion ⚡
One of the main reasons drivers install deflectors is to maintain airflow during light rain. By angling airflow upward and outward, these accessories prevent raindrops from falling straight into the cabin. This allows occupants to enjoy fresh air even during drizzle, which is particularly helpful for pet owners needing to leave windows cracked for animals.
Reduced Interior Fogging and Humidity 🌐
Moisture accumulation inside a vehicle leads to fogged windows, reduced visibility, and musty odors over time. With deflectors enabling safe window ventilation, excess humidity escapes more efficiently—especially beneficial in humid climates or coastal areas.
UV and Glare Reduction ✨
Tinted deflectors help block some ultraviolet radiation and reduce sun glare entering from above the windshield line. While not a substitute for full sunshades or tinted glass, they contribute to a cooler cabin and less eye strain during sunrise or sunset drives.
Improved Air Quality During City Driving 🌍
In urban settings, recirculated cabin air can trap exhaust fumes and pollutants. Allowing filtered airflow via cracked windows with deflectors helps dilute contaminants without exposing passengers to direct wind blast or sudden downpours.
Potential Drawbacks and Common Misconceptions
Despite their utility, side window deflectors are not universally recommended. Several limitations should be considered before purchase.
Wind Noise at Highway Speeds ❗
Some users report increased aerodynamic noise, especially with larger or poorly aligned deflectors. This occurs because the accessory disrupts smooth airflow over the window area, creating turbulence. High-quality, vehicle-specific models tend to minimize this effect through precision shaping.
Aesthetic Concerns and Resale Impact 👥
While many appreciate the sporty or custom look, others find deflectors visually unappealing. Aftermarket additions may affect resale value depending on buyer preferences. OEM-style in-channel versions generally blend better than bulky tape-on units.
Limited Protection in Heavy Rain 🌧️
Deflectors are effective only in light to moderate rain. During heavy storms or when driving at speed through puddles, water can still splash into the cabin. They are not waterproof enclosures but rather weather-resistant aids.
Installation Challenges and Longevity 🧰
Improper installation—such as failing to clean surfaces thoroughly before applying adhesive—can lead to premature detachment. Exposure to UV rays may cause yellowing or brittleness in lower-grade plastics over time. Choosing UV-stabilized materials improves lifespan.
How to Choose the Right Deflector for Your Vehicle
Selecting the appropriate model involves evaluating multiple factors beyond aesthetics.
Vehicle Compatibility 📋
Always verify compatibility with your specific make, model, and year. Many manufacturers produce exact-fit kits using CAD-scanned templates. Mismatched deflectors may not align properly with the window contour, leading to gaps or interference.
Material Quality and Finish 🏭
Look for products made from impact-resistant acrylic or polycarbonate. Cheaper alternatives may use brittle plastic prone to cracking. Tinted finishes should resist fading and hazing after prolonged sun exposure.
Installation Method Preference 🔍
Consider whether you prefer removable (in-channel), semi-permanent (tape-on), or permanent (drill-mount) solutions. Renters or lease holders might opt for non-invasive options to avoid penalties upon return.
Regional Climate Considerations 🌡️
If you live in an area with frequent rainfall or snowmelt, investing in durable, well-sealed deflectors makes sense. In arid regions, the benefit may be minimal unless used primarily for sun glare reduction.
Installation Tips and Best Practices
Proper installation ensures optimal performance and longevity.
- Clean the Surface Thoroughly: Use isopropyl alcohol to remove grease, wax, or dirt before applying any adhesive-backed product.
- Dry-Fit First: Position the deflector without bonding it initially to confirm alignment and clearance.
- Apply Even Pressure: Press firmly along the entire length of tape-mounted units for at least 30 seconds to activate adhesion.
- Avoid Washing Immediately: Wait 24–48 hours after installation before exposing the vehicle to automatic car washes or heavy rain.
- Check for Rattles: If using in-channel types, ensure snug fit; add foam padding if needed to dampen vibrations.
Legal and Insurance Implications
In most jurisdictions, side window deflectors do not violate traffic laws as long as they don’t obstruct the driver’s view or interfere with window operation. However, regulations vary by country and state—for instance, some European nations restrict tint levels near the windshield zone.
Regarding insurance: generally, adding deflectors does not require notification unless they involve structural modification (e.g., drilling). Most policies classify them as cosmetic accessories, meaning they won’t affect premiums. However, always consult your provider if unsure, especially if filing a claim related to window damage.
Comparison Table: Deflector Types Overview
| Type | Installation | Visibility | Noise Level | Lifespan | Best For |
|---|---|---|---|---|---|
| In-Channel | Slips into window track | Nearly invisible | Low (if well-fitted) | 5–7 years | Modern sedans, leased vehicles |
| Tape-On | Adhesive-backed | Visible extension | Moderate | 3–5 years | Trucks, older models, universal fit |
| Drill-Mount | Screw-fixed | Prominent | Low | 7+ years | Fleet vehicles, off-road use |
Common Questions About Side Window Deflectors
Below are frequently asked questions based on real-world user concerns and search trends.





 浙公网安备
33010002000092号
浙公网安备
33010002000092号 浙B2-20120091-4