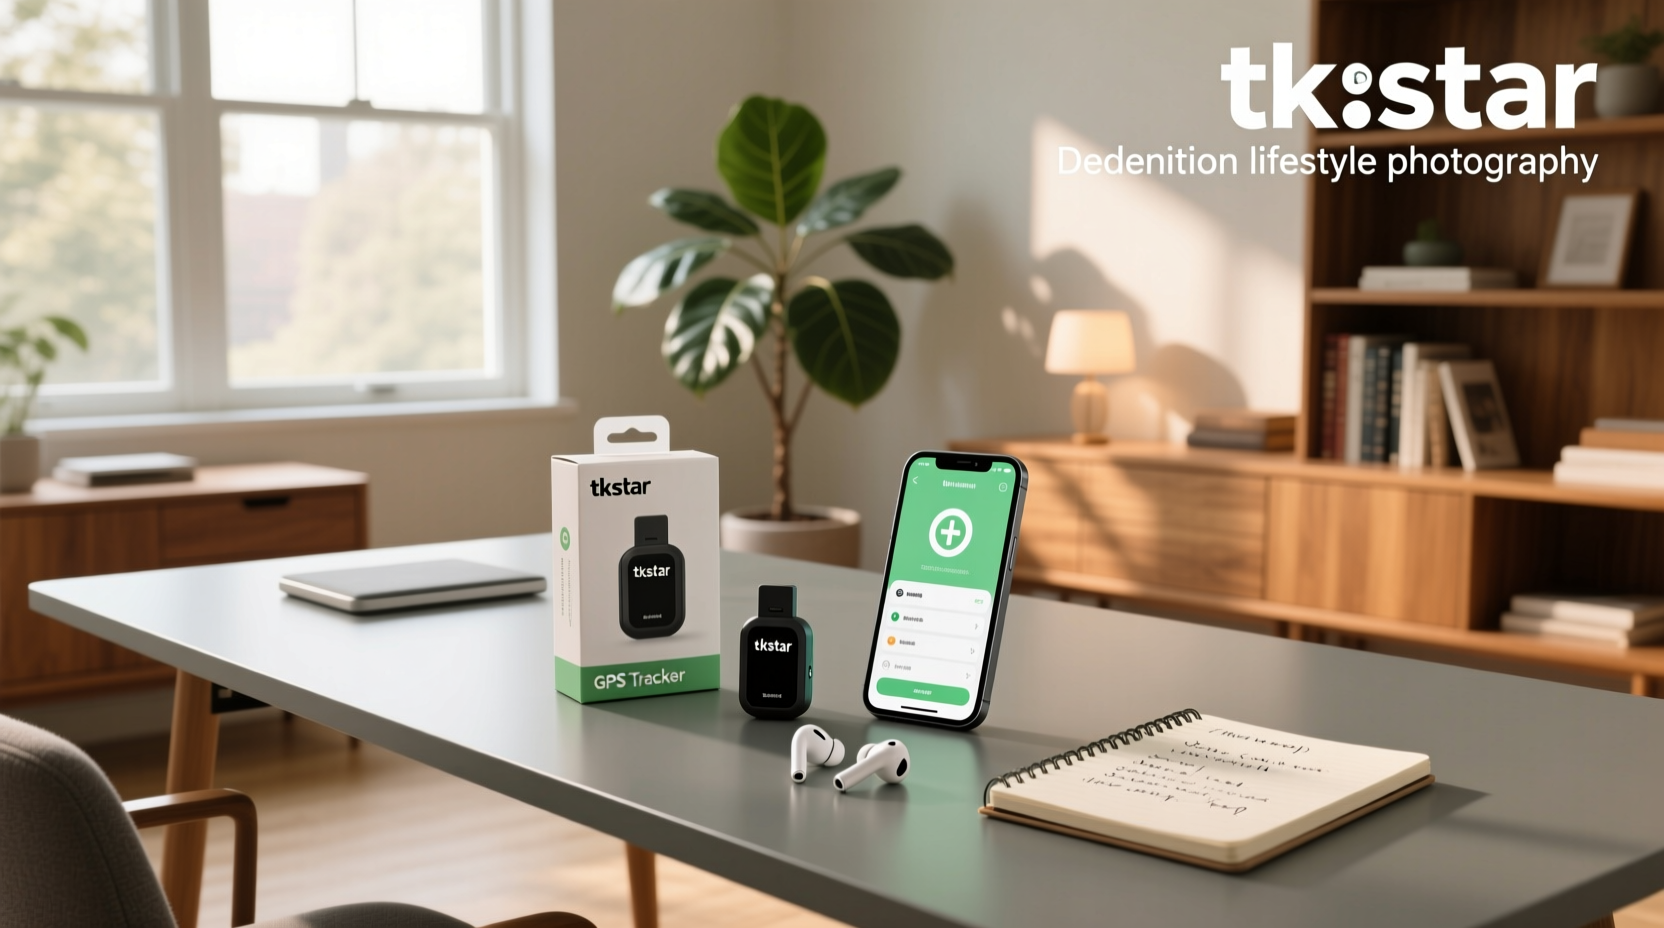
If you're searching for how to set up a TKSTAR GPS tracker, you're not alone—thousands of users each month look for clear, step-by-step instructions to activate devices like the TK905, TK905B, or TK915 models. The good news is that setting up a TKSTAR GPS tracker doesn’t require technical expertise, but it does involve several precise steps: inserting a compatible SIM card, charging the device, connecting it to the TKSTAR GPS app, and sending correct SMS commands to configure settings. This guide walks you through every phase of the TKSTAR GPS tracker setup process, addresses common pitfalls, explains regional compatibility concerns, and helps you verify whether your device is working correctly in real time.
Why Proper TKSTAR GPS Tracker Setup Matters
Incorrect setup is the leading cause of failed connections, inaccurate location data, or unexpected battery drain in TKSTAR GPS trackers. These devices rely on a combination of GPS, GSM networks, and mobile apps to deliver real-time location updates, geofencing alerts, and trip history. When any part of the setup chain fails—like using an incompatible SIM card or misconfiguring server settings—the entire system can underperform. Understanding the full TKSTAR GPS tracker installation and configuration workflow ensures reliable performance whether you’re tracking a vehicle, asset, or personal item.
What You Need Before Starting the Setup
- A compatible TKSTAR model (e.g., TK905, TK905B, TK915)
- An active micro-SIM card with data and SMS capabilities
- Charged device (minimum 50% battery recommended)
- Smartphone (iOS or Android) with internet access
- TKSTAR GPS app downloaded from Google Play or App Store
- Internet connection (Wi-Fi or mobile data)
🛒 Note: Some sellers include pre-activated SIMs, but most do not. Always confirm SIM requirements before purchase.
Step 1: Inserting the SIM Card and Charging the Device
🔧 Begin by powering off the tracker. Use the provided tool or small pin to open the SIM slot, usually located on the side or bottom of the unit. Insert a micro-SIM card with an active data plan and SMS service enabled. Ensure the metal contacts face down and the cut corner aligns properly.
🔋 After insertion, charge the device fully using the included USB cable. Most TKSTAR models have large batteries (up to 5000mAh), so allow at least 3–4 hours for a complete charge. A full charge ensures stable signal acquisition during initial setup.
Step 2: Powering On and Checking Network Status
⚡ Once charged, press and hold the power button (if available) or connect the charger to turn on the device. Wait 1–3 minutes for the LED indicators to stabilize. Typically:
- Blinking blue = GPS signal searching
- Steady green = GSM network connected
- Flashing red = Low battery or no network
If the green light doesn’t appear within 5 minutes, check if the SIM card is properly inserted and activated. Some carriers block MVNO-compatible plans often used in GPS trackers.
Step 3: Downloading and Installing the TKSTAR GPS App
📱 Search “TKSTAR GPS” in the Apple App Store or Google Play Store. The official app is titled “TKSTAR GPS – Car Locator & Tracker” and published by TKSTAR TECHNOLOGY CO., LIMITED 1. Avoid third-party apps claiming compatibility, as they may lack security updates or accurate server integration.
✅ After installation, open the app and create an account using your email address. Verification may take a few minutes. Do not skip this step—even local tracking requires cloud authentication via the app’s backend servers.
Step 4: Adding Your Device to the App
📍 In the TKSTAR GPS app, tap the ‘+’ icon to add a new device. You’ll be prompted to enter:
- Device Name (e.g., “My Car Tracker”)
- IMEI Number (found on the device label or packaging)
- Time Zone (select your local zone, e.g., UTC-5 for EST)
🌐 The IMEI must match exactly. Errors here prevent synchronization. After entry, the app sends a registration request to TKSTAR’s server cluster. If successful, the device appears in your dashboard within 60 seconds.
Step 5: Sending Configuration Commands via SMS
⚙️ While the app handles visualization, many core functions still depend on SMS-based commands sent from your phone to the tracker’s SIM number. Common setup commands include:
| Command | Purpose | Example |
|---|---|---|
| PASSWORD,123456 | Set admin password | admin,123456 |
| APN,access_point_name | Configure internet gateway | APN,fast.tmobile.com |
| SERVER,IP,PORT | Set communication server | SERVER,218.241.108.47,9012 |
| TIMEZONE,-5 | Adjust time display | TIMEZONE,-5 |
📌 Send these commands from your mobile phone to the SIM number inside the tracker. Wait 10–30 seconds between messages. The device replies with confirmation texts like “Success” or error codes.
Troubleshooting Common Setup Issues
🔍 Even when following all steps, some users encounter problems. Here are frequent issues and solutions:
No GPS Fix or Constant 'Searching' Status
This typically occurs when the device is indoors or obstructed. Move it near a window or outdoors. Allow 5–10 minutes for satellite lock. Cold starts may take longer.
SIM Not Recognized or No Network Signal
Check if the SIM supports 2G networks. Many TKSTAR models (like TK905) only work on 2G/GSM bands. As carriers phase out 2G (especially in the US, Australia), older trackers may lose connectivity 2. Consider upgrading to a 4G LTE model like TK915 if operating in regions with discontinued 2G service.
App Shows Offline Despite Green Light
Verify the APN settings match your carrier’s configuration. Incorrect APNs block data transmission even with network signal. Also ensure the server IP and port are correctly set via SMS command.
Draining Battery Too Quickly
Default update intervals are often set to every 10 seconds, which consumes power rapidly. Adjust reporting frequency using the command: INTERVAL,60 (updates every minute). For long-term standby, use SLEEP mode or motion-triggered tracking.
Regional Compatibility and Network Considerations
🌍 TKSTAR GPS trackers vary by cellular band support. Older models like TK905 operate on 2G (GSM 850/900/1800/1900 MHz), which works in most countries except those that have shut down 2G networks. Newer versions like TK915 support 4G LTE and NB-IoT, ensuring future-proof operation in North America, Europe, and Asia-Pacific.
⚠️ Before purchasing, confirm network compatibility with your local provider. For example:
- USA: T-Mobile still supports 2G in limited areas; AT&T has phased it out.
- Canada: Rogers and Bell maintain partial 2G coverage for IoT devices.
- EU: Germany, France, and UK have largely discontinued 2G.
Contact your carrier or consult online databases to verify 2G availability in your area.
Understanding Data Costs and Subscription Needs
💰 While the TKSTAR hardware has no monthly fee, the SIM card requires a data plan. Most users opt for low-cost prepaid plans with minimal data (100–500MB/month). Since location packets are small (~1KB per update), even basic plans last months.
⏱️ Example: A tracker updating every 30 seconds uses roughly 86 MB/month. A $10/month plan with 1GB data could last over a year. Some providers offer machine-to-machine (M2M) SIMs designed specifically for GPS trackers, offering better reliability and static IPs.
Security and Privacy Best Practices
🔐 Because TKSTAR devices transmit location over public networks, follow these precautions:
- Change the default password immediately
- Use strong passwords (8+ characters, mix letters/numbers)
- Enable two-factor authentication in the app if available
- Limit access to trusted devices
- Disable remote control features unless needed
❗ Never leave the device logged into shared phones or tablets. Log out after checking locations.
Alternative Setup Methods: Web Platform Access
🌐 Besides the mobile app, TKSTAR offers a web portal at tkstargps.com for desktop access. Visit the site, log in with your app credentials, and view maps, routes, and reports. The web interface supports exporting trip logs and generating PDF reports—useful for fleet management or insurance documentation.
Advanced Features and Customization
✨ Once set up, explore additional functionalities:
- Geofencing: Define safe zones; receive alerts when the device enters/exits.
- Motion Detection: Tracker wakes up only when movement is detected, saving battery.
- Voice Monitoring: Enable ambient listening (check local laws before use).
- SOS Alerts: Press the button to send emergency notifications to preset contacts.
Each feature requires specific command inputs. Refer to the user manual or manufacturer’s website for syntax details.
When to Choose a Different Model or Brand
📋 While TKSTAR trackers are affordable and functional, they may not suit all needs. Consider alternatives if:
- You’re in a region without 2G coverage
- You need advanced analytics (fuel monitoring, driver behavior)
- You require OBD-II plug-and-play installation
- You want integrated dashcam footage
In such cases, evaluate 4G-capable models from reputable suppliers on platforms like Alibaba.com, focusing on certifications (CE, FCC), customer reviews, and firmware update frequency.
Final Checklist for Successful TKSTAR GPS Tracker Setup
- ✅ Confirm SIM card is active and supports 2G (or 4G, depending on model)
- ✅ Insert SIM and fully charge the device
- ✅ Install the official TKSTAR GPS app and register an account
- ✅ Add device using correct IMEI and time zone
- ✅ Send essential SMS commands (APN, SERVER, PASSWORD)
- ✅ Test location refresh in the app after 2–5 minutes
- ✅ Adjust update frequency and enable sleep mode for battery savings
Frequently Asked Questions (FAQs)
- How do I connect my TKSTAR GPS tracker to my phone?
- Download the TKSTAR GPS app, create an account, and add your device using its IMEI number. Then send configuration SMS commands from your phone to the tracker’s SIM number.
- Do I need a SIM card for TKSTAR GPS tracker?
- Yes, all TKSTAR GPS trackers require a micro-SIM card with data and SMS services to transmit location information to the app or server.
- Can I use a TKSTAR GPS tracker without a monthly fee?
- The device itself has no subscription, but the SIM card needs a data plan. You can use low-cost prepaid options instead of traditional monthly contracts.
- Why is my TKSTAR GPS tracker not showing location?
- Possible causes include poor GPS signal, incorrect APN settings, inactive SIM, or server misconfiguration. Check LED status, resend setup commands, and verify SIM functionality.
- Is the TKSTAR GPS app free to use?
- Yes, the TKSTAR GPS app is free on iOS and Android. There are no charges for basic tracking, map viewing, or alert notifications.




 浙公网安备
33010002000092号
浙公网安备
33010002000092号 浙B2-20120091-4