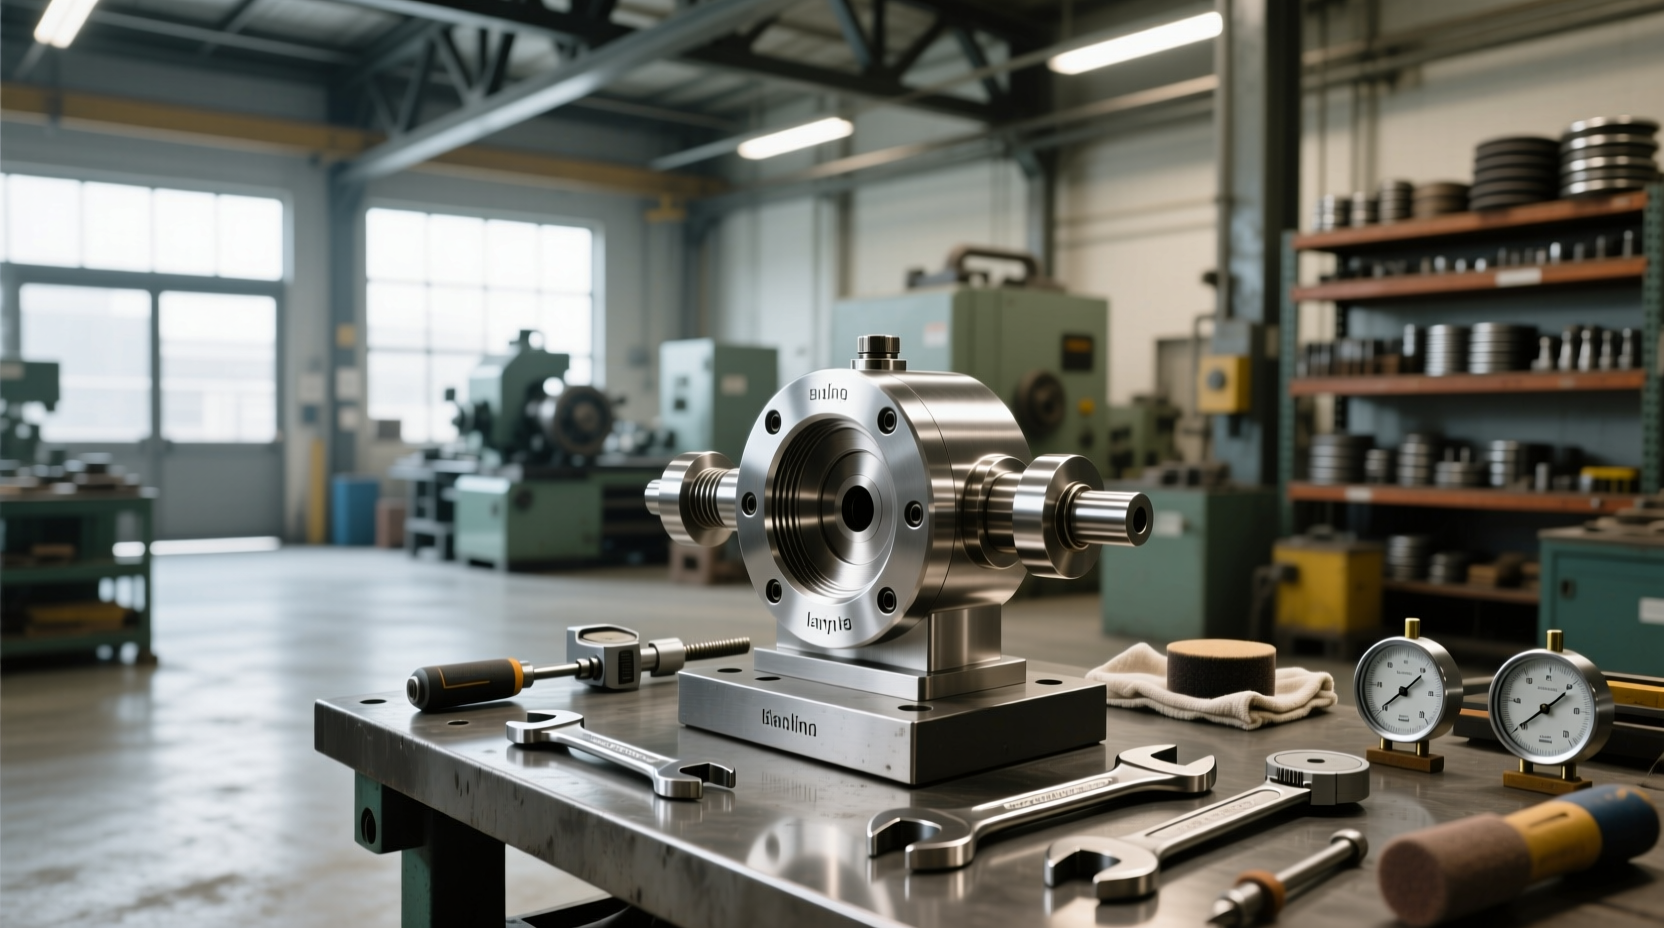
🔧 If you're rebuilding an engine or restoring vintage machinery, understanding how to use a valve lapping tool is essential for achieving proper valve seating and optimal combustion seal. Valve lapping isn't about reshaping seats—it's a fine finishing process that ensures metal-to-metal contact between the valve face and its seat after machining. This article explains exactly when and how to lap valves, what tools and compounds to use, and why skipping this step—or doing it incorrectly—can lead to poor compression, burnt valves, or failed rebuilds.
What Is Valve Lapping and Why Does It Matter?
Lapping refers to the manual or semi-mechanical process of polishing the mating surfaces of an engine’s intake and exhaust valves against their respective seats using an abrasive compound. The goal is not to remove large amounts of material but to create a uniform, leak-proof seal across the entire contact surface.
⚙️ While modern machine shops often use precision cutters and grinders to recondition valve seats, lapping remains a critical final step—especially in older engines, motorcycles, or small-block V8s where perfect alignment cannot be assumed post-machining.
❌ A common misconception is that lapping can fix badly pitted or warped seats. In reality, lapping only corrects minor imperfections. Severe damage requires cutting or replacing components first.
Do You Need to Lap Valves After Rebuilding?
This is one of the most frequently asked questions among DIY mechanics and engine builders: Is valve lapping necessary?
✅ The short answer: Yes—if you want reliability and longevity. Even if new valves and guides are installed, microscopic gaps may exist between the valve face and seat due to manufacturing tolerances or slight misalignment during assembly.
📌 Lapping helps eliminate these micro-gaps by evenly distributing fine abrasive particles between the two surfaces as they rotate against each other. Over time, this creates a mirror-like finish that improves sealing without altering geometry.
However, ⚠️ if your cylinder head was professionally machined with modern CNC equipment and the valves were precisely cut to match the seat angles (typically 30°, 45°, or multi-angle cuts), then minimal lapping—or none at all—may be required. Some performance engine builders skip lapping entirely when they trust the machine work.
Components Involved in Valve Lapping
To perform valve lapping correctly, several key components must be present:
- Valve Lapping Tool: Usually consists of a rubber suction cup attached to a T-handle or flexible shaft. This allows controlled rotation of the valve while maintaining pressure.
- Valve Lapping Compound: Available in coarse (for initial grinding) and fine (for finishing). Made from silicon carbide or aluminum oxide suspended in grease.
- Cylinder Head Assembly: Must have clean, undamaged guides and properly seated valves.
- Protective Gear: Safety glasses and gloves, since the compound is mildly corrosive and messy.
🛒 Note: You don’t need expensive tools. Basic hand-operated kits cost under $20 and are sufficient for most home garage projects.
Step-by-Step Guide: How to Lap Valves Using a Manual Tool
Here’s a detailed walkthrough of the valve lapping process using a standard hand-operated lapping tool:
- Prepare the Cylinder Head
Ensure the head is securely mounted on a bench. Clean all carbon deposits from the combustion chamber, valve stems, and seats using a wire brush and solvent. - Inspect Valve Guides and Stems
Check for excessive play. If the valve wobbles side-to-side, replace the guide before proceeding. Misaligned stems will prevent even lapping. - Apply Lapping Compound
Use a small amount of coarse compound (gray or black) on the valve face. Spread it evenly around the edge where it contacts the seat. - Attach the Lapping Tool
Press the rubber suction cup firmly onto the top of the valve stem. Ensure good adhesion so the tool doesn’t slip during operation. - Begin Rotating the Valve
Turn the handle back and forth in a rotating motion—about 1/4 turn clockwise, then 1/4 turn counterclockwise. Apply light downward pressure. Never force the tool. - Monitor Progress Every 30 Seconds
After 20–30 seconds of lapping, remove the tool and inspect the contact ring. A uniform gray or polished band should appear around both the valve face and seat. - Switch to Fine Compound
Once a continuous contact pattern forms, wipe off the coarse paste and apply fine (white or green) compound. Repeat the process for another 1–2 minutes to polish the surface. - Clean Thoroughly
Remove all traces of lapping compound with brake cleaner or degreaser. Any leftover grit can cause rapid wear once the engine runs.
⏱️ Total time per valve: ~5–7 minutes. For a full 16-valve head, expect 1.5 to 2 hours including cleaning and inspection.
Can You Use a Drill for Faster Lapping?
Some tutorials suggest attaching the lapping tool to a low-speed electric drill to speed up the process. However, this method comes with significant risks:
- ⚡ Excessive speed can generate heat, warping thin valve edges.
- 🌀 Uneven pressure leads to elliptical wear patterns instead of concentric rings.
- 🔧 Risk of widening the seat too much, reducing sealing effectiveness.
🏭 Professional technicians generally advise against using drills. Hand lapping gives better control and feedback. As noted in discussions on forums like r/EngineBuilding, “the drill method removes material too quickly and defeats the purpose of a precision fit”1.
How Do You Know When Valves Are Lapped Enough?
Over-lapping wastes time and can degrade performance. Here’s how to tell when you’re done:
- A smooth, uninterrupted contact ring appears on both the valve face and seat.
- The width of the contact area matches specifications (usually 1.5–2.0 mm).
- No visible pits or streaks remain in the lapped zone.
- When tested with leak-down equipment, cylinder compression holds steady.
🔍 Tip: Use machinist’s dye (Prussian blue) to check contact patterns. Apply a thin layer to the valve face, insert it into the guide, press it against the seat, and twist slightly. Remove and examine the transferred mark. Full 360° coverage = success.
Common Mistakes to Avoid During Valve Lapping
Even experienced mechanics make errors. These pitfalls reduce effectiveness and may damage parts:
| Mistake | Consequence | Solution |
|---|---|---|
| Using too much compound | Excess paste squeezes into the guide, contaminating oil seals | Apply pea-sized amount only |
| Lapping new valves into worn seats | Poor seal due to mismatched profiles | Machine seats first or replace them |
| Skipping cleaning steps | Residual grit causes premature wear | Flush with solvent and dry thoroughly |
| Applying heavy pressure | Widens seat excessively, weakens seal | Let the abrasive do the work—use light touch |
| Not checking valve rotation freedom | Binding prevents even contact | Ensure free movement in guide before starting |
Valve Lapping vs. Seat Machining: What’s the Difference?
It’s important to distinguish between major repairs and final finishing:
- Seat Machining: Done with rotary cutters or stone grinders. Removes material to restore correct angle and diameter. Required for burned, recessed, or heavily pitted seats.
- Valve Lapping: A low-material-removal process used after machining (or on lightly worn valves) to ensure full contact.
📌 Think of machining as carpentry and lapping as sanding. One shapes, the other finishes.
If you’re working with original equipment manufacturer (OEM) heads showing minor wear, lapping alone might suffice. But for high-mileage or performance applications, always consider having the seats cut first.
Choosing the Right Lapping Compound
Not all compounds are created equal. Select based on condition and purpose:
- Coarse Grit (80–120): For removing light pits or oxidation. Use sparingly—only until a uniform ring forms.
- Medium Grit (200–300): Transitional step for moderate wear.
- Fine Grit (400–600): Final polishing stage. Leaves a smooth, reflective surface ideal for sealing.
🧼 Always clean the valve and seat completely before switching grits. Cross-contamination reduces efficiency.
Regional Differences in Valve Lapping Practices
In North America and Europe, many classic car restorers still rely on hand lapping due to availability of older engines and preference for traditional methods. In contrast, Asian markets—particularly Japan and South Korea—tend to favor fully automated machining processes even for small repairs, viewing lapping as outdated.
🌍 However, in rural areas or developing countries where access to machine tools is limited, lapping remains a practical and cost-effective solution for extending engine life.
When NOT to Lap Valves
Lapping isn’t always appropriate. Avoid it in these scenarios:
- ✅ New valve jobs with precision-cut seats: Modern CNC machines achieve near-perfect fits.
- ✅ Aluminum heads with sodium-filled valves: Excessive heat from friction can damage internal structures.
- ✅ Engines with hydraulic lifters or direct overhead cams: Risk of pushing valves too far into the chamber.
- ✅ Valves showing signs of burning or bending: These require replacement, not refinement.
❗ Bottom line: Lapping is a refinement technique—not a repair method.
Alternative Methods and Tools
Beyond the standard suction-cup tool, some mechanics use:
- Spring-loaded lapping tools: Maintain consistent pressure automatically.
- Rope-and-pulley systems: Used in field repairs where tools are scarce.
- Dental-style rotary attachments: For tight spaces in compact engines.
While innovative, these alternatives lack standardized results and are best reserved for emergency fixes.
Final Checks After Lapping
Before reinstalling the head, conduct these verification steps:
- Perform a visual inspection under bright light.
- Use Prussian blue to confirm full contact circumference.
- Conduct a leak-down test if possible.
- Recheck valve clearance (lash) after installation.
🚗 Skipping final checks increases the risk of blow-by, overheating, or valve failure under load.
Conclusion: Is Valve Lapping Still Relevant Today?
Despite advances in engine manufacturing, valve lapping remains a valuable skill for anyone maintaining older vehicles, motorcycles, or small engines. While not always mandatory, it adds insurance against leaks and enhances long-term durability.
The key is knowing when to lap, which tools to use, and when to stop. With proper technique, a simple valve lapping tool and compound can make the difference between a successful rebuild and a costly redo.
Frequently Asked Questions
- ❓ Can I lap valves without a special tool?
- Yes, though not recommended. Some people use a piece of rubber hose or a modified bolt with a knob, but these lack control and consistency. A proper suction-cup tool costs little and greatly improves accuracy.
- ❓ Should I lap new valves on old seats?
- Only if the seats are in excellent condition. Worn seats should be machined first. Otherwise, the new valve won’t seat properly, leading to early failure.
- ❓ How long do lapped valves last?
- If done correctly, lapped valves can last tens of thousands of miles—especially in well-maintained engines. Longevity depends more on operating conditions than the lapping itself.
- ❓ Can lapping cause valve seat recession?
- Minimal lapping does not cause recession. However, aggressive or repeated lapping removes material over time, potentially leading to sinking seats—especially in older iron heads.
- ❓ Is there a way to test valve seal without lapping?
- Yes. Compression tests and leak-down tests can identify sealing issues, but they don’t fix them. Lapping addresses the root cause when minor imperfections exist.





 浙公网安备
33010002000092号
浙公网安备
33010002000092号 浙B2-20120091-4