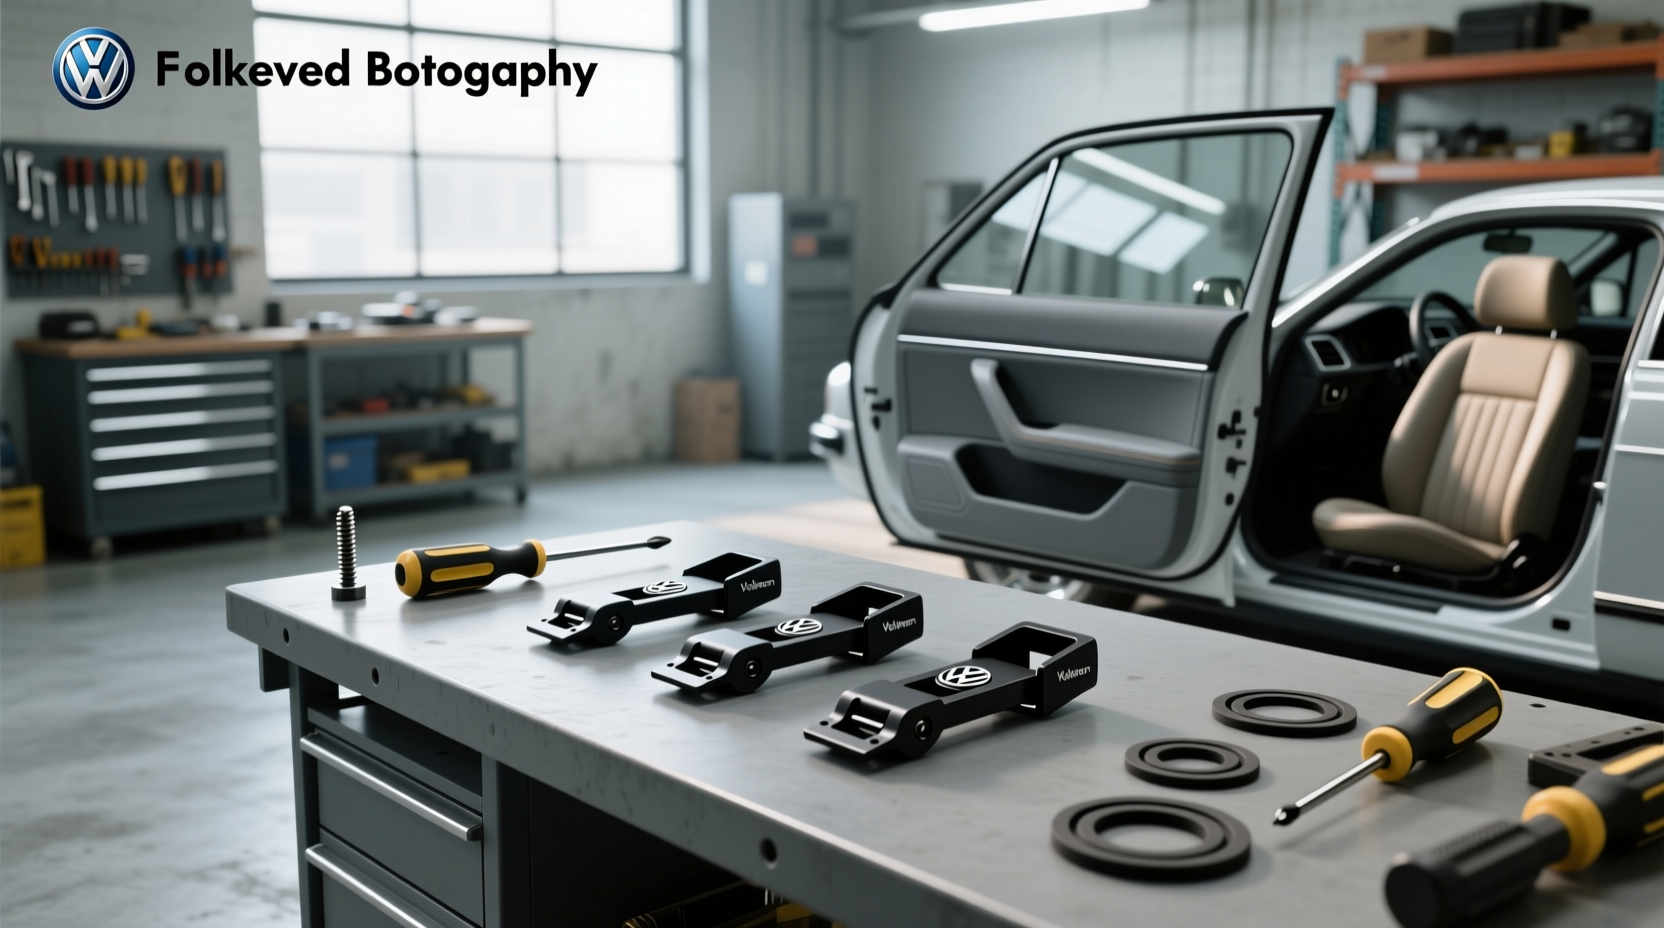
If you're searching for vw door panel clips, chances are you're dealing with a loose or detached interior door panel on your Volkswagen. Whether it's a Beetle, Jetta, Golf, or Bus, broken or missing plastic retaining clips are one of the most common causes of sagging, rattling, or falling door panels. The good news? Replacing these small but critical components is an affordable and manageable DIY task — if you know which clip types your model uses, how to safely remove old ones, and where to source durable replacements. This comprehensive guide covers everything from identifying OEM vs aftermarket clip quality to step-by-step installation tips that prevent damage during reassembly.
Why Door Panel Clips Matter in Volkswagen Vehicles
Volkswagen door panels are held in place primarily by a series of plastic push-in clips (also called trim fasteners or retainer clips) that anchor the panel to the metal door frame 🔧. While screws and brackets handle structural mounting points, it’s the plastic clips that maintain flush alignment and vibration resistance across the rest of the panel. Over time, especially in older air-cooled models like the Beetle or Type 2 Bus, these clips become brittle due to temperature swings, UV exposure, or repeated removals 🌡️.
When clips fail, the door panel may:
- Produce annoying rattles while driving
- Sag at the bottom edge
- Fall off completely when opening the door
- Cause misalignment of window cranks or lock rods
Ignoring damaged clips can lead to further issues — including torn fabric, broken control linkages, or water intrusion if the seal around the inner liner is compromised. That’s why understanding how vw door panel clips work and when they need replacement is essential for both function and comfort.
Common Types of VW Door Panel Clips by Model and Year
Not all VW door panel clips are the same. There are several standard designs used across different generations and body styles. Using the wrong type can result in poor retention or cracked housings. Below is a breakdown of the most frequently encountered clip variants:
1. Standard Push-Pin Retainers (Most Common)
These are the classic white or black plastic 'Christmas tree' clips, typically 8–10mm in diameter. They feature flexible legs that compress during insertion and expand behind the sheet metal flange.
- OEM Part Number Example: N90706801 (used on many MK4–MK6 Golfs/Jettas)
- Diameter: ~9.5mm shaft
- Height: ~14mm
- Applications: MK3–MK7 Golf/Jetta, Passat B5/B6, New Beetle
While generic versions are widely available, OEM-spec clips have more consistent tolerances and better UV stabilizers, reducing brittleness over time 🏭.
2. Center-Pin Locking Clips (Older Air-Cooled Models)
Found on Beetles from the 1950s through early 1970s, these clips use a central pin that locks into a grommet pressed into the door skin.
- Part Number: 111 857 219 (for sedan models)
- Design: Requires a special installation tool or screwdriver twist method
- Tip: These are prone to breaking if not removed carefully; always use a flat trim tool rather than prying directly on the head
3. Double-Sided Stud Clips (Bus & Vanagon)
Larger vehicles like the T25/T3 Vanagon or earlier Split Window Buses often use dual-ended studs that connect two layers — such as between the outer panel and inner vapor barrier.
- Function: Maintain spacing and reduce condensation buildup
- Material: Often nylon-reinforced polypropylene for durability
- Installation Tip: Press fully until audible click is heard on both ends
4. Adhesive-Backed Foam Seals with Integrated Clips
Some modern VWs integrate foam-backed seals with molded clip bases. These serve both sealing and fastening roles.
- Location: Perimeter of door panel, especially near speaker grilles
- Caution: Removing these damages adhesive bond; replacements must be re-glued properly
- Solution: Use 3M Weatherstrip Adhesive or equivalent for reliable reattachment
| Clip Type | Typical Use Case | Common Part Numbers | Replacement Difficulty |
|---|---|---|---|
| Push-Pin (Standard) | MK4–MK7 Golf/Jetta | N90706801, VWC-113-857-219 | Easy |
| Center-Pin Locking | Beetle 1956–1966 | 111 857 219 | Moderate |
| Double-Sided Stud | T2/T3 Bus/Vanagon | 211 857 219 A | Moderate |
| Adhesive-Foam Hybrid | New Beetle, Tiguan | 6R0 857 219 | Advanced |
Tools Needed to Remove and Install VW Door Panel Clips
Attempting to replace clips without proper tools risks damaging the door panel, paint, or surrounding trim. Here’s what you’ll need for a safe job:
- Plastic Trim Removal Tool Set 🧰: Prevents scratching painted surfaces and gently releases clips without shearing them
- Clip Puller / Extractor Tool: Specifically designed for pulling broken clips flush with the surface
- Torx Bit Set (T20/T25): For removing screws securing window regulators or armrests
- Needle-Nose Pliers: Useful for retrieving lost clips inside the door cavity
- Flashlight or Work Light: Essential for inspecting hard-to-see areas behind the panel
- 3M Weatherstrip Adhesive (if applicable): For reattaching foam-seal type clips
Avoid using metal screwdrivers or excessive force — this is the leading cause of torn vinyl edges and dented metal frames ❗.
Step-by-Step Process: Replacing VW Door Panel Clips
Follow this sequence whether you’re replacing a single broken clip or upgrading an entire set during a restoration project.
Step 1: Remove the Door Panel Safely
- Disconnect the negative battery terminal to prevent accidental short circuits when handling electrical connectors.
- Remove visible screws (usually located in armrest, door handle recess, and lower corner).
- Insert a plastic trim tool near the edge and gently pry outward until the first clip releases.
- Work your way around the perimeter, listening for the distinct 'pop' of each clip releasing.
- Once loose, lift the panel upward slightly to disengage it from the top lip of the door.
- Disconnect any wiring harnesses (e.g., power window, lock actuator, speaker).
Step 2: Inspect and Identify Failed Clips
Lay the panel face-down on a soft towel. Examine each clip location:
- Look for cracked or split plastic
- Check if the center pin is missing or bent
- Note any signs of moisture damage or mold (indicates seal failure)
Count how many clips need replacement and take note of their positions — some locations require higher-strength clips due to stress (e.g., near latch mechanism).
Step 3: Remove Broken Clip Stems
If only the base remains embedded in the door sheet metal:
- Use a clip extractor tool to grip and pull out the remnant
- Alternatively, insert a small zip tie through the hole and twist to create leverage
- Clean the hole with compressed air or a brush to remove debris
Step 4: Install New Clips
Press new clips firmly into place using even hand pressure. Do not hammer — this can deform the clip or dent metal. For best results:
- Align the clip straight before pressing
- Press until you hear/feel a definite snap
- Verify full seating by checking that the head sits flush with the panel backing
Step 5: Reinstall the Door Panel
Reverse the removal process:
- Reconnect all electrical connectors
- Align the panel top edge with the door window channel
- Lower the panel so the lower clips engage first
- Gently press around the perimeter until all clips click
- Reinstall screws and tighten moderately (over-tightening strips threads)
- Reconnect battery and test switches/functions
OEM vs Aftermarket VW Door Panel Clips: What You Should Know
While aftermarket clips are cheaper and readily available, there are key differences in material quality and longevity:
OEM Advantages
- Made with UV-stabilized plastics resistant to sun degradation
- Precise dimensional accuracy ensures snug fit
- Consistent spring tension for long-term retention
- Often include updated engineering revisions (e.g., thicker legs)
Aftermarket Considerations
- May use recycled or lower-grade polymers
- Inconsistent sizing can lead to loose fit or difficulty installing
- Higher breakage rate during installation
- Some kits mix multiple clip types without labeling
For daily drivers or vehicles in sunny climates, investing in OEM or high-quality aftermarket equivalents (like those from CIP1 or Wolfsburg West) pays off in reduced maintenance ✅.
Where to Buy Reliable VW Door Panel Clips
You don’t need to go to a dealership to find genuine parts. Trusted specialty retailers offer OEM-sourced or compatible clips with accurate fitment data:
- CIP1 (California Import Parts): Sells OEM-style packs labeled by part number and model year 🌐
- JBugs: Offers complete clip kits bundled with panels or sold separately
- Wolfsburg West: Known for authentic reproduction hardware for classic VWs
- ECS Tuning: Carries technical fasteners for modern water-cooled models
Always verify compatibility using your VIN or production date when ordering online. Look for product listings that specify exact applications instead of vague terms like “fits most VWs” 🔍.
Common Mistakes When Replacing VW Door Panel Clips
Avoid these frequent errors that lead to recurring problems:
- Skipping the inspection step: Installing new clips without checking for rust or corrosion underneath leads to premature failure
- Using mismatched clip types: Even a 1mm difference in shaft size affects retention strength
- Over-tightening screws: Can warp the panel or strip plastic inserts
- Forgetting electrical connectors: Results in non-functional windows or locks after reassembly
- Not testing before final closure: Always operate mechanisms before snapping the last few clips
When to Replace the Entire Door Panel Instead
Clips alone won’t fix deeper issues. Consider full panel replacement if you observe:
- Severe fabric delamination or foam collapse
- Rust holes in the underlying steel support structure
- Broken attachment bosses molded into the back of the panel
- Outdated design lacking modern features (e.g., map pockets, speaker grilles)
Complete door panel sets with pre-installed clips and upholstery are available for most models from the 1950s onward. However, ensure color and texture match your interior before purchase 🎨.
Frequently Asked Questions About VW Door Panel Clips
- Can I reuse old VW door panel clips?
- No, it's not recommended. Once removed, most plastic clips lose their spring tension and may not hold securely upon reinstallation. Reusing them increases the risk of future rattles or detachment.
- How many clips does a typical VW door panel use?
- Most four-door models use 8–12 clips per panel, plus 2–4 screws. Two-door coupes like the Beetle usually have 6–8 clips. Always check service manuals for exact counts by model year.
- Are VW door panel clips waterproof?
- They aren’t fully waterproof, but they help maintain a weather-resistant seal when combined with the foam backing and rubber vapor barrier. Damaged clips can allow moisture entry, leading to interior dampness or electrical issues.
- What causes door panel clips to break frequently?
- Common causes include age-related brittleness, improper removal tools, extreme temperature cycles, and low-quality aftermarket clips. Regular inspection and timely replacement prevent cascading damage.
- Do I need special tools to install new clips?
- Hand pressure is usually sufficient for installation. However, a plastic alignment tool helps guide clips into tight spaces. For removal, a dedicated trim tool or clip extractor prevents damage to surrounding areas.





 浙公网安备
33010002000092号
浙公网安备
33010002000092号 浙B2-20120091-4