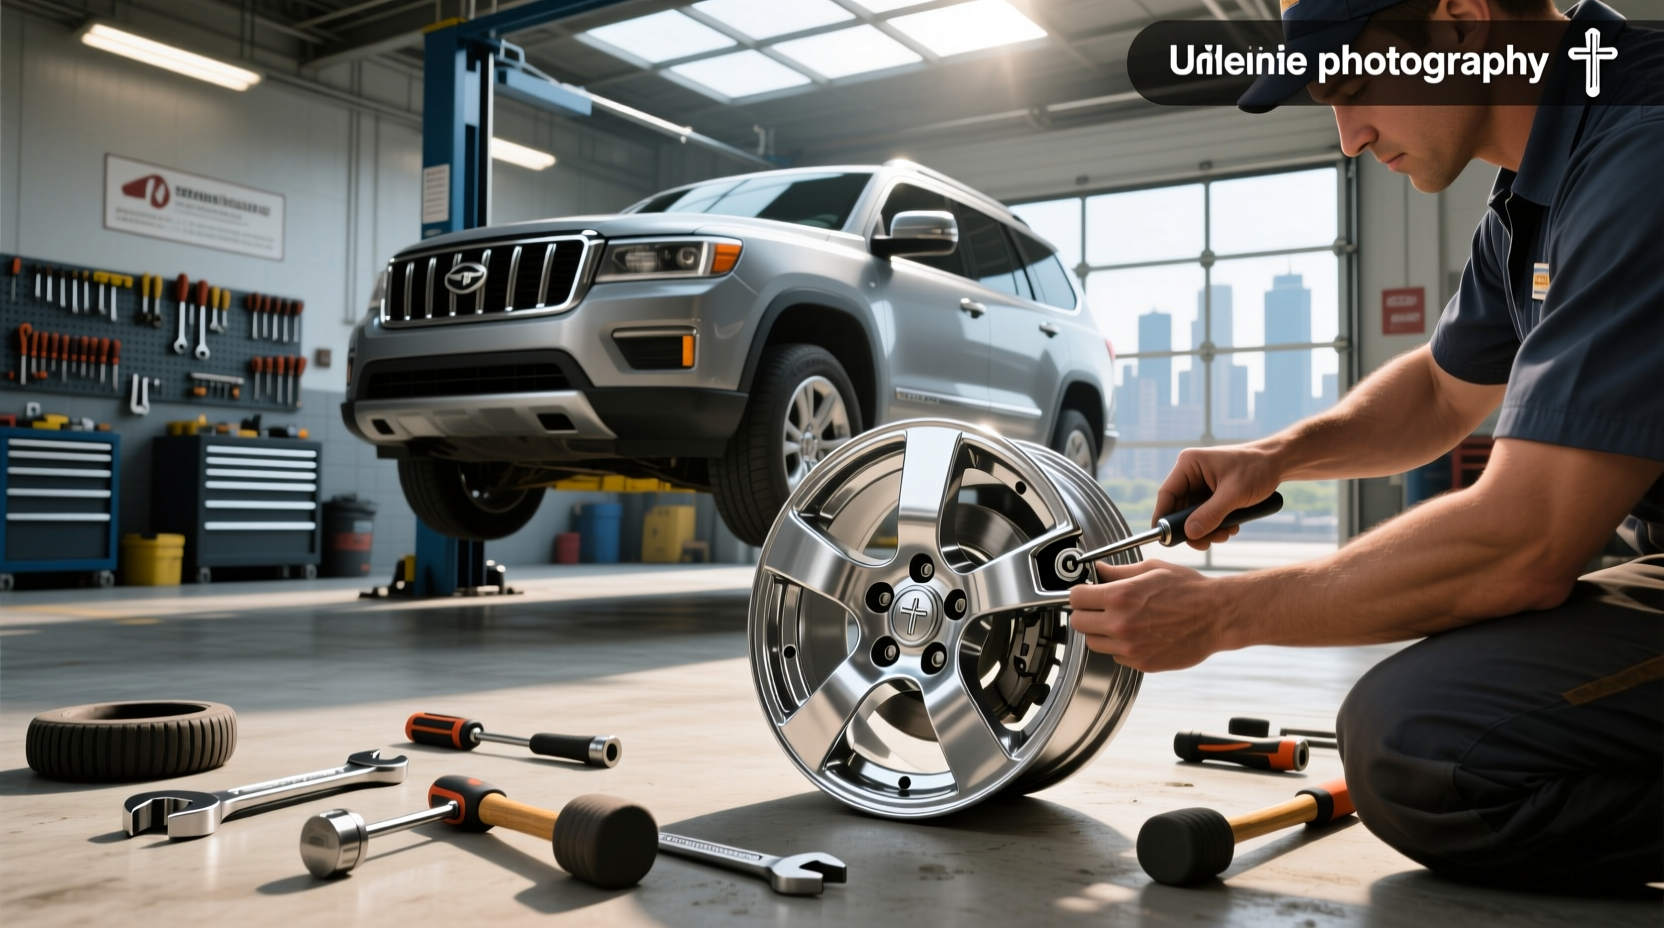
Replacing a wheel cap might seem like a minor fix, but it plays a crucial role in protecting your vehicle's lug nuts, enhancing curb appeal, and maintaining factory aesthetics. Whether you’ve lost a hubcap after hitting a pothole or want to upgrade the look of your rims, wheel cap replacement is a simple yet often misunderstood maintenance task. This comprehensive guide walks you through everything you need to know—from identifying your current cap type and measuring size accurately, to selecting durable materials and installing them securely. We’ll also cover common pitfalls such as incorrect fitment, vibration issues, and weather-related damage so you can make informed decisions without overspending or risking safety.
What Is a Wheel Cap?
A wheel cap—also known as a center cap or hubcap—is a small cover that fits over the center portion of a wheel, typically concealing the lug nuts and wheel hub. While some people use the terms “hubcap” and “wheel cover” interchangeably, there are technical distinctions between them 1. A true hubcap usually refers to a full-wheel covering made of steel or plastic that snaps over the entire face of a basic rim, commonly found on economy vehicles. In contrast, a wheel center cap is smaller and designed specifically for alloy or custom wheels, covering only the center bore where the lug nuts are located.
Modern vehicles, especially those with alloy wheels, rely on center caps not just for appearance but also for protection. Without them, dirt, moisture, and road debris can accumulate around the lug hardware, potentially leading to corrosion or rust buildup over time. Additionally, missing or loose caps may affect resale value and give the impression of poor maintenance—even if the rest of the car is in excellent condition.
Why Replace a Wheel Cap?
There are several reasons why a driver might need to replace a wheel cap:
- Damage from road hazards: Potholes, curbs, and gravel roads can knock off or crack plastic or metal caps.
- Weather exposure: UV rays, salt, and temperature fluctuations degrade plastic components over time, causing fading, brittleness, or warping.
- Theft or loss: Some decorative center caps are targeted by thieves due to their metallic finish or brand insignia (e.g., BMW roundels).
- Upgrading aesthetics: Drivers often replace factory caps with aftermarket styles to personalize their vehicle’s appearance.
- Improper installation: Caps installed too loosely or with damaged clips may fall off during driving.
Regardless of the reason, replacing a missing or damaged wheel cap promptly helps preserve both function and form.
Different Types of Wheel Caps
Not all wheel caps are created equal. Understanding the different types available will help ensure compatibility and longevity.
1. Snap-In Center Caps
These are the most common type on modern passenger vehicles. They feature internal plastic tabs or spring clips that snap into grooves on the wheel’s center bore. Installation requires firm, even pressure around the edges until an audible click confirms proper seating. These are generally easy to install but can become brittle with age.
2. Screw-On Caps
Found more frequently on performance or luxury models, screw-on caps use small bolts or set screws to secure the cap to the wheel. These offer superior retention at high speeds and are less likely to vibrate loose. However, they require tools (usually a Torx bit) for removal and installation, making roadside changes more difficult.
3. Push-Through Caps
Used primarily on off-road or heavy-duty wheels, these caps pass through the center hole and lock into place using a retaining ring behind the wheel face. They provide maximum durability and resistance to vibration, ideal for trucks and SUVs used in rugged environments.
4. Universal vs OEM-Specific Caps
OEM (Original Equipment Manufacturer) caps are designed precisely for a specific make, model, and year. They match factory finishes and fit perfectly. Universal caps, while often cheaper, may require adapters or modifications and can rattle under certain conditions. For long-term reliability, OEM-style replacements are recommended unless budget constraints apply.
| Type | Installation Method | Best For | Lifespan Estimate |
|---|---|---|---|
| Snap-In | Finger pressure | Standard passenger cars | 2–5 years |
| Screw-On | Torx or Allen key | Luxury/performance vehicles | 5+ years |
| Push-Through | Retaining ring | Trucks, off-road rigs | 5–7 years |
| Universal Fit | Varies | Budget-conscious owners | 1–3 years |
How to Measure Your Wheel Cap Size
Accurate measurement is essential when ordering a replacement. Using the wrong size can result in poor fitment, noise, or ejection while driving. Here’s how to measure correctly:
- Remove the existing cap (if present): Use a flathead screwdriver wrapped in cloth to gently pry it off without damaging the paint.
- Measure outer diameter (OD): Use a digital caliper or ruler to measure across the widest part of the cap, from edge to edge.
- Measure inner diameter (ID): This determines whether the cap will fit snugly over the wheel bore. Ensure this matches your wheel’s center bore size.
- Check for logos or part numbers: Many OEM caps have manufacturer codes stamped inside. Take note of these before discarding.
- Note the attachment style: Are there visible clip slots? Threaded holes? This indicates whether it’s snap-in or screw-on.
Common sizes range from 50mm to 80mm in outer diameter, with 60mm being typical for many sedans. Always double-check specifications against your vehicle’s manual or consult a parts diagram online using your VIN number for accuracy.
Materials Used in Wheel Caps
The material affects durability, appearance, and price. Common options include:
- Plastic (ABS or Polycarbonate): Lightweight and cost-effective, but prone to cracking in extreme temperatures. Often used in factory-installed caps.
- Stainless Steel: Highly resistant to rust and impact. Ideal for harsh climates but heavier and more expensive.
- Aluminum Alloy: Offers a premium look with good strength-to-weight ratio. Frequently chrome-plated for shine.
- Composite Blends: Combine plastic with fiberglass or carbon fiber reinforcement for improved toughness without adding weight.
For drivers in snowy regions, stainless steel or coated aluminum is preferable due to resistance to road salt. In sunny areas, UV-stabilized plastics help prevent yellowing.
Where to Buy Replacement Wheel Caps
You can source replacements from various outlets:
- Dealerships: Offer genuine OEM parts with perfect color and fit matching. More expensive, but backed by warranty.
- Auto Parts Stores: Chains like AutoZone or Advance Auto Parts carry both OEM-equivalent and aftermarket options. Staff can assist with fitment lookup using your license plate or VIN.
- Online Retailers: Websites specializing in wheel accessories allow filtering by vehicle make/model/year, reducing guesswork. Look for sellers with detailed product images and return policies.
- Junkyards or Salvage Yards: Can be a low-cost option for rare or discontinued models. Inspect for cracks or warping before purchase.
When shopping online, verify seller reputation and check customer reviews focusing on fitment accuracy and material quality. Avoid listings that only show rendered images without real photos.
Step-by-Step Guide to Installing a Wheel Cap
🔧 Tools Needed: Soft mallet (or rubber hammer), clean cloth, adhesive (optional for loose fits)
- Clean the wheel surface: Wipe the center bore area with a damp cloth to remove dirt, grease, or old adhesive residue.
- Align the cap properly: Match any alignment marks or logo orientation (e.g., Ford oval facing forward).
- Press evenly around the edges: Begin pressing with your thumbs at opposite points, working clockwise to seat the cap uniformly.
- Tap gently if needed: If resistance occurs, use a soft mallet wrapped in cloth to tap lightly around the perimeter—never strike the center.
- Verify secure fit: Spin the wheel slowly and listen for rattling. Gently tug on the cap; it should not move.
- Test drive: Drive slowly for the first few miles and recheck after stopping.
❗ Never force a cap onto a wheel—if it doesn’t fit easily, double-check size and type. Forcing can damage clips or deform the cap.
Common Mistakes to Avoid During Replacement
Even experienced DIYers make errors when replacing wheel caps. Watch out for these:
- Assuming all caps of the same size fit: Two 60mm caps may differ in clip configuration or depth.
- Installing backwards: Some caps have directional logos or vents meant to face outward.
- Using excessive force: This breaks internal tabs, leading to premature failure.
- Ignoring environmental factors: Plastic caps shrink in cold weather—install indoors if possible.
- Mixing caps from different sets: Color batches vary slightly; mixing may create mismatched appearances.
Can You Drive Without Wheel Caps?
✅ Yes, technically you can drive safely without wheel caps. The mechanical integrity of your wheels and brakes isn't compromised by their absence. However, prolonged exposure increases the risk of:
- Corrosion on lug nuts and wheel hubs
- Dirt accumulation affecting brake cooling
- Reduced aesthetic appeal and potential depreciation at trade-in
If you're temporarily missing one cap, it's not urgent—but aim to replace it within a few weeks to maintain uniformity and protection.
Aftermarket Upgrades and Customization Options
Many owners choose to upgrade beyond factory designs. Popular trends include:
- Chrome or colored finishes: Enhance visual impact, especially at night.
- Illuminated caps: LED-lit center caps improve visibility and style (ensure waterproof rating).
- Branded emblems: Replica or authentic manufacturer logos (e.g., Mercedes star, Toyota ellipse).
- Lockable center caps: Prevent theft on high-value wheels using keyed mechanisms.
While customization adds personality, ensure upgraded caps don’t interfere with tire pressure sensors (TPMS) mounted inside the wheel. Always test clearance before final installation.
Cost of Wheel Cap Replacement
Pricing varies widely based on type and source:
- OEM Caps: $20–$60 each (sold individually or in sets)
- Aftermarket Sets: $15–$40 for four caps
- Custom or Lockable Caps: $50–$150 per set
- Dealership Labor (if installed): Usually free or minimal fee
For budget buyers, universal kits offer savings but require careful verification. For collectors or classic car owners, OEM authenticity justifies higher prices.
Regional Considerations and Climate Impact
Climate plays a significant role in cap longevity. In northern states with heavy winter salting, metal caps resist degradation better than plastic. In desert regions, UV-resistant coatings help prevent fading. Coastal drivers should opt for marine-grade stainless steel to combat salt spray corrosion.
In Europe, some countries require reflective or illuminated caps for nighttime visibility—check local regulations if traveling internationally.
FAQs About Wheel Cap Replacement
Can I replace just one wheel cap?
Yes, you can replace a single cap. However, older caps may have faded, so a new one could appear brighter. For a consistent look, consider replacing all four.
How do I know which wheel cap fits my car?
Use your vehicle’s make, model, year, and trim level to search in a parts database. Alternatively, remove the old cap and measure its dimensions or find the part number stamped inside.
Are universal wheel caps reliable?
Some universal caps work well with adapter rings, but they’re more prone to vibration and ejection. OEM-specific caps are always preferred for long-term use.
Do wheel caps affect tire pressure monitoring systems (TPMS)?
Generally no—TPMS sensors are located inside the valve stem, not near the center cap. However, oversized or improperly seated caps could theoretically interfere in rare cases.
What causes wheel caps to pop off while driving?
Causes include worn clips, incorrect sizing, impact damage, or installation error. Regular inspection helps catch loosening early.




 浙公网安备
33010002000092号
浙公网安备
33010002000092号 浙B2-20120091-4