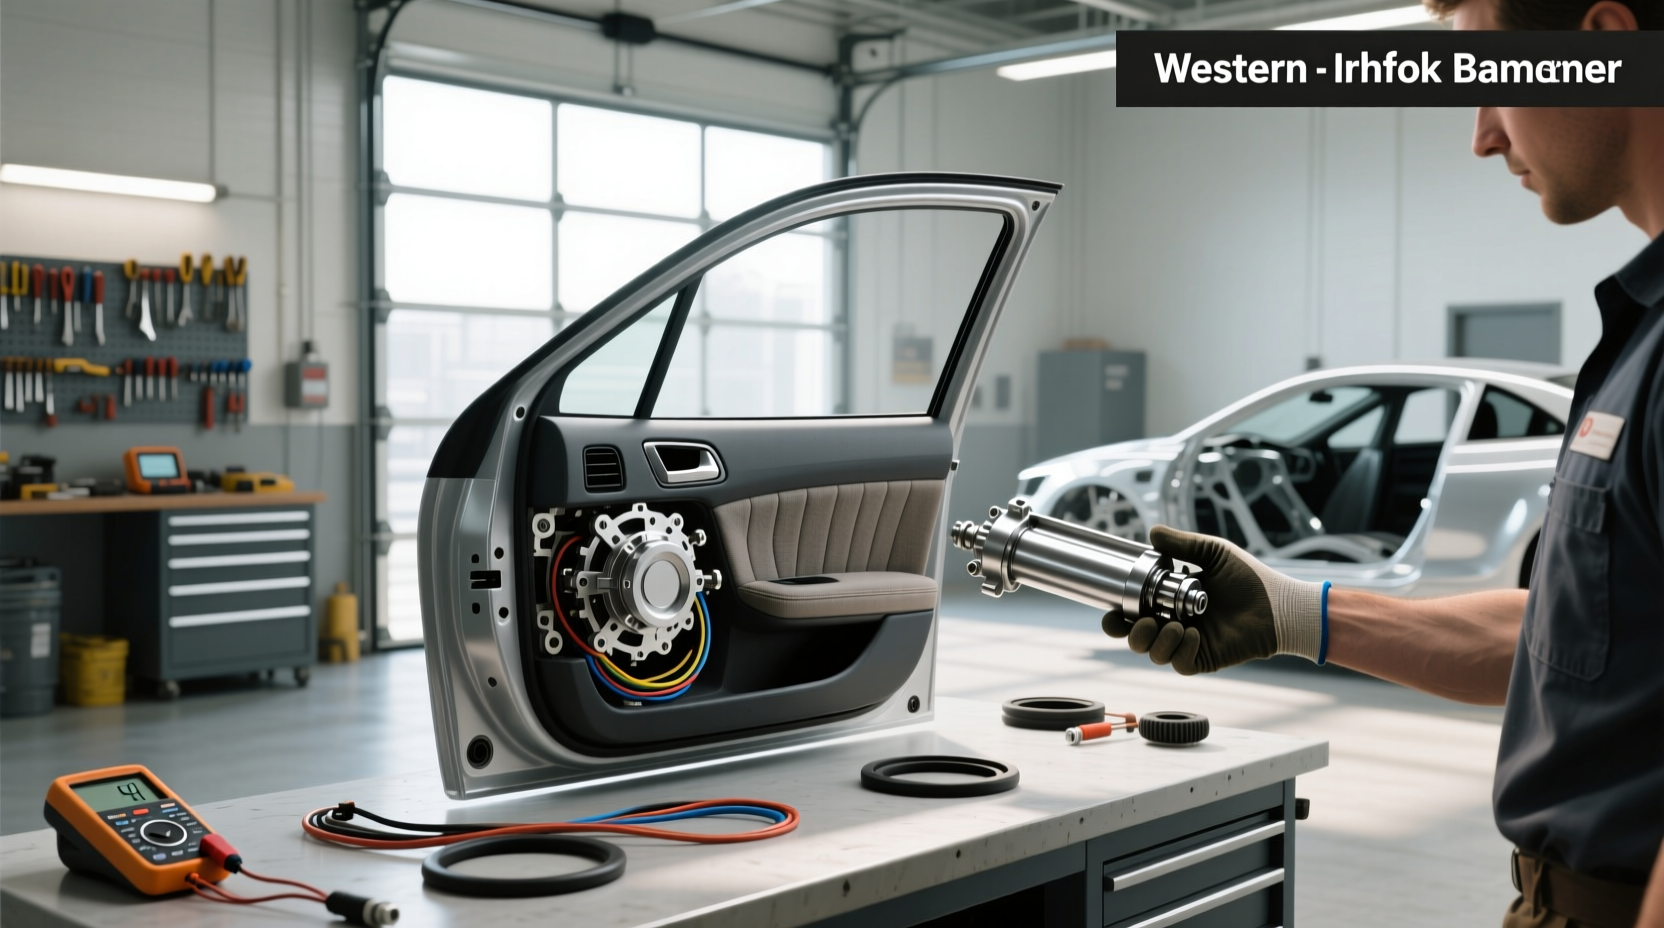
🛠️ If your car window moves slowly, makes grinding noises, or won’t go up at all, you might be facing a failing window regulator. A complete window regulator replacement is often necessary when mechanical components inside the door break down. This guide explains how to diagnose regulator issues, understand costs, choose between motor-and-regulator assemblies vs. individual parts, and walk through a realistic DIY process—helping you decide whether to repair it yourself or seek professional help.
What Is a Window Regulator and How Does It Work?
A window regulator is the mechanical system inside your vehicle’s door that physically raises and lowers the glass. In older cars, this was operated manually with a crank handle (manual regulators), but in most modern vehicles, it's powered by an electric motor connected to a series of gears, cables, or rails ⚙️.
There are two main types of power window regulators:
- Cable-driven regulators: Use a pulley and cable system to move the window smoothly. Common in many sedans and SUVs.
- Scissor-style (track) regulators: Use interlocking metal arms that expand and contract like scissors to lift and lower the glass. Often found in trucks and some European models.
The window motor provides the electrical force, while the regulator translates that motion into vertical movement. They work together—but either one can fail independently. However, because labor costs are high for accessing the door internals, many mechanics recommend replacing both as a unit if one fails ✅.
Common Signs Your Window Regulator Is Failing
Recognizing early symptoms can prevent full window failure and potential water damage inside your door panel. Watch for these red flags:
- Grinding or clicking noises when rolling the window up/down — indicates worn gears or misaligned tracks.
- Window moves unevenly or wobbles — suggests the regulator arms are bent or detached from the glass.
- Slow operation — could point to motor strain due to binding in the regulator mechanism.
- Window gets stuck halfway — often caused by broken plastic guides or snapped cables.
- Complete loss of function — may be due to a failed motor, broken regulator, wiring issue, or switch problem.
🔍 Tip: Before assuming the regulator is bad, test the motor. You can apply 12V directly using jumper wires to see if it spins. If it does, but the window doesn’t move, the regulator is likely damaged.
Window Regulator vs. Window Motor: What’s the Difference?
Many people confuse these two components, but understanding the distinction helps avoid unnecessary replacements:
| Feature | Window Regulator | Window Motor |
|---|---|---|
| Function | Mechanical system moving the glass | Electric motor providing power |
| Type of Failure | Bent arms, broken cables, stripped gears | Internal burnout, worn brushes, seized rotor |
| Symptoms | Noise, wobble, partial movement | Silent switch press, no response |
| Replacement Cost (Part Only) | $40–$120 | $20–$80 |
| Labor Complexity | High — requires precise alignment | Moderate — easier if regulator intact |
✅ Pro Insight: Since removing the door panel is required for both repairs, many technicians and DIYers opt for a window regulator and motor assembly—a pre-assembled unit where both parts come mounted together. This reduces installation errors and ensures compatibility.
When Should You Replace Just the Motor vs. the Entire Assembly?
This decision depends on three key factors: age of the vehicle, availability of parts, and condition of the regulator.
- If the motor is dead but the regulator looks clean and moves freely, replacing just the motor can save $30–$60.
- If the vehicle has over 80,000 miles or the regulator shows rust, wear, or deformation, replace the entire assembly to avoid repeat labor.
- In some models (e.g., GM trucks, older Hondas), factory regulators use plastic bushings prone to cracking—making standalone motor replacement risky long-term.
🔧 Real-World Advice: Forums like 1 frequently advise against cheap single-motor swaps on high-mileage vehicles. One user noted: “I replaced the motor on my 2005 Silverado, and six months later the regulator broke. Learned the hard way—now I always go with loaded assemblies.”
Cost Breakdown: How Much Does Window Regulator Replacement Cost?
Prices vary widely based on vehicle make/model, part quality, and labor rates. Here’s a realistic breakdown:
| Component | Aftermarket Part Price | OEM Equivalent | Professional Labor |
|---|---|---|---|
| Standalone Window Motor | $20–$50 | $60–$100 | $80–$150 |
| Regulator Only | $40–$90 | $100–$180 | $80–$150 |
| Motor + Regulator Assembly | $70–$130 | $150–$250 | $80–$150 |
Total out-of-pocket cost ranges from $100–$200 for DIY to $300–$500 at a shop, especially for luxury brands or complex doors (like those with integrated speakers or climate sensors).
📍 Note: Some auto parts stores offer core exchanges or lifetime warranties on motors, which can reduce long-term risk.
Can You Replace a Window Regulator Yourself? Evaluating Feasibility
Yes, many drivers successfully perform a window regulator replacement at home—but success depends on your tools, patience, and model-specific challenges.
Required Tools & Materials
- Socket wrench set (including Torx bits)
- Trim removal tool 🧰
- Phillips and flathead screwdrivers
- Masking tape (to secure window during disassembly)
- New regulator or assembly
- Gloves and safety glasses
Estimated Time Commitment
⏱️ First-time DIYers should expect 2–4 hours per door. Experienced mechanics can finish in under 90 minutes. Complexity increases with:
- Integrated rain sensors or auto-dimming mirrors
- Double-pane or acoustic glass (heavier, harder to stabilize)
- Vehicles with glued-in glass (rare; usually only sunroofs)
Risks of DIY Replacement
- Breaking the glass: If not properly supported, the window can fall and shatter.
- Misalignment: Incorrect track positioning causes binding or leaks.
- Electrical shorts: Pinched wires during reassembly can blow fuses or damage ECUs.
- Water intrusion: Failing to reinstall the moisture barrier correctly leads to damp carpets.
✅ Recommendation: If you’re uncomfortable working with electrical systems or tight spaces, consider professional service. But if you’ve removed door panels before and feel confident, DIY can save significant money.
Step-by-Step Guide: Replacing a Power Window Regulator
Follow these steps carefully to complete a successful window regulator replacement:
Step 1: Remove the Door Panel
🛒 Use a trim tool to gently pry off clips holding the inner panel. Disconnect any switches or speaker wires. Set aside screws in labeled containers to avoid mix-ups.
Step 2: Secure the Window Glass
Before disconnecting anything, raise the window fully and apply masking tape across the top and bottom to prevent accidental drops. Support it with a soft cushion or helper hand.
Step 3: Disconnect the Motor and Regulator
Unplug the motor connector. Remove bolts attaching the motor to the regulator. Then, detach linkage points connecting the regulator arms to the glass carrier. Take photos during disassembly for reference.
Step 4: Install the New Regulator or Assembly
Align the new unit with mounting holes. Reattach the motor (if separate). Carefully reconnect the glass lift points, ensuring smooth movement without binding.
Step 5: Test Before Reassembly
Reconnect the motor plug and briefly activate the switch. Watch for even motion and listen for noise. Make minor adjustments if needed.
Step 6: Reinstall Door Panel
Replace the moisture barrier (critical for preventing leaks), then refit the door panel. Snap all clips securely and reconnect electronics.
✨ Pro Tip: Lubricate the new regulator’s moving parts with dielectric grease to extend lifespan and reduce noise.
Where to Buy Replacement Parts: Online vs. Local Stores
You can source regulators from various outlets, each with trade-offs:
- Local auto parts stores (AutoZone, Advance Auto Parts, O'Reilly): Offer same-day pickup, return policies, and expert advice. May carry limited stock for older or import models.
- Online retailers: Broader selection, competitive pricing, customer reviews. Delivery takes 2–5 days. Be cautious of generic brands with poor fitment.
- Dealerships: Sell OEM parts with guaranteed compatibility but at higher prices (often 2–3x aftermarket).
📌 When shopping, search using your VIN or exact year/make/model/engine size for accurate matches. Look for units labeled “complete assembly” or “loaded regulator” if replacing both components.
Brand Comparison: Aftermarket vs. OEM Window Regulators
Not all replacement parts are equal. Key differences include:
- Dorman, ACDelco, Cardone: Reputable aftermarket brands offering good durability at fair prices. Dorman is known for improved designs over original weak points.
- OEM (Original Equipment Manufacturer): Factory-specified parts, typically more expensive but engineered for exact tolerances.
- Budget/no-name brands: Often made with thinner metal or inferior plastics. Higher failure rate within 1–2 years.
📊 According to consumer feedback, Dorman and Aisin assemblies consistently receive 4.5+ star ratings for reliability and ease of installation.
Common Mistakes to Avoid During Replacement
Even experienced DIYers make errors. Steer clear of these pitfalls:
- Skipping the test run: Always test window movement before sealing the door.
- Forgetting the vapor barrier: Leads to moisture buildup and mold.
- Over-tightening bolts: Can strip threads in thin door metal.
- Ignoring cable tension: On cable-driven systems, improper tension causes skipping or jerking.
- Using incorrect hardware: Never substitute non-auto-grade screws—they can vibrate loose.
Is It Worth Fixing a Non-Power Window Regulator?
Manual windows (hand-crank style) also use regulators, though simpler in design. Symptoms of failure are similar: stiff cranking, jumping gears, or sudden drop.
🛠️ Replacement follows a similar procedure, but without electrical concerns. Parts are usually cheaper ($30–$60), and labor is less intensive. For vintage or classic cars, sourcing correct manual regulators may require specialty suppliers.
Final Thoughts: To Repair or Replace?
A failing window regulator affects comfort, security, and weather protection. While temporary fixes exist (like taping a stuck window), they aren’t safe long-term solutions.
Replacing the regulator—especially as part of a motor-and-regulator assembly—is usually the most reliable fix. For DIYers, the project offers substantial savings and learning value. For others, professional repair ensures proper calibration and waterproofing.
⚡ Bottom Line: Don’t ignore early warning signs. Addressing a faulty regulator promptly prevents further damage and keeps your vehicle functional year-round.
Frequently Asked Questions (FAQs)
- Can I drive with a broken window regulator?
- Yes, but only if the glass is secured. An open or loose window poses safety risks and can allow water into the cabin, damaging interior electronics and insulation.
- How long does a window regulator last?
- Most last 80,000–120,000 miles. Exposure to extreme temperatures, frequent use, and poor maintenance shorten lifespan. Regular lubrication can help extend it.
- Do I need to program the window after replacement?
- Some modern vehicles require a reset or initialization sequence after motor/regulator replacement. Consult your owner’s manual or service guide for specific procedures (often involves holding the switch up/down for several seconds).
- Can a window regulator be repaired instead of replaced?
- Rarely. Due to the complexity and stress on components, repair kits are uncommon. Replacement is safer and more cost-effective than attempting field repairs.
- Why does my window jerk when going up?
- Jerking often indicates misaligned tracks, debris in the channel, or a failing regulator. Inspect for obstructions and ensure the regulator arms move freely.




 浙公网安备
33010002000092号
浙公网安备
33010002000092号 浙B2-20120091-4