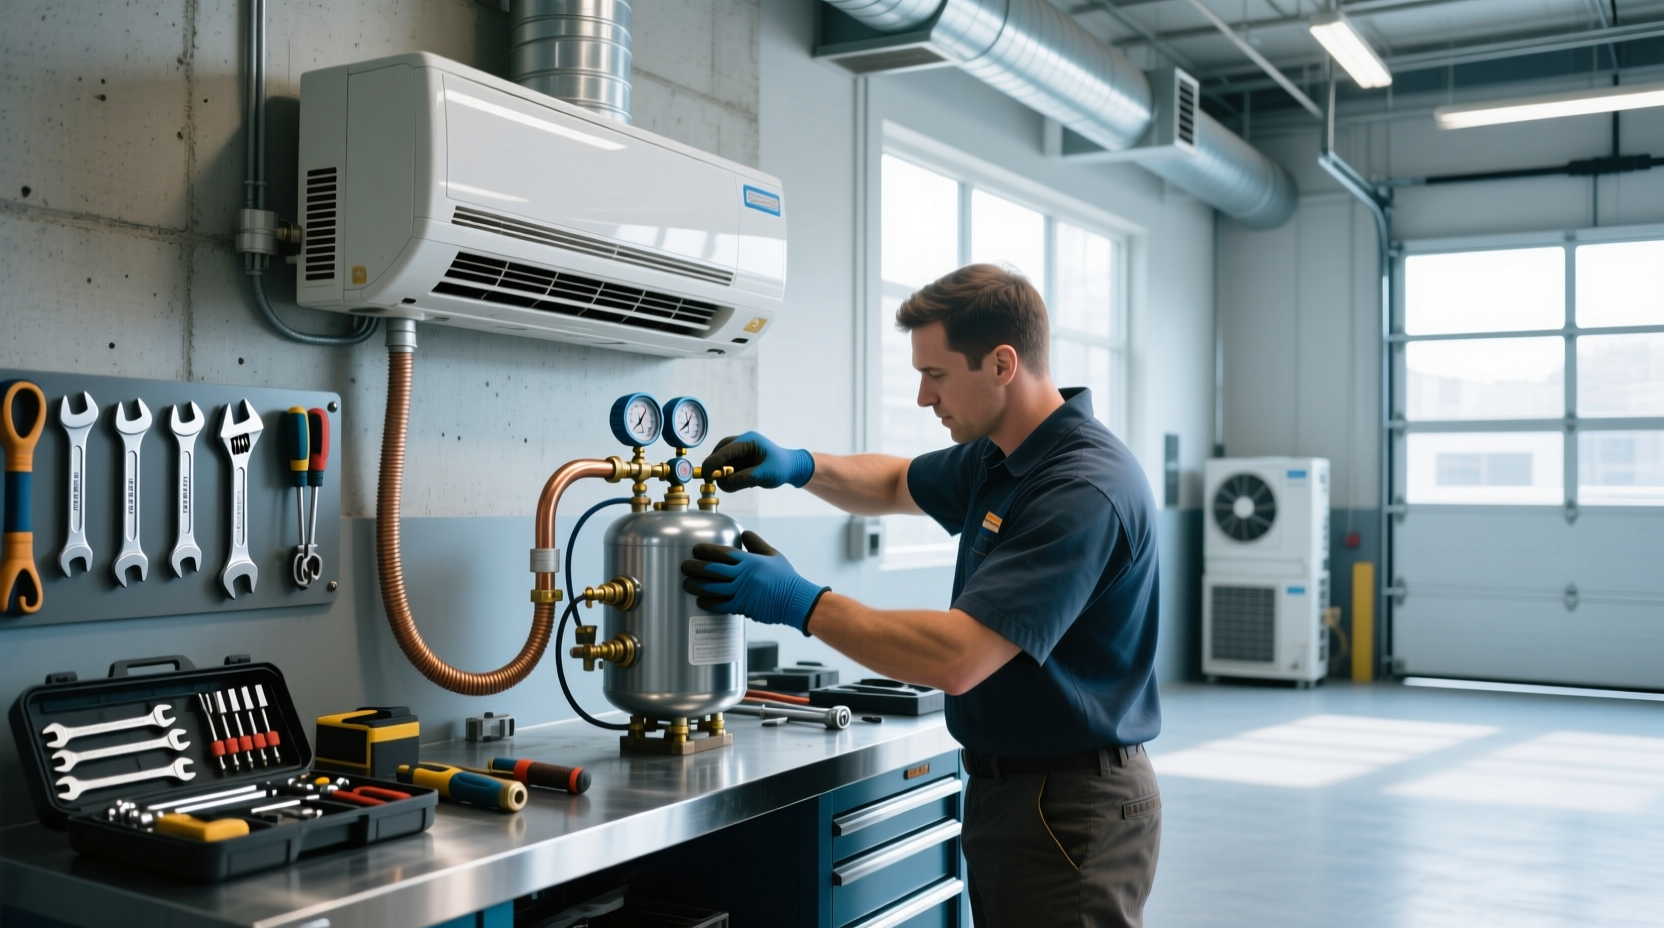
Replacing an air conditioner accumulator is a crucial maintenance task that helps protect your HVAC or automotive AC system from moisture, debris, and liquid refrigerant damage. ⚙️ A faulty or degraded accumulator can lead to compressor failure — the most expensive component in any cooling system. Understanding when to replace an AC accumulator, how it functions, and what steps to follow ensures long-term reliability and efficient performance. This comprehensive guide covers everything you need to know about air conditioner accumulator replacement, including symptoms of failure, cost considerations, proper procedures, and best practices for both residential HVAC and automotive applications.
What Is an AC Accumulator and Why Does It Matter?
The air conditioner accumulator plays a vital role in systems using orifice tubes as metering devices, particularly in automotive air conditioning setups. 📍 Unlike a receiver-drier used in expansion valve systems, the accumulator is installed on the suction line, between the evaporator and the compressor.
Its primary functions include:
- Preventing liquid refrigerant from entering the compressor (slugging protection)
- Storing excess refrigerant during low-load conditions
- Removing moisture via internal desiccant
- Filtering out contaminants and metal particles
Accumulators are commonly found in older vehicles and heat pump systems with long refrigerant lines where liquid carryover is more likely. When the accumulator fails or becomes saturated, it compromises the entire system’s integrity.
Symptoms of a Failing AC Accumulator
Recognizing early warning signs can prevent costly repairs down the line. Here are the most common symptoms indicating your AC accumulator may need replacement:
| Symptom | Possible Cause | Urgency Level |
|---|---|---|
| Warm air from vents | Moisture buildup or blockage reducing efficiency | ❗ High |
| Intermittent cooling | Inconsistent refrigerant flow due to clogging | ❗ High |
| Hissing or gurgling noises near evaporator | Liquid refrigerant entering suction line | ⚠️ Medium |
| Frost or ice on accumulator or suction line | Moisture freezing inside the unit | ❗ High |
| Compressor short-cycling or failing prematurely | Lubrication issues due to oil dilution by liquid refrigerant | ❗ Critical |
If two or more of these symptoms occur together, especially warm airflow and frost formation, inspecting or replacing the accumulator should be a priority.
When Should You Replace an AC Accumulator?
While accumulators don’t require regular scheduled replacement like filters, there are specific scenarios when replacement is strongly recommended:
- After any open-system service: If your AC system was opened for compressor, evaporator, or condenser replacement, the desiccant inside the accumulator has likely absorbed moisture from the atmosphere and must be replaced.
- Visible contamination: If metal shavings or sludge are found during system inspection (often after a compressor burnout), the accumulator should always be replaced.
- More than 5–7 years old with poor cooling performance: Desiccant loses effectiveness over time, even without exposure to air.
- System has been low on charge repeatedly: Indicates possible moisture ingress, which depletes desiccant capacity.
- You’re upgrading refrigerant type (e.g., R-134a to R-1234yf): Requires compatible accumulator materials and desiccant.
🔧 Note: Never reuse an accumulator after it has been exposed to ambient air for more than 10–15 minutes. The desiccant begins absorbing moisture immediately upon exposure, rendering it ineffective.
AC Accumulator vs. Receiver-Drier: Key Differences
A common point of confusion is the difference between an accumulator and a receiver-drier. While both remove moisture and debris, they serve different system types and locations:
| Feature | AC Accumulator | Receiver-Drier |
|---|---|---|
| Used in systems with | Orifice tube | Thermal expansion valve (TXV) |
| Location | Suction side (low-pressure line) | Liquid line (high-pressure side) |
| Primary function | Prevent liquid slugging, store excess refrigerant | Store liquid refrigerant, dry high-pressure flow |
| Desiccant type | Usually molecular sieve or silica gel | Same, but formulation varies by refrigerant |
| Replacement necessity | Mandatory after system breach | Same requirement |
Understanding this distinction prevents incorrect part selection during replacement. Using a receiver-drier in place of an accumulator (or vice versa) will result in improper system operation and potential damage.
Cost of Replacing an AC Accumulator
The total cost of air conditioner accumulator replacement depends on application — automotive versus HVAC — labor rates, and whether additional components are being serviced.
Automotive Applications
- Part cost: $30–$120 depending on vehicle make and model
- Labor cost: $150–$350 (due to evacuation, vacuuming, and recharging process)
- Total average cost: $180–$470
Residential HVAC Systems
- Part cost: $40–$150 for standard units; up to $250 for high-efficiency models
- Labor cost: $100–$200 per hour; typically 1–2 hours required
- Total average cost: $200–$600
🛒 Keep in mind: Some technicians bundle accumulator replacement with compressor jobs, often offering discounted labor if done simultaneously. However, never assume it’s included — always ask for a line-item breakdown.
Step-by-Step Guide to Replacing an AC Accumulator
Whether you're a DIY enthusiast or want to understand what a technician should do, here’s a professional-grade procedure for safe and effective replacement.
Tools and Materials Needed
- Refrigerant recovery machine (legally required in most regions)
- Vacuum pump (minimum 2 CFM)
- Manifold gauge set
- New O-rings (lubricated with PAG oil)
- Nitrogen tank (for leak testing, optional but recommended)
- Wrenches or line disconnect tools
- New accumulator (correct size and fitment)
- Proper refrigerant (R-134a, R-1234yf, etc.)
Procedure Overview
- Recover refrigerant: Use a certified recovery machine to remove all refrigerant from the system. Venting refrigerant into the atmosphere is illegal in many countries due to environmental regulations.1
- Locate the accumulator: Typically found near the evaporator core under the dashboard or along the firewall in vehicles. In HVAC systems, it's usually near the indoor coil.
- Disconnect lines carefully: Use appropriate tools to avoid damaging fittings. Immediately cap all open ports to prevent contamination.
- Remove old accumulator: Unbolt mounting bracket and extract unit.
- Install new unit: Ensure correct orientation (flow direction marked on housing). Replace all O-rings and lubricate them with the correct amount of PAG oil.
- Evacuate the system: Pull a deep vacuum (below 500 microns) for at least 30–45 minutes to remove air and moisture.
- Recharge with refrigerant: Add the manufacturer-specified amount of refrigerant by weight, not pressure.
- Test operation: Run system for 15–20 minutes and check suction pressure, discharge temperature, and vent temperatures.
⏱️ Tip: Allow the new accumulator to sit sealed until just before installation. Exposure to humid air reduces its moisture-absorbing capability before it even enters service.
Common Mistakes During AC Accumulator Replacement
Avoid these frequent errors that compromise system performance and longevity:
- Skipping vacuuming: Leads to moisture and non-condensables remaining in the system, causing corrosion and inefficiency.
- Reusing old O-rings: Causes leaks and refrigerant loss within weeks.
- Incorrect accumulator sizing: Too small = inadequate storage; too large = reduced efficiency and oil return issues.
- Installing backwards: Flow direction matters — check arrows on the body.
- Overcharging refrigerant: Masks underlying problems and increases head pressure unnecessarily.
✅ Best practice: Always match the new accumulator to OEM specifications in terms of volume, inlet/outlet sizes, and desiccant type.
Can You Replace an AC Accumulator Yourself?
DIY replacement is technically possible but comes with significant challenges:
Pros of DIY
- Lower overall cost (if you own tools)
- Learning opportunity for mechanically inclined users
- Full control over part quality and process
Cons of DIY
- High initial tool investment ($500+ for recovery machine and vacuum pump)
- Legal restrictions: In the U.S., Section 608 of the Clean Air Act requires certification to handle refrigerants1
- Risk of incomplete evacuation leading to premature failure
- No warranty coverage if something goes wrong
For most consumers, having a licensed technician perform the replacement is safer and more reliable.
How Long Does an AC Accumulator Last?
There is no fixed lifespan, but most accumulators last 7–10 years under normal conditions. Factors affecting longevity include:
- Frequency of system leaks
- Exposure to moisture during servicing
- Operating environment (humidity, temperature extremes)
- Previous compressor failures (debris load)
🏭 Pro tip: If your vehicle or HVAC system has experienced repeated low refrigerant events, consider proactive accumulator replacement even without obvious symptoms.
Environmental and Safety Considerations
Handling refrigerants and AC components carries environmental and personal risks:
- Never release refrigerant into the air — it contributes to greenhouse gas emissions.
- Wear safety glasses and gloves when working with pressurized systems.
- Dispose of old accumulators properly — some contain hazardous materials.
- Use only UL-listed or EPA-certified equipment when recovering refrigerant.
🌍 Responsible maintenance protects both your system and the planet.
Conclusion: Is AC Accumulator Replacement Worth It?
Absolutely. Replacing a worn or suspect accumulator is a relatively small investment compared to the cost of a failed compressor or corroded system. Whether performed during routine service or after a major repair, it restores system protection, improves cooling efficiency, and extends equipment life.
📌 Key takeaways:
- Replace the accumulator whenever the AC system is opened.
- Use only compatible parts matched to your refrigerant and system design.
- Ensure proper evacuation and charging procedures are followed.
- Consider professional help unless you’re fully equipped and certified.
Frequently Asked Questions (FAQs)
- ❓ Can I drive my car with a bad AC accumulator?
- Yes, but continued use risks compressor damage due to moisture and liquid refrigerant entry. Cooling performance will degrade over time.
- ❓ Do I have to replace the accumulator when replacing the AC compressor?
- ✅ Yes. Anytime the system is opened, especially after a compressor failure, the accumulator must be replaced to ensure clean, dry operation.
- ❓ How do I know if my accumulator is full of moisture?
- You can't visually tell unless disassembled. Indirect signs include recurring low-pressure faults, icing, and acidic residue found during system flush.
- ❓ What happens if I don’t replace the accumulator after a system leak?
- The desiccant may already be saturated, allowing moisture to circulate and form acids that corrode internal components.
- ❓ Can I use a universal AC accumulator?
- Only if it matches the original in volume, connection size, flow direction, and desiccant type. Universal units require careful verification before installation.





 浙公网安备
33010002000092号
浙公网安备
33010002000092号 浙B2-20120091-4