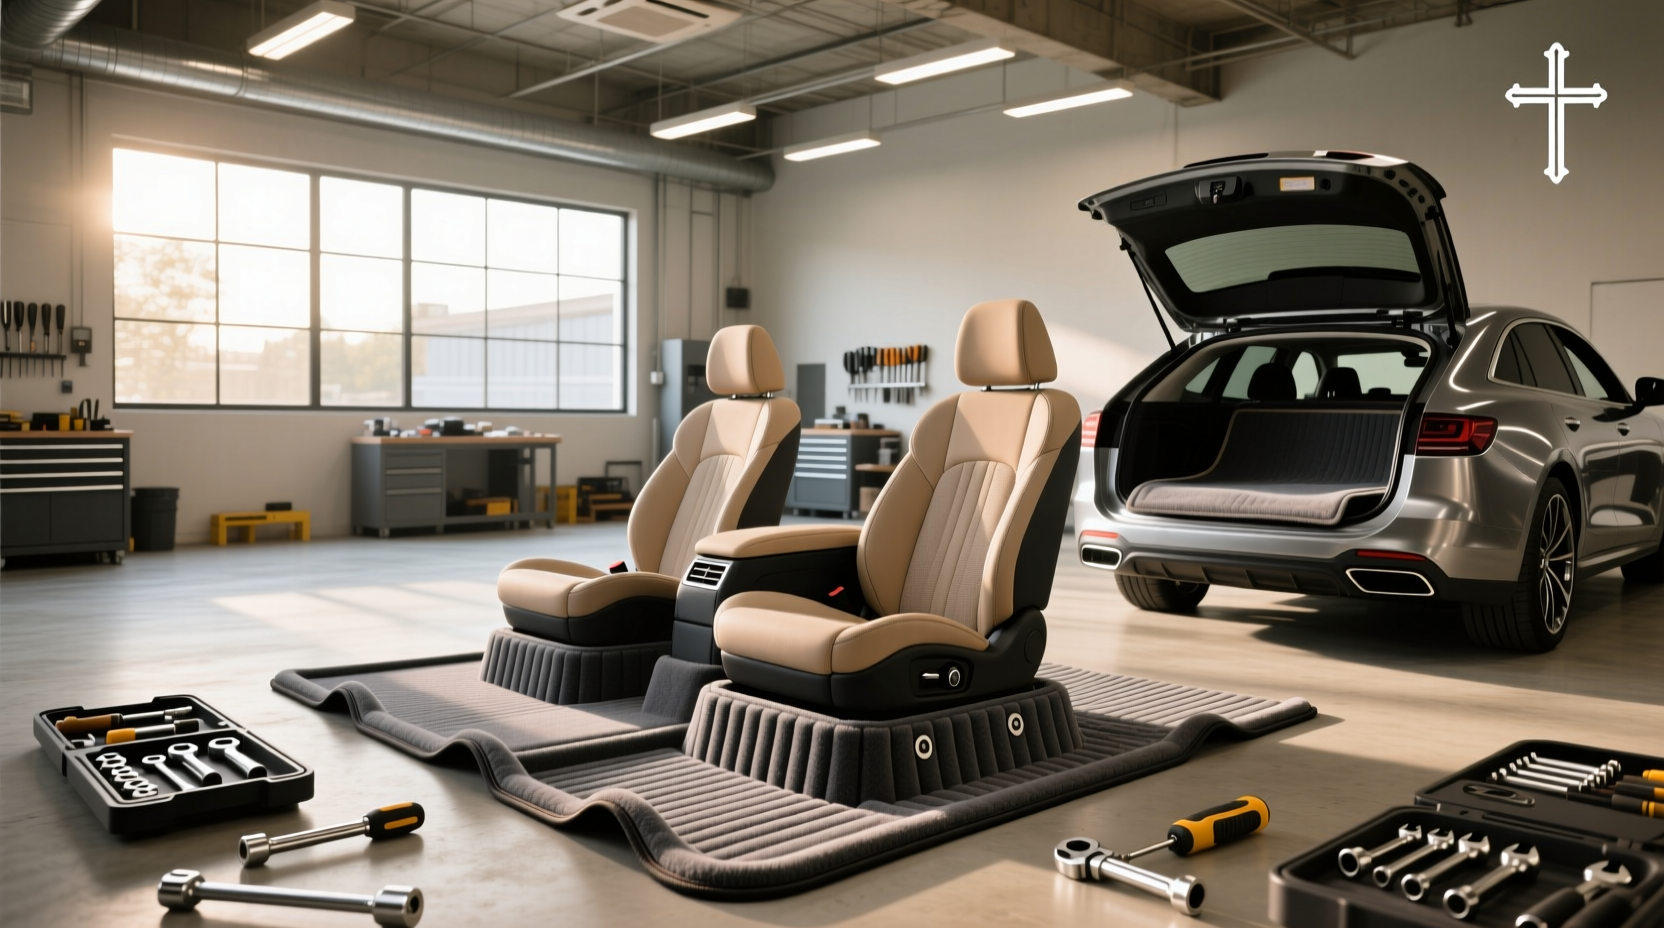
When restoring or repairing a vehicle’s interior, one often overlooked yet critical component is automotive carpet padding. This layer, installed beneath the carpet, plays a vital role in noise reduction, thermal insulation, and providing cushioning underfoot. Whether you're replacing water-damaged flooring, upgrading factory materials, or customizing a classic car, understanding the types, functions, and installation methods of automotive carpet padding is essential for long-term durability and comfort ✅.
Why Automotive Carpet Padding Matters
Car manufacturers install carpet padding during production not just for comfort but also as part of the vehicle’s acoustic management system ⚙️. Over time, moisture exposure, wear, or aging can degrade this layer—especially if the vehicle has experienced leaks or high humidity. Without proper padding, carpets lie flat against metal floors, increasing road noise, reducing insulation, and making footfalls feel harsher.
The right padding improves ride quality by acting as a barrier between the cabin and external elements. It also helps maintain the shape and resilience of the carpet, preventing premature sagging or wrinkling. For DIY restorers and auto detailers alike, choosing the correct type of padding ensures both functional performance and aesthetic longevity.
Common Types of Automotive Carpet Padding Materials
Not all padding is created equal. Different vehicles and use cases call for different materials. Below are the most widely used types found in OEM and aftermarket applications:
Jute Fiber Padding
Jute is a natural fiber historically used in older vehicles (pre-1980s) and still preferred in many restoration projects 🌍. It offers moderate sound absorption and provides firm support under carpeting. Jute padding typically comes in roll form and must be cut to fit the floor pan.
- Pros: Biodegradable, rigid structure, authentic for vintage restorations
- Cons: Absorbs moisture easily, prone to mold if wet, less effective at noise damping than modern foams
- Best for: Classic car rebuilds where originality matters
According to discussions on automotive forums such as Reddit’s r/projectcar, users frequently seek out jute when replacing degraded factory padding because it closely matches original equipment specifications 1.
Foam Padding (Polyurethane or Rubber-Based)
Synthetic foam padding has become standard in modern vehicles due to its superior insulating properties. These include closed-cell polyurethane, rubber foam, and neoprene blends. They resist moisture better than jute and offer enhanced vibration damping.
- Pros: Lightweight, water-resistant, excellent sound deadening, easy to cut and install
- Cons: Can compress over time under heavy foot traffic, varies in density and quality
- Best for: Daily drivers, modern replacements, moisture-prone environments
Self-adhesive foam variants simplify installation, allowing precise placement without additional adhesives. Some products combine foam with aluminum foil facing to add thermal insulation—a feature beneficial in extreme climates.
Synthetic Fiber Blends
Manufacturers like A·1 Foam & Fabrics produce padding made from 100% pre-consumer synthetic fibers designed specifically for automotive use 🏭. These materials blend durability with environmental responsibility, avoiding landfill waste while maintaining consistent thickness and compression resistance.
- Pros: Consistent quality, recyclable content, resistant to compaction
- Cons: May require separate adhesive for secure mounting
- Best for: Custom installations, RVs, vans, and commercial fleets
Composite & Multi-Layer Pads
High-performance options integrate multiple layers—for example, foam bonded to mass-loaded vinyl (MLV) or butyl rubber sheets. While primarily used in dedicated soundproofing kits, these advanced pads serve dual roles: blocking airborne noise and reducing structural vibrations.
- Pros: Maximum sound attenuation, thermal protection, long lifespan
- Cons: Higher cost, heavier weight, requires professional-grade tools for trimming
- Best for: Luxury vehicles, audio enthusiasts, mobile workspaces
| Material Type | Noise Reduction | Moisture Resistance | Installation Ease | Lifespan |
|---|---|---|---|---|
| Jute | Medium | Low | Medium | 5–8 years (if dry) |
| Foam | High | High | Easy | 8–12 years |
| Synthetic Fiber | Medium-High | Medium | Medium | 10+ years |
| Composite (Foam + MLV) | Very High | Very High | Difficult | 15+ years |
How to Replace Automotive Carpet Padding: Step-by-Step
Replacing worn or damaged padding requires careful removal, measurement, and reinstallation. Follow these steps to ensure a durable, quiet finish:
- Remove Existing Carpet: Start by removing floor mats and trim panels. Use a trim tool to unclip kick panels and pry up any retaining clips securing the carpet edges 🔧. Disconnect seat belts if necessary for full access.
- Inspect Floor Pan: Once exposed, check the metal floor for rust, holes, or signs of previous repair. Address corrosion before proceeding, as new padding won’t protect against ongoing deterioration.
- Peel Off Old Padding: Remove the old pad carefully. If it’s glued down, use a plastic scraper to avoid scratching metal. Note how seams were aligned—this aids in replicating layout.
- Clean Surface Thoroughly: Wipe the floor with degreaser and allow it to dry completely. Any residue can prevent proper adhesion of new padding.
- Measure and Cut New Padding: Lay your new material over the floorboard and trace contours using chalk or marker. Use utility knife or scissors for clean cuts around humps, pedals, and seat mounts.
- Apply Adhesive (If Needed): Not all padding is self-stick. For non-adhesive types, apply automotive-grade contact cement evenly to both floor and back of padding. Wait until tacky before pressing into place.
- Install Padding Smoothly: Begin from the center and work outward to avoid air pockets. Press firmly along edges and seams. Overlap joints slightly if needed, but avoid thick ridges.
- Reinstall Carpet: Place the carpet back over the fresh padding, ensuring alignment with grommets and fasteners. Reattach clips, reinstall trim, and test fit before finalizing.
Signs You Need to Replace Your Automotive Carpet Padding
Many drivers overlook padding until problems arise. Watch for these red flags:
- Squishy or damp feeling underfoot – Indicates trapped moisture, likely from leaks or spills that soaked through.
- Mold or mildew odor – Especially noticeable when heating or AC runs; caused by biological growth in wet padding.
- Increased cabin noise – Road hum becomes louder due to loss of sound-absorbing material.
- Visible wear or crumbling – When lifting mats, you see disintegrated foam or jute falling apart.
- Carpet buckling or shifting – Loss of underlying support causes surface deformation.
If any of these symptoms appear, replacement should be prioritized—not only for comfort but also to prevent further damage to floor metal or HVAC systems.
Where to Buy Automotive Carpet Padding
Purchasing options vary based on availability, budget, and specificity. While some big-box retailers carry generic rolls, specialized suppliers offer better-suited solutions for particular makes and models.
Local auto parts stores may stock basic foam padding by the foot, useful for small repairs. However, for complete coverage or restoration-grade materials like jute, online specialty vendors are more reliable. Companies such as Automotive Interiors and A·1 Foam & Fabrics provide product lines tailored to cars, trucks, SUVs, and RVs, including pre-cut kits for certain models.
When shopping, consider:
- Width and thickness – Standard widths are 36” or 48”; thickness ranges from 1/8” to 1/2” depending on application.
- Roll length – Most come in 5-, 10-, or 25-yard lengths. Measure total square footage needed first.
- Compatibility – Ensure the material suits your climate and vehicle type (e.g., open-top convertibles need higher moisture resistance).
DIY vs. Professional Installation: What’s Best?
For straightforward replacements, DIY is feasible with basic tools and patience. Most home mechanics can complete the job in 3–6 hours, especially if no major rust repair is involved.
However, complex interiors—such as those with integrated wiring harnesses, heated seats, or multi-tiered floor designs—may benefit from professional help. Technicians have experience managing hidden fasteners and can apply industrial adhesives safely.
Additionally, professionals often combine padding replacement with full soundproofing treatments, adding layers like butyl mats or thermal barriers for maximum effect. If noise control is a priority (e.g., for podcasters, remote workers, or audiophiles), investing in expert installation may yield better long-term value.
Common Mistakes to Avoid
Even experienced DIYers make errors during carpet padding projects. Here are frequent pitfalls and how to avoid them:
- Skipping floor inspection: Installing new padding over corroded metal leads to recurring issues. Always inspect and treat rust first ❗.
- Using household carpet padding: Residential underlay lacks the density and chemical resistance required in vehicles. Stick to automotive-specific products ✅.
- Improper adhesion: Rushing glue application results in bubbles or peeling. Follow manufacturer instructions for drying times and pressure.
- Blocking drain paths: In convertible or sunroof-equipped cars, ensure padding doesn’t obstruct factory drainage channels.
- Ignoring ventilation: Trapped moisture needs escape routes. Consider perforated foam or leave small gaps near sill pans if environment allows.
Environmental and Safety Considerations
Some padding materials emit volatile organic compounds (VOCs), particularly when new. Low-VOC foams and natural jute are preferable for individuals sensitive to odors or concerned about indoor air quality.
Proper disposal of old padding is also important. Jute and natural fibers can be composted or disposed of as organic waste where permitted. Synthetic foams should go to designated recycling centers if available, rather than landfills.
Cost Overview and Budget Planning
Prices vary significantly based on material and quantity:
- Jute rolls: $7–$12 per linear yard (36” width)
- Foam padding: $10–$20 per yard (self-adhesive versions on higher end)
- Synthetic/composite: $15–$30 per yard
- Labor (professional): $100–$300 depending on vehicle size and complexity
For a full-size sedan, expect to use 8–12 yards of material. Total material cost typically ranges from $80 to $250, excluding labor.
FAQs About Automotive Carpet Padding
- Can I reuse old automotive carpet padding?
- No, once padding has been compressed, exposed to moisture, or damaged, it loses structural integrity and should be replaced.
- Is automotive carpet padding waterproof?
- Foam-based and composite pads are water-resistant, but not fully waterproof. Proper sealing and drainage are still necessary.
- How thick should automotive carpet padding be?
- Most factory specs range from 1/4” to 3/8”. Thicker isn’t always better—it can interfere with pedal clearance or seat tracks.
- Do I need adhesive to install automotive carpet padding?
- It depends on the product. Self-adhesive types simplify installation, but non-stick varieties require contact cement for secure bonding.
- Can I install carpet padding without removing the seats?
- In most vehicles, partial seat removal is necessary for full access. Attempting to work around seats risks poor alignment and weak adhesion.





 浙公网安备
33010002000092号
浙公网安备
33010002000092号 浙B2-20120091-4