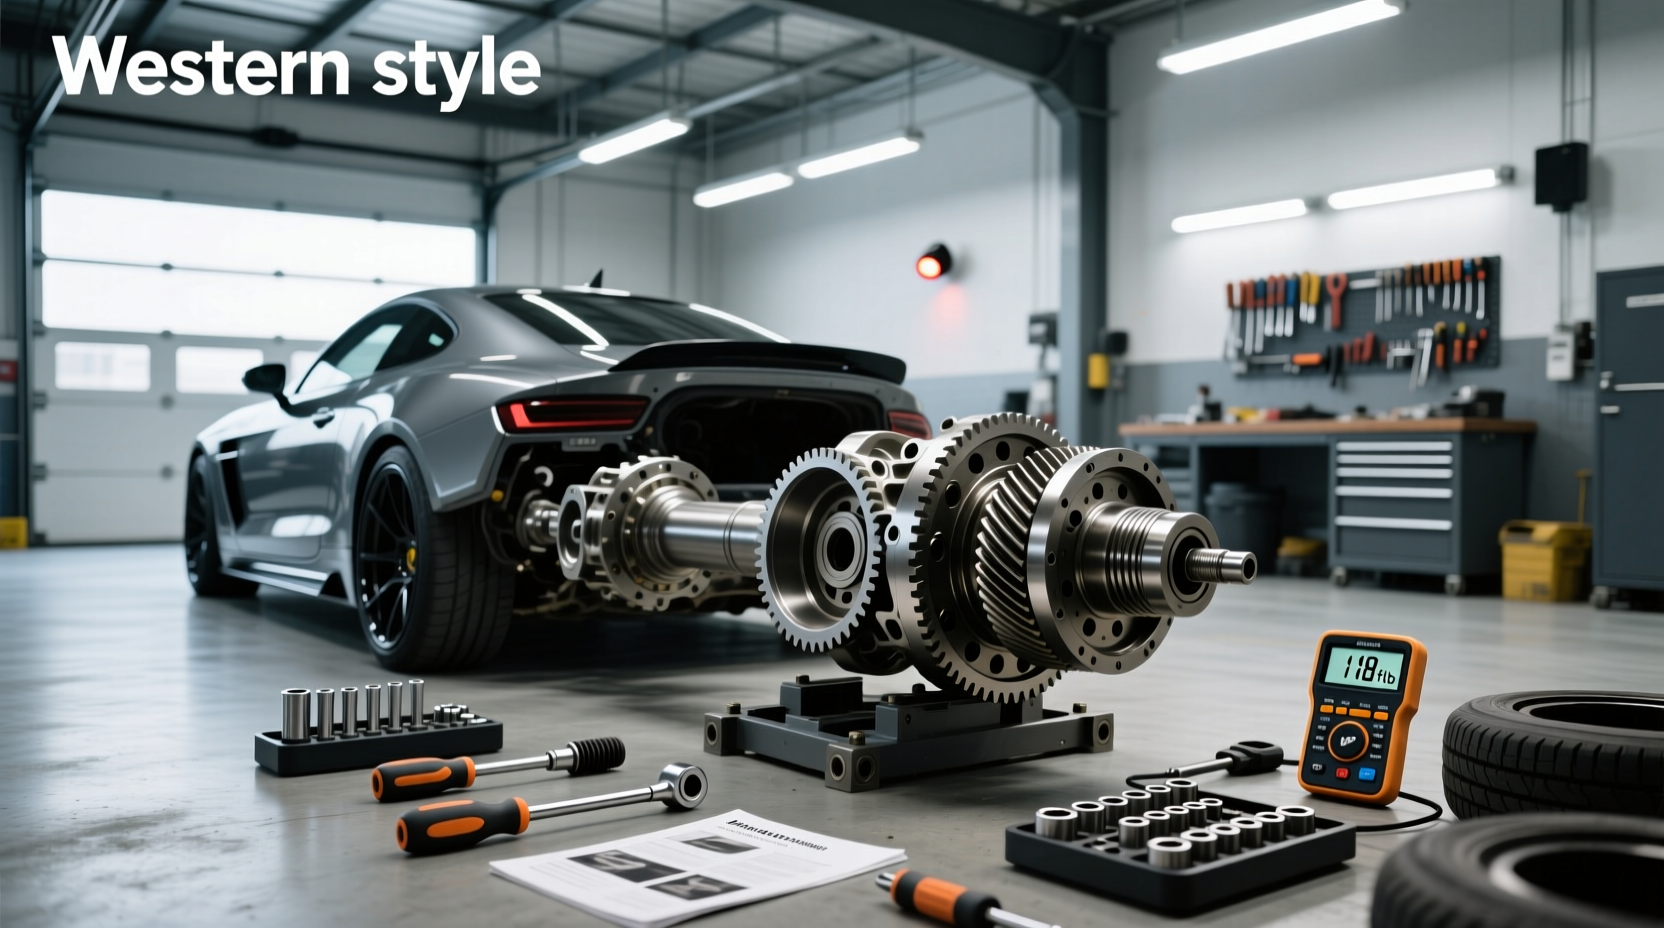
Proper differential set up is essential for ensuring smooth power delivery, minimizing wear, and preventing premature failure in your vehicle’s rear axle. Whether you're rebuilding a Toyota Hiace differential or adjusting ring and pinion backlash on a Ford 9-inch, mastering the setup process—including bearing preload, gear mesh, and contact pattern analysis—can make the difference between long-term reliability and costly repeat repairs. This comprehensive guide walks through every critical step of a professional-grade differential set up, helping DIY mechanics and technicians avoid common mistakes and achieve precise results.
What Is a Differential Set Up?
A differential set up refers to the precise assembly and adjustment of internal components within a rear or front differential housing. The goal is to ensure optimal alignment between the ring gear and pinion gear, correct bearing preloads, and accurate backlash measurements. When done correctly, this process ensures quiet operation, even load distribution, and maximum service life.
This procedure is typically performed during:
- Ring and pinion gear replacement ⚙️
- Differential bearing rebuilds 🔧
- Full axle restoration projects 🏭
- Performance upgrades like gear ratio changes ✈️
Mistakes in setup—such as incorrect pinion depth or improper carrier bearing preload—can lead to noise (whining, growling), excessive heat, rapid gear wear, or catastrophic component failure.
Key Components Involved in a Differential Set Up
Understanding the parts involved helps clarify their roles and how they interact during setup:
| Component | Function | Critical Adjustment |
|---|---|---|
| Pinion Gear | Transfers torque from driveshaft to ring gear | Depth, preload, shim selection |
| Ring Gear | Mounted to carrier; meshes with pinion | Backlash, runout, bolt torque |
| Pinion Bearing | Supports pinion shaft under load | Preload via crush sleeve or shims |
| Carrier Bearings | Hold differential case in housing | Preload adjusted with side adjusters or shims |
| Thrust Washers/Shims | Control gear positioning and spacing | Thickness determines pinion depth and backlash |
Step-by-Step Differential Set Up Process
Follow these steps carefully to perform an accurate differential set up. While specific procedures vary slightly by manufacturer (e.g., GM 10-bolt vs. Toyota 7.5”), the core principles remain consistent across most automotive differentials.
1. Disassembly and Inspection 🔍
Before beginning any setup work, fully disassemble the differential and inspect all components:
- Check for pitting, spalling, or scoring on gears
- Inspect bearings for roughness or play
- Measure housing for warpage or damage
- Clean all surfaces thoroughly using degreaser and lint-free cloth 🧼
If replacing bearings or gears, verify part numbers match OEM specifications. For example, a Koyo TR081105ARUR4 tapered roller bearing may be used in certain Toyota Hiace models 1, while Timken SET42 kits are common in aftermarket rebuilds.
2. Measuring Pinion Bearing Preload
Pinion bearing preload ensures there's no axial movement in the pinion shaft while allowing free rotation without excess friction.
Two methods exist:
- Crush Sleeve Method: Common in many OEM axles (e.g., GM, Ford). A collapsible sleeve sits between the inner bearings. Tightening the pinion nut compresses the sleeve until the specified preload (measured in inch-pounds) is reached.
- Shim Method: Used in some imports (like Toyota) and high-performance units. Shims replace the crush sleeve, allowing more precise control over preload.
To measure preload:
- Install outer pinion bearing and oil seal retainer
- Use a dial torque wrench or beam-type inch-pound torque wrench
- Rotate the pinion and read drag torque (typically 10–18 in-lbs new)
⚠️ Note: Always replace crush sleeves after removal—they cannot be reused.
3. Setting Pinion Depth
Pinion depth determines how deeply the pinion gear engages with the ring gear. Too deep or too shallow causes improper tooth contact and rapid wear.
The depth is controlled by:
- Shims behind the front bearing cup (shim-style)
- Factory-set during manufacturing (non-adjustable in some cases)
Use a pinion depth gauge or micrometer to compare against manufacturer specs. On Toyotas, this often involves measuring from the pinion head to the base of the housing. Incorrect depth leads to poor pinion marks on carrier when checking contact patterns.
4. Adjusting Ring Gear Backlash
Backlash is the amount of clearance between ring and pinion teeth. It should generally fall between 0.008” and 0.012”, but always consult factory service manuals for exact values.
To measure:
- Mount ring gear to carrier
- Support carrier in vise with soft jaws
- Attach dial indicator to ring gear teeth
- Rock gear back and forth and record total movement
Adjust backlash by adding or removing carrier bearing shims or turning adjuster rings (on units like Dana 44).
5. Checking Gear Contact Pattern ✨
This is one of the most critical steps in a differential set up. The contact pattern reveals whether the gears are meshing correctly under simulated load.
How to check:
- Apply gear marking compound (gear paint) to several ring gear teeth
- Rotate the ring gear both forward and backward several times
- Observe where the transfer mark appears
Ideal patterns depend on gear type:
- Spur-cut gears: Centered contact
- Spiral-bevel or hypoid gears: Slight toe or heel bias depending on drive/coast side
For example, on a Ford 9 inch ring and pinion pattern, you want the contact slightly toward the toe on the drive side and near the heel on the coast side. If the pattern is too far out (toward the outer edge), the pinion is too deep. If it's too far in (inner diameter), the pinion is too shallow.
6. Final Assembly and Torque Specifications ⚡
Once settings are confirmed:
- Reassemble all components with clean gear oil or assembly lube
- Torque all fasteners to spec (e.g., ring gear bolts ~50–70 ft-lbs)
- Recheck backlash and preload after final tightening
- Fill with appropriate gear oil (usually GL-5 75W-90 or 80W-90)
After installation, monitor for unusual noises or temperature spikes during initial break-in driving.
Common Mistakes in Differential Set Up
Even experienced mechanics can make errors that compromise performance. Here are frequent pitfalls:
- Reusing old crush sleeves: Leads to loss of preload and potential bearing failure ❗
- Incorrect shim stacks: Causes misaligned gears and abnormal wear patterns 📋
- Skipping backlash recheck after tightening: Fastener stretch can alter clearances 📎
- Using wrong gear lubricant: Some limited-slip diffs require special additives 🛢️
- Ignoring runout in ring gear mounting: Causes inconsistent backlash readings 📊
Special Considerations for Toyota Hiace and Hilux Differentials
Toyota vans and trucks like the Hiace and Hilux use robust but precise differentials. Owners often ask: Are Hilux and Hiace diffs the same? In many generations, they share similar or identical rear ends, especially in RWD configurations from 2006–2018. However, gear ratios and carrier types may differ based on model year and trim.
When sourcing parts:
- Kits like the KOYO THLRDK12 Japan Toyota Hilux / Hiace Rear Differential Bearings Kit include matched bearings and seals 2
- OE part numbers such as 90366-40100 help identify correct pinion bearings
- Rebuild kits from suppliers like Just Jap offer genuine Toyota components
Because these vehicles are widely used in commercial and off-road applications, proper setup directly impacts durability and safety.
Cost Factors and Where to Buy Parts 🛒
The cost of a differential rebuild varies significantly based on quality and source:
- Bearings alone: $30–$200 each depending on brand and origin
- Complete rebuild kit: $100–$600 (includes bearings, seals, shims)
- Labor at shop: $300–$800+ depending on complexity
You can find components at various outlets:
- AutoZone, Advance Auto Parts: Stock basic kits with mid-tier brands 📍
- NAPA Auto Parts: Offers premium options like Timken 🔧
- eBay: Wide selection including OEM and Japanese-market parts 🌐
- Specialty import suppliers: Sunrise Bearings FL, Just Jap, Rodavictoria USA ✅
⚠️ Be cautious with ultra-low-cost options from generic manufacturers, as dimensional inaccuracies can ruin a careful setup.
Can I Drive With a Bad Pinion Bearing? ❓
No—you should not drive with a known bad pinion bearing. Symptoms include:
- Low-frequency growling that increases with speed
- Vibration felt through the chassis
- Oil leaks from the pinion seal due to worn shaft support
Continuing to drive risks complete bearing seizure, which can destroy the pinion gear, damage the housing, or leave you stranded. Replace faulty bearings immediately.
How to Tell If a Differential Bearing Is Bad
Diagnosing failing bearings involves listening and testing:
- Coast-down test: Lift rear wheels, spin driveshaft by hand—listen for grinding
- On-road behavior: Noise changes under acceleration vs. deceleration
- Play check: Grab driveshaft flange and wiggle for radial movement
- Visual inspection: Remove cover and look for metal flakes in oil
Early detection saves money and prevents collateral damage.
Tools Required for a Professional Differential Set Up
Success depends heavily on having the right tools:
- Dial indicator with magnetic base 📈
- Inch-pound torque wrench ⚙️
- Depth micrometer or caliper 🔍
- Gear marking compound (red Prussian grease)
- Bearing press and installer set 🧰
- Shim packs (various thicknesses)
- Pinion depth gauge (for precision setups)
- Torque wrench (ft-lb range)
Investing in quality tools pays off in accuracy and repeatability.
Regional and Application Differences
Differential design and service practices vary globally:
- In North America, GM and Ford axles dominate; setup focuses on adjuster rings and crush sleeves
- In Asia and Oceania, Toyota Hiace and Hilux differentials are common; many use shim-based systems
- European vehicles may use integrated limited-slip units requiring specialized tools
Always refer to region-specific service literature when available.
FAQs About Differential Set Up
- How do I know if my differential setup is correct?
- A correct setup produces smooth operation, minimal noise, and proper gear contact patterns under both drive and coast conditions. Recheck backlash and preload after final assembly.
- What happens if pinion bearing preload is too tight?
- Excessive preload generates heat, accelerates bearing wear, and may cause premature failure due to lack of internal clearance.
- Can I reuse differential shims during a rebuild?
- Yes, if they are undamaged and the same components are being reinstalled. However, if gears or bearings are replaced, re-measurement is required.
- Why is gear contact pattern important in a differential setup?
- The pattern shows how force is distributed across the gear teeth. An off-center or edge-loaded pattern indicates misalignment, leading to noise and early wear.
- Is it possible to set up a differential without special tools?
- Basic checks can be made, but accurate setup requires tools like dial indicators and inch-pound torque wrenches. Skipping them risks incorrect adjustments.





 浙公网安备
33010002000092号
浙公网安备
33010002000092号 浙B2-20120091-4