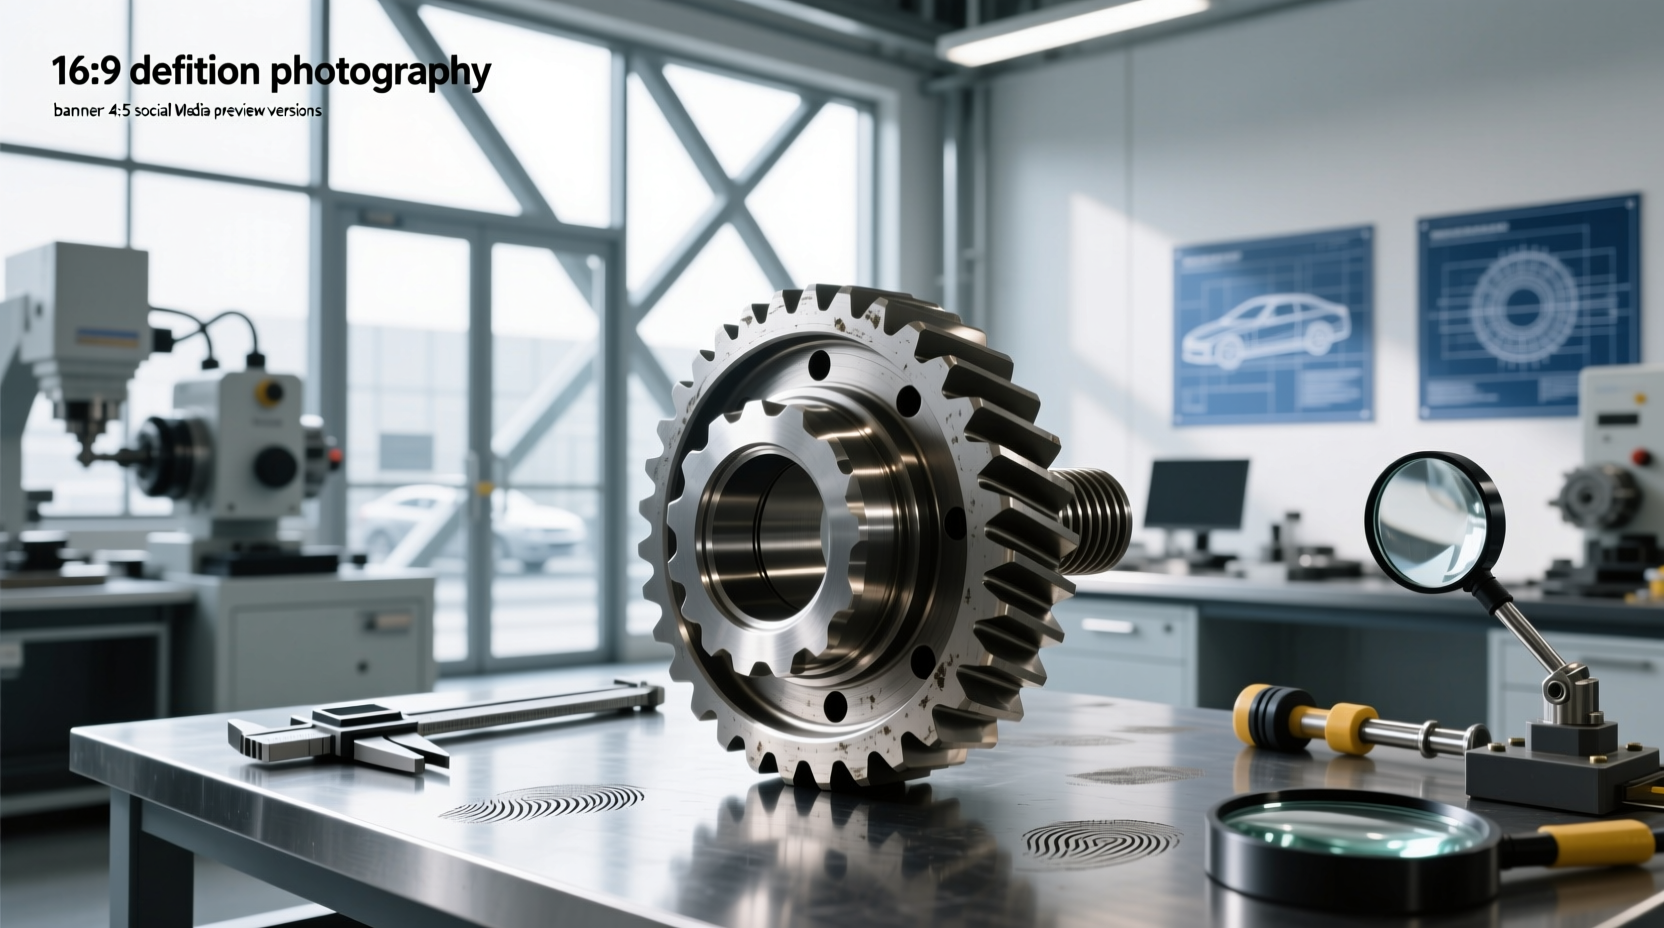
Understanding the differential tooth contact pattern is essential for anyone performing a ring and pinion gear installation in a rear axle. This diagnostic method reveals how evenly and correctly the gears mesh under load, directly affecting drivetrain smoothness, noise levels, and service life. When set up properly, the contact pattern shows where the pinion gear teeth engage with the ring gear across their surface during rotation — providing visual feedback critical to achieving optimal alignment. Incorrect patterns often lead to whining noises, accelerated wear, or even catastrophic gear failure. In this comprehensive guide, we’ll walk through what a proper differential tooth contact pattern looks like, how to create and read it using gear marking compound, common misinterpretations, and step-by-step adjustment techniques used by professional technicians.
What Is a Differential Tooth Contact Pattern?
The differential tooth contact pattern refers to the visible impression left on the ring gear teeth after rotating the differential while coated with gear marking paint or grease. This transfer mark indicates exactly where and how much surface area of each tooth is making contact during operation. Since perfect theoretical meshing cannot be observed directly, mechanics rely on this empirical test to verify correct gear positioning.
This process is part of a broader procedure known as gear pattern checking or ring and pinion setup, typically performed when replacing gears, rebuilding differentials, or diagnosing abnormal noises. The goal is not just to see contact, but to achieve a specific footprint that ensures load distribution across the full working surface of the gear teeth under both drive and coast conditions.
Why Accurate Contact Patterns Matter
A precise tooth contact pattern on differential gears prevents several real-world problems:
- Noise reduction: Improperly meshed gears often produce high-pitched whines or growling sounds under acceleration or deceleration.
- Extended gear life: Even load distribution minimizes stress concentration, reducing pitting, spalling, and fatigue cracking.
- Improved efficiency: Proper meshing reduces parasitic friction losses within the carrier assembly.
- Prevention of warranty issues: Many aftermarket gear manufacturers require documented proper setup before honoring replacements.
Ignoring the contact pattern during reassembly can result in repeated failures, especially in vehicles subjected to towing, off-roading, or high-torque applications.
Tools Needed for Checking Gear Contact Patterns
To evaluate the differential ring gear contact pattern, you'll need the following tools:
- 📏 Gear marking compound (also called gear crayon or gear paint)
- 🔧 Rotating tool (breaker bar or hand crank)
- 🔦 Bright work light or flashlight
- 🧤 Nitrile gloves (to avoid contaminating gears with skin oils)
- 🧼 Clean rag and degreaser
- 📐 Dial indicator and magnetic base (for measuring backlash and preload)
- 🔩 Pinion depth gauge and torque wrench
Gear marking compounds are available in paste, liquid, or solid crayon form from automotive suppliers and specialty driveline shops. They’re designed to adhere temporarily to gear surfaces without damaging components.
Step-by-Step: How to Create a Differential Tooth Contact Pattern
- Clean the gears thoroughly: Use brake cleaner or degreaser to remove any oil, dirt, or residue from the ring gear teeth. Any contamination will distort the pattern.
- Apply gear marking compound: Evenly coat 3–5 consecutive teeth on the ring gear with a thin layer of compound. Avoid clumping.
- Rotate the ring gear: Turn the differential input flange slowly by hand in the direction of normal drive rotation. One full revolution is usually sufficient.
- Inspect the pattern: Look at both the drive side (convex face) and coast side (concave face) of the same teeth. Each side produces a different mark depending on rotational direction and force vector.
- Repeat for coast pattern: Rotate in reverse or simulate coast condition by applying slight resistance to get the opposite-side engagement.
For accuracy, repeat the process after adjusting shims or bearing preloads. Always clean the gears between tests to ensure fresh readings.
Interpreting the Results: What Good vs Bad Looks Like
Correct interpretation of the differential tooth contact pattern requires understanding two key variables: position and shape of the mark. Below is a breakdown of typical outcomes:
| Pattern Type | Location on Tooth | Indicated Issue | Suggested Adjustment |
|---|---|---|---|
| 理想接触 (Ideal Contact) | Middle of face, slightly toward toe on drive side | Proper meshing | None needed |
| 顶点接触 (Toe Contact - Drive) | Front edge (toe) of drive side | Pinion too deep or backlash too tight | Move pinion out; adjust shim |
| 根部接触 (Heel Contact - Drive) | Rear edge (heel) of drive side | Pinion too far out or excessive backlash | Move pinion in; reduce backlash |
| 顶部接触 (High Contact - Coast) | Top edge of coast side | Pinion too high relative to ring gear | Increase pinion depth |
| 底部接触 (Low Contact - Coast) | Bottom edge of coast side | Pinion too low | Decrease pinion depth |
| 无接触或极轻接触 | No visible mark | Poor engagement, risk of slippage | Recheck setup, apply more compound |
Note: Acceptable patterns vary slightly by manufacturer and gear design (e.g., hypoid, spiral bevel, straight bevel). Always consult the gear set’s technical documentation for model-specific specifications.
Common Mistakes When Reading Differential Gear Patterns
Even experienced mechanics can misread the ring and pinion contact pattern due to common errors:
- Using too much compound: Excess material spreads unnaturally and masks true contact zones.
- Not cleaning gears between tests: Residual paint creates false impressions.
- Rotating only one direction: Fails to show coast-side behavior, which may reveal misalignment not apparent under drive load.
- Ignoring backlash measurement: Contact pattern must be evaluated alongside measured backlash (typically 0.008–0.012 inches).
- Assuming all patterns follow universal rules: Some OEM and aftermarket designs have unique ideal footprints based on helix angle and offset.
Adjusting Pinion Depth and Backlash for Optimal Pattern
Once the initial pattern is evaluated, adjustments are made primarily through two mechanisms:
1. Pinion Depth Shim Adjustment ⚙️
The position of the pinion gear relative to the ring gear is controlled by a shim located between the pinion head and its front bearing cup. Adding or removing shim thickness changes how deeply the pinion engages with the ring gear.
- To move contact toward heel: Reduce shim thickness (push pinion outward).
- To move contact toward toe: Increase shim thickness (pull pinion inward).
This adjustment affects both drive and coast patterns simultaneously and requires precision measuring tools.
2. Backlash and Carrier Bearing Preload 🔧
Backlash is the amount of free play between mating gear teeth, measured with a dial indicator pressing against a ring gear tooth while rocking the pinion. It's adjusted by changing side-bearing shims or collapsible spacers (in some designs).
- Too much backlash: Causes clunking and poor initial response; moves contact toward heel.
- Too little backlash: Increases heat and wear; shifts contact toward toe.
Bearing preload ensures there's no axial movement in the pinion shaft and is usually set via crush sleeve compression or adjustable nuts.
Differences Between Drive and Coast Patterns
It's crucial to understand that differential tooth contact patterns differ between driving and coasting scenarios:
- Drive pattern: Observed when power is applied (accelerating). Load pushes the pinion down into the ring gear.
- Coast pattern: Seen when engine braking or decelerating. Force reverses, lifting the pinion upward.
An ideal setup balances both patterns so neither shows extreme edge loading. However, because most vehicles spend more time under drive load, priority is often given to optimizing the drive-side footprint.
Manufacturer-Specific Setup Guidelines
While general principles apply across brands, manufacturers like Ford, GM, Toyota, and Dana provide detailed specs for their axles. For example:
- Ford 9-inch: Classic hot rod axle requiring careful attention to pinion angle and depth; uses dedicated gauge blocks.
- Dana 60: Common in trucks and Jeeps; tolerates moderate misalignment but benefits from precise setup.
- Toyota Hiace/RWD Hilux: Uses tapered roller bearings and requires exact preload settings to maintain pattern stability over time 1.
Aftermarket gear kits from companies like Motive Gear, Yukon, or Timken often include setup instructions tailored to common differentials.
Tips for First-Time Technicians
If you're new to setting up a differential gear tooth pattern, consider these best practices:
- ✅ Start with factory-recommended backlash and pinion depth values as a baseline.
- ✅ Label all shims and components during disassembly to avoid mix-ups.
- ✅ Use new crush sleeves or adjustable pinion nuts when required.
- ✅ Measure bearing preloads with an inch-pound torque wrench.
- ✅ Document each test with photos to track progress.
Patience pays off — rushing leads to incorrect diagnoses and repeated teardowns.
When to Seek Professional Help
While DIY gear setup is possible, certain situations warrant professional assistance:
- You lack specialized tools like a pinion depth micrometer or dial indicators.
- The vehicle has limited-slip or electronic traction control systems requiring calibration.
- Previous attempts resulted in inconsistent or uncorrectable patterns.
- The differential is part of a performance or heavy-duty application where failure risks are higher.
Many independent driveline shops offer gear setup services for $150–$300, including labor and materials.
Debunking Common Myths About Gear Patterns
Several misconceptions persist about interpreting the differential tooth contact pattern:
- Myth: A centered pattern is always best.
Reality: Due to gear angles and offsets, ideal contact is often biased toward the toe or heel. - Myth: You can set gears by sound alone.
Reality: Noise indicates problems but doesn’t diagnose root causes accurately. - Myth: All gear paints work the same.
Reality: Some formulations smear easily; use only those designed for gear pattern analysis.
Maintenance After Setup
After achieving the correct ring gear tooth contact pattern, final steps include:
- Reassembling with new seals and gaskets
- Filling with appropriate gear oil (e.g., 75W-90 GL-5 with limited-slip additive if applicable)
- Breaking in the gears with light, varied driving for the first 500 miles
- Checking for leaks and unusual noises
Some manufacturers recommend rechecking backlash after break-in, as minor settling can occur.
Conclusion
Mastering the differential tooth contact pattern is fundamental to reliable driveline performance. Whether rebuilding a classic car axle or servicing a modern truck differential, taking the time to analyze and adjust the gear mesh ensures quiet operation, durability, and safety. By following systematic procedures, using proper tools, and understanding how adjustments affect the contact footprint, both amateur and professional mechanics can achieve professional-grade results. Remember: the pattern isn't just a test — it's a window into how your gears interact under real loads.
Frequently Asked Questions
- ❓ What causes a poor differential tooth contact pattern?
- Incorrect pinion depth, improper backlash, worn bearings, or damaged gears can all lead to suboptimal contact patterns. Misaligned housing or incorrect shim selection are also common culprits.
- ❓ Can I check the contact pattern without removing the differential?
- No, access to the ring gear is required. The cover must be removed, and the gears cleaned and painted before rotation. It’s not possible to assess the pattern externally.
- ❓ How important is the contact pattern for daily-driven vehicles?
- Very important. Even street-driven vehicles benefit from proper gear meshing to prevent noise, vibration, and premature wear over time.
- ❓ Do all differentials require the same contact pattern?
- No. Ideal patterns vary by gear type, manufacturer, and axle design. Always refer to technical manuals or gear supplier guidelines for specific models.
- ❓ Is gear marking compound reusable?
- It should be applied fresh for each test. Old compound may dry unevenly or contaminate new readings, leading to inaccurate assessments.





 浙公网安备
33010002000092号
浙公网安备
33010002000092号 浙B2-20120091-4