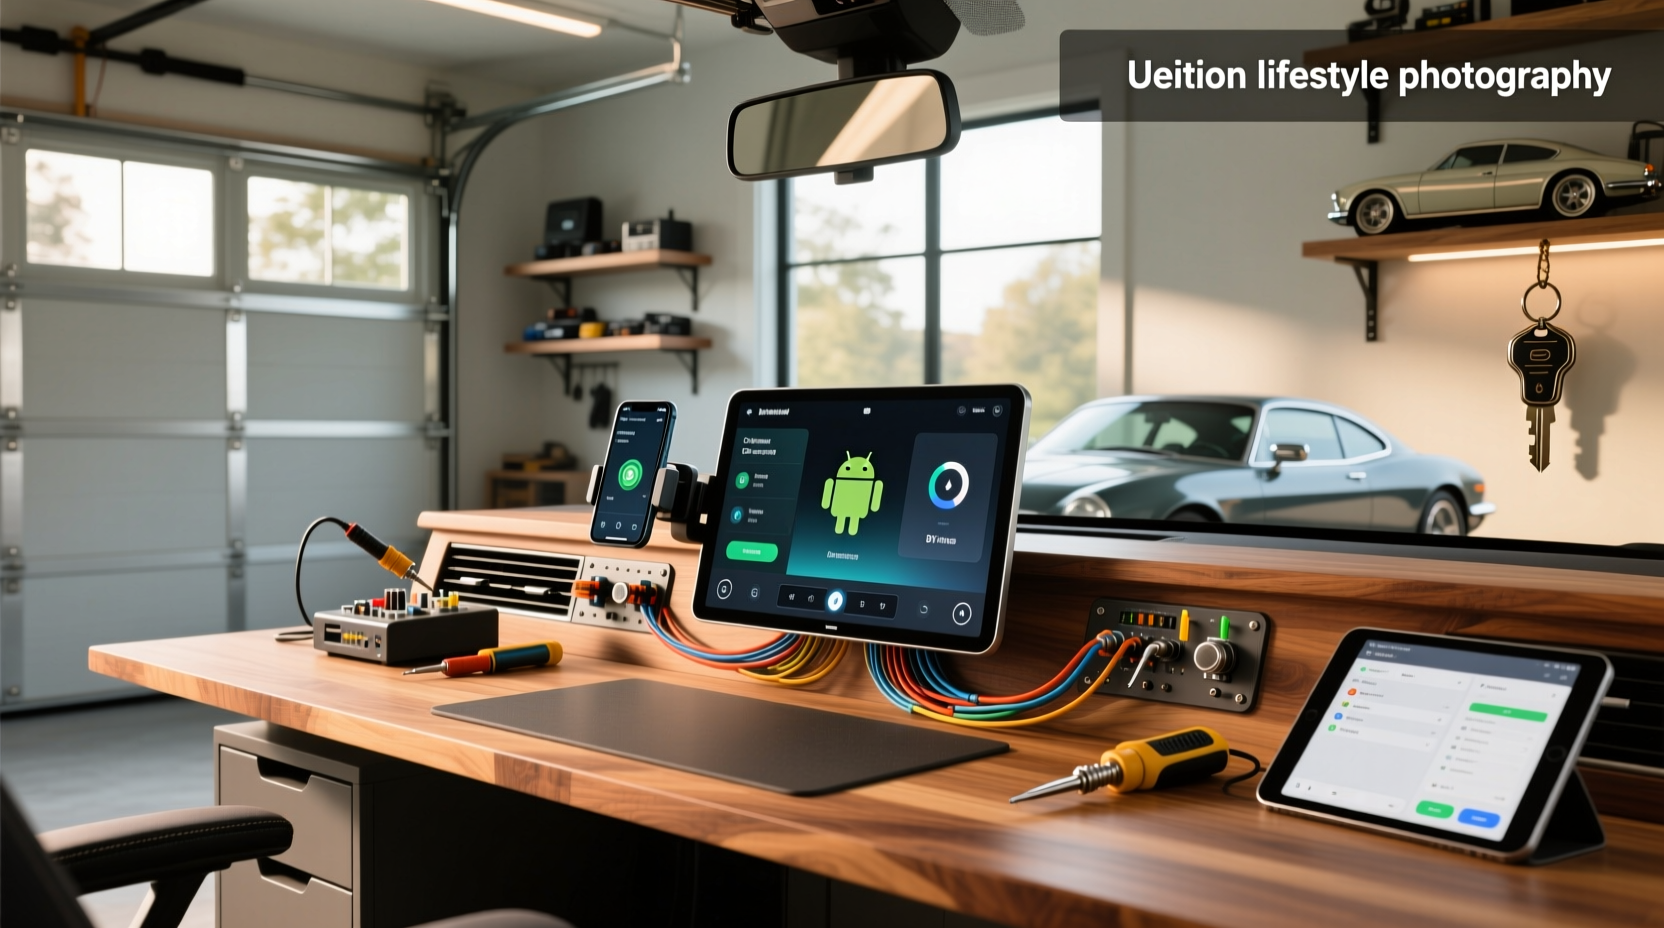
Want to add Android Auto to your older car without paying for an expensive head unit? A DIY Android Auto setup can give you full smartphone integration at a fraction of the cost. Using affordable hardware like the Raspberry Pi, touchscreen displays, and open-source software such as Android Auto Head Unit (AAHU), you can create a custom in-car display that supports real-time navigation, hands-free calling, music streaming, and voice commands via Google Assistant. This comprehensive guide walks you through every step—from selecting compatible components and wiring connections to installing software and troubleshooting common issues—so you can successfully build your own DIY car infotainment system that works reliably on the road.
What Is DIY Android Auto and Who Should Consider It?
DIY Android Auto refers to building a custom vehicle infotainment system that enables Android Auto functionality without relying on factory-installed or commercially available head units. Instead of buying a prebuilt screen with built-in support, users assemble their own solution using off-the-shelf electronics and open-source tools. This approach is ideal for drivers with older vehicles lacking modern connectivity, car audio enthusiasts looking for customization options, or budget-conscious owners who want advanced tech features without spending $300+ on a new radio.
The core idea behind a DIY Android Auto setup is to run Android Auto either directly on a small computer (like the Raspberry Pi) or through a secondary Android device connected to a dedicated screen. When done correctly, the result mimics a factory-integrated experience: plug in your phone via USB, and your car’s display mirrors apps like Google Maps, WhatsApp, Spotify, and more—all optimized for safe driving.
Why Choose DIY Over a Commercial Android Auto Head Unit?
While plug-and-play head units are easier to install, there are several compelling reasons why someone might opt for a do-it-yourself Android Auto project:
- Cost savings: Pre-built double-DIN stereos with Android Auto start around $250. A functional DIY version can be built for under $150 if you already have some parts.
- Customization: You control the size, placement, and interface design. Want a vertical screen mounted on the dash? Or a hidden pop-up display? DIY lets you decide.
- Learning opportunity: For hobbyists, working on a car electronics DIY project builds valuable skills in wiring, coding, and embedded systems.
- Upgradability: Unlike sealed commercial units, DIY systems allow hardware and software upgrades over time.
However, it's important to note that DIY solutions require technical effort, patience, and problem-solving ability. They’re not recommended for those uncomfortable with basic soldering, reading circuit diagrams, or configuring Linux-based operating systems.
Core Components Needed for a DIY Android Auto System
To build a working Android Auto car kit, you’ll need the following essential components:
| Component | Purpose | Example Options |
|---|---|---|
| Raspberry Pi (4B or 5) | Main computing unit running AAHU or similar software | Raspberry Pi 4 Model B (4GB RAM) |
| Touchscreen Display | Visual interface; must be compatible with Pi | 7-inch HDMI LCD (800x480 resolution) |
| Power Supply Module | Converts 12V car power to stable 5V for Pi | DC-DC buck converter with ignition sensing |
| USB Hub (powered) | Connects phone and peripherals; prevents power drop | 4-port powered hub with short cables |
| Microphone & Speaker Interface | Enables voice input and audio output | USB mic + AUX-in to factory amp |
| Case / Mounting Frame | Protects hardware and secures installation | 3D-printed enclosure or dashboard tray |
Optional but useful additions include a GPS module for offline navigation feedback, Bluetooth adapter for wireless phone pairing (though most use wired connection for stability), and Wi-Fi dongle for updates.
Software Setup: Getting Android Auto to Run on Raspberry Pi
The most popular method for enabling Android Auto on Raspberry Pi uses a community-developed application called Android Auto Head Unit (AAHU). It emulates a certified Android Auto receiver, allowing your phone to detect the Pi as a valid display.
Here’s how to set it up:
- Install Raspberry Pi OS Lite: Start with a fresh image of Raspberry Pi OS (formerly Raspbian) on a microSD card using Raspberry Pi Imager.
- Enable SSH and configure Wi-Fi: Edit config files before first boot to allow remote access.
- Install dependencies: Update packages and install required libraries like PulseAudio, Qt, and BlueZ.
- Download AAHU: Clone the GitHub repository and compile the source code.
- Pair with smartphone: Connect your Android device via USB and authorize the connection.
Note: As of late 2024, Google has tightened security around Android Auto, requiring certain permissions and certificates. Some versions of AAHU may require periodic updates to maintain compatibility 1.
Wiring and Electrical Integration Tips
One of the trickiest aspects of any DIY car electronics modification is safely integrating low-voltage digital devices into a high-current 12V environment. Here’s what you need to know:
- Use a proper DC-DC converter: Never power the Pi directly from the car’s USB port or cigarette lighter without regulation. Voltage spikes during engine cranking can damage sensitive components.
- Ignition-sensed power switching: Wire the power supply to turn on only when the key is in “accessory” mode. This prevents battery drain when parked.
- Grounding matters: Ensure all grounds connect to a clean chassis point to avoid noise interference.
- Keep USB cables short: Long cables increase resistance and risk disconnects. Use active extension cables if needed.
A common mistake is overlooking reverse polarity protection. Always include a fuse and diode setup to prevent damage from incorrect wiring.
Mounting the Display: Placement and Safety Considerations
Where you place your DIY Android Auto screen affects both usability and safety. Consider these guidelines:
- Line of sight: Position the screen within natural eye movement range—ideally below or near the instrument cluster.
- No obstructed vision: Avoid blocking windshield view or interfering with airbag deployment zones.
- Vibration damping: Use rubber grommets or silicone mounts to reduce wear from road vibrations.
- Heat exposure: Avoid direct sunlight or areas near heating vents that could overheat the Pi.
Popular locations include center console trays, dash-mounted pods, or replacing unused climate controls with a flush-fit panel.
Performance Comparison: DIY vs Factory vs Aftermarket Units
Understanding trade-offs helps manage expectations. Below is a comparison across key dimensions:
| Feature | DIY System | Aftermarket Unit | Factory System |
|---|---|---|---|
| Initial Cost | ⭐ Low ($80–$180) | 💰 Medium ($200–$400) | 💸 High (included in MSRP) |
| Installation Effort | 🔧 High (hours to days) | 🛠️ Medium (1–3 hrs) | ✅ None |
| User Experience | 📱 Functional (may lag) | 📱 Smooth | 📱 Seamless |
| Reliability | ⚠️ Variable | ✅ High | ✅ Very High |
| Support & Updates | 🌐 Community only | 📞 Manufacturer | 🏢 OEM Dealer |
While DIY offers flexibility and lower upfront cost, it lacks official warranty and long-term reliability guarantees. Commercial units benefit from rigorous testing and plug-and-play simplicity.
Common Challenges and How to Solve Them
Even well-planned DIY Android Auto projects face hurdles. Here are frequent issues and fixes:
- Connection drops: Caused by poor USB cables or insufficient power. Solution: Use a powered USB hub and high-quality shielded cable.
- No audio output: Often due to incorrect PulseAudio configuration. Verify sound card detection and default routing.
- Laggy UI: Can stem from underpowered Pi models or background processes. Close unnecessary services and consider upgrading RAM.
- Overheating: The Pi 4 runs hot in enclosed spaces. Add a heatsink, fan, or improve airflow in the case.
- Boot failure after shutdown: Occurs if power isn’t cut cleanly. Implement a shutdown script triggered by ignition-off signal.
Legal and Safety Implications of Modifying Infotainment Systems
Before installing any custom car infotainment system, check local regulations. In many regions, modifying dashboard electronics doesn’t violate laws as long as:
- The original safety systems (airbags, sensors) remain intact.
- The added screen does not display video while the vehicle is in motion (illegal in most U.S. states and EU countries).
- All modifications are reversible and don’t interfere with emissions or diagnostic ports.
Additionally, ensure your setup doesn’t distract you while driving. Use voice commands and glance-friendly layouts to minimize attention diversion.
Future-Proofing Your DIY Android Auto Build
Technology evolves quickly. To extend the lifespan of your DIY car stereo upgrade, consider these strategies:
- Modular design: Build using detachable connectors so individual parts (screen, Pi, power board) can be replaced independently.
- Regular backups: Image your SD card monthly to preserve working configurations.
- Monitor software updates: Follow developer forums and GitHub repositories for patches related to Android Auto protocol changes.
- Plan for wireless Android Auto: While current DIY methods rely on USB, future developments may enable wireless tethering via Miracast or custom drivers.
When NOT to Attempt a DIY Android Auto Project
Despite its appeal, this type of electronic car mod isn’t suitable for everyone. Avoid attempting it if:
- You lack basic understanding of electrical circuits and grounding.
- Your vehicle has complex CAN bus integration that disables factory features when modified.
- You frequently drive in extreme temperatures where consumer-grade electronics may fail.
- You expect flawless performance comparable to OEM systems.
- You’re unwilling to spend 10–20 hours troubleshooting and refining the setup.
In such cases, investing in a certified aftermarket head unit remains the smarter choice.
Conclusion: Is DIY Android Auto Worth It?
A DIY Android Auto implementation is a rewarding project for tech-savvy drivers seeking affordability and personalization. With careful planning, the right tools, and realistic expectations, you can transform an older car into a smart-connected vehicle. However, it demands technical skill, time, and ongoing maintenance. For casual users, off-the-shelf solutions offer better reliability. But for hobbyists who enjoy tinkering and learning, building your own Android Auto car system delivers unmatched satisfaction and functionality.
Frequently Asked Questions (FAQs)
Can I use wireless Android Auto in a DIY setup?
Currently, most DIY implementations require a wired USB connection because wireless Android Auto relies on proprietary protocols not exposed to third-party developers. However, experimental projects using Wi-Fi Direct and screen mirroring exist but lack consistent performance.
Do I need to modify my car’s factory radio?
Not necessarily. Many DIY setups operate independently using a separate screen and audio routing (e.g., FM transmitter, AUX input, or Bluetooth). You can retain full functionality of your stock stereo while adding Android Auto capability.
Will a DIY Android Auto system void my car’s warranty?
Generally, no—if the modification doesn’t affect manufacturer-covered components. Under the Magnuson-Moss Warranty Act in the U.S., automakers cannot void warranties solely due to aftermarket additions unless they cause the specific failure being claimed.
Can I integrate steering wheel controls with a DIY system?
Yes, but it requires additional hardware like a CAN bus decoder or GPIO interface. These modules translate button presses into keyboard or USB signals recognized by the Raspberry Pi. Compatibility varies by vehicle make and model.
How do I update the software on my DIY Android Auto unit?
Updates depend on the software stack used. Open-source platforms like AAHU are updated manually via command line or automated scripts. Regularly check GitHub repositories for new releases and follow documented migration procedures to avoid bricking the system.





 浙公网安备
33010002000092号
浙公网安备
33010002000092号 浙B2-20120091-4