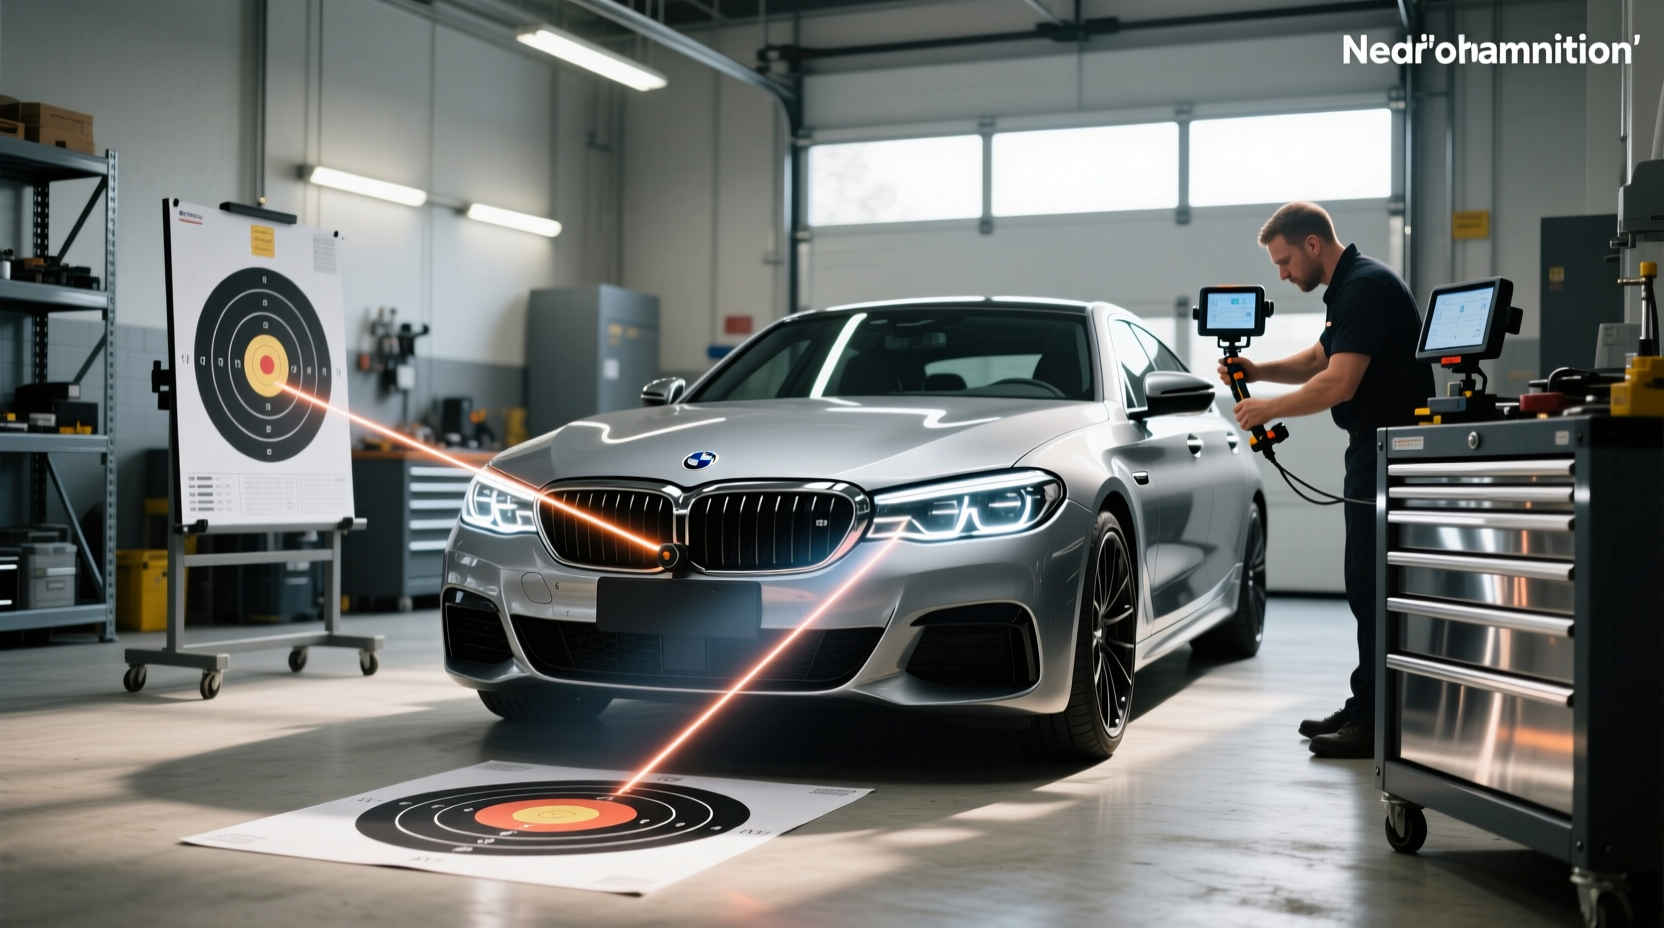
Proper headlight alignment is essential for safe nighttime driving and legal compliance. Misaligned headlights can create dangerous glare for oncoming drivers while reducing your own visibility down the road. The process of headlight beam alignment involves adjusting both vertical and horizontal angles so that light is distributed optimally based on distance from a wall—typically measured at 25 feet. Whether you're using a DIY method or professional-grade tester, understanding how to check and correct headlight aim ensures better performance, avoids fines, and improves overall road safety.
Why Headlight Alignment Matters
Many drivers overlook headlight alignment until they notice uneven illumination or receive feedback from other motorists about blinding glare. However, even slight misalignment can significantly affect driving visibility and safety. When headlights are too high, they blind oncoming traffic; when too low, they fail to illuminate enough of the roadway ahead. Over time, vibrations, accidents, suspension wear, or aftermarket lighting upgrades can shift headlamp positioning.
Regulatory bodies such as the U.S. Department of Transportation (DOT) and European Union standards require vehicles to maintain proper beam patterns. In some regions, incorrect headlight alignment can result in failed vehicle inspections or citations during roadside checks. Ensuring correct headlight aiming isn’t just about meeting regulations—it’s about maximizing functional visibility without compromising others’ safety.
When Should You Align Your Headlights?
There’s no universal schedule for headlight alignment, but several situations signal it’s time to check:
- After replacing headlight assemblies or bulbs
- Following front-end collision repairs
- If your car has undergone suspension modifications
- Noticing inconsistent beam pattern or excessive glare
- Routine maintenance every 12–24 months
Vehicles with adaptive lighting systems may self-adjust under certain conditions, but manual verification is still recommended periodically. Older cars without automatic leveling systems are especially prone to misalignment due to mechanical settling over time.
Tools Needed for Headlight Alignment
You don't need expensive equipment to perform a basic headlight alignment. Here are common tools used depending on accuracy requirements:
| Tool Type | Description | Accuracy Level | Cost Range |
|---|---|---|---|
| Tape & Wall Method | Using masking tape on a flat wall to mark centerlines and cutoff points | Basic | Free – $10 |
| Digital Beam Setter | Portable device that attaches to headlight lens to measure angle | Moderate | $200 – $800 |
| Analog Headlamp Tester | Manual optical instruments used in garages | High | $500 – $2,000 |
| Automated Robot Testers | Full ADAS-compliant machines used in certified shops | Precision | $3,000+ |
For most personal vehicle owners, the tape-and-wall method provides sufficient results if done carefully. Professional mechanics often use digital testers like those made by BEISSBARTH or Snap-on 1, which offer faster, repeatable measurements.
Step-by-Step: How to Align Headlights at Home
Performing a reliable headlight adjustment requires a controlled environment and attention to detail. Follow these steps for accurate results:
Preparation
- Find a Flat Surface: Park your vehicle on level ground facing a vertical wall (garage door works well) approximately 25 feet away.
- Inflate Tires Properly: Ensure all tires are inflated to manufacturer specifications.
- Load Vehicle Normally: For accuracy, simulate typical load—e.g., driver seated or equivalent weight in the driver’s seat.
- Clean Headlights: Dirt or haze on lenses skews beam patterns.
- Turn On Low Beams: Let them run for 5 minutes to reach operating temperature.
Marking Reference Points
- Measure the height from the ground to the center of each headlight and mark this point on the wall.
- Use horizontal and vertical tapes to form a crosshair at each headlight’s center height.
- For low beams, locate the horizontal cutoff line—usually 1 inch below the centerline per 25 feet (regulated by DOT).
- On asymmetric European-style beams (ECE), the left side rises slightly while the right stays flat to avoid blinding oncoming drivers.
Adjustment Process
- Locate the headlight adjustment screws—usually two per lamp (vertical and horizontal).
- Turn one headlight off and adjust the other to align its brightest zone just below the horizontal mark and centered vertically.
- Repeat for the second headlight.
- Verify both beams overlap appropriately in the center field of view.
This method effectively achieves acceptable headlight beam alignment at 25 feet using minimal tools. Always refer to your vehicle’s service manual for specific aiming procedures, as some models require different distances or have unique calibration routines.
Professional Headlight Testing Equipment
For higher precision—especially after major repairs or modifications—professional headlight testers provide objective data. These include:
- Analog testers: Use optical mirrors and scales to project beam direction.
- Digital display units: Integrate sensors and LCD readouts showing exact deviation in degrees.
- ADAS-compatible systems: Modern vehicles with camera-based safety features often require recalibration alongside headlight alignment.
Workshops equipped with DVSA-approved devices ensure compliance with national inspection standards. While costly for individual buyers, these tools are critical for fleet operators and repair facilities needing certification.
Common Mistakes in Headlight Alignment
Even experienced DIYers make errors that compromise alignment quality:
- Incorrect Distance: Measuring at 10 or 50 feet instead of the standard 25 feet leads to inaccurate adjustments.
- Uneven Ground: Sloped surfaces distort weight distribution and alter suspension geometry.
- Ignoring Cutoff Lines: Failing to identify the sharp edge in low-beam patterns results in poor targeting.
- Overlooking Bulb Type: Upgrading to LED or HID bulbs in halogen housings changes beam focus and may require projector retrofitting.
- Not Rechecking After Drive: Bounce and settling after adjustment may shift alignment slightly.
Avoid assuming that “brighter” means “better.” Poorly aimed high-intensity lights create more hazards than dim but properly aligned ones.
Regional Differences in Headlight Standards
Headlight regulations vary globally, affecting alignment practices:
- United States (DOT): Allows symmetrical low beams with slight upward tilt permitted.
- Europe (ECE R112): Requires asymmetric beams with distinct left/right cutoffs to reduce glare.
- Japan & Australia: Similar to ECE but with additional certification requirements.
Vehicles imported between regions may need re-aiming or headlamp conversion to comply locally. Some modern cars automatically detect region via GPS and adjust beam pattern accordingly.
Can You Test Headlight Alignment Without Tools?
Yes—with careful observation. Drive toward an unlit wall or garage door at night and observe where the light pool ends. Ideally, the top edge of the low-beam hotspot should fall just below eye level at 25 feet. If the beam hits above bumper height on an oncoming car, it’s likely too high. You can also watch reflections on road signs or painted surfaces to estimate spread and intensity.
While not precise, visual assessment helps identify gross misalignment. Combine this with periodic formal checks for best outcomes.
How Often Should Headlights Be Tested?
There’s no mandated frequency, but experts recommend checking alignment:
- Every 12 months during routine maintenance
- After any front-end work
- Whenever new lighting components are installed
- Before long-distance night drives
Frequent off-road driving or towing heavy loads increases risk of misalignment due to stress on suspension components.
FAQs About Headlight Alignment
- How high should your headlights be at 25 feet?
- The top of the low-beam cutoff should be no more than 1 inch below the headlight centerline for every 25 feet of distance—approximately 1 inch down at 25 feet.
- How do I know if my headlights are misaligned?
- Symptoms include uneven lighting, glare for oncoming drivers, dark spots in your field of view, or visible asymmetry in beam pattern on walls.
- Can I adjust headlights myself?
- Yes, with basic tools and a flat surface. Most vehicles have accessible adjustment screws, though some require software calibration for advanced systems.
- Do LED headlights need alignment?
- Yes. Even though LEDs are brighter, improper mounting or housing mismatch affects beam direction and legality.
- Does headlight alignment affect vehicle inspection?
- In many states and countries, improperly aimed headlights cause failure during mandatory safety inspections.





 浙公网安备
33010002000092号
浙公网安备
33010002000092号 浙B2-20120091-4