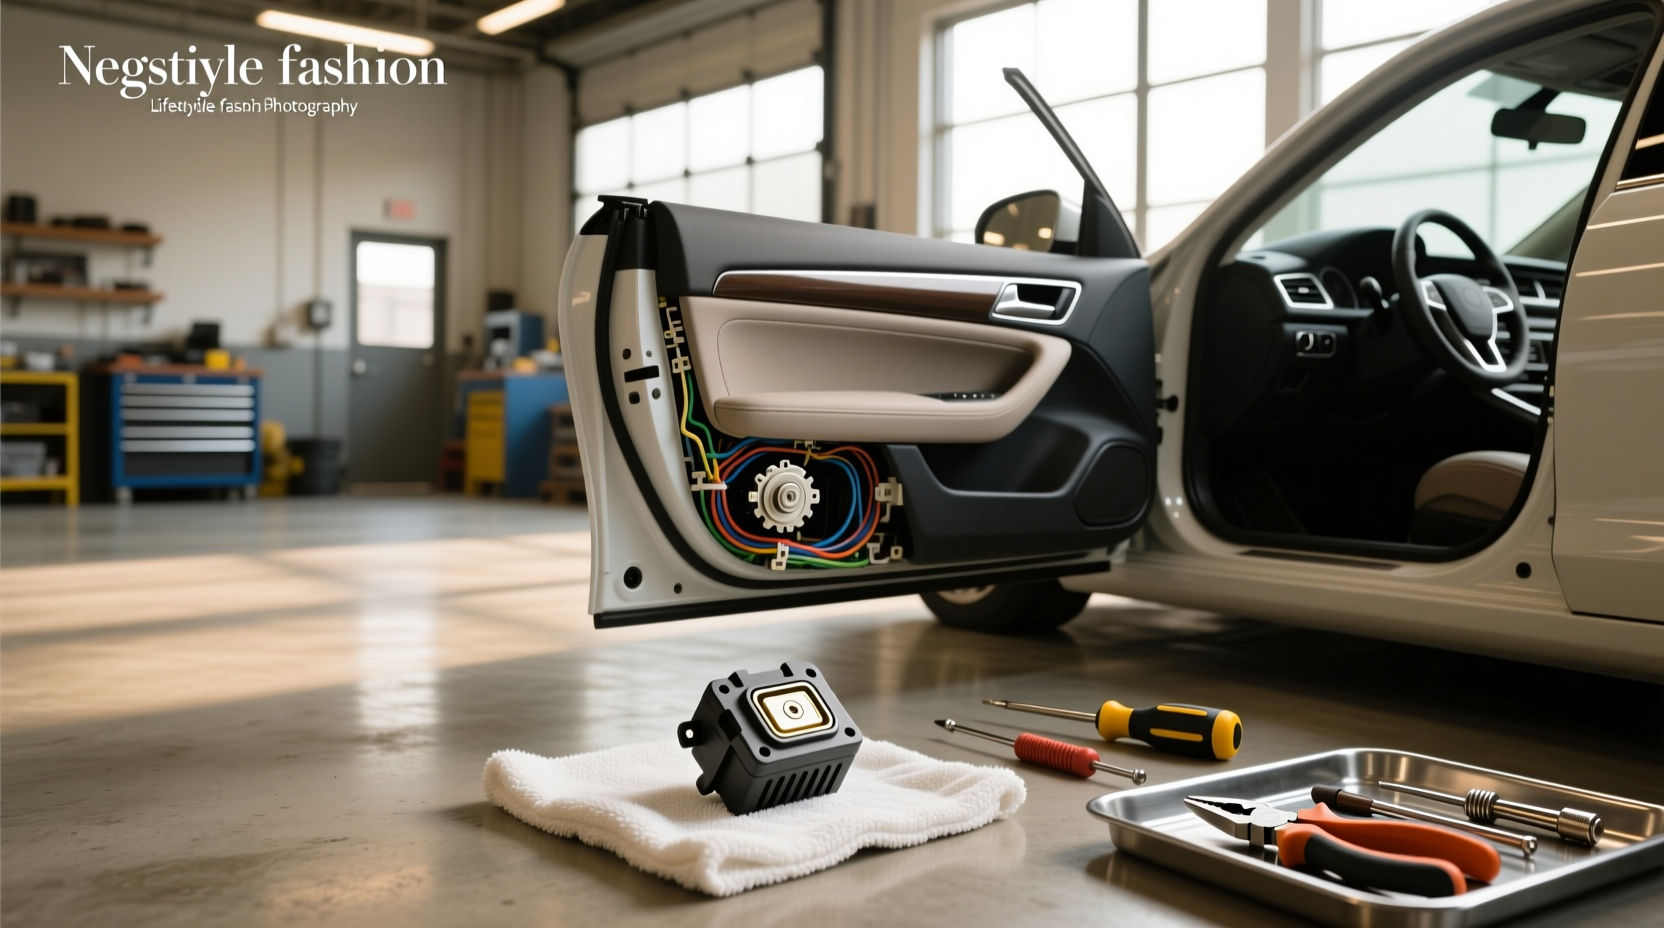
If your car windows aren’t responding when you press the switch, you may need a power window switch replacement. This guide walks you through diagnosing a failed switch, selecting the correct part, and completing the replacement safely and efficiently—without expensive mechanic fees. Common signs include intermittent operation, complete failure on one or more windows, or visible damage to the switch housing. Whether it’s the driver’s master control or a single door switch, understanding how these components work and what goes wrong can save time and money.
What Is a Power Window Switch and How Does It Work?
A power window switch is an electrical component that sends a signal to the window motor, telling it to raise or lower the glass. Most modern vehicles use a centralized system where the driver’s door contains a master switch panel controlling all windows, while each individual door also has its own local switch. These switches are typically momentary toggle or rocker types that reverse polarity to change the direction of the motor.
The switch completes a circuit when pressed, allowing current from the vehicle’s battery (via a fuse and relay) to flow to the window motor. When released, the circuit opens and the motor stops. Some higher-end models include auto-up/down functionality, which relies on additional sensors and control modules to detect obstructions.
Understanding this basic function helps in troubleshooting: if the motor doesn’t receive power, the issue could be the switch, wiring, fuse, relay, or motor itself. But since the switch is the most frequently used mechanical part—and exposed to wear and moisture—it's often the first suspect ✅.
Common Symptoms of a Failing Power Window Switch
Before diving into replacement, confirm the problem lies with the switch and not another component. Here are the most frequent indicators:
- One window stops working entirely – If only one window fails but others operate normally, especially if it's the driver’s side, the switch is likely at fault.
- Intermittent operation – The window works sometimes but not consistently, suggesting loose contacts or internal corrosion.
- Works in one direction only – You can roll the window down but not up (or vice versa), indicating a partial internal failure within the switch.
- Physical damage or looseness – Cracked casing, stuck buttons, or excessive play suggest mechanical wear.
- No response from multiple switches controlled by the master unit – If the driver’s panel controls other doors and none respond, the master switch may be defective.
It’s important to rule out simpler issues first. Check the fuse box for blown fuses related to the power windows 🔍. A quick test with a multimeter or test light can verify whether power reaches the switch. If power is present but the window still won’t move, the next step is testing the switch output under load.
Diagnosing the Problem: Is It the Switch or Something Else?
Replacing a switch without confirming the root cause can waste time and money. Follow this logical diagnostic process:
- Check the fuse – Locate the vehicle’s fuse diagram (usually inside the fuse box cover). Find the circuit labeled “windows” or “accessories.” Visually inspect or use a fuse tester to check continuity.
- Listen for motor noise – Press the switch and listen near the door. A faint humming sound means the motor is receiving power but may be jammed or failing mechanically.
- Test switch voltage – Using a digital multimeter, measure voltage at the switch connector when activated. No voltage input suggests a wiring or fuse issue; no output despite input indicates a failed switch.
- Bypass the switch temporarily – With proper safety precautions, jump the correct terminals at the motor connector to see if the window moves. If it does, the motor and wiring are functional—the switch is likely bad.
- Swap switches between doors (if compatible) – On some vehicles, passenger and rear switches are identical. Swapping them can quickly isolate whether the issue follows the switch or stays with the door.
Keep in mind that water intrusion, spilled liquids, or worn connectors can mimic switch failure. Inspect the rubber boot around the switch for tears and ensure the wiring harness isn’t corroded or pinched ⚠️.
Tools and Materials Needed for Replacement
Replacing a power window switch doesn’t require specialized tools, but having the right ones makes the job easier and prevents damage. Here’s what you’ll typically need:
- Screwdrivers (flathead and Phillips) 🧰
- Trim removal tool (plastic pry bar) 🔧
- Socket set (for removing door panel screws)
- Multimeter (for testing circuits before reassembly)
- New power window switch (OEM or compatible aftermarket)
- Gloves (to protect hands from sharp edges)
- Shop light or flashlight (for visibility inside the door cavity)
Some vehicles use Torx or hex-head screws, so check your model’s specifications beforehand. Avoid using metal tools to pry off trim panels—this can scratch paint or break plastic clips. Instead, use a dedicated trim tool designed for automotive interiors.
Step-by-Step Replacement Procedure
While exact steps vary by make and model, the general process remains consistent across most vehicles. Below is a universal guide applicable to sedan and SUV door panels:
1. Disconnect the Battery
Start by disconnecting the negative terminal of the car battery ⚡. This prevents accidental short circuits when handling electrical connectors and protects the vehicle’s ECU from voltage spikes.
2. Remove the Door Panel
Most switches are mounted behind the inner door panel. To access it:
- Remove any visible screws (armrest, speaker grille, door handle bezel).
- Insert a trim tool at the bottom edge of the panel and gently pry upward.
- Work around the perimeter until all retaining clips release.
- Lift the panel slightly and disconnect wiring harnesses for speakers, lights, and the window switch itself.
Set the panel aside carefully to avoid cracking.
3. Access and Remove the Old Switch
Once the panel is off:
- Locate the switch assembly. In many cars, it slides into a housing and is secured with clips or a small screw.
- Disconnect the electrical connector by pressing the release tab and pulling straight back.
- Remove any retaining hardware and slide the switch out.
4. Install the New Switch
Insert the new switch into the housing, reconnect the wiring harness, and secure it in place. Make sure the connector clicks fully—partial connections cause intermittent faults later.
5. Reinstall the Door Panel
Reverse the removal process: align the panel, press until all clips engage, then reinstall screws and covers. Double-check that nothing is pinched behind the panel.
6. Reconnect Battery and Test
Reconnect the battery and test all window functions. Operate each switch several times to ensure smooth operation. If auto-up/down was previously working, recalibrate according to the manufacturer’s procedure (often involves holding the switch past the resistance point after full closure).
Cost of Power Window Switch Replacement
Replacement cost varies based on vehicle type, switch location, and labor rates. Here’s a breakdown:
| Component | Average Cost (USD) | Notes |
|---|---|---|
| Single Door Switch | $15–$40 | Aftermarket options widely available |
| Master Switch (Driver’s Side) | $50–$150+ | Higher for luxury brands or integrated features |
| Professional Labor | $75–$150/hour | Typically takes 0.5–1 hour per door |
| DIY Total Cost | $15–$60 | Parts only; saves on labor |
Some high-end vehicles use smart switches tied to the body control module, requiring programming after installation. This increases both part and labor costs significantly. Always verify compatibility before purchasing.
Can You Replace Just One Button on a Switch?
In most cases, no. Power window switches are sealed units, and individual buttons cannot be replaced separately. While repair kits exist for certain models (like GM or Ford), they require disassembling the switch and soldering new contacts—a task best left to experienced technicians.
For most users, replacing the entire switch module is faster, more reliable, and safer than attempting a partial fix. However, if you're technically inclined, searching for “[your vehicle] power window switch contact repair” may yield DIY solutions involving conductive grease or replacement plungers.
Aftermarket vs OEM Switches: What’s the Difference?
When sourcing a replacement, you’ll encounter two main types:
- OEM (Original Equipment Manufacturer): Made by the same company that supplied the factory part. Matches original fit, finish, and performance. Usually more expensive.
- Aftermarket: Produced by third-party manufacturers. Varies in quality—from reliable equivalents to low-grade imitations. Often cheaper but may lack durability.
Look for reputable brands known for automotive electrical components. Check reviews focusing on long-term reliability, not just initial fitment. Avoid ultra-cheap switches (<$10) unless they come from a trusted supplier with warranty support.
Common Mistakes to Avoid During Installation
Even experienced DIYers can make errors. Here are frequent pitfalls:
- Forgetting to disconnect the battery – Risk of short circuit or airbag deployment (on some models).
- Breaking door panel clips – Use proper tools and apply even pressure when prying.
- Misconnecting wiring harnesses – Ensure connectors are fully seated and locked.
- Not testing before reassembly – Test operation before reinstalling the door panel to catch issues early.
- Ignoring moisture seals – Reinstall rubber barriers to prevent future water damage.
When to Seek Professional Help
While simple switch replacements are beginner-friendly, consider professional help if:
- The switch requires coding or initialization (common in European cars).
- You suspect wiring damage inside the door or between doors.
- The window operates erratically after replacement, suggesting deeper electrical issues.
- Your vehicle has complex door electronics (e.g., capacitive touch switches, gesture controls).
A certified technician can perform advanced diagnostics using scan tools and access technical service bulletins specific to your model.
Frequently Asked Questions
- ❓ Can I manually roll up a power window if the switch fails?
- Yes, but only by removing the door panel and directly powering the motor with a 12V source. This should be done cautiously to avoid damaging the regulator or motor.
- ❓ How do I reset a power window switch after replacement?
- Some vehicles require a reinitialization procedure. Typically, turn the key to “on,” hold the window switch in the up position for 10 seconds after the window closes, then repeat for lowering. Consult your owner’s manual for specifics.
- ❓ Is there a fuse for each power window switch?
- No, usually one fuse powers the entire window circuit. Individual switches share the same power supply but have separate ground paths.
- ❓ Why does only the driver’s window stop working?
- The driver’s switch is used most frequently and handles higher electrical load due to controlling other windows. Wear and overheating are common causes.
- ❓ Can water damage cause power window switch failure?
- Yes. Moisture entering through worn seals can corrode contacts or create shorts. Always inspect gaskets and replace damaged ones during switch replacement.





 浙公网安备
33010002000092号
浙公网安备
33010002000092号 浙B2-20120091-4