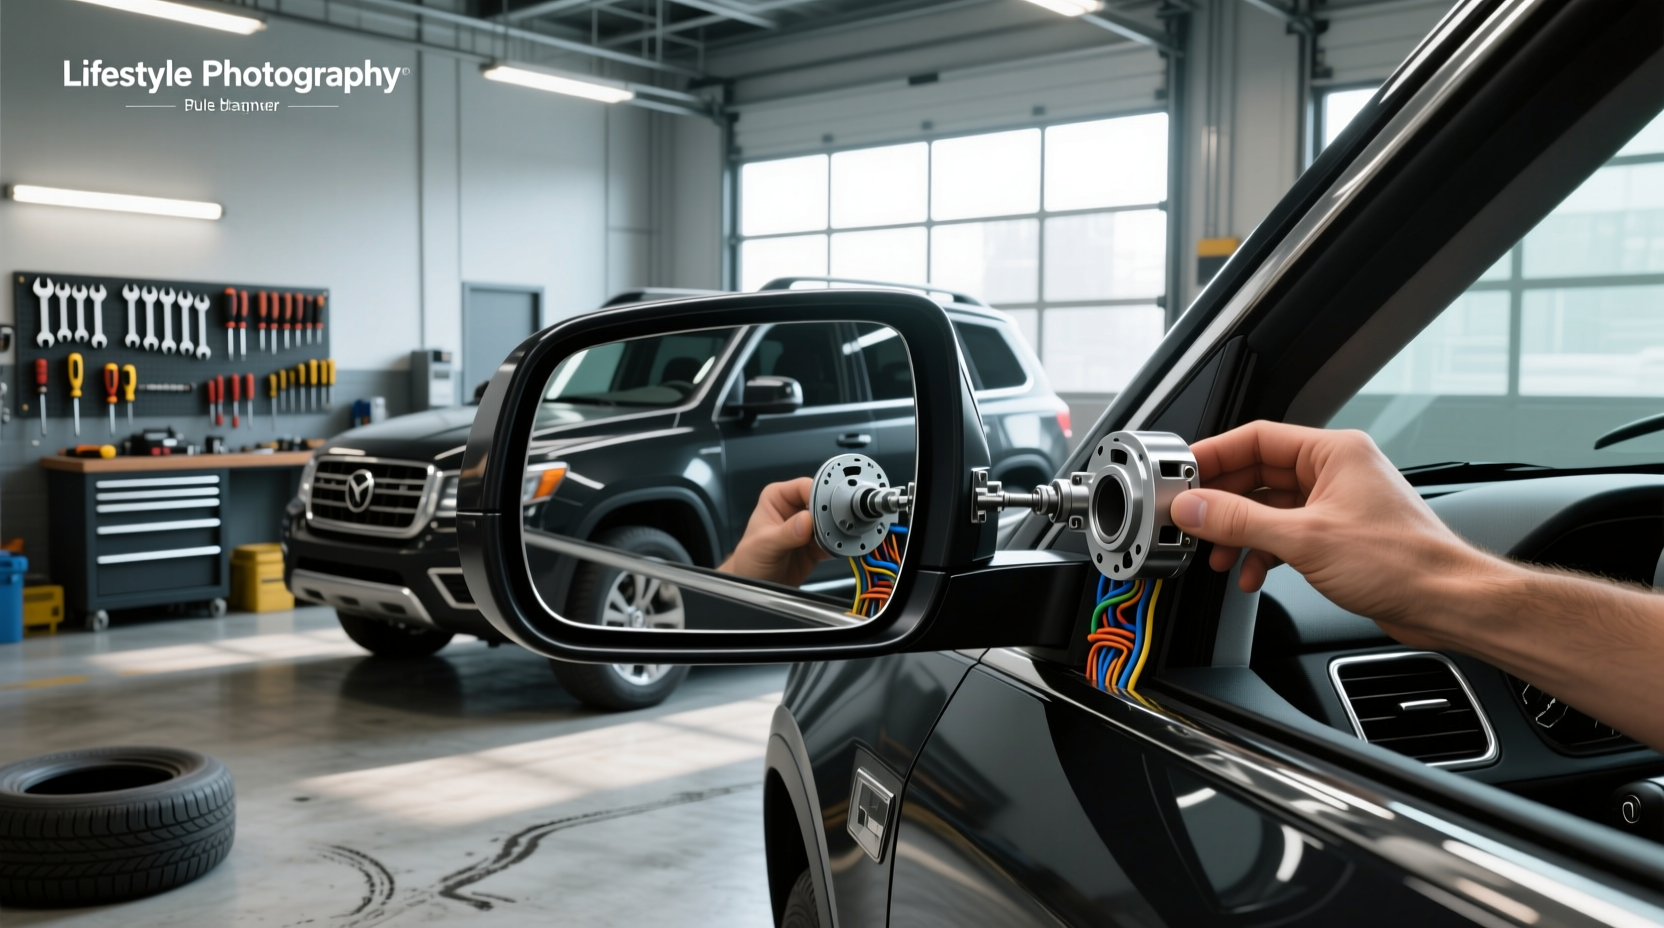
Replacing a side mirror assembly doesn’t have to be expensive or complicated. Whether you’ve cracked the housing in a parking lot scrape or lost the entire unit during a tight squeeze, knowing how to replace a side mirror assembly yourself can save time and hundreds of dollars in labor fees. Most modern vehicles use standardized mounting systems—typically three bolts behind the door panel—with plug-and-play wiring for power-adjustable or heated mirrors. With basic tools like a trim removal tool, socket set, and about an hour of focused work, many drivers successfully complete this repair at home. This guide breaks down every step, cost factor, compatibility concern, and safety tip so you can make an informed decision and get back on the road with full visibility.
Why Side Mirror Assembly Replacement Is More Common Than You Think
Sudden impacts from shopping carts, adjacent car doors, or low-clearance garage entrances are frequent causes of damaged side mirrors. Unlike minor scuffs or broken glass, a compromised mirror assembly affects both aesthetics and safety. In many regions, driving without functional side mirrors is illegal1. The National Highway Traffic Safety Administration emphasizes that proper rearward visibility reduces blind spot accidents by up to 30%. When the entire housing, motor, or base bracket fails, replacing just the glass won’t suffice—this is where a full side mirror assembly replacement becomes necessary.
Additionally, wear and tear over time can degrade internal components such as actuators or folding mechanisms. Symptoms include sluggish adjustment, buzzing noises when moving the mirror, or failure to fold/unfold automatically. These issues often stem from moisture infiltration or mechanical fatigue, especially in climates with heavy rain or snow. Recognizing early warning signs helps prevent sudden failure while driving.
Understanding What’s Included in a Side Mirror Assembly
A side mirror assembly isn’t just the visible glass—it’s a complex module made of several integrated parts ⚙️:
- Mirror Glass: May be flat (driver’s side) or convex (passenger side) for wider field of view
- Housing (or Shell): Outer plastic or painted cover that protects internal mechanisms
- Actuator Motors: Small electric motors enabling remote adjustment from inside the cabin
- Fold Mechanism: Allows manual or automatic folding to prevent damage in narrow spaces
- Base Mount & Wiring Harness: Connects to vehicle’s electrical system and secures the unit to the door
- Turn Signal Indicator (if equipped): Integrated LED or bulb-based signal light
When sourcing a replacement, ensure the new assembly matches your vehicle’s specifications exactly. For example, a power-folding side mirror assembly with turn signal cannot be swapped with a non-powered version without rewiring or adapter modules. Mismatched assemblies may fit physically but lack functionality.
Types of Side View Mirrors: Which One Do You Need?
Not all side mirror assemblies are created equal. Choosing the correct type depends on your vehicle model, year, trim level, and regional regulations ✅:
Manual vs. Power Mirrors
Older or base-trim vehicles may come with manually adjustable mirrors, which require physical hand adjustment. These lack motors and wiring, making replacement simpler but less convenient. Most modern cars use power-adjustable mirrors controlled via dashboard switches.
Heated Mirrors
Common in colder climates, heated mirrors contain embedded wires that defrost ice and fog. If your original mirror had this feature, opt for a replacement with identical heating elements; otherwise, you’ll lose winter functionality.
Auto-Dimming Mirrors
These reduce glare from headlights at night using electrochromic technology. Found on higher-end trims, they require specific electrical connections and calibration after installation.
Blind Spot Monitoring Integration
Some OEM assemblies include radar sensors within the mirror housing. Replacing these requires not only precise fitment but also post-installation system calibration through a dealership or qualified technician.
| Mirror Type | Electrical Needs | Installation Complexity | Cost Range (USD) |
|---|---|---|---|
| Manual Adjust | None | Low | $40–$90 |
| Power Adjust Only | Basic harness | Medium | $80–$160 |
| Power + Heat + Fold | Multi-wire harness | Medium-High | $150–$300 |
| With Blind Spot Sensor | Advanced CAN bus | High (calibration needed) | $250–$600 |
How to Choose the Right Replacement: OEM vs. Aftermarket
When searching for a replacement side mirror assembly, two main options exist: Original Equipment Manufacturer (OEM) and aftermarket parts 🏭.
OEM Assemblies
These are produced by the same company that supplied your vehicle’s factory parts. Advantages include guaranteed fit, color match (if pre-painted), and seamless integration with electronic features. However, OEM units are typically 30–70% more expensive than aftermarket alternatives and may require ordering through dealerships.
Aftermarket Assemblies
Third-party manufacturers offer compatible replacements at lower prices. While many meet quality standards, some cut corners on materials or wiring durability. Look for brands certified under ISO 9001 or those offering warranty coverage of at least one year. Pre-painted housings should match your VIN-specific color code to avoid visible mismatches.
Tip: Use your Vehicle Identification Number (VIN) when purchasing online to ensure compatibility. Reputable suppliers cross-reference VIN data with catalog databases to confirm fitment accuracy.
Tools and Materials Needed for DIY Replacement
Before starting, gather essential tools 🔧:
- Trim removal tool (plastic pry bar)
- Socket wrench set (common sizes: 8mm, 10mm)
- Screwdrivers (Phillips and flathead)
- Gloves and safety glasses
- Replacement mirror assembly
- Flashlight or work light
No special diagnostic tools are required unless your vehicle has advanced driver assistance systems (ADAS). For most standard replacements, this toolkit suffices.
Step-by-Step Guide to Replacing a Side Mirror Assembly
Follow these steps carefully to avoid damaging interior panels or wiring:
Step 1: Disconnect the Battery
Start by disconnecting the negative terminal of your car battery to prevent short circuits during electrical disconnection ⚡.
Step 2: Remove the Door Panel
Use a trim tool to gently pry off plastic clips securing the inner door panel. Begin at the bottom edge and work upward. Unscrew any visible fasteners near the handle or armrest. Carefully lift the panel and set it aside, keeping window controls and speaker wires intact.
Step 3: Locate and Unplug the Wiring Harness
Reach behind the door liner to find the electrical connector attached to the back of the mirror. Press the release tab and disconnect it. Avoid pulling on wires directly.
Step 4: Remove Mounting Bolts
Through the access holes in the door, locate the 2–3 bolts securing the mirror assembly. Use a socket wrench to remove them completely. Support the mirror as the last bolt comes loose to prevent dropping.
Step 5: Install the New Assembly
Align the new mirror with the mounting points and insert bolts hand-tight first. Once positioned, fully tighten them to manufacturer torque specs (usually 7–10 Nm). Reconnect the wiring harness securely.
Step 6: Reassemble and Test
Reinstall the door panel, ensuring all clips snap into place. Reconnect the battery and test all functions: adjust the mirror electronically, activate heating if applicable, and check auto-fold operation.
Common Mistakes to Avoid During Installation
Even experienced DIYers make errors that lead to malfunctions or rattles ❗:
- Forgetting to disconnect the battery: Risk of short-circuiting mirror motors or blowing fuses
- Over-tightening bolts: Can strip threads in the door frame or crack plastic mounts
- Misaligning the harness connector: Forces damage to pins or prevents communication
- Leaving tools inside the door cavity: Can interfere with window regulator movement
- Skipping post-installation checks: Failing to verify all features work before final reassembly
Take photos during disassembly to reference later. This simple habit prevents confusion when reconnecting components.
Cost Breakdown: How Much Does Side Mirror Assembly Replacement Cost?
Prices vary widely based on vehicle make, mirror type, and labor rates 📊:
- OEM Part (Dealer): $200–$600+
- Aftermarket Part (Online): $80–$250
- Professional Labor: $150–$350 per hour (often 1–2 hours)
- Total Repair (Dealership): $400–$1,000+
In contrast, doing it yourself cuts costs significantly—mainly limited to the part price and shipping 🚚. Many online retailers offer free shipping and return policies, reducing financial risk if the part doesn’t fit.
Where to Buy a Replacement Side Mirror Assembly
Reliable sources include authorized parts distributors, OEM resellers, and established auto parts marketplaces 🌐. When evaluating sellers, consider:
- Compatibility verification using VIN
- Return policy duration (ideally 30+ days)
- Customer reviews focusing on fit and function
- Warranty length and support availability
Avoid generic listings without detailed specifications. Always confirm whether the assembly includes brackets, wiring, or mounting hardware.
Safety and Legal Considerations
Driving with a missing or non-functional side mirror may violate traffic laws in the U.S., Canada, UK, and EU countries. Most jurisdictions require at least one operable side mirror on the driver’s side. Fines vary by location but typically range from $50 to $200 upon citation.
Moreover, insurance claims related to accidents caused by impaired visibility may be contested if a known defect (like a broken mirror) contributed to the incident. Prompt repair supports both legal compliance and personal safety.
Tips for Painting and Matching Your Mirror Housing
If purchasing an unpainted mirror shell, painting it to match your car requires attention to detail 🎨:
- Identify your factory paint code (found on driver’s door jamb or glove box label)
- Clean and sand the surface lightly
- Apply primer, then base coat matching your color
- Finish with clear coat for UV protection
- Allow full curing time (typically 24–48 hours) before installation
Pre-painted options eliminate this step but must match your exact production date and paint batch for seamless blending.
Frequently Asked Questions
- Can I replace a side mirror assembly myself?
- Yes, most side mirror assemblies can be replaced at home with basic tools. The process usually takes 45–90 minutes and involves removing the door panel, disconnecting wiring, and swapping out the unit using standard sockets.
- What causes a side mirror to stop working electrically?
- Common causes include blown fuses, damaged wiring inside the door hinge area, failed actuator motors, or water intrusion leading to corrosion. Diagnose by checking fuse status and testing voltage at the connector.
- Is it safe to drive with only one side mirror?
- While possible, it's not recommended and may be illegal. Most states require at least the driver-side mirror to be functional. Relying solely on one mirror increases blind spot risks significantly.
- Do I need to recalibrate the mirror after replacement?
- Only if the mirror contains ADAS components like blind spot monitoring or lane change assist. Standard mirrors do not require calibration. Advanced systems may need professional scanning equipment to reset.
- How long does shipping take for online mirror orders?
- Delivery times vary by seller and location. Domestic U.S. orders typically arrive in 3–7 business days with standard shipping. Expedited options (2-day or next-day) are available from select suppliers.





 浙公网安备
33010002000092号
浙公网安备
33010002000092号 浙B2-20120091-4