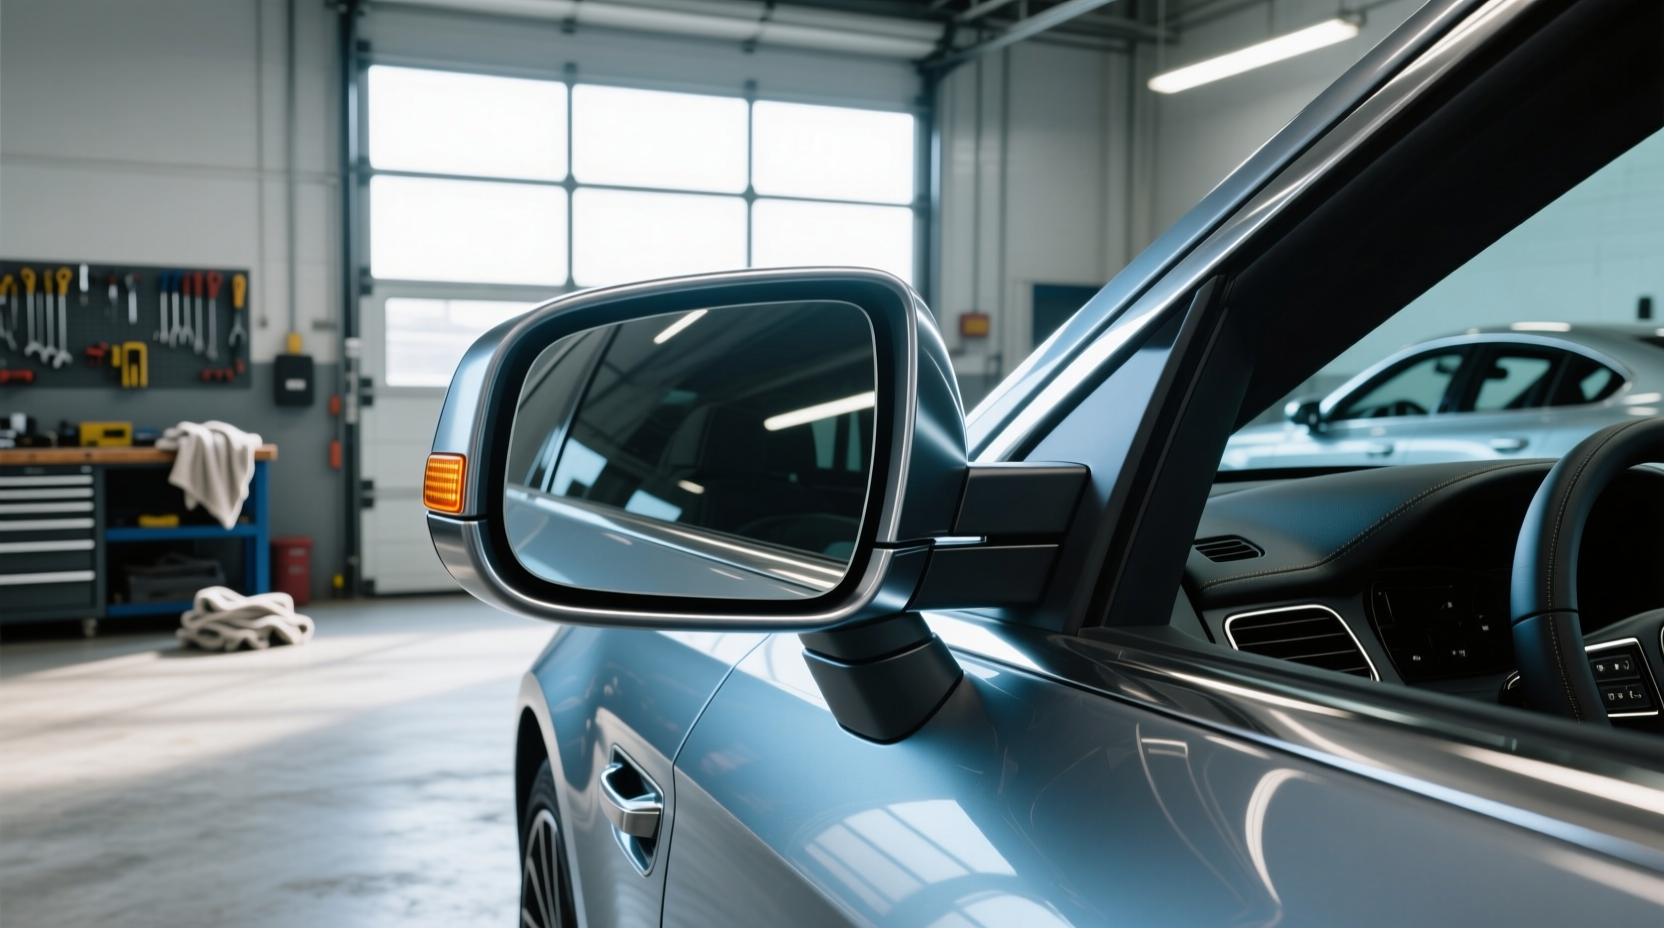
Replacing a side view mirror assembly is one of the most common auto body repairs drivers face after minor collisions or weather damage. Whether you're dealing with a cracked housing, non-functional power adjustments, or a completely broken mount, understanding what to look for in a replacement unit can save time, money, and ensure safety on the road. This guide breaks down everything you need to know—from identifying your mirror type and confirming vehicle fitment, to choosing between OEM and aftermarket parts, and completing a DIY installation successfully.
Why Replace the Entire Mirror Assembly?
Many car owners assume that only the glass needs replacing when a side mirror is damaged. However, modern side view mirror assemblies are complex components integrating multiple systems: electric adjustment motors, turn signal indicators, heating elements, blind spot sensors, and even camera modules. If any of these internal mechanisms fail—or if the housing is cracked or misaligned—it’s often more effective (and sometimes safer) to replace the entire assembly rather than attempt piecemeal repairs.1
A full replacement ensures all functions work in sync and restores factory-level durability and alignment. It also avoids potential water intrusion from improperly sealed individual part replacements, which can lead to corrosion or electrical shorts over time.
Understanding the Components of a Side View Mirror Assembly
To make informed decisions, it's essential to understand the key parts that make up a typical side view mirror assembly:
- Mirror Glass: The reflective surface, often convex on the passenger side for wider visibility.
- Housing (or Shell): The outer plastic or composite cover that holds the glass and internal components; may be color-matched to your vehicle.
- Actuators/Motors: Small electric motors that allow remote adjustment of the mirror angle from inside the car.
- Folding Mechanism: Allows the mirror to fold inward manually or automatically (common in newer models).
- Turn Signal Indicator: Integrated LED lights in some mirrors for enhanced lane-change visibility.
- Heater Element: Prevents fogging and icing in cold climates.
- Blind Spot Sensor or Camera: Found in advanced driver assistance systems (ADAS), especially on luxury or recent model vehicles.
- Mounting Bracket & Wiring Harness: Secures the assembly to the door and connects it to the vehicle’s electrical system.
When searching for a replacement, knowing which features your original mirror includes will help narrow down compatible options.
Types of Side View Mirror Assemblies
Not all mirror assemblies are created equal. Choosing the right type depends on your vehicle make, model, year, trim level, and desired functionality.
1. Manual vs. Power Mirrors
Manual mirrors require physical adjustment by hand and are typically found on base trims or older vehicles. They lack wiring and motors, making them simpler and cheaper to replace. However, they offer less convenience and precision.
Power-adjustable mirrors, on the other hand, use built-in actuators controlled via switches on the driver’s door panel. These require proper wiring connections and must match your vehicle’s electrical configuration. Always verify voltage requirements and plug compatibility before purchase.
2. Heated vs. Non-Heated
In colder regions, heated mirror assemblies are crucial for maintaining visibility during winter driving. These include embedded heating elements that activate alongside the rear defroster. Replacing a heated mirror with a non-heated version can compromise safety in snowy conditions.
3. Turn Signal Integration
Some side mirrors feature integrated LED turn signals, often called "repeater" or "dynamatic" signals. These enhance signaling visibility to adjacent lanes. If your vehicle originally had this feature, replacing it with a non-signal mirror will leave unused wiring and reduce conspicuity.
4. Auto-Dimming Mirrors
While more common in interior rearview mirrors, some high-end side mirrors offer auto-dimming capabilities to reduce glare from headlights at night. These contain light sensors and electrochromic glass and are significantly more expensive.
5. Blind Spot Monitoring & Camera-Equipped Mirrors
Vehicles equipped with ADAS technologies may have radar-based blind spot detection housed within the mirror assembly. In such cases, simply swapping units without recalibration can disable critical safety systems. Always check whether your new assembly supports sensor integration and whether professional calibration is required post-installation.
| Mirror Type | Key Features | Best For |
|---|---|---|
| Manual | No electricity needed, hand-adjusted | Older cars, budget repairs |
| Power-Adjustable | Remote control via switch, motorized tilt | Modern sedans, SUVs |
| Heated | Defrost function, anti-fog | Cold climate drivers |
| Signal-Integrated | LED turn signal in housing | Safety-conscious users |
| ADAS-Compatible | Blind spot sensors, cameras | Luxury or tech-equipped models |
How to Choose the Right Replacement Assembly
Selecting a compatible side view mirror assembly involves several verification steps to avoid costly mistakes.
1. Confirm Vehicle Fitment
The single most important factor is matching the mirror to your specific make, model, year, and trim. Even within the same model line, higher trims may include additional features like folding mechanisms or turn signals not present in lower trims.
Use your VIN (Vehicle Identification Number) when shopping online to filter results accurately. Many reputable auto parts sites allow VIN-based searches to guarantee compatibility.
2. Left vs. Right Side
Always specify whether you need a driver-side (left-hand) or passenger-side (right-hand) mirror. While some housings are symmetrical, internal components like actuators and brackets are often designed specifically for one side due to mounting orientation.
3. OEM vs. Aftermarket: What’s the Difference?
OEM (Original Equipment Manufacturer) assemblies are produced by the same company that supplied your vehicle’s original mirror. They offer perfect fit, finish, and function but come at a premium price.
Aftermarket alternatives are made by third-party manufacturers. Quality varies widely—some closely replicate OEM performance, while others cut corners on materials or electronics. Look for brands with certifications (like ISO or DOT compliance) and read customer reviews focusing on longevity and ease of installation.
4. Housing Color Options
Mirror housings come in various finishes: black, white, silver, gray, brown, or painted to match your car’s exterior. Painted housings provide a seamless look but may fade differently over time compared to factory paint. Textured black is popular as a universal match and hides scratches well.
Installation Process: Can You Do It Yourself?
Yes, many side view mirror assembly replacements can be done at home with basic tools, saving labor costs. However, complexity varies based on vehicle design.
Tools You’ll Need
- Trim removal tool 🧰
- Socket wrench set 🔧
- Screwdrivers (Phillips and flathead)
- Gloves and safety glasses 🛡️
- Shop light or flashlight 🔦
Step-by-Step Installation Guide
- Disconnect the Battery: Prevent electrical shorts by disconnecting the negative terminal.
- Remove Interior Door Panel: Use a trim tool to gently pry off clips securing the panel. Be careful not to break plastic fasteners.
- Locate Mounting Bolts: Behind the panel, find the bolts (usually 3) holding the mirror to the door frame.
- Unplug Electrical Connector: Disconnect the wiring harness feeding power to the mirror.
- Remove Old Assembly: Carefully slide out the old mirror, taking note of routing paths for wires.
- Install New Assembly: Position the new unit, reconnect the harness, and secure with bolts.
- Reattach Door Panel: Snap the panel back into place and reconnect the battery.
- Test All Functions: Adjust the mirror electronically, test heating (if applicable), and verify turn signals.
⏱️ Time Estimate: 45 minutes to 2 hours, depending on experience and vehicle access.
When to Seek Professional Help
You should consider professional installation if:
- Your vehicle has tight clearance around the mirror mounting point.
- The mirror includes ADAS components requiring software calibration.
- You’re uncomfortable removing door panels or handling electrical connectors.
- Waterproofing seals need precise reapplication to prevent leaks.
Common Mistakes to Avoid
Even experienced DIYers can run into issues. Here are frequent errors and how to avoid them:
- Buying the Wrong Side: Double-check left/right designation before ordering. Some listings use “driver” and “passenger,” others use “left” and “right.”
- Ignoring Electrical Compatibility: A mirror with extra features (like turn signals) won’t work if your car lacks the supporting circuitry—and vice versa.
- Forgetting to Test Before Reassembly: Always plug in and test the mirror before reinstalling the door panel. Fixing issues afterward means disassembling again.
- Over-tightening Bolts: This can crack the door metal or damage mounting points. Follow torque specifications if available.
- Skipping Waterproofing: Ensure rubber gaskets are properly seated to prevent moisture ingress.
Where to Buy a Side View Mirror Assembly
Purchasing options vary in price, availability, and service levels.
Online Retailers
Websites like CarParts.com, eSaabParts.com, and Alibaba.com offer broad inventories with detailed filters for year/make/model. Look for sellers offering free shipping, return policies, and clear warranty terms. Customer photos and video reviews can provide real-world insight into product quality.
Auto Parts Stores
Local chains such as AutoZone or NAPA carry both OEM and aftermarket options, often with same-day pickup. Staff may assist with fitment questions, though inventory may be limited compared to online sources.
Dealerships
For guaranteed OEM parts, dealerships are reliable—but expect higher prices. Some offer installation services, which can be worthwhile for complex ADAS-equipped mirrors.
Cost Considerations
Prices for a side view mirror assembly range widely:
- Basic manual mirror: $50–$120
- Power-adjustable, no extras: $120–$250
- Heated + turn signal: $200–$400
- ADAS-integrated (blind spot/camera): $400–$900+
Labor costs add $100–$300 if installed professionally. Weigh the total expense against your skill level and time availability.
Maintenance Tips to Extend Mirror Life
Prevent future damage with these simple practices:
- Avoid parking too close to other vehicles in tight spaces.
- Fold in power-folding mirrors when using automated car washes.
- Clean mirrors regularly with mild soap and water; avoid abrasive cleaners.
- Inspect seals periodically for cracks or detachment.
- Never force a stuck manual mirror—this can break internal linkages.
Legal and Safety Implications
In most U.S. states and European countries, operating a vehicle without a functioning side mirror is illegal. At minimum, you must have a working interior rearview mirror and one operable side mirror (typically on the driver’s side). Driving with a missing or broken mirror can result in fines or failed inspections.
Additionally, impaired visibility increases accident risk, particularly during lane changes. Replacing a damaged assembly promptly isn’t just about compliance—it’s a core safety measure.
Final Checklist Before Buying
Before placing an order, confirm the following:
- ✅ Correct side (left/right)
- ✅ Matches your vehicle’s year, make, model, and trim
- ✅ Includes necessary features (power, heat, signal, etc.)
- ✅ Wiring connector matches original
- ✅ Housing color or finish preference selected
- ✅ Return policy and warranty details understood
- ✅ Installation feasibility assessed (DIY vs. pro)
Frequently Asked Questions
- Can I replace just the mirror glass instead of the whole assembly?
- Yes, if only the glass is cracked and the housing and electronics are intact. Replacement adhesive kits are available, but accuracy in alignment is critical for proper visibility.
- How do I know if my mirror has a blind spot sensor?
- Check your owner’s manual or look for small lenses or markings on the front edge of the mirror. If your car alerts you to vehicles in the blind spot, the sensor is likely housed there.
- Do I need to recalibrate the mirror after replacement?
- Only if it contains ADAS components like blind spot monitoring or camera systems. Recalibration usually requires specialized equipment and should be done by a certified technician.
- Are aftermarket mirror assemblies reliable?
- Quality varies. Look for reputable brands with positive user feedback and safety certifications. Avoid ultra-low-cost options with no reviews or unclear specifications.
- Can I install a power mirror on a car that originally had manual ones?
- Possible, but not straightforward. It requires adding wiring, a switch module, and possibly a relay. Consult a mechanic or auto electrician before attempting this upgrade.





 浙公网安备
33010002000092号
浙公网安备
33010002000092号 浙B2-20120091-4