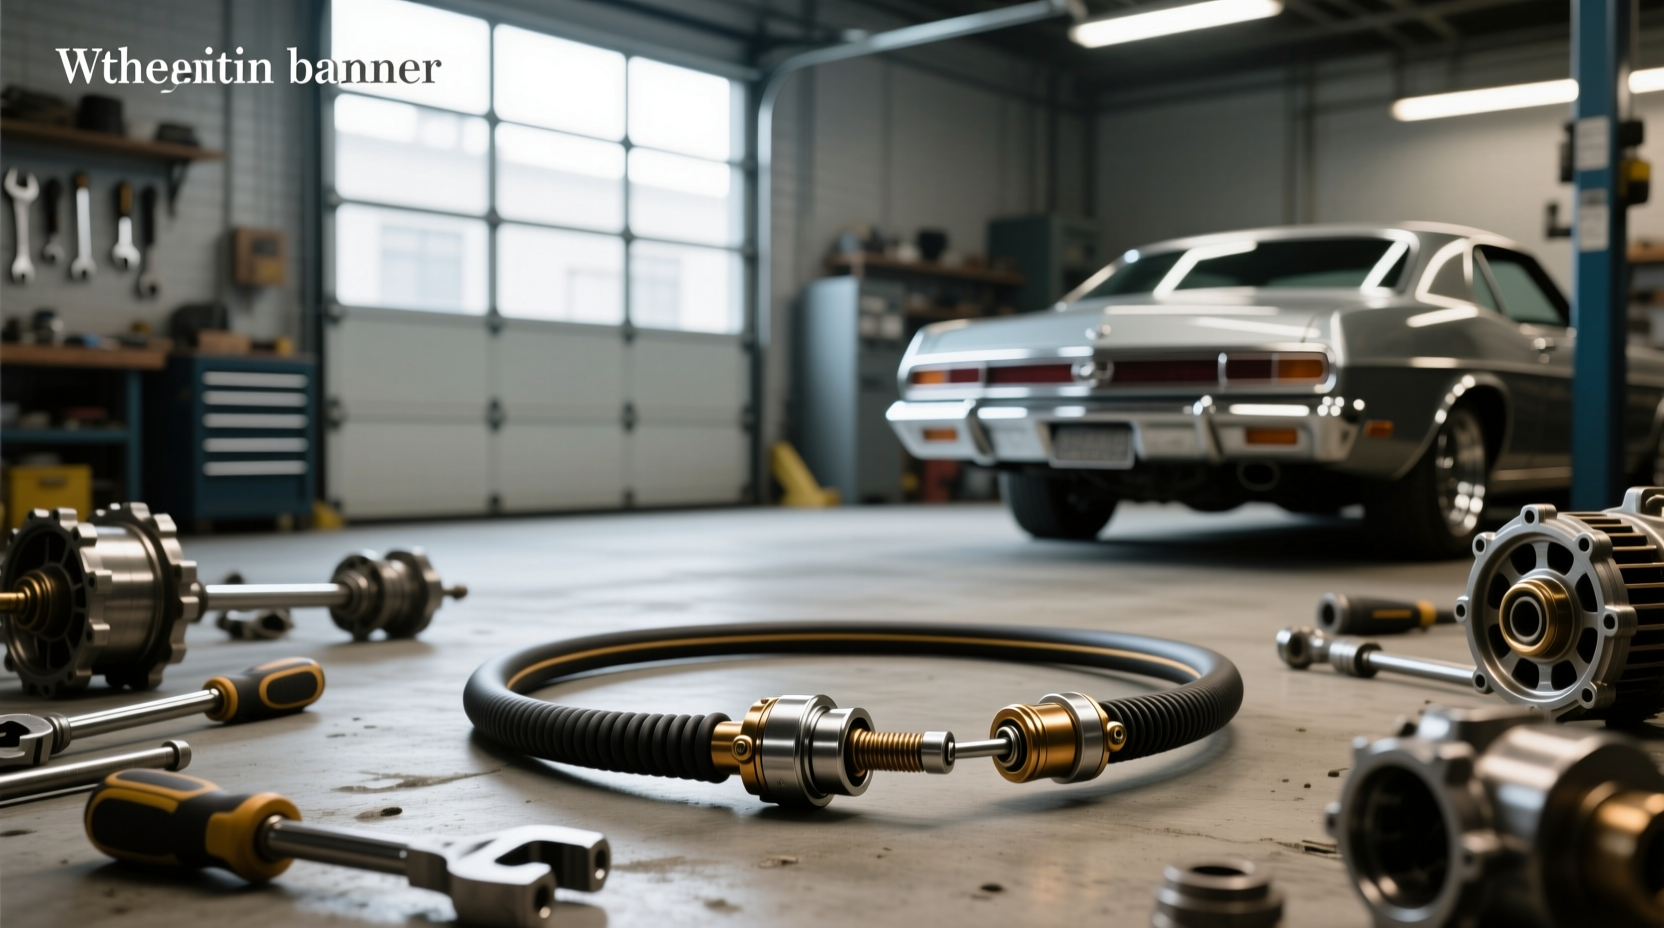
If your car's gear selector feels loose or won't engage the correct gear, the issue might be a failing automatic transmission shift cable. This critical component connects the shifter inside your vehicle to the transmission, translating your input into mechanical movement that changes gears. When it wears out or breaks, your ability to control the vehicle is compromised—making diagnosis and timely repair essential for safety and drivability.
How an Automatic Transmission Shift Cable Works
The automatic transmission shift cable operates on a simple push-pull mechanism, much like a bicycle brake cable ⚙️. One end attaches to the gear selector (commonly on the steering column or center console), while the other connects to the transmission’s shift lever. As you move the shifter from Park to Drive or Reverse, the cable transmits that motion directly to the transmission valve body or linkage system.
This physical connection ensures that the transmission receives accurate input about which gear the driver intends to select. Without this precise communication, internal hydraulic circuits may not activate correctly, leading to improper gear engagement or no response at all.
Modern vehicles often use dual-cable systems: one for selecting the gear range (P-R-N-D), and another linked to the throttle valve (TV) or kickdown function, which helps manage downshifts under acceleration. These cables are typically made of braided steel with protective outer sheathing and nylon liners to reduce friction 🔧.
Common Symptoms of a Failing Shift Cable
Recognizing early warning signs can prevent being stranded or causing further damage. Here are key symptoms indicating your automatic transmission shift cable may be failing:
- Shifter Movement Doesn’t Match Gear Engagement: You move the lever into “Drive,” but the car remains in Park or shifts unpredictably.
- Loose or Stiff Shifting Feel: The shifter moves too freely or requires excessive force, suggesting internal fraying or binding within the cable housing.
- Inability to Remove Key from Ignition: In many cars, the shift interlock prevents key removal unless the vehicle is truly in Park. A stretched or misaligned cable can disrupt this signal.
- Transmission Stuck in One Gear: Even if the engine runs normally, the car won’t shift out due to incorrect cable positioning.
- Check Engine Light Illuminates: Some models register discrepancies between the selected gear (via PRNDL sensor) and actual transmission state, triggering OBD-II codes such as P0705 or P0805.
These issues stem from several potential root causes—including worn bushings, corrosion inside the cable sheath, broken strands, or detachment at mounting points 🔍.
Can You Drive With a Broken or Worn Shift Cable?
No—driving with a severely damaged shift cable is unsafe and strongly discouraged ❗. While the engine may start and run, there’s no guarantee the transmission is actually in the gear indicated on the dashboard. Accidentally pulling out into traffic thinking you’re in Drive when you're still in Reverse could lead to serious accidents.
Even minor wear increases risk over time. A slightly stretched cable might allow temporary operation, but delayed repairs often result in sudden failure. If you suspect any malfunction, have the vehicle inspected before continuing regular use.
Causes of Shift Cable Failure
Understanding why these components fail helps in prevention and proper diagnosis:
- Normal Wear and Tear: Over thousands of cycles, internal steel wires fatigue, especially near bends or anchor points.
- Poor Lubrication or Sealing: Moisture ingress leads to rust; dry cables experience increased friction and premature wear.
- Accidental Damage During Maintenance: Improper handling during battery replacement, exhaust work, or transmission service can kink or pinch the cable.
- Plastic Bushing Degradation: Many OEM cables rely on small plastic pivot bushings that become brittle with age, leading to slack or disconnection 🧰.
- Incorrect Installation After Previous Repairs: Misrouting or over-tightening clamps alters leverage and accelerates wear.
Colder climates may exacerbate stiffness in winter months, mimicking cable failure when the real culprit is frozen linkages or low fluid viscosity.
Diagnosing a Faulty Automatic Transmission Shift Cable
Before replacing parts, confirm the problem lies with the cable—not the shifter mechanism, transmission linkage, or electronic sensors. Follow these diagnostic steps:
Step 1: Visual Inspection
Open the hood and locate the transmission shift lever (usually near the front of the transmission). Ask someone to slowly move the interior shifter through each position while you observe external movement. If the lever doesn’t move proportionally—or not at all—the cable is likely broken or detached.
Step 2: Check for Slack or Excess Play
With the transmission lever disconnected, manually move the cable inner rod. There should be firm resistance and smooth travel. Excessive play indicates internal breakage or failed bushings.
Step 3: Inspect Mounting Points and Bushings
Examine both ends of the cable for cracked plastic bushings, missing clips, or corroded brackets. Dorman offers repair kits (e.g., part #14057) specifically designed to replace degraded bushings without full cable replacement 🛠️.
Step 4: Verify Electrical Signals (if applicable)
Some modern transmissions use electronic shift-by-wire systems instead of mechanical cables. Confirm your vehicle uses a physical cable by checking service manuals or looking for a steel cable running from cabin to transmission.
| Symptom | Likely Cause | Quick Test |
|---|---|---|
| Shifter moves, car doesn’t respond | Cable detachment or break | Observe transmission lever movement |
| Gear indicator mismatch | Stretched cable or bad bushing | Measure cable endplay |
| Hard to shift gears | Binding in cable housing | Lubricate or replace cable |
| Car starts but won’t move | Internal transmission fault or misadjusted cable | Scan for fault codes + verify linkage |
Repair vs. Replacement: What’s the Best Option?
Not every faulty shift cable requires full replacement. Consider these options:
Option 1: Bushing Repair Kit
For older vehicles (especially GM, Ford, and Chrysler models), a common point of failure is the plastic bushing where the cable connects to the transmission lever. Kits like those from Dorman or BushingFix.com allow DIYers to replace just the worn plastic piece for under $25 🛒. This fix restores proper geometry and eliminates slop.
Pros: Low cost, minimal labor.
Cons: Only addresses bushing wear—not cable stretch or internal damage.
Option 2: Full Cable Assembly Replacement
When the cable itself is frayed, kinked, or internally broken, a complete replacement is necessary. Aftermarket suppliers offer direct-fit cables for most makes and models, ranging from $30 to $150 depending on brand and complexity.
Pros: Solves all mechanical issues; OEM-equivalent performance.
Cons: Higher cost; may require calibration after installation.
Option 3: Used or Salvage Yard Parts
For rare or discontinued vehicles, sourcing a used cable from a junkyard may be the only viable option. However, inspect carefully for rust, kinks, and flexibility before purchase.
Cost of Repair: What to Expect
Repair costs vary significantly based on vehicle model, labor rates, and whether you DIY or hire a mechanic:
- DIY Parts Cost: $20–$100 for a new cable or bushing kit.
- Professional Labor Time: Typically 1–2 hours, depending on accessibility.
- Total Repair Estimate: $150–$400 at a shop (parts + labor).
Vehicles with complex dashboards or limited under-hood access (e.g., some BMWs or Audis) take longer, increasing labor charges. Always request a detailed quote and ask if the shop will reuse original brackets or fasteners.
How to Replace an Automatic Transmission Shift Cable (Overview)
While procedures vary by make and model, here’s a general outline for replacing a shift cable:
- Disconnect Battery Ground: Prevent electrical shorts during work.
- Access Interior Shifter: Remove trim panels around the console or column to reach the cable attachment point.
- Detach Cable from Shifter: Release locking tabs or remove bolts securing the cable.
- Access Transmission End: Go under the vehicle or through the engine bay to reach the transmission linkage.
- Remove Old Cable: Unclip or unbolt the cable from the transmission lever.
- Install New Cable: Route the new unit along the same path, ensuring no sharp bends or interference.
- Reconnect Both Ends: Securely attach to shifter and transmission lever using new bushings if provided.
- Adjust and Calibrate: Most cables require adjustment so that positions align accurately (e.g., shifter in “Park” = transmission truly in Park).
- Test Operation: Cycle through all gears and verify smooth engagement before test driving.
Detailed instructions should come with the replacement part or be found in factory service manuals. Never skip the adjustment step—improper setup can mimic ongoing problems.
Aftermarket vs. OEM Cables: Are They Interchangeable?
Aftermarket cables are widely available and often more affordable than OEM equivalents. Reputable brands like ATP, Pioneer, and Caltric design their products to meet or exceed original specifications 🏭.
However, quality varies. Lower-cost units may use inferior plastics or thinner steel wire, leading to shorter lifespan. Always check reviews and material specs before buying. OEM cables (sold through dealerships or authorized distributors) offer guaranteed fit and durability but at a premium price.
Key factors to compare:
- Cable core material (braided stainless steel preferred)
- Housing liner type (nylon reduces friction)
- Bushing durability (metal-reinforced better than pure plastic)
- Adjustability features
Prevention Tips to Extend Shift Cable Life
While eventual wear is unavoidable, these practices help prolong service life:
- Avoid Aggressive Shifting: Don’t yank the shifter violently between gears.
- Maintain Proper Fluid Levels: Low ATF increases strain on internal components, indirectly affecting cable load.
- Inspect During Routine Service: Ask your technician to check cable condition during oil changes or inspections.
- Lubricate Accessible Pivot Points: Use silicone-based spray on external joints annually.
- Address Small Issues Early: Slight slop today can become total failure tomorrow.
Frequently Asked Questions
- Can a gear selector cable be repaired instead of replaced?
- Yes, in cases where only the plastic bushing has failed, a repair kit can restore function without replacing the entire cable. However, if the steel core is frayed or the housing is damaged, full replacement is required.
- How long does a transmission shift cable last?
- Most last between 80,000 and 150,000 miles, depending on usage, climate, and maintenance. Regular inspection helps catch wear before failure.
- Is it safe to drive with a loose shifter cable?
- No. A loose cable can cause incorrect gear selection, creating a safety hazard. It should be inspected and repaired immediately.
- Do all cars have a physical shift cable?
- No. Many newer vehicles use electronic shift-by-wire systems, eliminating the mechanical cable. Check your owner’s manual or consult a mechanic to confirm your vehicle type.
- Can I replace the shift cable myself?
- Yes, if you have basic mechanical skills and tools. The job usually takes 1–2 hours. Be sure to follow adjustment procedures carefully to ensure correct operation.





 浙公网安备
33010002000092号
浙公网安备
33010002000092号 浙B2-20120091-4