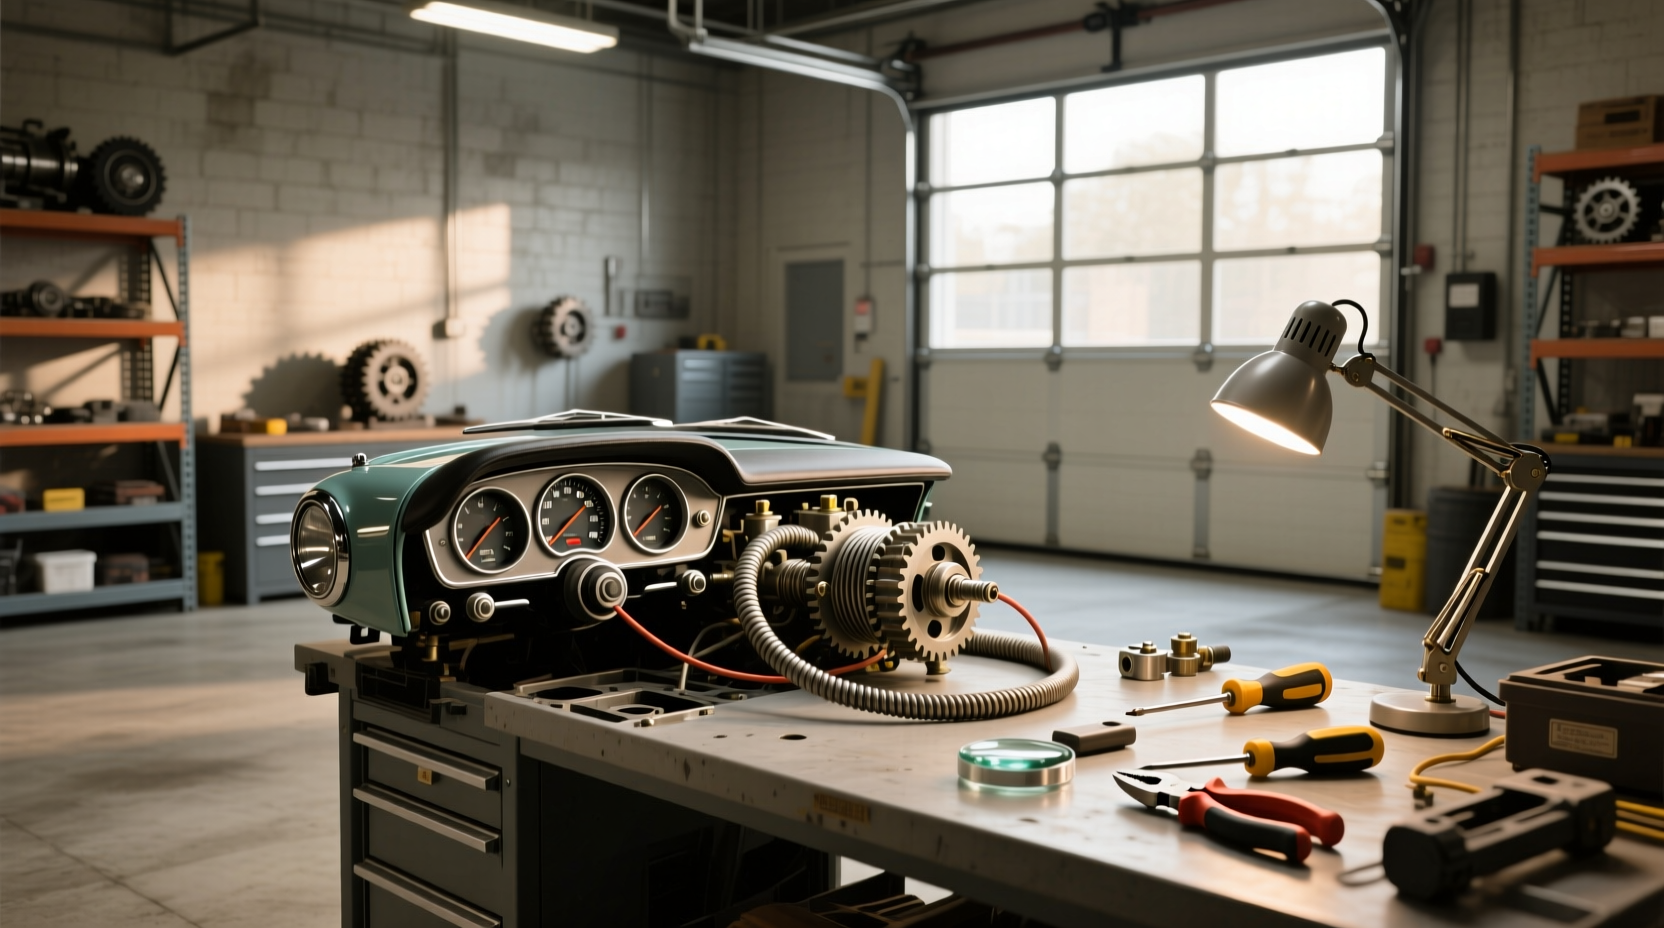
If your car’s speedometer is acting erratically or not moving at all, a failing speedometer cable replacement could be the root cause—especially in older vehicles with mechanical gauges. This comprehensive guide walks you through everything you need to know about diagnosing, selecting, and replacing a speedometer cable correctly, avoiding costly missteps. Whether you're dealing with inaccurate readings, complete failure, or preparing for preventive maintenance, understanding the process, compatibility requirements, and labor considerations can save time and ensure reliable performance.
What Is a Speedometer Cable and How Does It Work?
A speedometer cable is a flexible, spring-like metal shaft housed inside a protective outer casing. It connects the transmission (or transfer case in four-wheel-drive vehicles) to the back of the speedometer gauge on the dashboard. As the vehicle moves, the transmission output shaft rotates, turning the inner core of the cable, which in turn drives the speedometer needle via mechanical linkage.
This system was standard in most cars and trucks manufactured before the early 2000s. Modern vehicles have largely replaced mechanical cables with electronic speed sensors that send digital signals to the instrument cluster. However, many classic cars, vintage trucks, and some heavy-duty or off-road models still rely on mechanical speedometer cables 1.
Common Signs of a Failing Speedometer Cable
Recognizing early symptoms of a bad speedometer cable can prevent unsafe driving conditions and further damage. Here are key warning signs:
- Inaccurate Speed Readings: The needle jumps, sticks, or shows inconsistent speeds even when driving steadily.
- Complete Failure: The speedometer doesn’t move at all, regardless of vehicle speed.
- Noise from Dashboard or Transmission Area: A whining, grinding, or squealing sound near the firewall or center console may indicate binding or fraying inside the cable.
- Stiff or Hard-to-Turn Cruise Control (if applicable): Some older cruise control systems use mechanical linkages tied to the same drivetrain components.
- Difficulty Shifting Gears: In rare cases, especially with certain GM or Ford models, the speedometer cable also drives the odometer and affects shift timing in automatic transmissions.
While these symptoms often point to cable issues, they can also stem from a faulty speedometer head, damaged gear inside the transmission, or worn bushings in the cable housing. Proper diagnosis is essential before replacement.
Can You Fix a Speedometer Cable Instead of Replacing It?
In most cases, repair isn't practical. Unlike electrical wiring, a frayed or kinked inner cable cannot be spliced. Lubrication might temporarily reduce noise or improve movement if the cable is merely dry or stiff—but it won’t fix internal breakage.
🔧 When lubrication might help: If the cable turns freely by hand but feels gritty, removing both ends and applying light grease (like molybdenum disulfide or silicone-based lube) into the housing can restore smooth operation. However, this requires careful reinstallation and isn’t recommended for cables showing visible wear or rust.
✅ Bottom line: Replacement is almost always the safest and most effective solution for a malfunctioning speedometer cable.
Is Every Speedometer Cable the Same? Understanding Compatibility
No—speedometer cables are not universal. They vary significantly based on:
- Vehicle Make, Model, and Year: A cable designed for a 1978 Ford F-150 won’t fit a 1992 Toyota Camry, even if lengths appear similar.
- Connector Type and Thread Size: The end fittings must match the transmission output gear and the back of the speedometer. Common types include male/female splines, hex drives, and threaded connectors (e.g., 3/4"-20 thread).
- Cable Length: Too short risks tension and disconnection; too long can cause looping, vibration, or interference with other components.
- Housing Diameter and Material: Older cables used rubber or vinyl jackets; modern replacements often feature braided stainless steel for durability.
- Rotation Direction: Most rotate clockwise, but some European or specialty vehicles require reverse-wound cables.
📌 Always verify fitment using your VIN or exact year/make/model/engine specification when purchasing a replacement. Aftermarket suppliers like ATP, Pioneer, and Omix offer application-specific cables, reducing guesswork.
Speedometer Cable vs. Electronic Speed Sensor: What’s the Difference?
Understanding the distinction helps avoid buying the wrong part:
| Feature | Speedometer Cable (Mechanical) | Electronic Speed Sensor |
|---|---|---|
| Signal Type | Mechanical rotation | Digital pulse signal |
| Installation Complexity | Moderate (requires physical routing) | Low (plug-and-play) |
| Lifespan | 10–15 years (with wear over time) | 15+ years (less moving parts) |
| Failure Mode | Breakage, binding, fraying | Electrical short, signal loss |
| Vehicles Typically Found On | Pre-2000 models, classics, diesels | Modern fuel-injected vehicles |
If your vehicle uses an electronic sensor, replacing the cable won’t solve speedometer issues. Confirm your vehicle type before ordering parts.
How Much Does a Speedometer Cable Replacement Cost?
Total costs depend on whether you DIY or hire a mechanic:
- Part Cost: $8–$40 for OEM-equivalent aftermarket cables. High-performance or rare vehicle cables (e.g., Porsche, Corvette, Harley-Davidson) can exceed $100 2.
- Labor Cost: $60–$150 per hour, depending on location and shop rates. Installation typically takes 30 minutes to 1.5 hours.
- Total Estimated Range: $75–$200 at a repair shop.
🛒 Buying tips: Compare prices across auto parts retailers, but prioritize correct fitment over lowest price. A cheap, incompatible cable leads to repeated labor and downtime.
Step-by-Step Guide: Replacing a Speedometer Cable
🛠️ You’ll need: New speedometer cable, socket set, pliers, penetrating oil (if needed), flashlight, and possibly a trim removal tool.
- Disconnect the Battery: Prevent electrical shorts, especially if working near fuse boxes or dash components.
- Locate Both Ends of the Cable: One end attaches to the transmission (usually driver’s side), the other to the back of the speedometer behind the instrument cluster.
- Remove the Transmission End First: Use a wrench or socket to loosen the retaining nut. Spray penetrating oil if corroded.
- Access the Dashboard Side: Remove any panels blocking access to the back of the speedometer. This may involve taking out screws under the dash or around the gauge bezel.
- Detach the Cable from the Speedometer: Unscrew the hex or knurled nut holding it in place. Gently pull the old cable free.
- Feed the New Cable: Insert the new cable along the same route. Avoid sharp bends or kinks. If the old cable came out easily, the new one should follow smoothly.
- Reconnect Both Ends Securely: Hand-tighten nuts first, then finish with a wrench (don’t overtighten). Ensure no slack or excessive tension.
- Test Drive: Drive cautiously and verify the speedometer responds accurately across different speeds.
⏱️ Time required: 45 minutes to 2 hours, depending on dashboard complexity.
Common Mistakes to Avoid During Replacement
Even experienced DIYers make errors. Watch out for these pitfalls:
- Forcing a Stuck Connector: Applying excessive force can damage transmission gears or break plastic dash mounts.
- Ignoring Routing Path: Pinching the cable against sharp edges or heat sources degrades the housing over time.
- Using the Wrong Lubricant: Grease attracts dust and grit. Only use manufacturer-recommended lubricants if specified.
- Not Testing Before Final Reassembly: Always confirm the speedometer works before reinstalling all dash panels.
- Buying a Universal Cable Without Verification: Many 'universal' kits require cutting and crimping, increasing error risk.
Can You Use a Universal Speedometer Cable?
Yes—but with caveats. Universal cables come in bulk lengths with adjustable fittings. They’re useful for custom builds or hard-to-find applications. However:
- You must measure the exact length needed.
- Cutting and terminating the cable requires special tools.
- Improper assembly can lead to slippage or premature failure.
🔧 Brands like Lokar and Mr. Speedometer offer high-quality universal kits for restorations or performance upgrades, but precision installation is critical.
Do New Cables Need Break-In or Adjustment?
No formal break-in period is required. However, slight stiffness in a brand-new cable is normal and usually resolves after a few miles of driving. If the speedometer reads inaccurately after installation:
- Double-check that the inner core is fully seated at both ends.
- Verify the transmission drive gear isn’t stripped.
- Confirm the speedometer head itself is functional (can be bench-tested).
Regional and Vehicle-Specific Considerations
Some regions see higher failure rates due to environmental factors:
- Salt-Heavy Areas (e.g., Northeast U.S., Canada): Corrosion accelerates cable degradation, especially where the housing meets metal surfaces.
- High-Heat Climates: Prolonged exposure can degrade rubber seals and lubricants inside the housing.
- Off-Road or Heavy-Duty Use: Frequent flexing or vibration increases wear on both inner and outer components.
For these conditions, consider upgrading to stainless-steel-shielded cables for improved longevity.
FAQs About Speedometer Cable Replacement
- How long does a speedometer cable last? Typically 10–15 years, depending on usage and environment. Regular inspection during maintenance can catch early wear.
- Can a broken speedometer cable affect transmission shifting? In some older automatic transmissions (e.g., GM TH-350, Ford C6), yes—the cable drives a governor or mechanical speed-sensitive valve. Failure can disrupt shift timing.
- Is it safe to drive with a broken speedometer cable? Legally, no—most jurisdictions require functioning speedometers. Safety-wise, guessing your speed increases accident risk.
- Why does my new cable make noise? Possible causes include misalignment, incorrect routing, or a defective unit. Inspect for binding points and ensure proper lubrication.
- Can I replace just the inner cable? Rarely. Most assemblies are sealed units. Separate inner cores are only available for specific industrial or restoration suppliers.





 浙公网安备
33010002000092号
浙公网安备
33010002000092号 浙B2-20120091-4