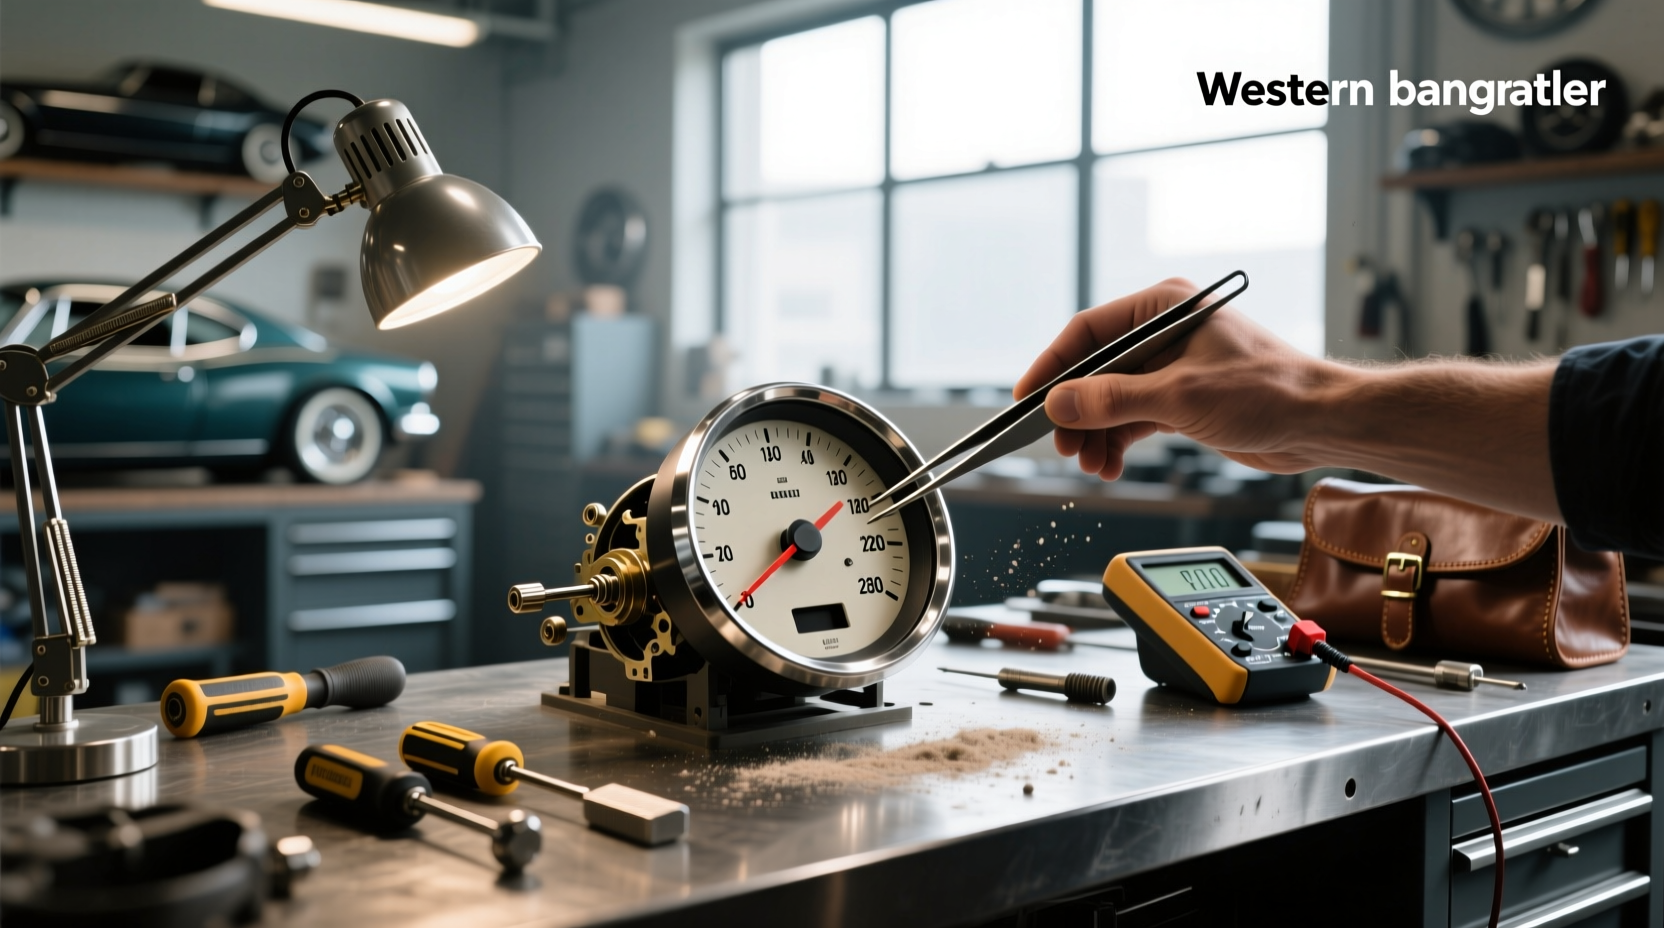
If your vehicle's speedometer needle is stuck, jittery, or damaged, speedometer needle replacement may be the solution—without needing to replace the entire instrument cluster. This guide walks you through every step of the process, from identifying compatible needles and sourcing parts 🛒 to disassembly, installation, and recalibration. Whether you're restoring a classic car, upgrading a boat gauge, or fixing a modern truck dashboard, understanding how to properly replace a speedometer needle ensures accurate readings and preserves your gauge’s original look ✅.
Why Replace a Speedometer Needle?
A malfunctioning speedometer can compromise safety and lead to legal issues if it fails inspection. While some assume a broken needle means replacing the whole cluster or sending it out for professional repair, many cases only require a simple needle swap. Common reasons drivers seek speedometer needle replacement include:
- Physical damage: Needles can bend or break during maintenance or due to impact.
- Sticking or floating: Over time, worn gears or weak stepper motors cause erratic movement ⚙️.
- Restoration projects: Classic car enthusiasts often upgrade or restore gauges with period-correct or enhanced visibility needles 🔧.
- Aftermarket upgrades: Installing GPS-based speedometers with analog-style needles for a retro-digital hybrid look ✨.
Replacing just the needle saves money and retains factory aesthetics, especially on older vehicles where full clusters are hard to source.
Understanding Speedometer Types and Compatibility
Not all speedometer needles are interchangeable. Before purchasing a replacement, identify your gauge type. There are three main categories:
1. Mechanical (Cable-Driven) Speedometers
Found in older vehicles (pre-1990s), these use a spinning cable connected to the transmission. The cable turns a magnet inside the gauge, creating magnetic resistance that moves the needle. These systems typically have robust metal needles and are less prone to electronic failure but can suffer from cable wear or binding.
🔧 Needle特点: Often attached via a square or round shaft; removal usually requires gentle pulling or light prying once the dash is opened.
2. Electronic (Stepper Motor) Speedometers
Common in most cars from the 1990s onward, these receive digital signals from wheel speed sensors. A small stepper motor precisely positions the needle. These are more accurate than mechanical versions but susceptible to motor failure or ECU communication errors.
🔧 Needle特点: Typically plastic or lightweight alloy; seated on a splined shaft. Must be re-zeroed after removal using scan tools or calibration procedures.
3. GPS-Based Speedometers
Increasingly popular for off-road, marine, and custom builds, GPS speedometers calculate speed via satellite signal rather than vehicle sensors. Many feature traditional analog-style needles driven by internal microprocessors. Brands like GlowShift Gauges and AutoMeter offer universal kits with red, black, or white needles 🌐.
🔧 Needle特点: Part of an integrated module; often non-removable unless sold as user-replaceable. Check product specs before assuming interchangeability.
Finding the Right Replacement Needle
Sourcing the correct needle involves matching several key dimensions and design features:
Shaft Size and Shape
The most critical factor. Needles attach to a central shaft that connects to the movement mechanism. Common shaft types include:
- Square post (common in GM vehicles)
- Round splined (Ford, Chrysler)
- D-shaped or proprietary (some European models)
Using an incorrect fit can damage the stepper motor or result in inaccurate readings. Measure your existing shaft diameter with calipers if possible.
Length and Weight
Needle length affects balance and responsiveness. Too long or heavy a needle can overload a stepper motor, causing lag or failure. Most automotive needles range from 2.5 to 4 inches. Marine or oversized gauges may go up to 5 inches.
⚖️ Pro Tip: When upgrading, stick within ±10% of the original weight unless the manufacturer specifies otherwise.
Color and Visibility
Red and white needles are popular for high contrast against black faces. Some modern replacements feature luminous coatings or LED backlighting for night visibility ✨. For OEM restorations, match factory color exactly.
Universal vs. OEM-Specific Needles
Some suppliers sell universal needles designed to fit multiple shaft types using adapters. While cost-effective, they may require modification and lack precision alignment. OEM-specific needles ensure perfect fit but can be harder to find for discontinued models.
🛒 Where to Buy: Online marketplaces and specialty gauge shops offer a wide selection. Search terms like 'GM speedometer needle 2003–2006' or '85mm GPS speedometer red needle' yield better results than generic queries.
Tools and Materials Needed
To perform a successful speedometer needle replacement, gather these essentials:
- Small flathead screwdriver or plastic pry tool
- Torx or Phillips bit set (for dash screws)
- Isopropyl alcohol and lint-free cloth 🧼
- Needle puller tool (optional but recommended)
- Calibration device or OBD2 scanner (for electronic clusters)
- Gloves (to prevent oil transfer to gauge face)
📍 Note: Always disconnect the battery before working on instrument clusters to prevent short circuits.
Step-by-Step Replacement Process
Follow these steps carefully to avoid damaging sensitive components:
Step 1: Remove the Instrument Cluster
Access varies by vehicle. Typically involves removing trim panels and unscrewing mounting hardware. Consult a service manual for your make and model. Label connectors if needed.
Step 2: Open the Gauge Housing
Most clusters have a clear lens held by clips or screws. Carefully separate the housing to expose the gauges. Avoid touching the circuit board or sensor coils.
Step 3: Remove the Old Needle
Gently grasp the base of the needle and pull straight off. If stuck, use a needle puller tool to avoid bending the shaft. Never twist or lever sideways—this can destroy the stepper motor.
Step 4: Install the New Needle
Align the new needle at the zero position (usually straight up). Press firmly until fully seated. Double-check orientation under ambient light.
Step 5: Recalibrate the Gauge (Electronic Systems Only)
Modern clusters require recalibration so the ECU recognizes the new needle position. Use a factory-level scan tool or follow the manufacturer’s procedure (e.g., ignition cycling, pedal sequences).
Step 6: Reassemble and Test
Reinstall the cluster, reconnect power, and start the engine. Watch for smooth needle sweep during startup. Take a test drive to verify accuracy at various speeds.
Common Mistakes to Avoid
Even experienced DIYers make errors when replacing speedometer needles. Here are frequent pitfalls:
- Skipping calibration: Electronic clusters will display incorrect readings without proper zero-point reset ❗.
- Forcing the needle: Applying too much pressure damages the shaft or motor gear.
- Ignoring polarity: Some LED-backlit needles have directional wiring; reversing causes dimness or no light.
- Mismatched scale: Using a 160MPH needle on a 85MPH gauge creates misalignment.
When Not to Attempt DIY Replacement
While many repairs are manageable at home, certain situations call for professional help:
- Integrated LCD displays: Some modern clusters embed the needle within sealed units—opening voids seals and risks moisture damage.
- Legal compliance requirements: In regions with strict emissions or safety inspections, tampering with factory instruments may fail certification.
- No access to calibration tools: Without proper equipment, recalibrating electronic gauges is guesswork.
In such cases, consider replacing the entire cluster or consulting a certified auto electrician.
Alternative Solutions: Upgrading Instead of Repairing
If your current system is outdated or unreliable, consider switching to a GPS-based speedometer. These offer advantages:
- No vehicle sensor dependency: Works even with ABS failures or modified axles.
- High update rate: Modern units refresh at 4–5Hz for smooth needle motion ⚡.
- Universal fitment: Mounts anywhere with power and clear sky view.
Many kits come with customizable faces and selectable units (MPH/KPH/Knots), ideal for boats, RVs, or performance vehicles. However, GPS units rely on satellite signal—tunnels or urban canyons may cause brief dropouts.
Cost Comparison: Repair vs. Replace
| Solution | Average Cost | Labor Required | Accuracy | Best For |
|---|---|---|---|---|
| Needle-only replacement | $10–$40 | Low (DIY) | OEM level | Minor damage, restoration |
| Full cluster rebuild | $150–$400 | Medium | Restored | Multiple gauge issues |
| New OEM cluster | $300–$800+ | High | Precise | Modern vehicles, warranty needs |
| Aftermarket GPS speedometer | $50–$250 | Low to Medium | Very High | Custom builds, marine, off-road |
Verifying Accuracy After Replacement
After installation, confirm your speedometer reads correctly. Methods include:
- GPS app comparison: Use smartphone apps like Google Maps or Speedometer Free to compare real-time speed.
- Highway mile markers: Drive at a constant speed and time how long it takes to cover one mile (e.g., 60 seconds = 60 MPH).
- OBD2 scanner: Read live data from the vehicle’s CAN bus to cross-check reported speed.
A variance of ±3 MPH is generally acceptable. Larger discrepancies suggest calibration issues or tire size changes affecting input signals.
Regional and Vehicle-Specific Considerations
Regulations vary globally. In the EU, any alteration to primary instrumentation must meet ECE R39 standards. In the U.S., FMVSS does not regulate aftermarket gauges as long as the factory system remains functional. Always check local laws before modifying dash instruments.
🚗 Vehicle-specific quirks:
- GM trucks (2003–2006): Known for stepper motor failures; consider full cluster refurbishment if multiple needles are faulty.
- Ford Broncos: Early models use fragile cable-driven mechanisms; inspect cable condition before blaming the needle.
- Marine applications: Saltwater exposure accelerates corrosion; opt for waterproof GPS models with stainless housings.
FAQs About Speedometer Needle Replacement
- Can I replace a speedometer needle without removing the cluster?
- No, the cluster must be removed and opened to access the needle shaft. Attempting it in place risks scratching the lens or damaging internal parts.
- Do GPS speedometers have real needles?
- Yes, many GPS speedometers use physical needles driven by stepper motors, giving an analog appearance while using satellite data for input.
- Why does my new speedometer needle jump or vibrate?
- This could be due to electrical interference, poor grounding, or signal noise. In GPS units, weak satellite lock can also cause instability.
- How do I calibrate an electronic speedometer after needle replacement?
- Use an OBD2 scan tool with calibration functions or follow the manufacturer’s sequence (often involving ignition cycles and brake pedal presses).
- Are colored speedometer needles available for all vehicles?
- Colored needles are widely available for common platforms like GM, Ford, and universal 85mm gauges. Rare or European models may require custom ordering.





 浙公网安备
33010002000092号
浙公网安备
33010002000092号 浙B2-20120091-4