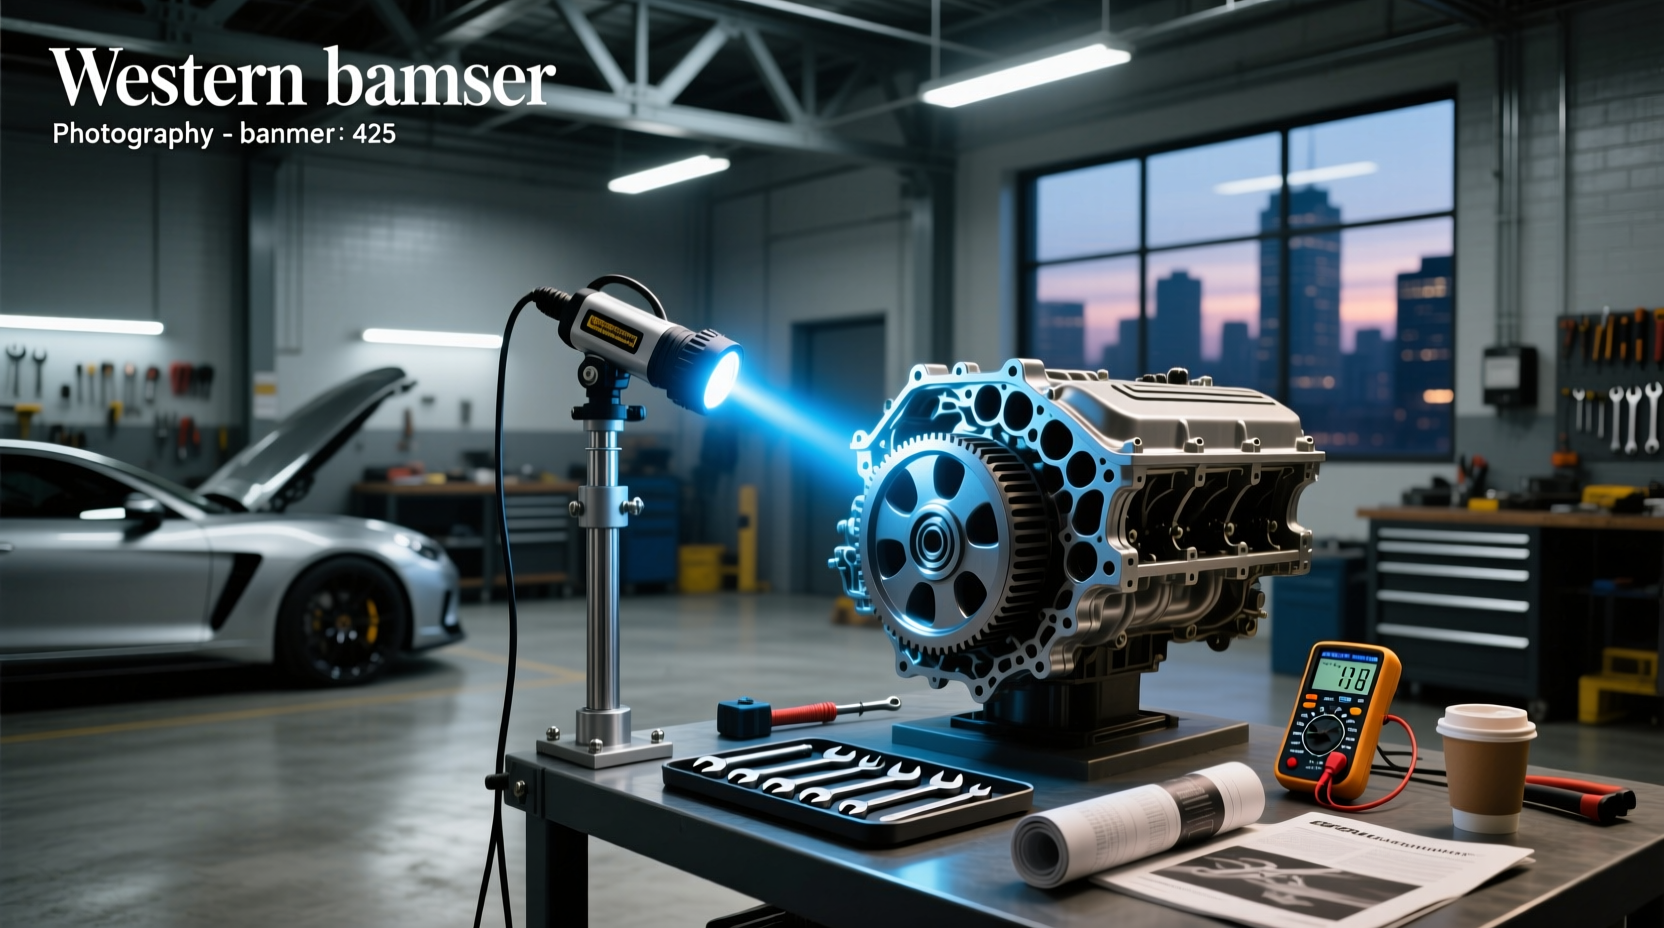
🔧 An engine timing light is a critical diagnostic tool used to verify and adjust the ignition timing of internal combustion engines. When properly used, it ensures the spark plug fires at the precise moment needed for maximum power, fuel efficiency, and reduced emissions. For classic cars, motorcycles, or older engines with distributors, knowing how to use a timing light to set ignition timing remains essential for accurate tune-ups1. This guide walks you through everything—from understanding what a timing light does, to connecting it safely, interpreting timing marks, adjusting distributor position, and avoiding frequent errors during the process.
What Is an Engine Timing Light and How Does It Work?
A timing light, also known as a strobe timing gun or ignition timing light, operates by detecting the high-voltage signal from the #1 spark plug wire. Using an inductive pickup clamp, it triggers a bright xenon flash each time the spark plug fires. By aiming this flash at the engine’s harmonic balancer (or flywheel), which has degree markings, you can visually 'freeze' the rotation and see where the current timing event aligns relative to Top Dead Center (TDC). This makes it possible to confirm whether the ignition timing matches manufacturer specifications.
There are three main types of timing lights available:
- Analog Timing Lights: Basic models that provide a simple strobe function without advance adjustment features. These work well for static timing checks on older vehicles with points-based distributors.
- Digital Timing Lights: Include additional functions such as dwell metering, RPM readout, and adjustable timing advance settings. They often feature LCD screens and are compatible with both gasoline and diesel engines.
- Self-Powered vs. Battery-Powered: Most connect directly to the vehicle’s 12V battery for consistent brightness, while some portable versions run on internal batteries but may lack intensity over time.
Why Accurate Ignition Timing Matters
⚙️ Proper ignition timing directly affects engine performance, fuel economy, and longevity. If the spark occurs too early (advanced timing), it can cause knocking or pinging under load—especially noticeable during acceleration. Conversely, if the spark is delayed (retarded timing), the engine loses power, runs hotter, and increases hydrocarbon emissions.
📌 In distributor-equipped engines, mechanical and vacuum advance systems modify base timing based on engine speed and load. A timing light allows technicians to:
- Verify base timing at idle
- Check total advance at higher RPMs
- Ensure vacuum advance canister responds correctly
- Diagnose issues like worn distributor bushings or faulty centrifugal weights
Step-by-Step: How to Use a Timing Light Safely and Accurately
⏱️ Follow these steps carefully to get reliable results when checking or setting ignition timing:
- Consult the Service Manual: Find the correct base timing specification (e.g., 10° BTDC) and any special procedures such as disconnecting vacuum lines or placing the transmission in neutral.
- Locate the Timing Marks: Identify the TDC indicator on the engine block and the corresponding degree scale on the harmonic balancer. Clean the area thoroughly so marks are visible.
- Warm Up the Engine: Run the engine until it reaches normal operating temperature—cold engines give inaccurate readings due to thermal expansion differences.
- Disconnect Vacuum Advance: Plug the hose leading to the distributor vacuum canister to prevent automatic timing changes during testing.
- Connect the Timing Light:
- Attach the red clamp to the positive terminal of the battery
- Attach the black clamp to a solid ground point
- Clip the inductive pickup onto the #1 spark plug wire
- Start the Engine and Aim the Light: Shine the strobe at the timing mark. The flash should make the rotating pulley appear stationary. Note where the pointer aligns with the degree scale.
- Adjust the Distributor: Loosen the distributor hold-down bolt slightly and rotate the distributor body to change timing. Rotate counterclockwise to advance, clockwise to retard.
- Recheck and Tighten: Once aligned with the specified mark, retighten the distributor and reverify timing doesn’t shift.
- Restore Vacuum Line: Reconnect the vacuum advance hose and observe how timing changes with throttle input.
Common Mistakes When Using a Timing Light
❗ Even experienced mechanics sometimes make errors that lead to incorrect adjustments. Here are the most frequent pitfalls:
- Using the Wrong Spark Plug Wire: Always clip the inductive pickup onto the #1 cylinder wire—the one connected to the first firing position in the engine’s sequence.
- Ignoring Vacuum Advance: Failing to disconnect the vacuum line results in inflated timing readings and improper base calibration.
- Dirty or Misaligned Markings: Oil buildup or paint wear can obscure degree indicators. Use chalk or a marker to enhance visibility.
- Assuming All Engines Are the Same: Modern OBD2 vehicles typically don’t require manual timing adjustment because timing is controlled by the ECU. Attempting to adjust timing on such engines can trigger fault codes or damage components.
- Not Securing the Pickup Clamp: A loose inductive sensor may pick up interference from nearby wires, causing erratic flashing.
When Should You Not Use a Traditional Timing Light?
🌐 While timing lights are indispensable for carbureted or distributor-based engines, they have limitations on modern vehicles. Most post-1990s cars with electronic ignition and coil-on-plug systems rely on crankshaft and camshaft sensors managed by the Powertrain Control Module (PCM). In these cases:
- Ignition timing is dynamically adjusted and cannot be manually changed via distributor rotation.
- Timing verification requires advanced scan tools capable of reading live data PIDs (Parameter IDs).
- Physical timing marks may no longer exist or serve only for initial synchronization during repairs.
✅ So, if your vehicle uses sequential fuel injection and lacks a distributor, a standard strobe timing light won’t help with tuning. Instead, consider using an OBD2 scanner with real-time timing display functionality.
Choosing the Right Timing Light for Your Needs
🛒 Selecting the appropriate timing light depends on your application and technical requirements:
| Type | Best For | Key Features | Limits |
|---|---|---|---|
| Analog Strobe | Basic tune-ups on vintage cars | Inexpensive, durable, easy to use | No RPM/dwell readout, limited precision |
| Digital Timing Light | Performance tuning, diagnostics | RPM counter, dwell measurement, advance adjustment | Higher cost, more complex interface |
| Inductive Gun Only | Quick checks, field use | Compact, battery-powered | Weaker flash, less reliable in daylight |
📌 For DIY enthusiasts working on pre-computer-era vehicles, a mid-range digital model offers the best balance between functionality and usability. Look for units with detachable pickups, reverse polarity protection, and clear displays.
Tips for Maintaining Accuracy and Safety
🧼 To ensure long-term reliability and safe operation:
- Store the timing light in a dry place away from extreme temperatures.
- Inspect cables regularly for fraying or insulation damage.
- Clean the lens after each use to maintain brightness.
- Avoid touching the spark plug wire while the engine is running—even with insulated gloves.
- Never leave the inductive pickup clipped on during prolonged cranking; heat buildup can damage the unit.
Understanding Timing Marks and Degree Scales
🔍 Many users struggle to interpret timing scales correctly. The harmonic balancer usually has a series of engraved lines representing degrees Before Top Dead Center (BTDC) and After Top Dead Center (ATDC). The zero mark aligns with TDC, confirmed using a piston stop tool or timing tape.
Some engines use timing tapes applied directly to the balancer for greater accuracy. Others rely on factory cast marks that may degrade over time. If original marks are unclear, consider installing a timing tab with an adjustable pointer or using a degree wheel during major rebuilds.
Can You Set Timing Without a Light?
❓ While not recommended for precision work, rough timing can be set without a strobe in emergency situations:
- Bring #1 piston to TDC on the compression stroke (valves closed, rotor pointing to #1 terminal).
- Insert the distributor so the rotor aligns with the #1 tower.
- Start the engine and slowly rotate the distributor until smooth idle is achieved.
This method lacks accuracy and should only be used temporarily. Always verify with a proper timing light afterward.
Integration with Other Diagnostic Tools
📊 Advanced users often combine timing lights with other instruments:
- Dwell Meters: Measure contact closure angle in point-style distributors.
- Tachometers: Confirm engine speed during total advance tests.
- Scan Tools: Cross-reference timing values on vehicles with partial electronic control.
For comprehensive analysis, professional shops may use dedicated engine timing analyzers that capture multiple parameters simultaneously, including cylinder contribution, misfire detection, and combustion efficiency.
Frequently Asked Questions (FAQ)
Here are answers to common questions about engine timing lights:
- How do I know if my engine timing is correct?
- You can verify correct timing using a timing light to compare actual spark events against manufacturer specifications. Symptoms of incorrect timing include poor acceleration, knocking noises, high idle, or increased fuel consumption.
- What tool is used to check engine timing?
- A timing light (or ignition timing light) is the primary tool used to check ignition timing on distributor-equipped engines. It uses a strobe flash synchronized with the #1 spark plug to visualize timing marks on the crankshaft pulley.
- Can I use a timing light on a fuel-injected engine?
- Yes, if the engine has a traditional distributor and accessible #1 spark plug wire. However, most modern fuel-injected engines manage timing electronically and do not allow manual adjustment. The timing light may still be useful for diagnostic verification in certain cases.
- Do all cars need timing adjustment with a light?
- No. Vehicles manufactured after the mid-1990s generally use computer-controlled ignition systems that self-adjust timing. Manual adjustment using a timing light is only necessary for older engines with mechanical distributors.
- Is there a difference between timing light brands?
- While basic functionality is similar across brands, build quality, brightness, included features (like RPM counters), and durability vary. Choose based on intended use rather than brand name alone.





 浙公网安备
33010002000092号
浙公网安备
33010002000092号 浙B2-20120091-4